All products were chosen independently by our editorial team. This review contains affiliate links and we may receive a commission for purchases made. Please read our affiliates FAQ page to find out more.

How to carve a pumpkin for beginners (easy step-by-step guide)

Discover how to carve a pumpkin with our simple and clear step-by-step guide. Make your pumpkin carving both frighteningly fun and eerily easy!

Try our magazines – get 6 issues from just £9.99!

Published: August 21, 2023 at 8:30 am

Turn everyday pumpkins into doorstep-ready masterpieces this Halloween with our ultimate guide to pumpkin carving for beginners. Have you always wanted to learn how to carve a pumpkin? Or perhaps you're looking for a nice, messy activity that you can do with the kids?

In this article, we cover everything you need to know about how to carve a pumpkin step-by-step, what equipment you will need, plenty of templates for inspiration, and show you how to carve a pumpkin.

Pumpkin template (this one is from Schusters Farm)

Jump to:


What is the best way to carve a pumpkin?

Watch our video guide to learn the best, beginner-friendly pumpkin-carving method.


How to carve a pumpkin step-by-step (with images)

pumpkin carving

You will need:

  • Pumpkin
  • Food knife (small with a serrated edge)
  • Spoon (to scoop out the insides)
  • Template (dry wipe pen or sharpie to draw your own design)
  • Container (to put the seeds in)

Step 1

Prepping your pumpkin for carving

Prepare your pumpkin by washing it and wiping it down to remove any dust that may have accumulated.

How do you carve a pumpkin?

Step 2

Transfer your pumpkin template onto your pumpkin

Download and print one pumpkin template (this one is from Schusters Farm) pumpkin template (this one is from Schusters Farm)  onto an A4 sheet of paper. Tape the paper template onto your pumpkin so that it doesn’t move around.

Use a sharp object (like a pin, needle or pokey tool) and go over the design to transfer the image to the pumpkin below.

Alternatively, grab a pen (a dry wipe pen or Sharpie is ideal) and sketch out a design on the pumpkin. Once you’re happy with your design, you’re ready to start carving!

How do you carve a pumpkin?

Step 3

How to hollow out a pumpkin

Now get ready to make some mess! Pumpkin carving is a messy job and it’s a good idea to have something nearby to put the pumpkin guts in.

Draw a circular lid around the pumpkin stem. Depending on the size of your pumpkin, your lid should be around 12-15cm in diameter. Remember it needs to be big enough for you to be able to get your hand in to rummage around.

Using a small knife with a serrated blade, start cutting into the pumpkin following the line of the lid.

Cut at a 45º inward angle, so that the lid does not fall into the pumpkin when it is empty.

How do you carve a pumpkin?

Step 4

Remove the pumpkin seeds

Put the lid aside and start removing the pumpkin seeds. They are all attached to each other in big stringy lumps, so dive in and pull them out.

Set them aside in a container, they’re great for roasting (and delicious!).

How do you carve a pumpkin? Remove the seeds

Step 5

Scrape away remaining pumpkin flesh

Using a spoon, scrape out all the remaining stringy guts of the pumpkin. There’s not much we can do with them, so toss them in the compost.

Scrape close to the pumpkin walls and get it as clean as possible before moving on to the next step.

How do you carve a pumpkin? Scoop out the inside

Step 6

Rinse your pumpkin

Now that your pumpkin is gutted, it probably resembles a nice slimy mess. So go ahead and give it a rinse, then pat it dry. Slime and knives are not a good mix!

How do you carve a pumpkin? Draw the face

Step 7

How to carve a pumpkin

Now, using the same knife as before, follow the pin lines and cut into your pumpkin. Make straight cuts all the way through and put the pieces aside.

These extra pieces are useful for making accessories for your pumpkin (like a pipe or a tongue) or as food for your garden wildlife (squirrels especially!).

How do you carve a pumpkin? Use a sharp knife to cut the Jack O Lantern face

Step 8

Smooth the edges of your carving

If you’re left with unwanted jagged edges, you might like to neaten up the edges at this point with a craft knife.

How do you carve a pumpkin? Cut out the face shapes
How do you carve a pumpkin?

How do you carve a pumpkin?

Step 9

Watch your pumpkin carving creation glow

Now for the best part! Find a place to put your pumpkin and slip a tealight candle inside. Use a long match to light the candle, then replace the lid. Alternatively, use a battery-operated tealight.

Now sit back and enjoy the spooky glow from all your hard work!

How do you carve a pumpkin?


How to carve a pumpkin without cutting through

As before, you’ll want to first hollow out your pumpkin first, so that there is space to put a light inside.

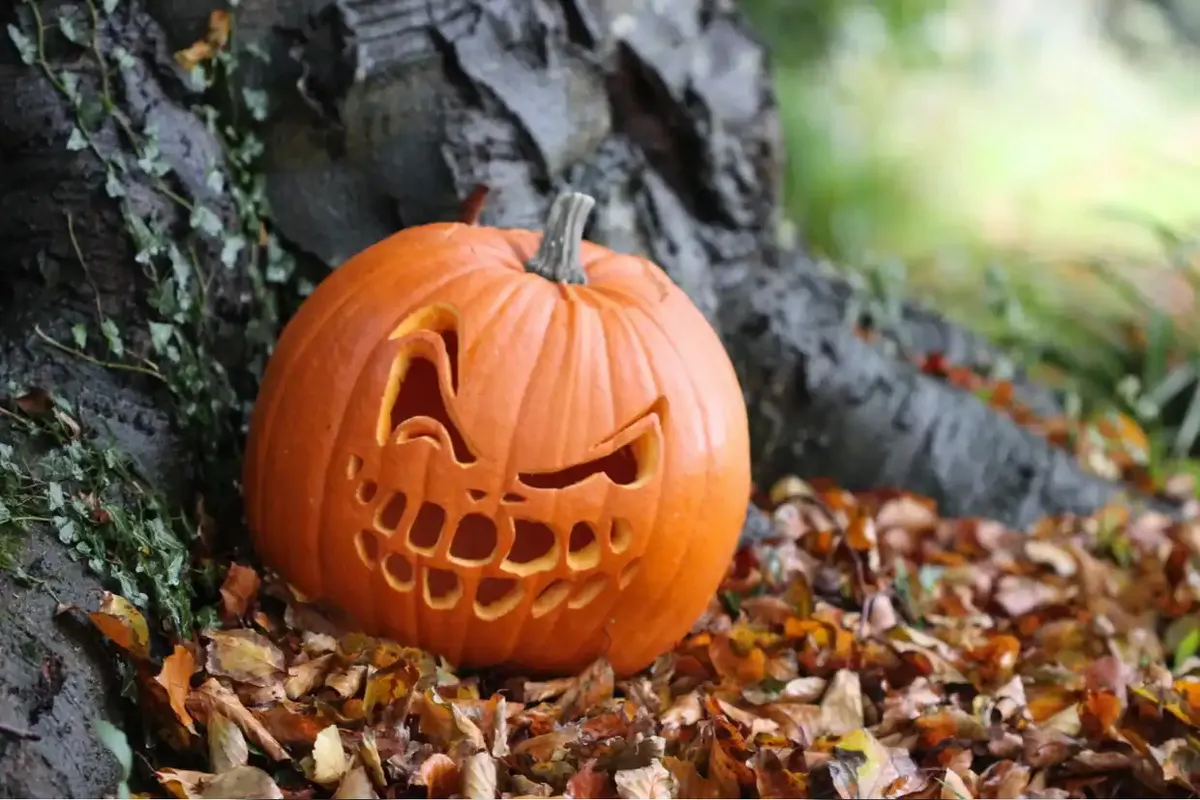
To carve a pumpkin without cutting through, all you need to do is “scrape" away the bright orange rind, revealing the lighter meat underneath. If you’re familiar with lino cutting, then it’s a similar technique to that. Light travels easily through the pumpkin meat, so you don’t need to scrape away much. (See image below)

The more you scrape, the brighter your design will appear when there is light inside your pumpkin. So, for “shaded" areas, only gently scrape away the rind – leaving the meat fairly thick. For the highlights – scrape away a few centimetres worth of meat.

Check out our pumpkin faces round-up for pumpkin carving ideas.

pumpkin faces 3

Take a look at our top pumpkin carving tips…

Choosing the best pumpkin for carving

If you’re not sure what size to go for, a football-sized pumpkin is a good place to start. To make sure you’re picking the best pumpkin, select one with an even colour all over and tap it with your knuckles. It should sound hollow.

The outside of the pumpkin should feel ‘firm’ – if it feels soft then it won’t last as long. Make sure that your pumpkin has a sturdy stem and that it sits up properly so that it doesn’t roll over while you carve it.


What do you need to carve a pumpkin?

All you need is a small, sharp knife with a sharp, serrated edge to cut out the pumpkin’s face, along with a large spoon to scoop out the middle of the pumpkin. You can also get some helpful kits and templates – read on to stock up!


Get started with pumpkin carving kits

If you would like to take the hassle out of finding all the equipment needed to carve your own pumpkin, take a look at these pumpkin carving kits that you can pick up right now that contains all the tools you need to carve a pumpkin.

A good kit should contain a sturdy range of tools with different-shaped blades, including a pokey tool, a thin saw blade and a scoop.

pumpkin carving kits 1

Pumpkin carving stencils to create fantastic carvings

If you’re keen to carve your pumpkin but are unsure what design you’d like to try, we suggest checking out our top pumpkin carving stencils.

It’s easier to use a template as it will help you to first map out where your cuts will be, rather than just freestyling it.

pumpkin carving stencils


How to carve a pumpkin for beginners

Now you’ve learnt the techniques and top tips for carving your pumpkins, it’s time to put them into practice! Gouge, slice and dice your pumpkin to your heart’s content.

Pumpkin designs to scare your neighbours!

Now that you know how to carve your pumpkin, you’re probably wondering what design to go for. Don’t worry, we’ve got you covered! Check out the best pumpkin carving ideas.

pumpkin carving ideas 27