Step 1
Cover the larger cardboard tube with black or coloured card or paper. This is just for decoration so if you don’t have any paper or card, you can just decorate with pens or paints instead, or leave it blank.

Step 2
Cut three strips of mirror card and stick them together along their long edges (shiny sides facing inwards) with sellotape to form a triangular prism, which we’ll be inserting into the main cardboard tube.
You may need to play around your strip sizes to get the perfect fit before you begin – a good tip is to try it with some scrap paper first until you’ve got the right fit, then use this as a template for your mirror card. We’ve used three strips that each measure 19cm x 4.3cm to form a prism that fits the inside of a kitchen roll tube (the tube measures 10cm tall and 4.5cm across). If you’re using a smaller toilet roll tube and you live here in the UK, try cutting your strips to measure 9cm x 4.1cm each (this would fit a tube that measures 10cm x 4.5cm).

Step 3
Insert the prism into the middle of the cardboard tube. You should leave a space about 1cm from the end.

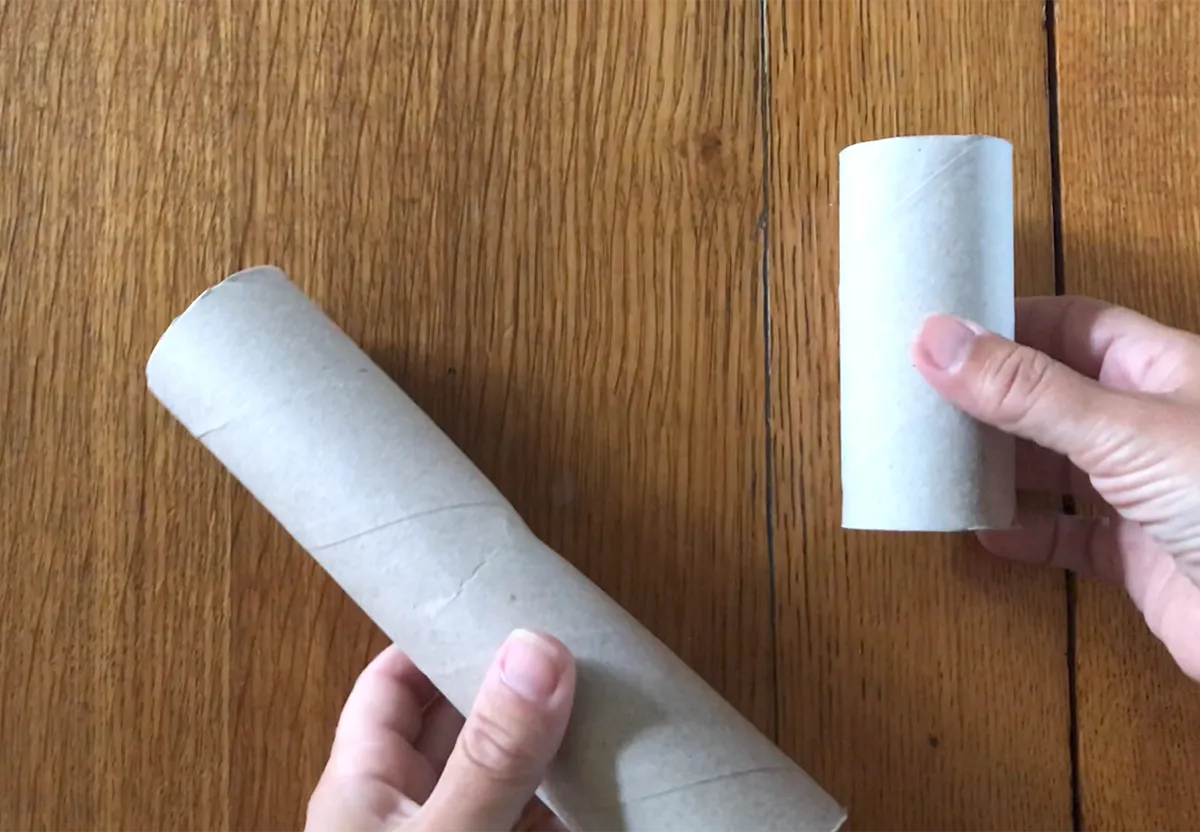
Step 4
Cut the edge of the second, smaller tube to create a ring that’s 2m tall. This should fit snuggly inside the larger tube at the end to form an end cap later. If the smaller tube doesn’t fit inside the larger tube, simply cut it along it’s short edge and use sellotape to turn it into a smaller tube that does just fit into the main tube. You don’t want it to be too loose so that it will fall out, but small enough to fit inside the tube.

Step 5
Use your ring from step 4 as a template to cut two circles of plastic from a plastic carton.

Step 6
Sellotape the first plastic circle to one of the outer edges of the ring. Leave the other edge free for the next step.

Step 7
Fill the end piece with beads and sequins.

Step 8
Sellotape the second plastic circle to the other edge of the ring, sealing the beads and sequins inside.

Step 9
Insert the finished end cap into the main tube so it rests up against the edge of the triangular prism.