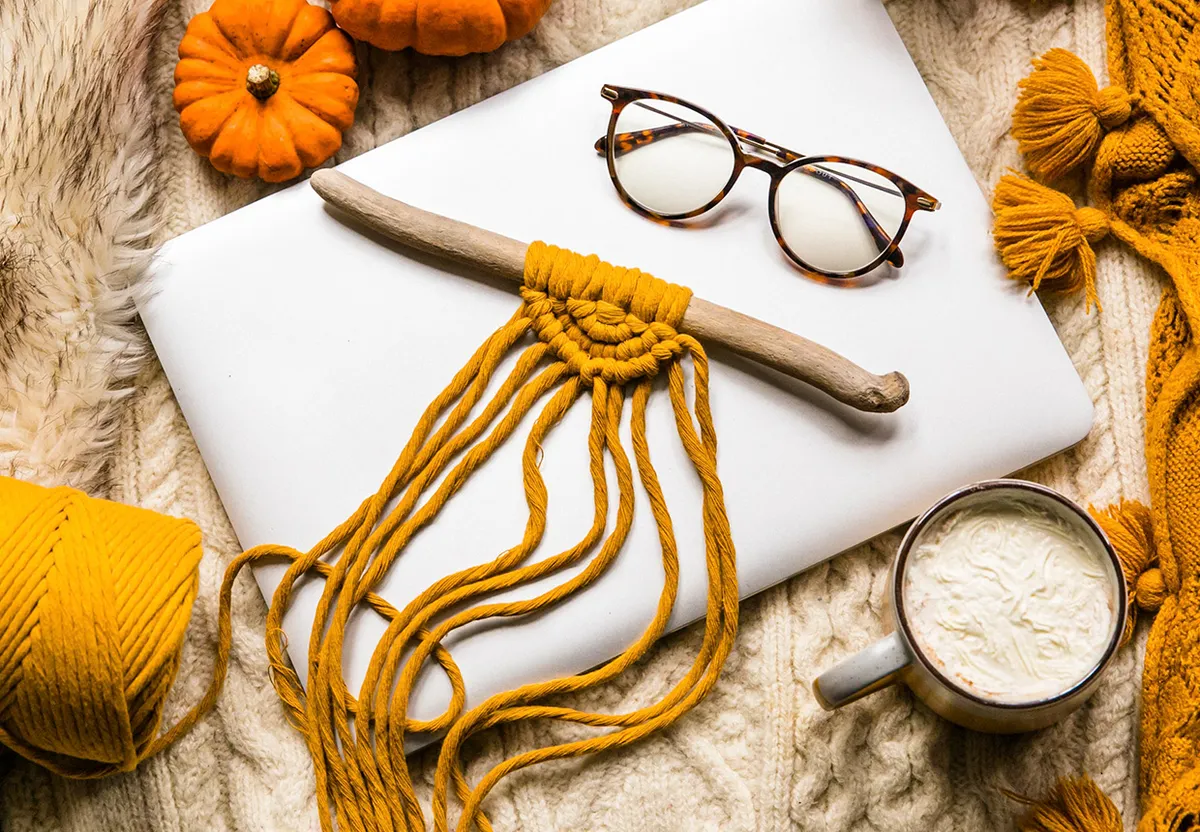
As you may already know, we love macrame. Its vibes are so on trend and we've got tons of macrame projects here on Gathered!
To get started on all these projects, you need to know the basic macrame knots. We got together with Robyn Gough, vlogger, and owner of United Knots, to bring you this guide full of basic macrame knots and decorative techniques for making macramé wall art, plant hangers, and more.
Read on to learn about the 10 basic macrame knots and how to make them, check out our handy video or use the quick links below to jump straight to the macrame knot tutorial you're looking for!
Basic macrame knots: Table of contents
Is it easy to learn macrame?
Yes! With a little bit of practice, macrame is easy to master. Macrame is also a great craft because at its core you only need your hands and some rope as opposed to other crafts which use lots of different tools and materials. It also depends on the type of project you choose to make. Due to the sheer size, our DIY macrame curtain is for more advanced makers. Whereas our macrame feather keychain is a project perfect for beginners.
You can start by learning macrame with our photo guide below but there's also some wonderful Youtube videos out there for you to craft along to. Robyn, who helped us to create our basic macrame knot tutorial, has loads of useful Youtube videos about macrame.
Before you begin, check out our best macrame supplies guide to stock up on everything you'll need.
Watch Robyn's beginner macrame tutorial below...
How to make basic macrame knots
Ready to get started? Here, we'll cover all of the basic macrame knots you'll need to make everything from wall hangings to jewellery. Once you've mastered these macrame knots check out our free macrame patterns and test out your new skills.
Lark's head macrame knot
Lark's head knots are the best way to start any macramé project. They can be front facing or reverse – here's how to do both.
Front facing lark's head knots leave a line of cord resting against your dowel once tied.

1. Measure and cut a length of cord for your project.
2. Join both ends together, folding the cord in half.
3. Working from the front, take the folded loop over the top of the dowel, then down behind it, leaving the loop facing downwards.

4. Pull the two cut ends of the cord up and through the loop, then tighten to secure the knot.
Reverse lark's head macrame knot
A reverse lark's head knot is created using the same technique as a lark's head knot, only working towards you instead of away. It leaves no visible “line” against your dowel.
1. Measure and cut a length of cord for your project.
2. Join both ends together, folding the cord in half.
3. Working from the back, take the folded loop over the top of the dowel, then down in front of it, leaving the loop facing downwards.
4. Pull the two cut ends of the cord up and through the loop, then tighten to secure the macramé knot.
undefinedWrap macrame knot
A wrap knot is used for securing groups of cords at the beginning or end of a macramé piece.

1. Measure and cut a long length of cord.
2. Gather the cords you wish to fasten in a group in your left hand. Using the length of cord, create a downward-facing loop, leaving a short tail and the remaining length of the cord at the top right.
3. Pinch the top of the loop and the tail with your left thumb and index finger. Take the length of cord behind the group and to the left, bring it back around the front to create one wrap, then continue wrapping it around.

4. When wrapping, ensure the loop is left visible at the bottom. Once you've wrapped the group securely, thread the remaining length of cord through the bottom of the loop.
5. To secure the wrap knot, carefully pull the short tail end at the top of the wraps. This will shorten the loop and catch the length, pulling it upwards and into the wrapped cords.

6. Cut the remaining tail and length at the top and bottom of the wrap to neaten. Wrap macrame knot complete.
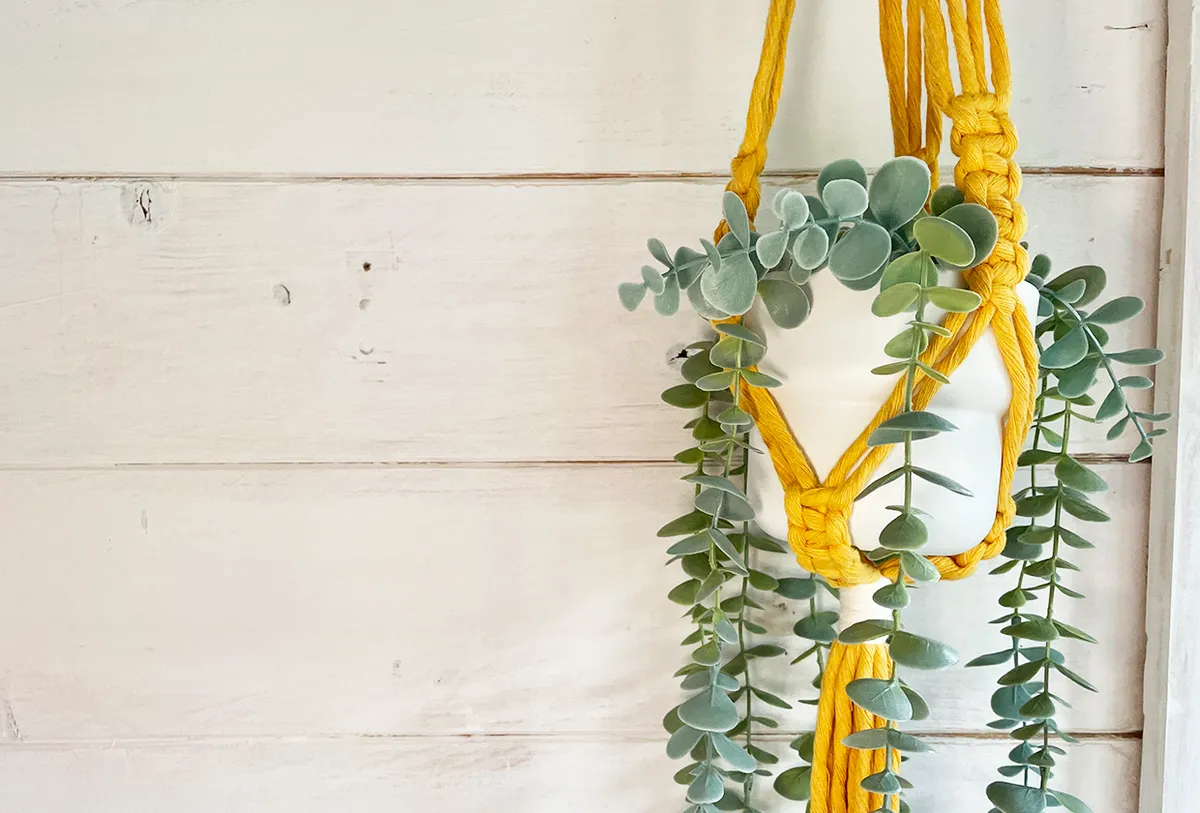
Make a macrame plant hanger
Plant hangers are one of the best projects for beginners to attempt, as they only use a few basic macrame knots. Discover how to make a macrame plant hanger with Gathered.
Half hitch macrame knot
Half hitch knots are used to add decoration to a macramé piece.

1. Choose the pair of cords you wish to tie a half hitch macramé knot to.
2. Take the ends of the cord pair to the right of your static cords and pull them under and to the left, creating a loop or D shape.

3. Take the ends of the D cords, cross them over at the resting point where the cords meet, then thread them under the loop of the D. 4. Pull gently to secure in the desired position.
Practise this macrame knot on our beginner macrame wall hanging project and display your work on your walls!
Double half hitch macrame knot
Also known as a hitch knot, this is a variation of the half hitch where the process is repeated twice. This is often used to create diagonal and horizontal lines in macramé pieces or to add new colours.

1. Choose a static cord to tie the double half hitch around. Hold the static cord at the desired angle of the line you wish the knots to form when finished.
2. Use the cord on the right to tie a half hitch knot around the static cord twice.

3. Pull the wrapped cord to tighten the knots, then move them to the desired position while holding the static cord at the desired angle.
4. Repeat Steps 1-3 using the next static cord.

5. To complete a diagonal line of double half hitches, repeat Steps 1-4.

Brilliant tips for beginners
Learning the basic knots is the best place to start, but if you're finding them tricky check out our macrame for beginners tips.
Horizontal double half hitch macrame knots
Horizontal double half hitch knots are great for introducing new colours to a piece, or for creating the appearance of a row of horizontal knots in a straight line. These are often used in macramé wall hangings.

1. Measure and cut a length of coloured cord.
2. Take a pair of static cords, then use the coloured cord to tie two half hitch macrame knots around them.

3. Unlike the diagonal double half hitch knot, for horizontal double half hitches, you must choose the next set of vertical static cords to tie the follow-on knots to each time. 4. Snip the ends of the remaining cords.
How to tie a square macrame knot
Square knots are simple, versatile and strong. When creating a square macrame knot it's important to do it in two parts, tying the first half of the knot working to the left, and the second half of the knot working to the right.
How to tie a square knot - Part 1

1. Choose the two pairs of cords you want to use to create the square knot. Take the end of the cord on the left over the two centre cords and under the right-hand cord to create a backwards D-shaped loop.
2. Take the end of the right-hand cord and pass it through the backwards D shape, going under the two centre cords and over the left-hand cord.
How to tie a square knot - Part 2

3. To finish the square knot, repeat Steps 1-2, this time mirroring your actions and working with the opposite side cords. So, as per Step 1, create a D shape with the right-hand cord, going over the centre cords and under the left-hand cord.
4. Take the left-hand cord and pull it through the D shape, going under the centre cords and over the right cord. Pull the cords to tighten. And you're done! Macrame knot complete.
Make it a macrame Christmas
Get ready for a handmade festive season with Gathered's favourite macrame Christmas decorations.
How to alternate square macrame knots
Alternating the placement of square macrame knots within sets of hanging cords can be a versatile and decorative technique. It's often used for creating geometric shapes such as triangles and diamonds.

1. Work below the square knots to create a new row, positioning the first square knot in between the knots on the above row. To do this, tie the new square knot using the two right-hand cords of the square knot above and the two left-hand cords of the knot above and to the right of it.

2. To continue to tie square knots in an alternating pattern, you must always select a pair of left-hand or right-hand cords from one knot in the row above, and the opposite pair from the knot next to it.
Half square knot spiral
Sometimes known as helix knots, half square knot spirals, are easy to make, strong and decorative.

1. Tie Part 1 of a square knot, choosing the two pairs of cords you want to use, then taking the left-hand cord over the two centre cords and under the right-hand cord to create a backwards D-shaped loop. Next, take the end of the right-hand cord and pass it through the backwards D shape, going under the two centre cords and over the left-hand cord.

2. Unlike a square knot, to continue and create a spiral of knots you don't need to mirror or swap the sides you're working on. Instead, repeat Step 1 multiple times. The macrame knots will naturally begin to spiral.
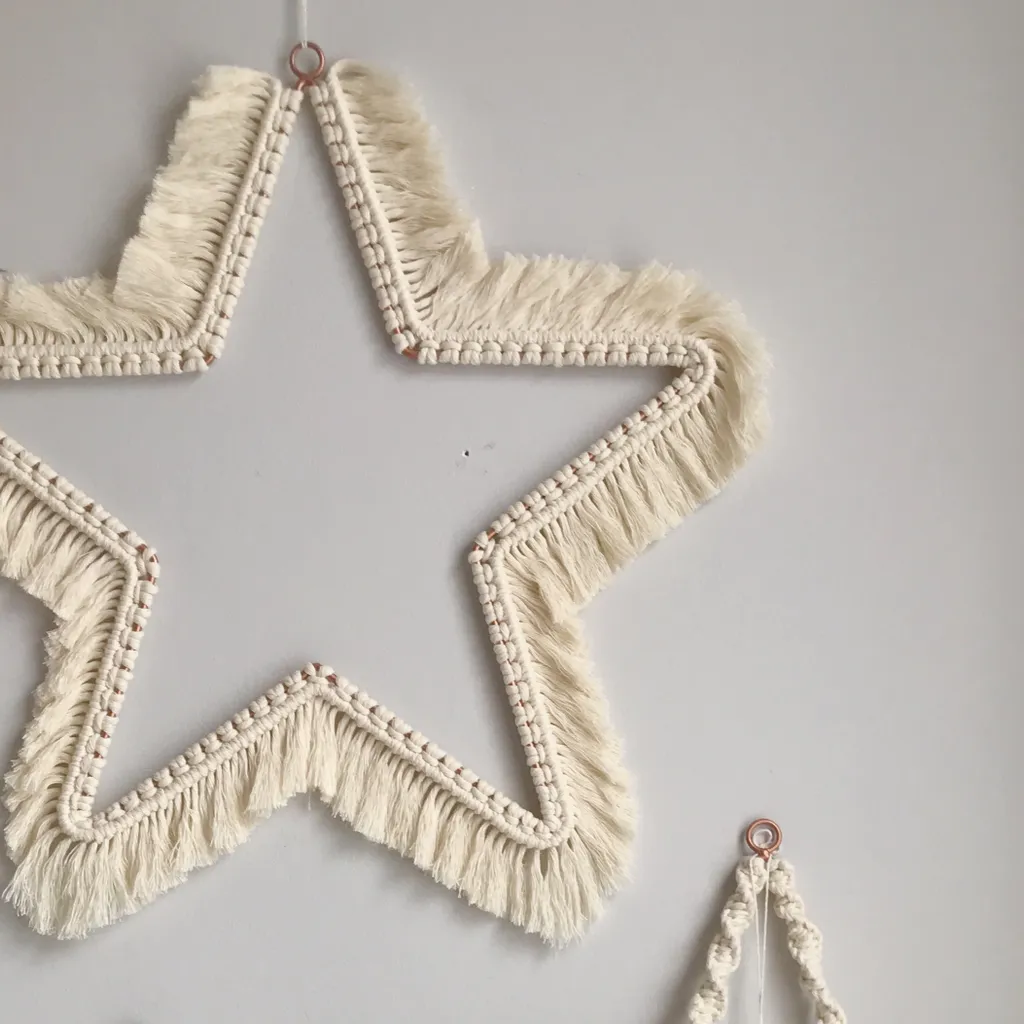
How to create fringing
Textured fringing adds a boho feel to any macramé project. The finish of your fringe depends on the cord you use.

1. Trim the leftover lengths of hanging cords to your desired length.

2. Next up, using a stiff brush, carefully brush the cords to separate them, starting at the ends and gradually working up.

3. Finally, trim the ends in a straight line or into a point, depending on your desired finish.
Make friends with macrame!
Once you've learned the basics show off your creations and find other inspiring makers with our hashtags for macramé.
Get into this fabulous craft by learning the basic macrame knots
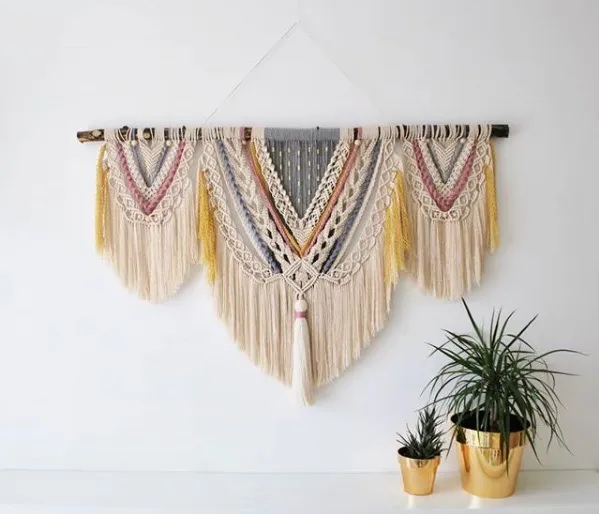
Once you've mastered the basic macrame knots, there's no limit to what you can make! Macrame is an incredibly versatile craft with hundreds of projects to make, ranging from cute home accessories to clothing.
As your macrame skills develop, you'll be able to tackle more complicated projects and even start coming up with your own ideas!
Find the next step on your macrame journey
From finding your first macrame project, choosing the best supplies, or treating yourself to a brilliant macrame book, you can find everything you need in the ultimate guide to macrame on Gathered.