Dangle potted succulents in rustic yarn? Yes, please. Fill your home with green goodness and add your own crafty touch with our tutorial. We'll teach you how to make a macrame plant hanger that is bound to brighten up indoor spaces or prettify your front porch. Choose from two beautiful macrame designs, and watch our helpful video guide!
These macrame plant hangers are great for those of you who love plants but have no windowsills or shelf space left! Use our how to make a macrame plant hanger tutorial and whip up a bunch of hangers for you and all your friends. Plants always make the best gifts.
This tutorial uses a few different macrame knots. If you need more help with these knots check out our basic macrame knots guide and pick up some extra advice with our 5 macrame for beginners tips. We promise these macrame plant hangers to look more difficult than they actually are!
Looking for more macrame projects? Check out our free macrame patterns for more inspiration.
Macrame plant hanger: option 1
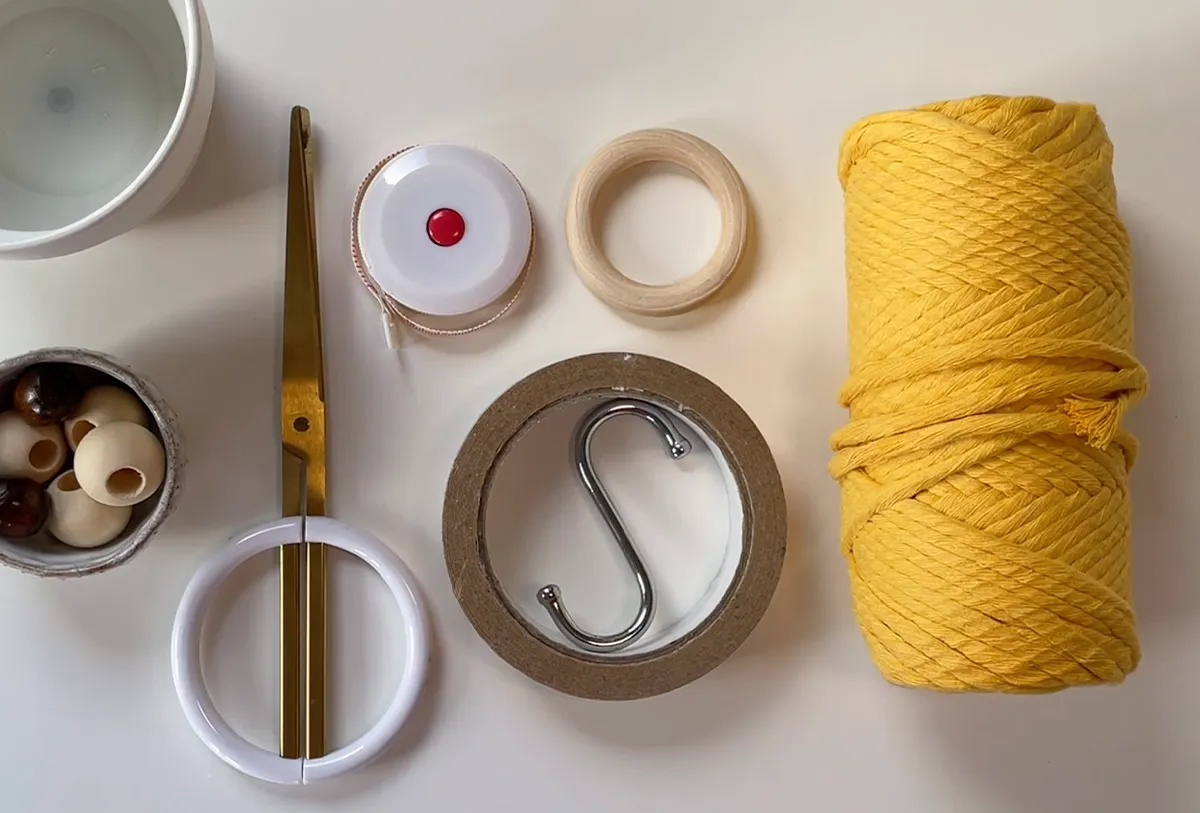
You will need:
- String/cord
- A wooden ring
- Scissors,
- Masking tape or S hook
- Measuring tape
- A pot
- Beads (optional)
Macrame plant hanger video tutorial:
Step by step method:
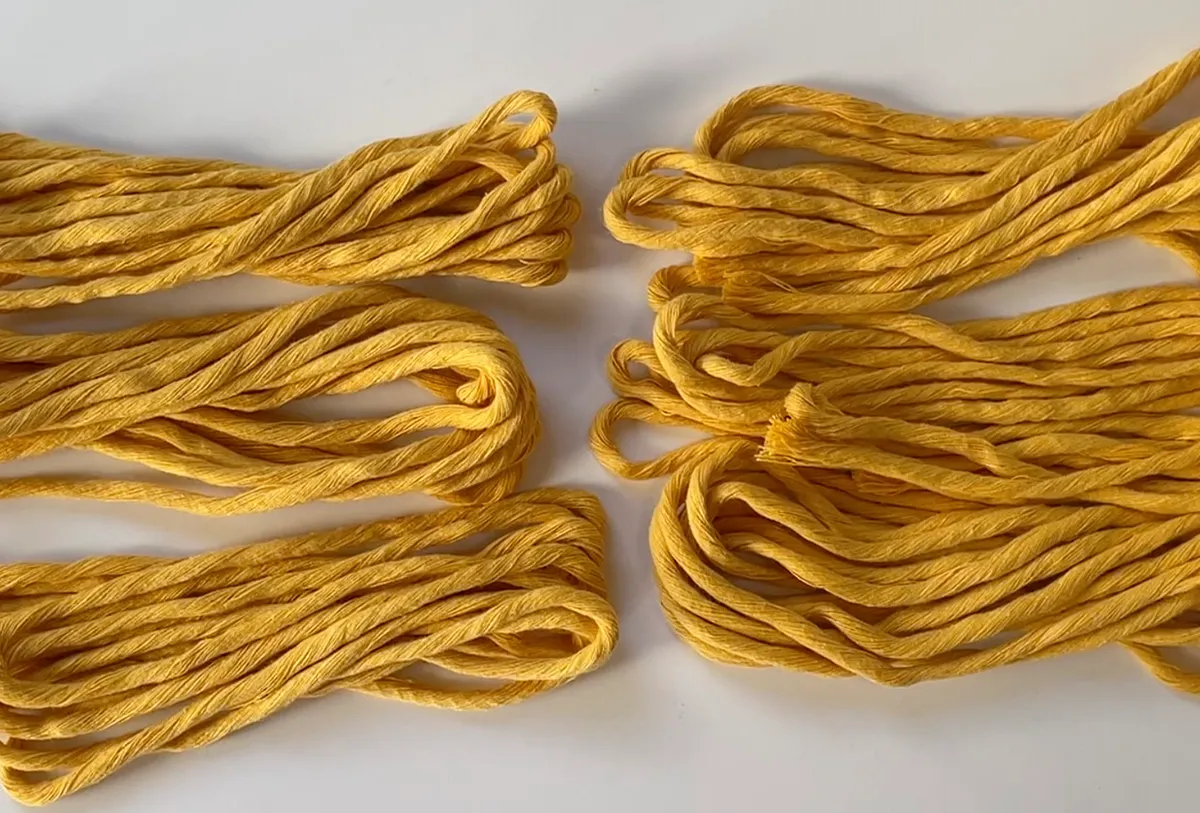
Step 1
Cut six pieces of string three meters long each. Take your string measure one and a half meters. And then fold it in half measure one and a half meters again and then cut your string. Repeat five more times to get six bundles of string.
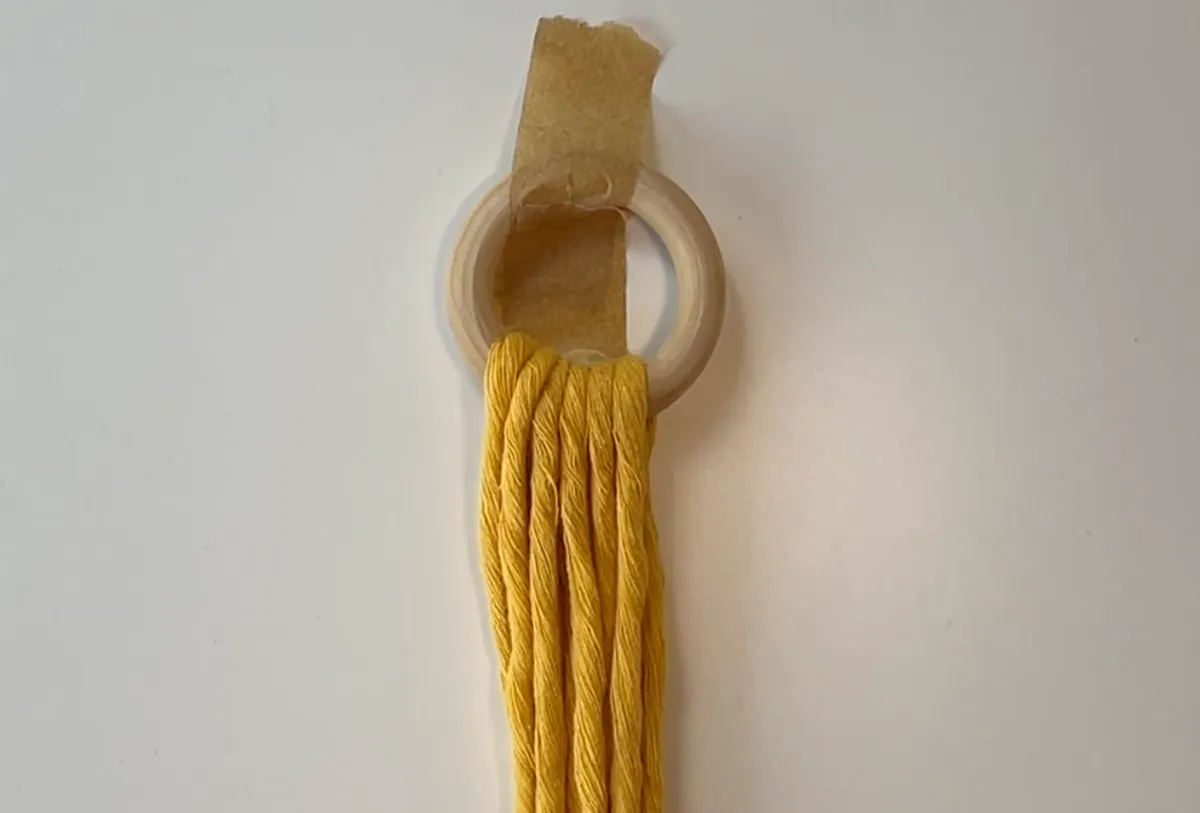
Step 2
Next, take your wooden ring and strings and one by one place your strings through the wooden ring making sure that both strands are the same length. Repeat the same steps with all your strings.
To make this step easier, hook your wooden ring on your S hook or you could use some masking tape to tape your ring on a flat surface.
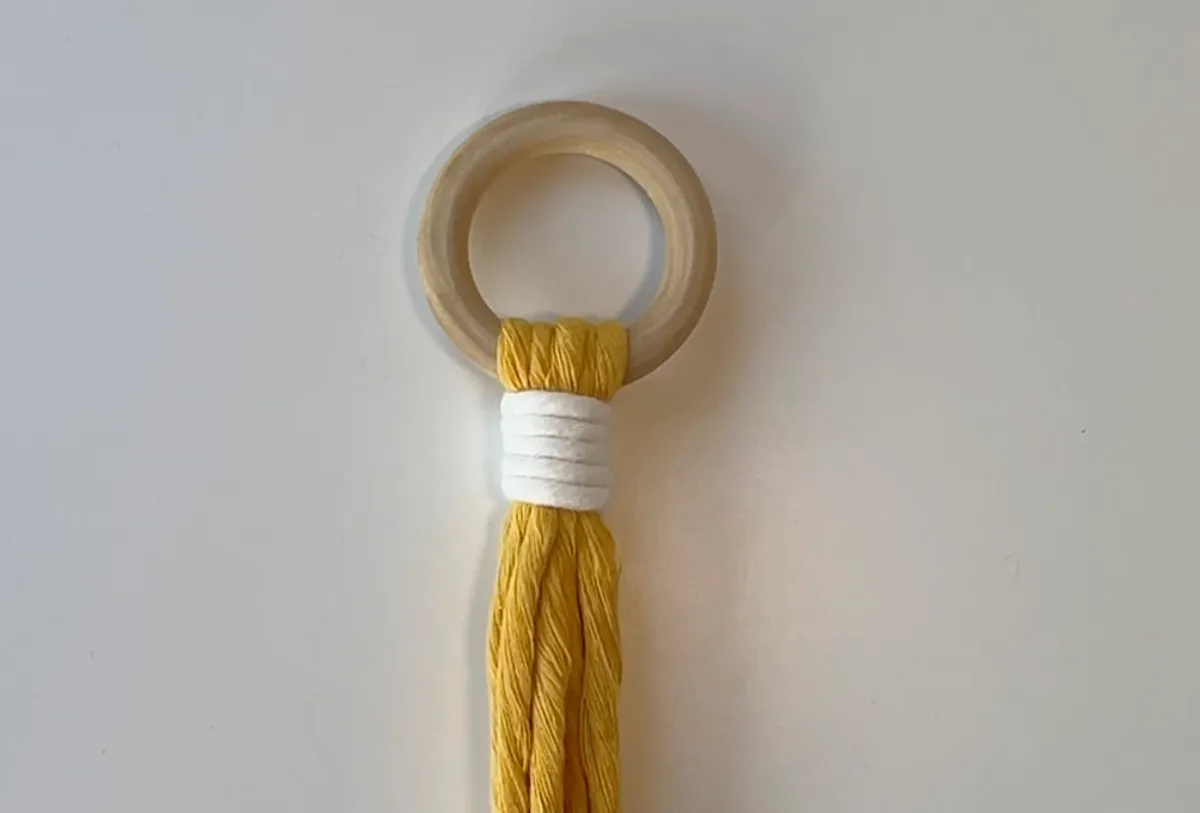
Step 3
Once all your strings are through the wooden ring, make a gathering knot.
To make a gathering knot: Take a piece of string about 50 centimetres long. It could be the same colours as your string or you can use a contrast colour.
To make your gathering knot you take your string you place one end pointing up. Then fold it about three fingers in length, take the longer end of your string and wrap it around all the strings.
Place the end through the loop from the top we take the end pointing up and pull it until the catch is underneath all our wrapped string and make sure that it's in the middle. When secure, cut the top and the bottom part.
Step 4
Next, fix your wooden ring either on the S hook or on a flat surface with some masking tape.
Then split the strings into three sets of four strings.
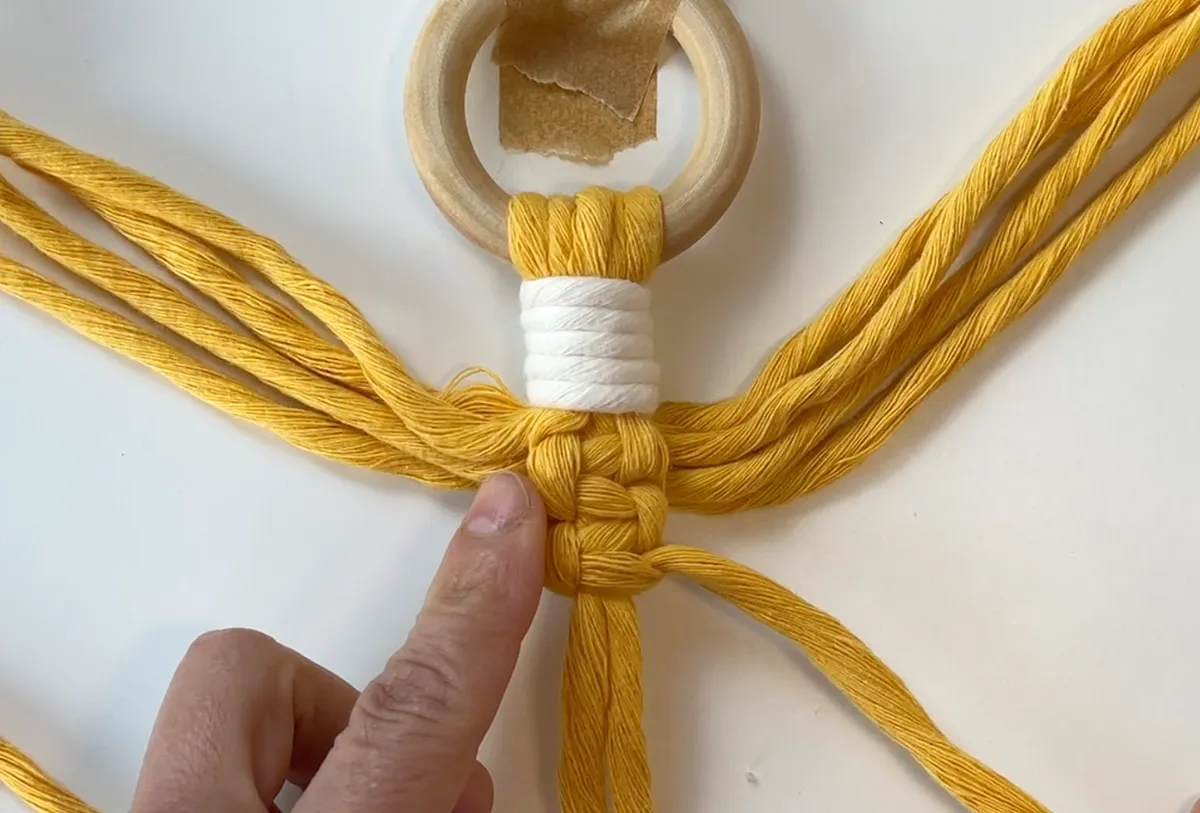
Take one set of strings (the middle one). Using these four strings make a square knot.
To make a square knot: take the first string and fold it to make a 4 shape.
Then take the last string and go over the tail of our 4 and underneath the two middle strings and through the four from underneath.
Then take the string on the left and pull it towards the left and the string on the right towards the right making sure that the middle two strings are nice and straight and they're not overlapping.
Next, take string number four and make a 4 shape pointing towards the right.
Take string number one and go over the tail underneath the middle two strings and through the 4 from underneath.
And once again we pull one string towards the left and one string towards the right.
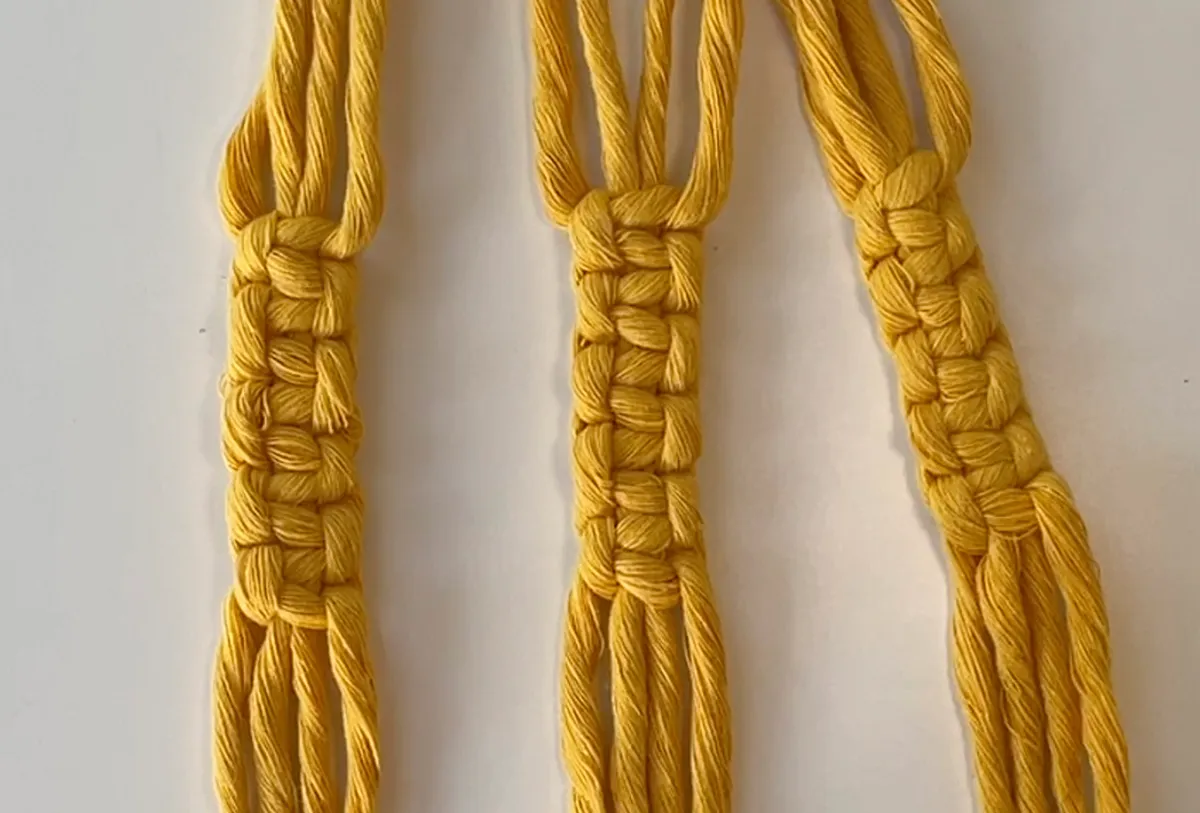
Now you have made your first square knot. Continue making square knots until we have made a row of twelve.
Step 5
Once you've done your row of twelve square knots, take the next two sets and repeat step 4.
Once you've done your three sets of twelve square knots, make sure that the length of all your sets is equal in length.
Step 6
Next, join the sets of strings: take strings number one and two from the set on the left and string numbers three and four from the set on the right.
Measure about 15 centimetres and take a piece of masking tape to fix the middle two strings on your flat surface and this is going to help you with the first square knot.

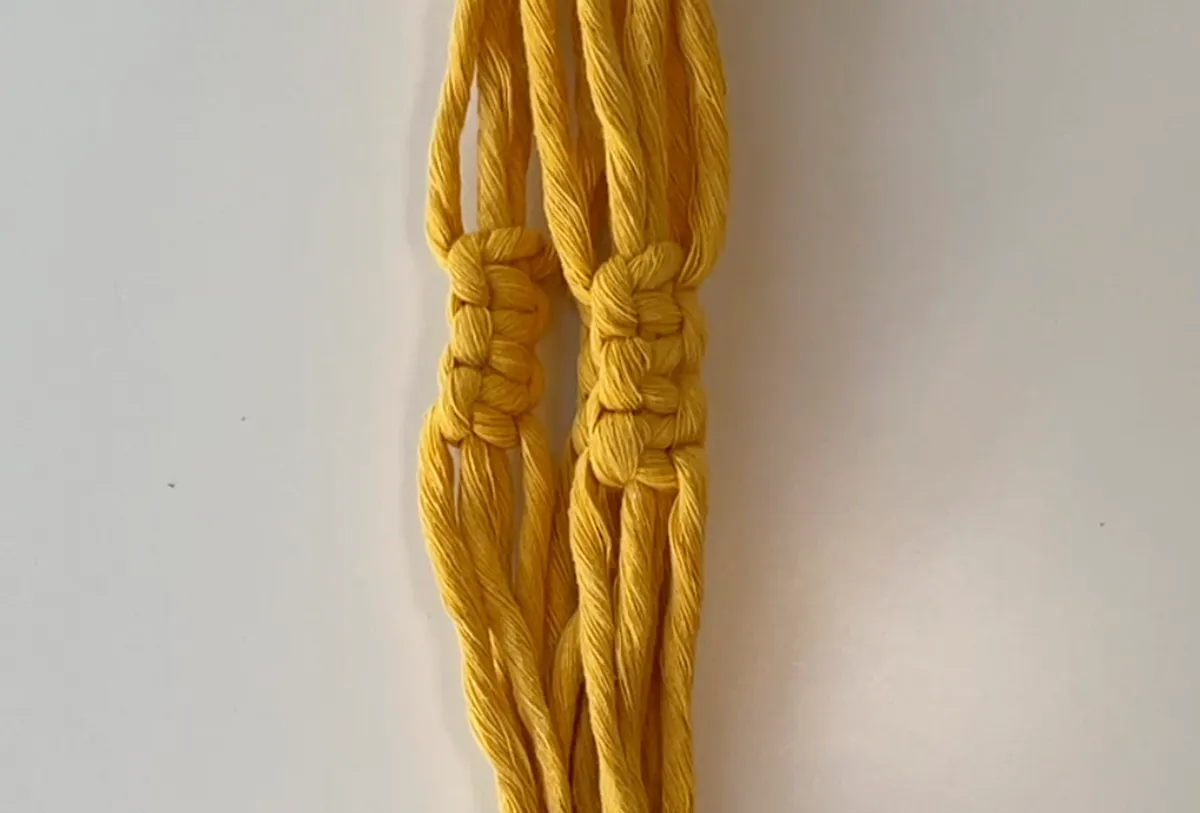
Step 7
Take strings number one and four and make a square knot.
Make four more for a total of five consecutive square knots.
Repeat the same steps on the other two sets of strings.
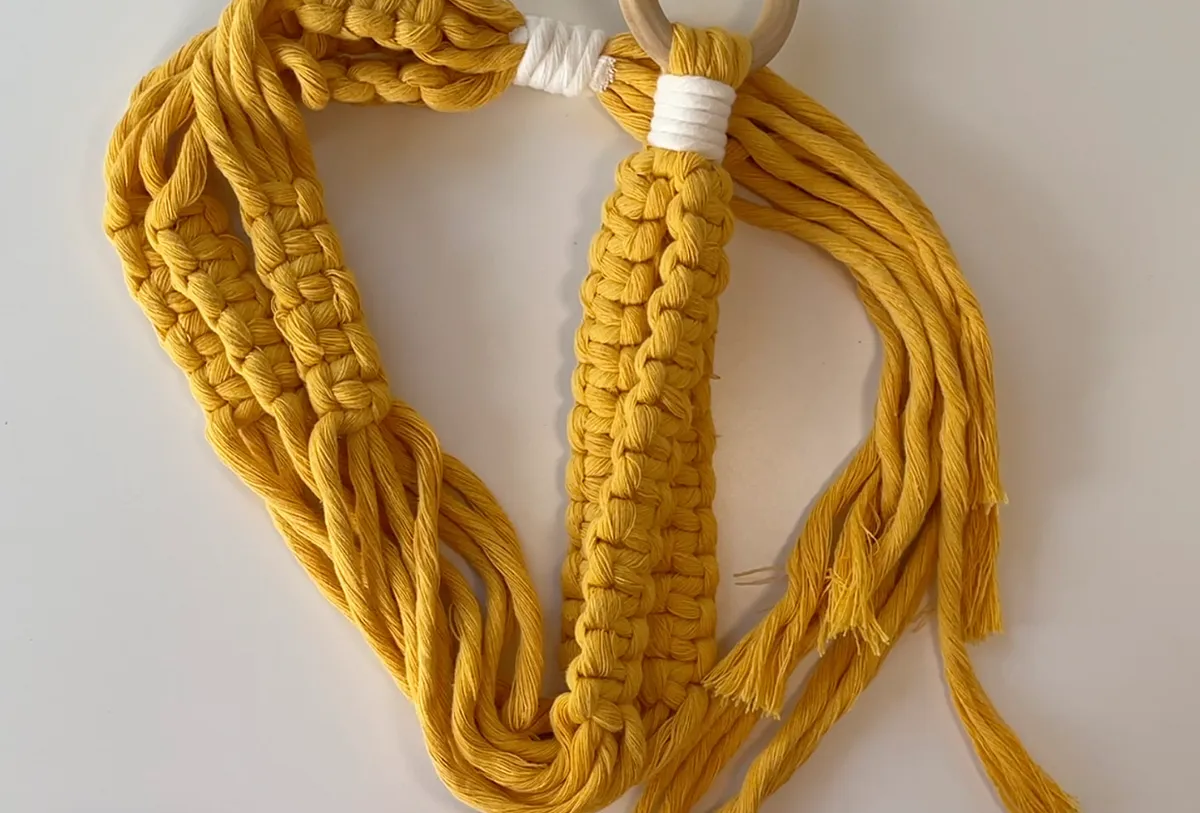
Step 8
Join the sets again but this time the gap is going to be about five centimetres or four-finger space.
And make three consecutive square knots. Once you finish with one set repeat with all the remaining strings making sure that the gap between the sets is consistent throughout.
Step 9
Next take all the strings and another piece of string about 50 centimetres long, and make a gathering knot, the same knot we did in step 3.
To finish your macrame plant hanger, you have different options:
- Cut your strings all at the same length to have a beautiful tassel
- Add wooden beads
That's it! Place your pot inside your macrame plant hanger and hang it somewhere beautiful in your home.
Macrame plant hanger: option 2
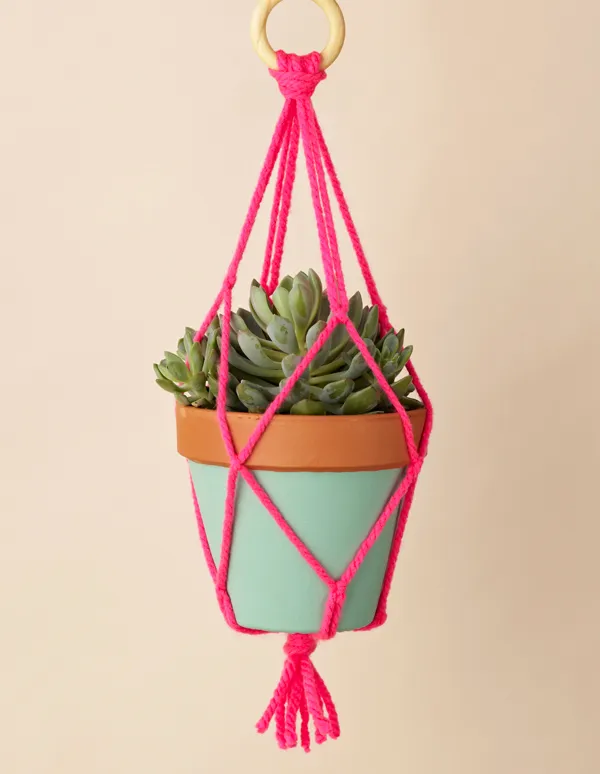
You will need:
• Wooden pole ring (28mm) • Neon pink yarn • Tape measure • Scissors • Plant pot
How to make a macrame plant hanger
Once you've finished making a macrame plant hanger for all your friends and family, share it with the world using our hashtags for macrame makers.