*This blog post is sponsored by The Modern Crafter.
Punch needle is becoming more and more popular and we're totally on board with it. Relaxing, mindful and with beautiful results, needle punching is our new fave weekend craft that you've got to try. We've brought in the punch needling professionals, The Modern Crafter, to talk you through the basics so you can get started. If you're in need of the needle punching necessities, never fear. The Modern Crafter teach workshops and even sell kits that contain everything you'll need, just head over to their site.
Before you start learning about needle punch we just wanted to clear one thing up. Punch needle and needle punch are the same things just with different names! So if you've seen needle punch guides and punch needle guides don't worry - it's the same techniques used. This guide will teach you all the techniques you need no matter what you call the craft.
For more needle punch goodness follow our Pinterest board and read our list of fun punch needle kits. Oh and check out our other library posts such as our basic macrame knots, embroidery for beginners and weaving techniques so you can learn a new skill.
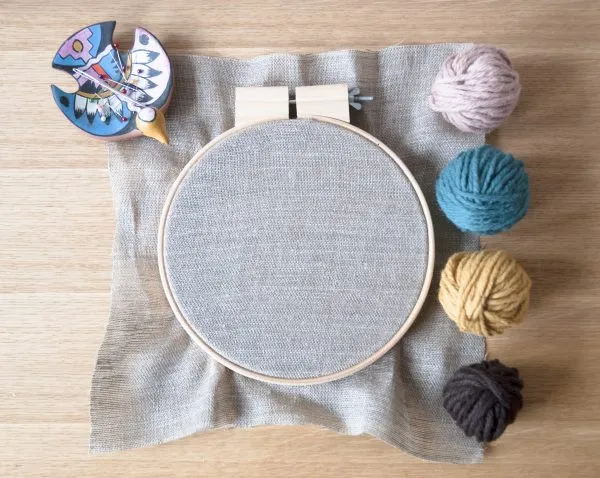
Tools for punch needle
To start punch needling, you will need:
- Your chosen design
- A 8” gripper hoop or a frame to stretch your fabric over
- 8” embroidery hoop to hang your finished design
- Rug yarn or bulky weight yarn
- Punch Needle, we used Size 10 Oxford Punch Needle
- Linen fabric
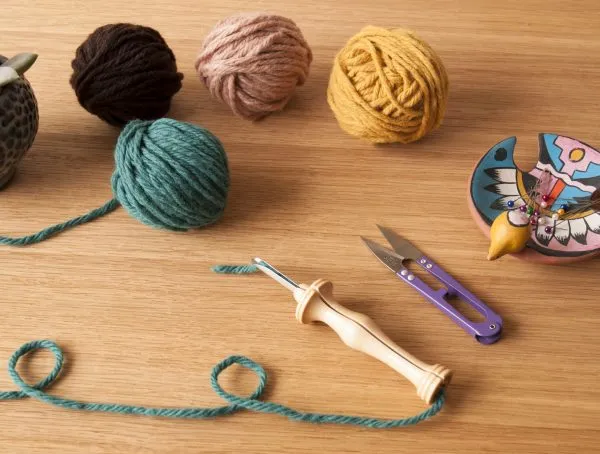
- Yarn snips
- Yarn needle
- Black marker pen
How to punch needle for beginners
Prepare the fabric
We use an 8” gripper hoop to stretch our fabric over – make sure it's as taut as possible.
Transfer the design

Place the design on the back of the frame, then hold the frame up to the light and trace on the design using the marker pen.
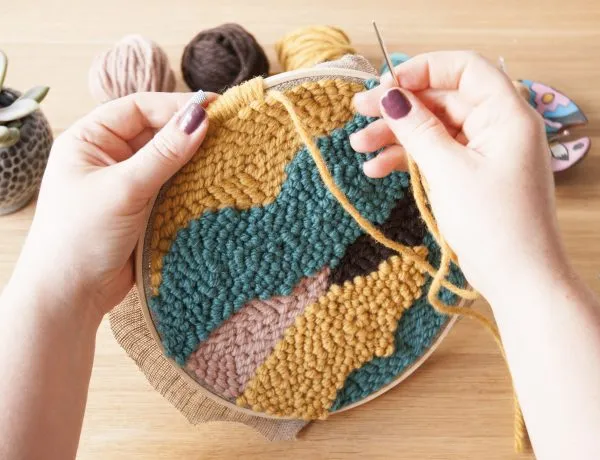
Thread the needle punch tool
Thread the yarn through the eye of the needle from the slot side. Pull the yarn down until the yarn is flush in the slot. Hold the needle in your hand, then pull the yarn back, leaving a 2.5cm (1") tail hanging down from the tip.
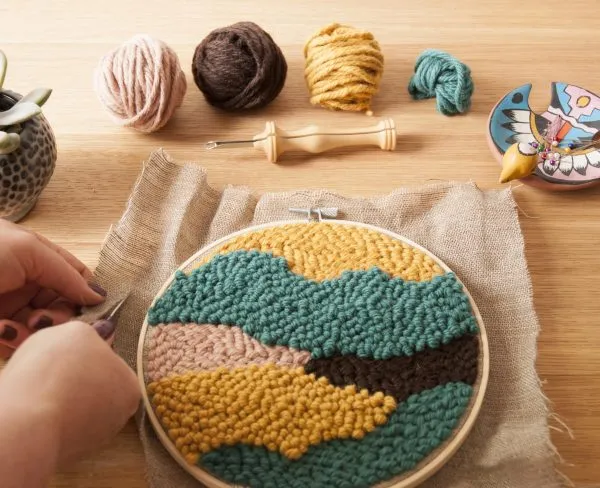
Understanding textures
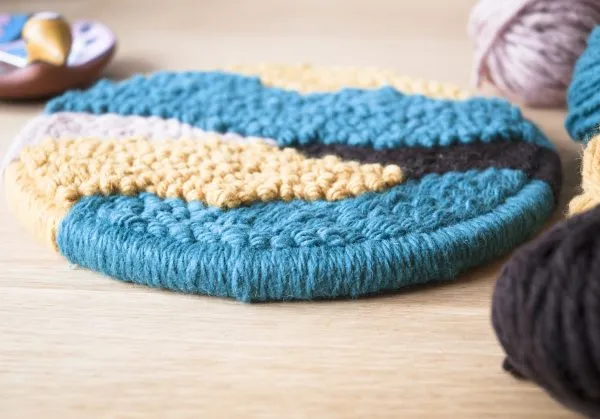
Needle punch creates a flat stitch on the front of the work, and a loop on the reverse. We combine flat and loop stitches in our work, so we'll punch on the front of the frame for the flat stitch sections, and work on the back to create loop stitches.
Flat stitches
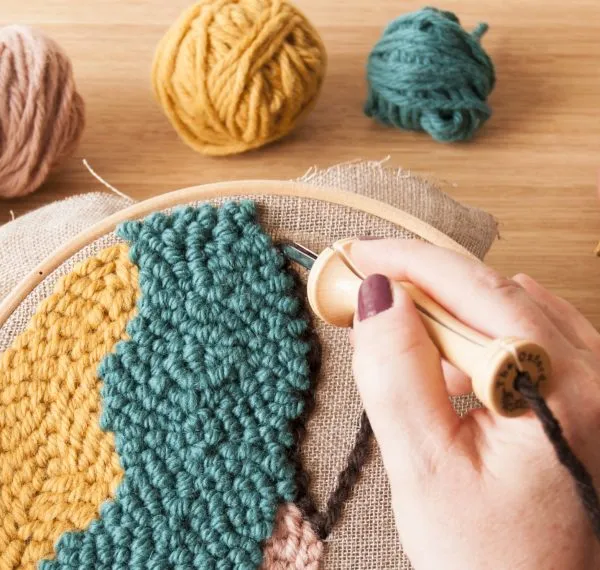
Push the needle into the cloth at a slight angle, with the eye of the needle pointing in the direction you want to fill. Push the needle down until the wooden handle touches the cloth, then turn the frame over to pull the 2.5cm (1") yarn tail through. Flip the frame back over and gently pull the needle up until you see the eye of the needle, skim the needle forward by roughly 1cm (3/8"), then punch back into the fabric. Repeat along the fabric,staggering the stitches from one row to the next as if laying bricks. If you pull the needle up too quickly and the yarn comes loose, tighten it by pulling the yarn through the top of the needle.
Tips:
- Punch the outline first, as close to the frame as possible, then work from the outer edge to the centre.
- Punch in any direction to fill, but when you turn the needle, make sure it's down in the fabric.
- Punch 6 stitches per inch for the 2 outlining rows then 4 stitches per inch for filling.
Changing yarn colours
To change yarn colours snip the yarn from the needle and rethread with chosen new colour.
Trim the yarn to the same height as the flat or loop stitch, keeping the yarn tail on the wrong side of the work.
Tip: Never punch on top of, or over a stitch.
Loop stitches
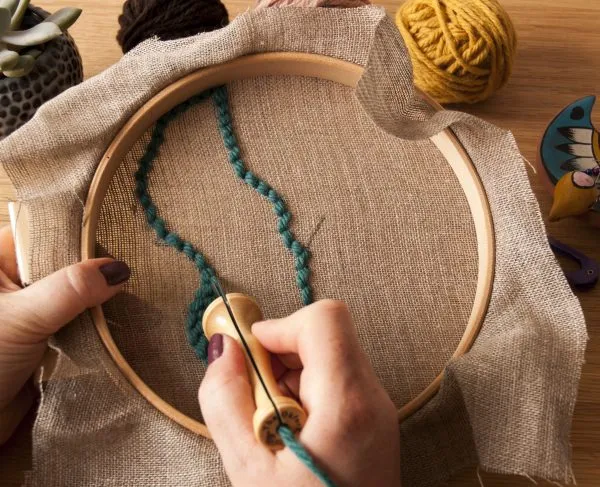
These are worked the same way as the flat stitches, but on the back of the frame. This time, however, don't pull the yarn tail though, just carry on moving the needle forward. You may need to outline the section again – if so, hold the hoop up to a window and mark the line on the wrong side. Punch close to the previous section being careful not to punch into the loops.
Tips:
- Stagger the stitches to prevent gaps.
- Prod the yarn back through to the correct side using the needle tip.
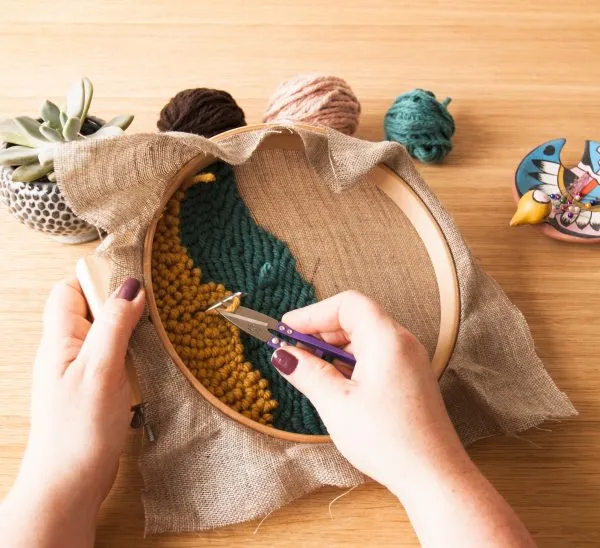
Finishing the design
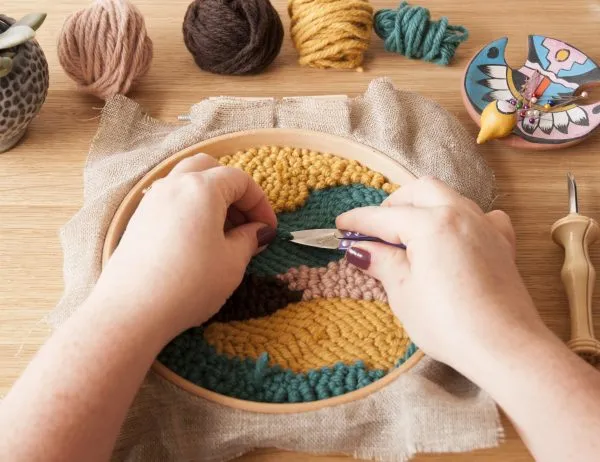
To neaten the finished piece, cut any yarn tails flush with the loop or flat stitches.
Remove the frame
Carefully remove the finished piece from the frame and transfer it to the embroidery hoop.
Trim the fabric
Once you've tightened the design into the embroidery hoop, trim the fabric leaving a 2.5cm (1") border around the hoop.
Finishing the frame
Thread the yarn needle with an arm's length of matching yarn and knot it off. Roll the fabric over to the back of the frame and thread the needle from the back of the hoop to the front, then take it over the frame to the back and repeat. Continue whipstitching around the frame in the same way, changing yarn colour to match the sections.
Tip: Thread around 2.5cm (1") of yarn back through the previous stitches to secure.
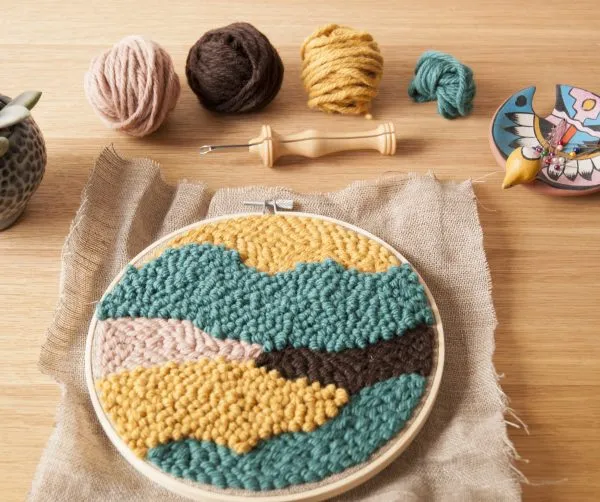
Display your hoop

Thread a length of yarn through the centre of the hoop clasp, then use this to hang the finished piece on your wall.
Punch needle projects for beginners
Now you've mastered the basics of punch needle you need some projects to work on! Here's a few free punch needle projects for beginners to get your creative juices flowing.
Floral punch needle project
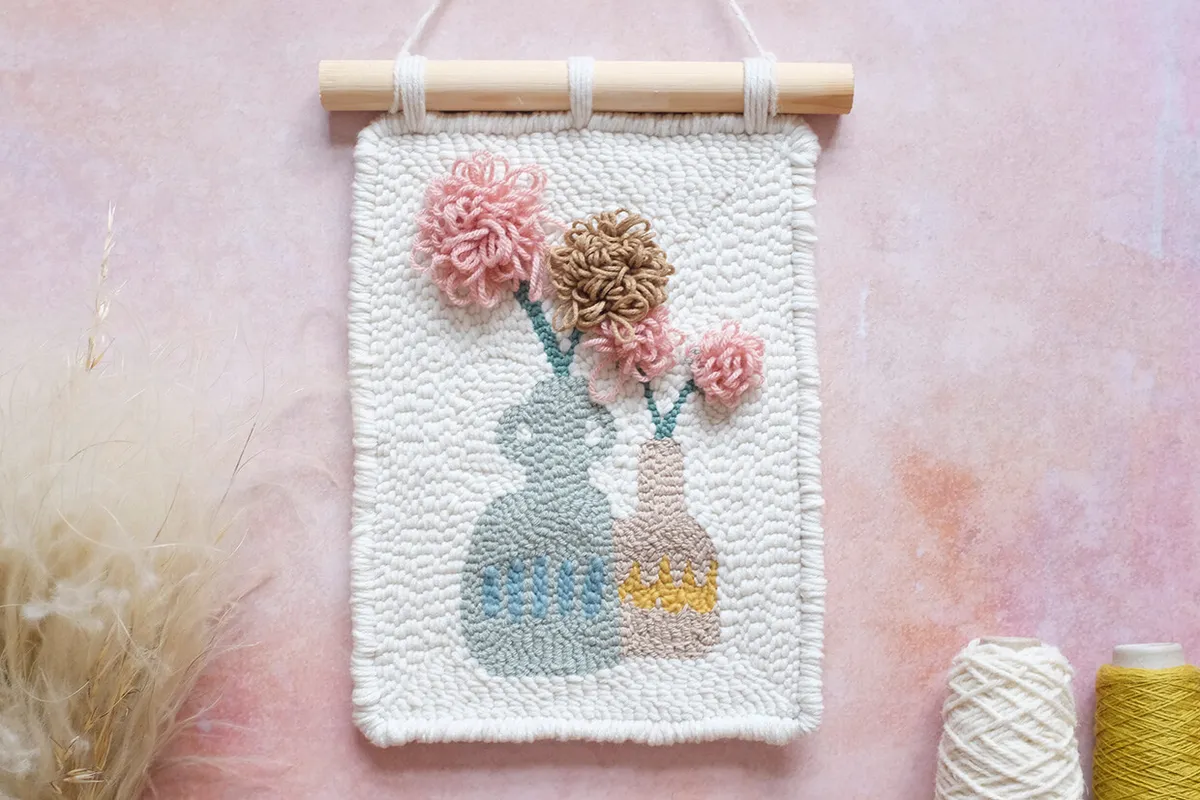
Learn how to do punch needle embroidery with Lucy Davidson's gorgeous free project. She'll teach you how to make this hanging floral wall art and how to master the art of punch needle embroidery.
Studio koekoek's punch needle project
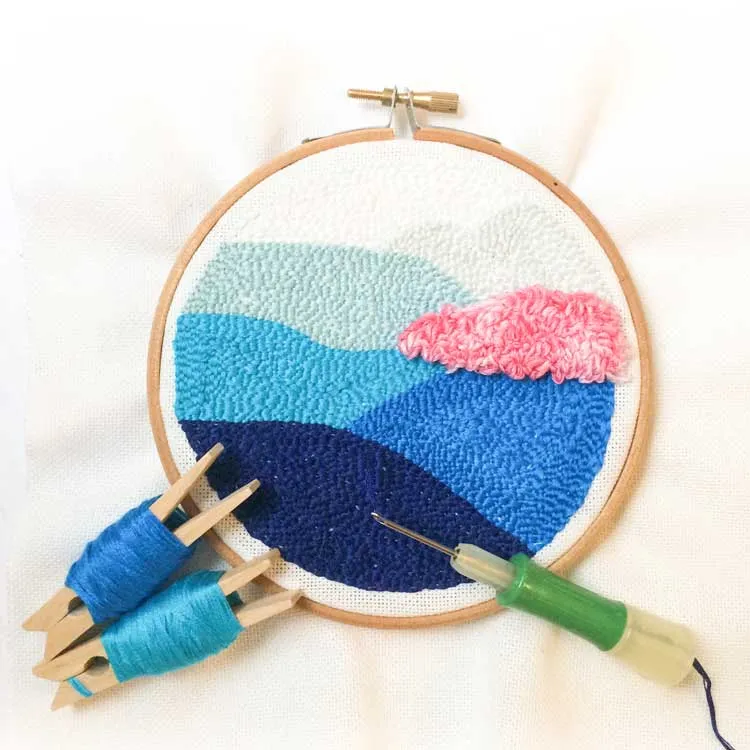
Studio Koekoek has this really sweet punch needle project for beginners on their blog. They show you all the tools you need as well as giving you a downloadable pattern for this design so you can get started today!
Rainbow punch needle project
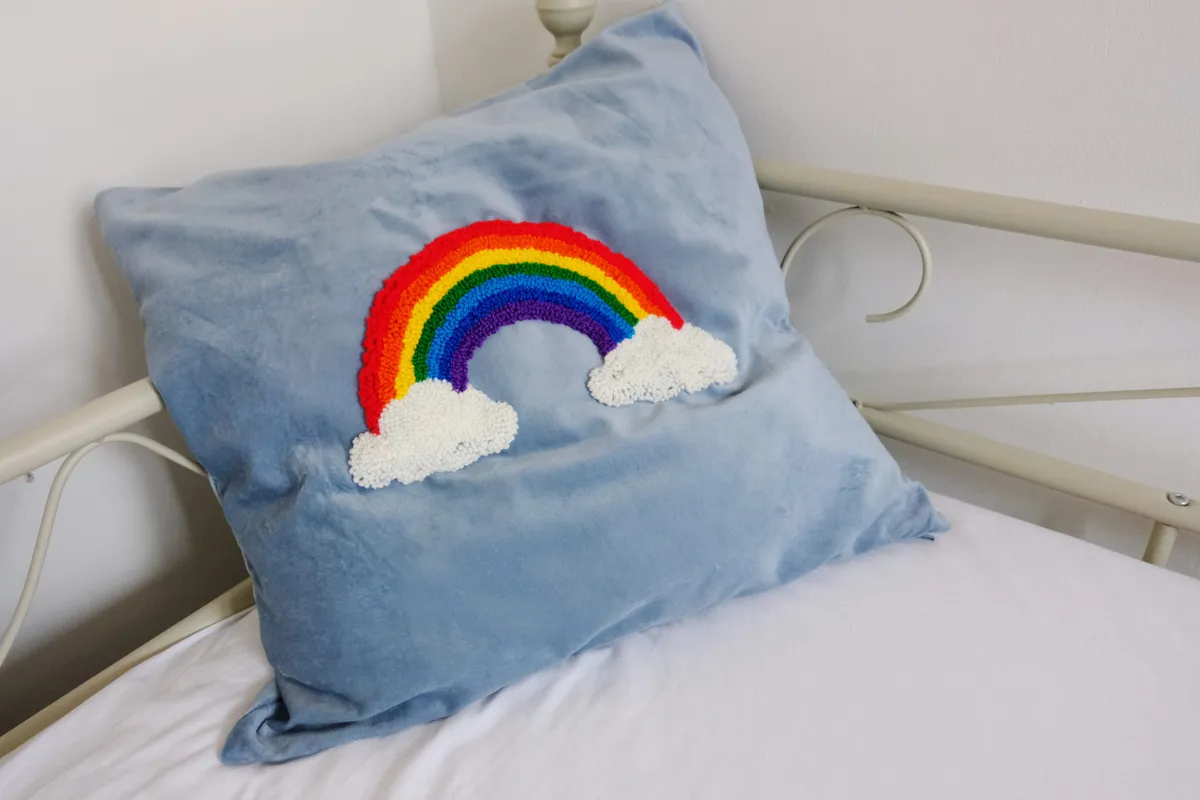
Bonny Cummings shows you how to make this adorable rainbow punch needle pillow here on Gathered. It's a great way to upcycle an old cushion cover and would look adorable in a little one's room.
Tamara's Joy punch needle project
Tamara's Joy has a great youtube channel where she shows you all things punch needle. She has several free punch needle projects including this cute bear pillow. Head to the downloadable pattern, print then start needle punching.
We hope you've enjoyed learning all about punch needling! It's a wonderful art form and we think you'll be hooked once you've started. For more fun projects check out our craft subscription box round-up and our rug making kits.
Meet the Maker
The Modern Crafter is a collaboration between sisters Rachel & Siobhan, combining modern designs with traditional crafts. They teach others how to craft their designs through needle punch and embroidery kits or workshop experiences. They love the self-care that crafts create, which is a wonderful treat after running around creating fun with their very special little people! Give them a follow on Instagram @the_modern_crafter.
