Get started
Step 1
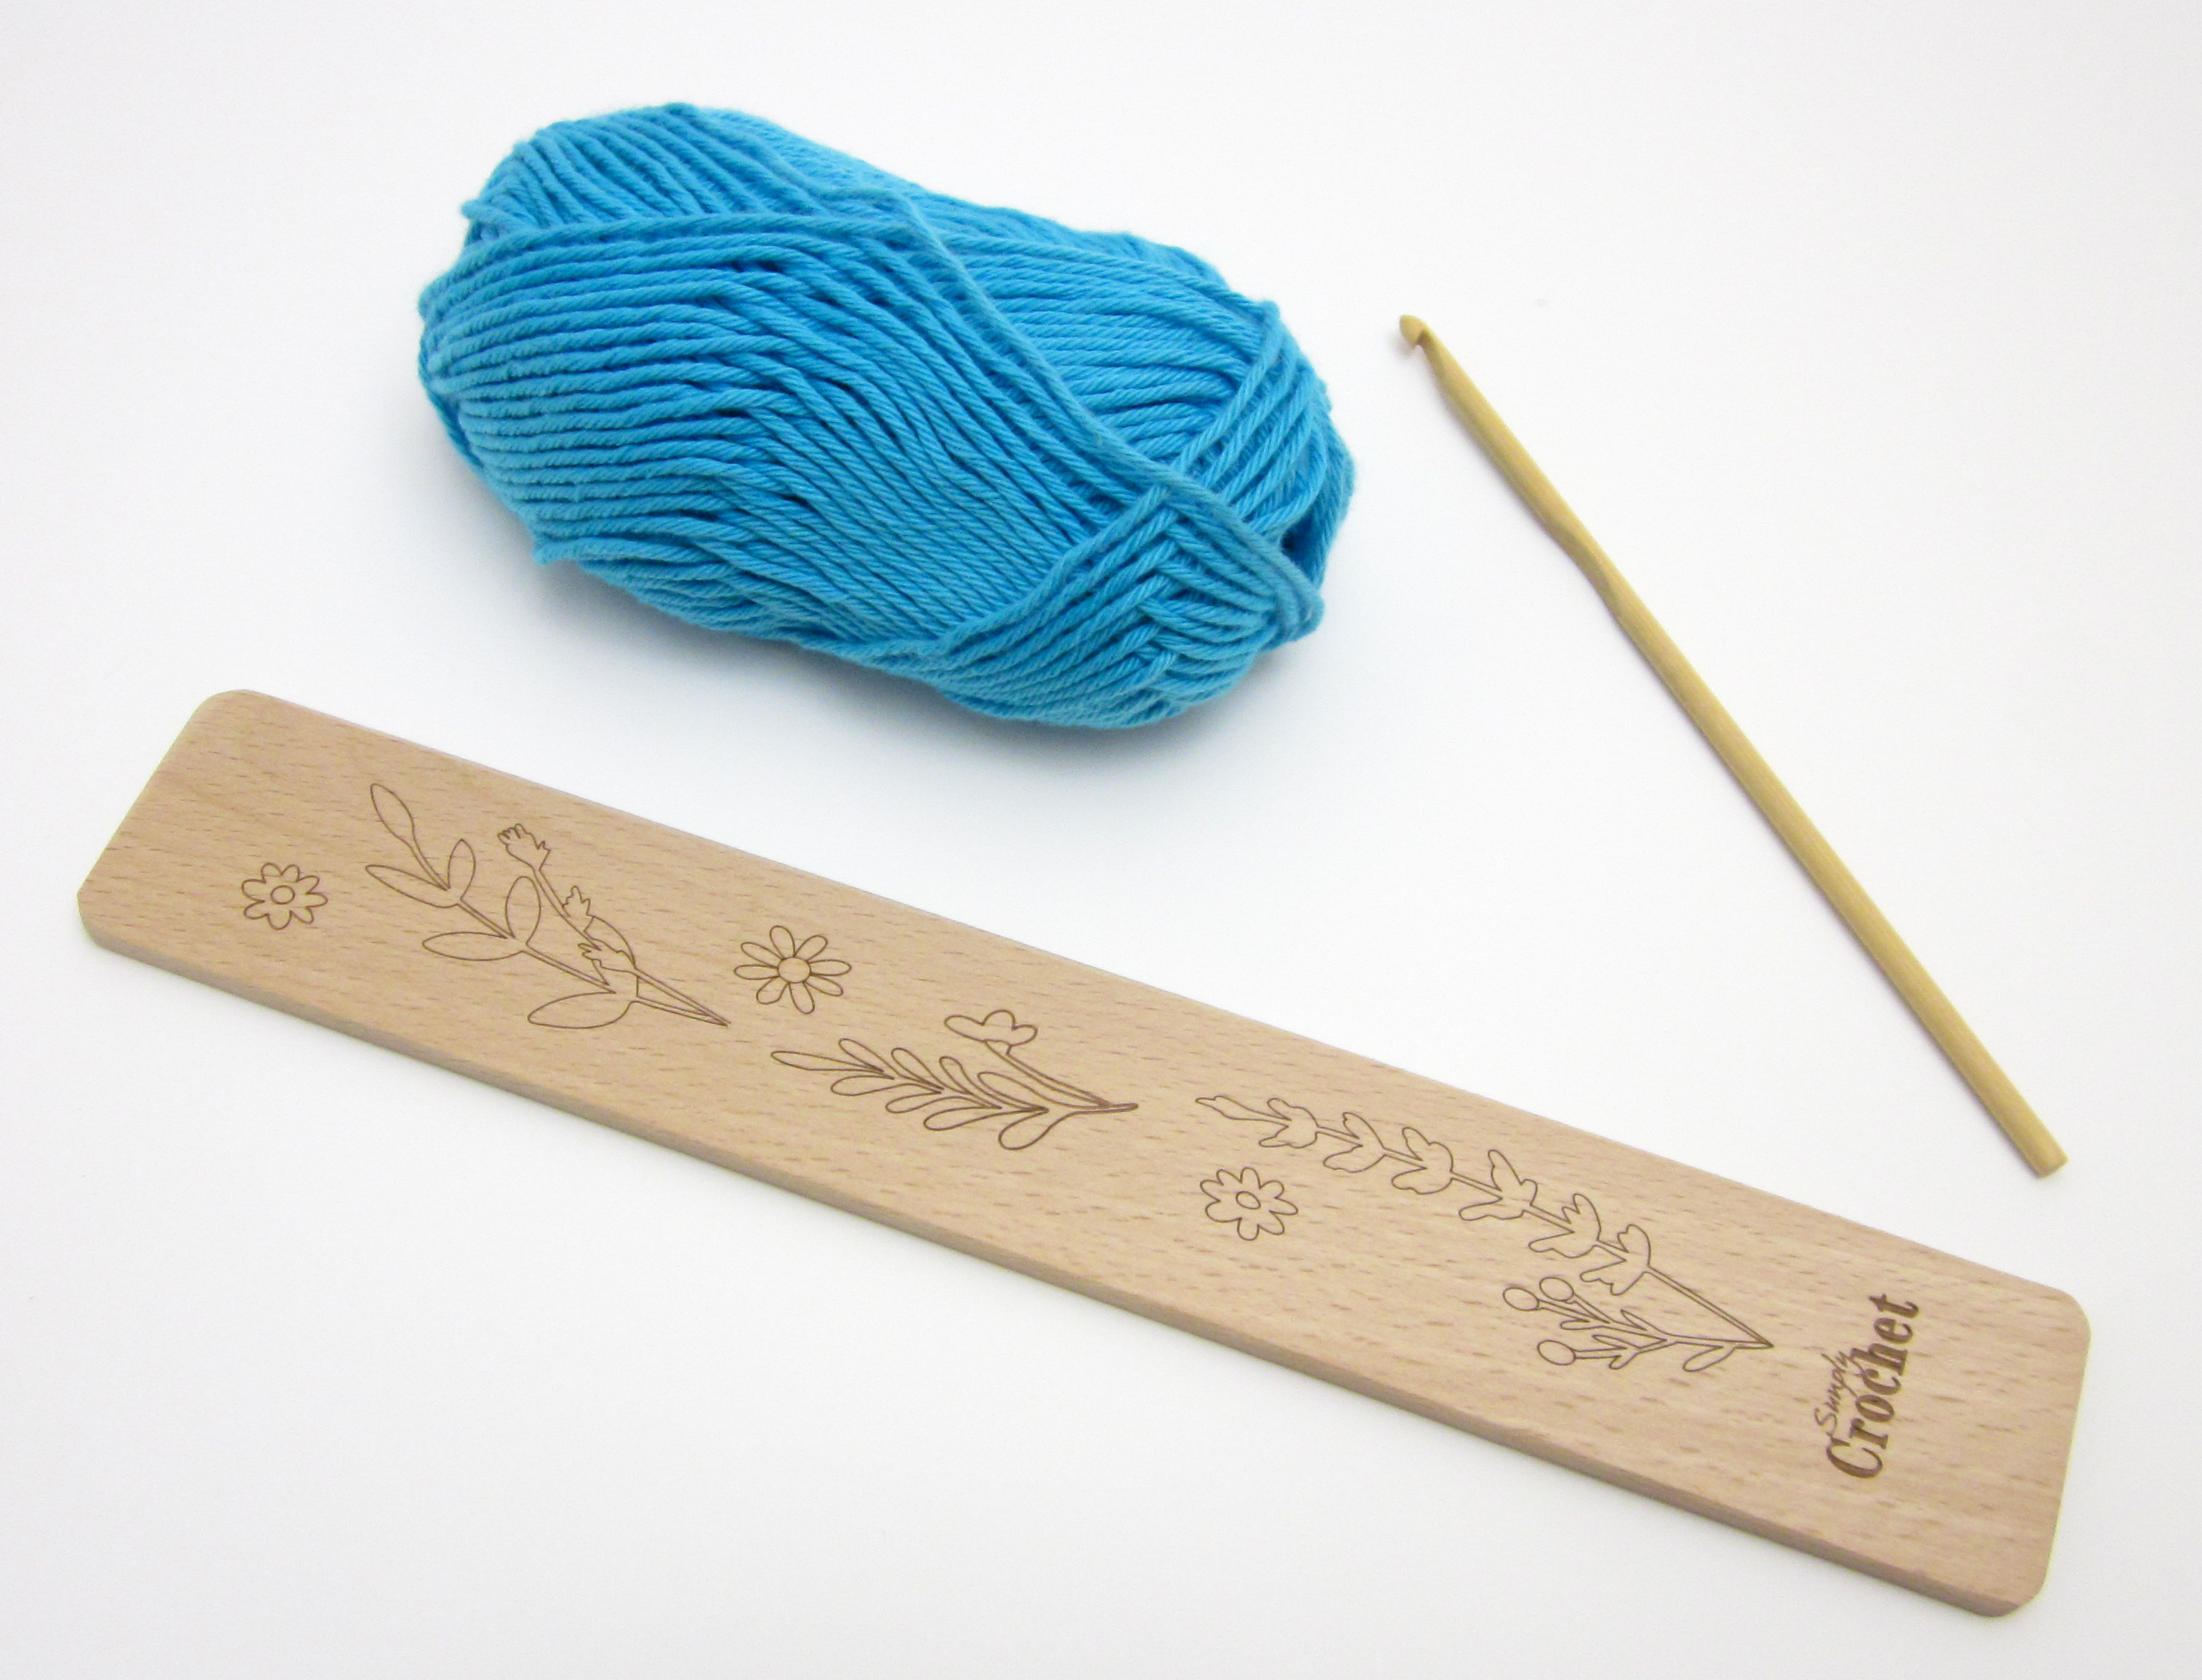
First things first, you need some yarn – you can use any yarn for broomstick crochet, but when you’re first learning, it’s best to use a smooth DK yarn that won’t split when you work with it. Grab a standard hook to go with it, in a suitable size for the yarn (check the yarn’s ball band). I’m using a DK yarn and a 4mm hook.
You’ll also need a broomstick tool – we’ve used the free tool from Simply Crochet magazine here but you could also use another large ‘broomstick’ such as a crafting dowel, large knitting needle, ruler, marker pen, cardboard tube or an actual broomstick. Most patterns quote the diameter of the ‘broomstick’ but if you use a flat broomstick like your free tool, you’ll need to measure the circumference of the tool and divide by pi (3.14) to get the diameter equivalent. For example, a loop of yarn sitting around the free tool will measure approx 94mm in circumference – divided by pi (31.14), that’s approx 30mm. So the free tool should be ok to be used with any broomstick crochet pattern that requires a 3cm-diameter broomstick.
Foundation Row
Step 1
In order to work broomstick crochet rows, you’ll need to start with a foundation chain or a foundation row (or rows) of stitches. To start our fabric, we’ve worked a foundation row of 10 dc stitches (to do this, ch11, dc in 2nd ch from hook and in each ch to end), but you could work any number of stitches you like.

Broomstick Row
Step 1
Once you have a foundation chain or row(s) of stitches, you can begin your first ‘Broomstick Row’, which involves placing long loops onto your broomstick. At the start of a Broomstick Row, you don’t usually turn your work. Instead, use the hook to elongate the active loop.

Step 2
Insert the broomstick into this large loop, as shown. You’ll find it easier if you keep a fairly loose tension at this stage, so you can easily insert the broomstick.

Step 3
Remove the hook from the loop and restore your tension on the yarn to make sure the loop sits fairly snugly on the broomstick. Try to make sure the loop isn’t too tight, but also not too loose.

Step 4
Insert your hook into the top of the next stitch (or into the next chain if you’ve started with a foundation chain instead). You might find it helps to tilt the broomstick slightly.
Step 5
Work yrh. Feel free to tilt the fabric in order to see what you’re doing.


Step 6
Pull up a loop at the front of the fabric.

Step 7
Use the hook to lengthen this new loop and guide the loop onto your broomstick. Be careful not to twist the yarn of your loop. Remember to keep your tension loose at this stage so you can easily move the yarn loop with the hook and take it over the broomstick.

Step 8
Remove the hook from the loop and restore your tension to make sure the loop sits fairly snugly on the broomstick. Remember to keep your loop tension consistently fairly snug – not too tight and not too loose.

Step 9
Repeat Steps 5-9 to pull up a loop in all the stitches (or chains) from the row below. This is the end of the Broomstick Row and your work should look something like this. If you had 10 stitches in your foundation row (or chain) then you should now have 10 loops on the broomstick.

Stitch Row
Step 1
Once your Broomstick Row is complete, you can begin your first ‘Stitch Row’, which involves working stitches into the broomstick loops to secure them. At the start of a Stitch Row, you don’t usually turn your work. Instead, insert the hook into the first two loops, as shown. Be careful not to pull on the working yarn, which will shorten the final loop – instead, try to keep the two loops at the same height.

Step 2
Work yrh…

Step 3
…and pull up a loop. This process brings the yarn up to the height of the loops, a bit like a turning chain.

Step 4
Now you need to work an actual turning chain for the stitches you want to work on this row. We’re going to work a row of dc stitches, which is standard for most broomstick fabrics, but you could use any crochet stitch you like. We’re going to work dc stitches so we need to ch1 – to do this, yrh…

Step 5
…and pull through the loop on the hook to make one chain. If you’re planning to work stitches taller than double crochet, work more chains at this stage.

Step 6
The first two broomstick loops will now be secure, so you can slide them off the broomstick, which will make them easier to work into. Use your fingers to angle the large loops so that they form an ‘O’ shape, to make the next stages

Step 7
Now we’re going to work 2dc into the first two broomstick loops. To do this, insert your hook into the first two loops as before.

Step 8
Work yrh…

Step 9
…and pull up a loop.

Step 10
Now yrh…

Step 11
…and pull through the two loops on the hook to complete your first dc.

Step 12
Repeat the process in Steps 17-21 to work a second dc in the same place, as shown here. You should now have 2dc worked into the first two broomstick loops.

Step 13
To continue, you need to work 2dc into the next two broomstick loops. To do this, insert the hook into the next two broomstick loops as before. They should be secure so slide them off the broomstick if you like.

Step 14
Now make a dc as usual by working yrh, pull up a loop, yrh and pull through two loops on hook. Insert the hook in the same place and make a second dc. You should now have 2dc in the next two broomstick loops.

Step 15
Repeat Steps 23-24 to work 2dc into each pair of broomstick loops across the row. You should have created five broomstick ‘O’ shapes, with 10 dc at the end of the Stitch Row. This is the right side of the fabric, which you can tell because you can see the right side of the double crochet stitches.

Step 16
Here’s what the same piece looks like on the other side – this is the wrong side of the fabric.

To turn or not to turn?
Step 1
In broomstick crochet, you usually work the Broomstick Row without turning, as we have above, stabilising the broomstick with your non-hook hand. It can take some time to get used to working with a broomstick – there’s a whole extra tool for your hands to worry about! So some crocheters actually find it easier to stabilise the broomstick in the same hand as you hold the hook instead. This is certainly possible, although you will need to make some slight adjustments to your technique, as follows:
At the start of a Broomstick Row, turn your fabric and place the active loop on the broomstick, using the same hand as you hold your hook. Insert the hook in the next stitch…

Step 2
Yrh and pull up a loop. Elongate the loop, as usual.

Step 3
Place the elongated loop on the broomstick. Remove the hook from the loop.

Step 4
Repeat this process, pulling up a loop in each stitch and placing it on the broomstick, as before.

Step 5
Turn your work again, ready to start the Stitch Row.

Step 6
Work your Stitch Row as usual. You should have created five broomstick ‘O’ shapes, with 10 dc at the end of the Stitch Row. This is the right side of the fabric, because you can see the right side of the double crochet stitches.

Step 7
Here’s what the same piece looks like on the other side – this is the wrong side of the fabric.

Step 8
If you prefer this method, you can adapt any broomstick crochet pattern to work this way, and some broomstick patterns are worked like this and will ask you to turn for the start of the Broomstick Row and the Stitch Row. However, the fabric does look slightly different, depending on whether you turn or don’t turn, because of the way the broomstick loops have been created. Here you can see the difference between a fabric that’s not been turned (the standard method) and a fabric that has been turned. With the standard method, the right side is smooth and flat, while the wrong side has a slight ridge at the base of the broomstick loops. With the turning method, the right side has the ridge, while the wrong side is flat and smooth. These differences are only small, but if you prefer the look of one over the other, use the appropriate technique.


Work more rows
Step 1
Once your test fabric is complete, you will have worked a foundation row of dc, a broomstick row of elongated loops and a stitch row of dc to secure the long loops. To continue your fabric, you could work some plain rows of standard crochet stitches, such as dc or treble. Or you could work another Broomstick row, which always need to be followed by a Stitch row. When your fabric is the desired size, just fasten off as usual at the end of a stitch row.

Stitch counts
Step 1
On the stitch row, we worked into pairs of broomstick loops, but you can make your groups as small or large as you like. For example, you could work 1dc into each individual broomstick loop, or work 5dc into a group of five broomstick loops. The effects vary depending on your yarn and the size of your broomstick – a group of five broomstick loops is the typical maximum that you’d work into. To keep your fabric the same width, make sure that on the stitch rows, you work the same number of stitches as there are broomstick loops – for example, you’d need to work a total of 20 dc for 20 broomstick loops, but you could have 10 groups of 2 loops, 5 groups of 4 loops, or 4 groups of 5 loops.


