All products were chosen independently by our editorial team. This review contains affiliate links and we may receive a commission for purchases made. Please read our affiliates FAQ page to find out more.

Chicken embroidery design

Stitch this chicken pattern and make a sweet springtime or farm themed hoop for your home, or embellish a sewing project with it.

Try 6 issues of Love Embroidery magazine for just £9.99| SAVE 77%

Published: March 4, 2021 at 9:58 am

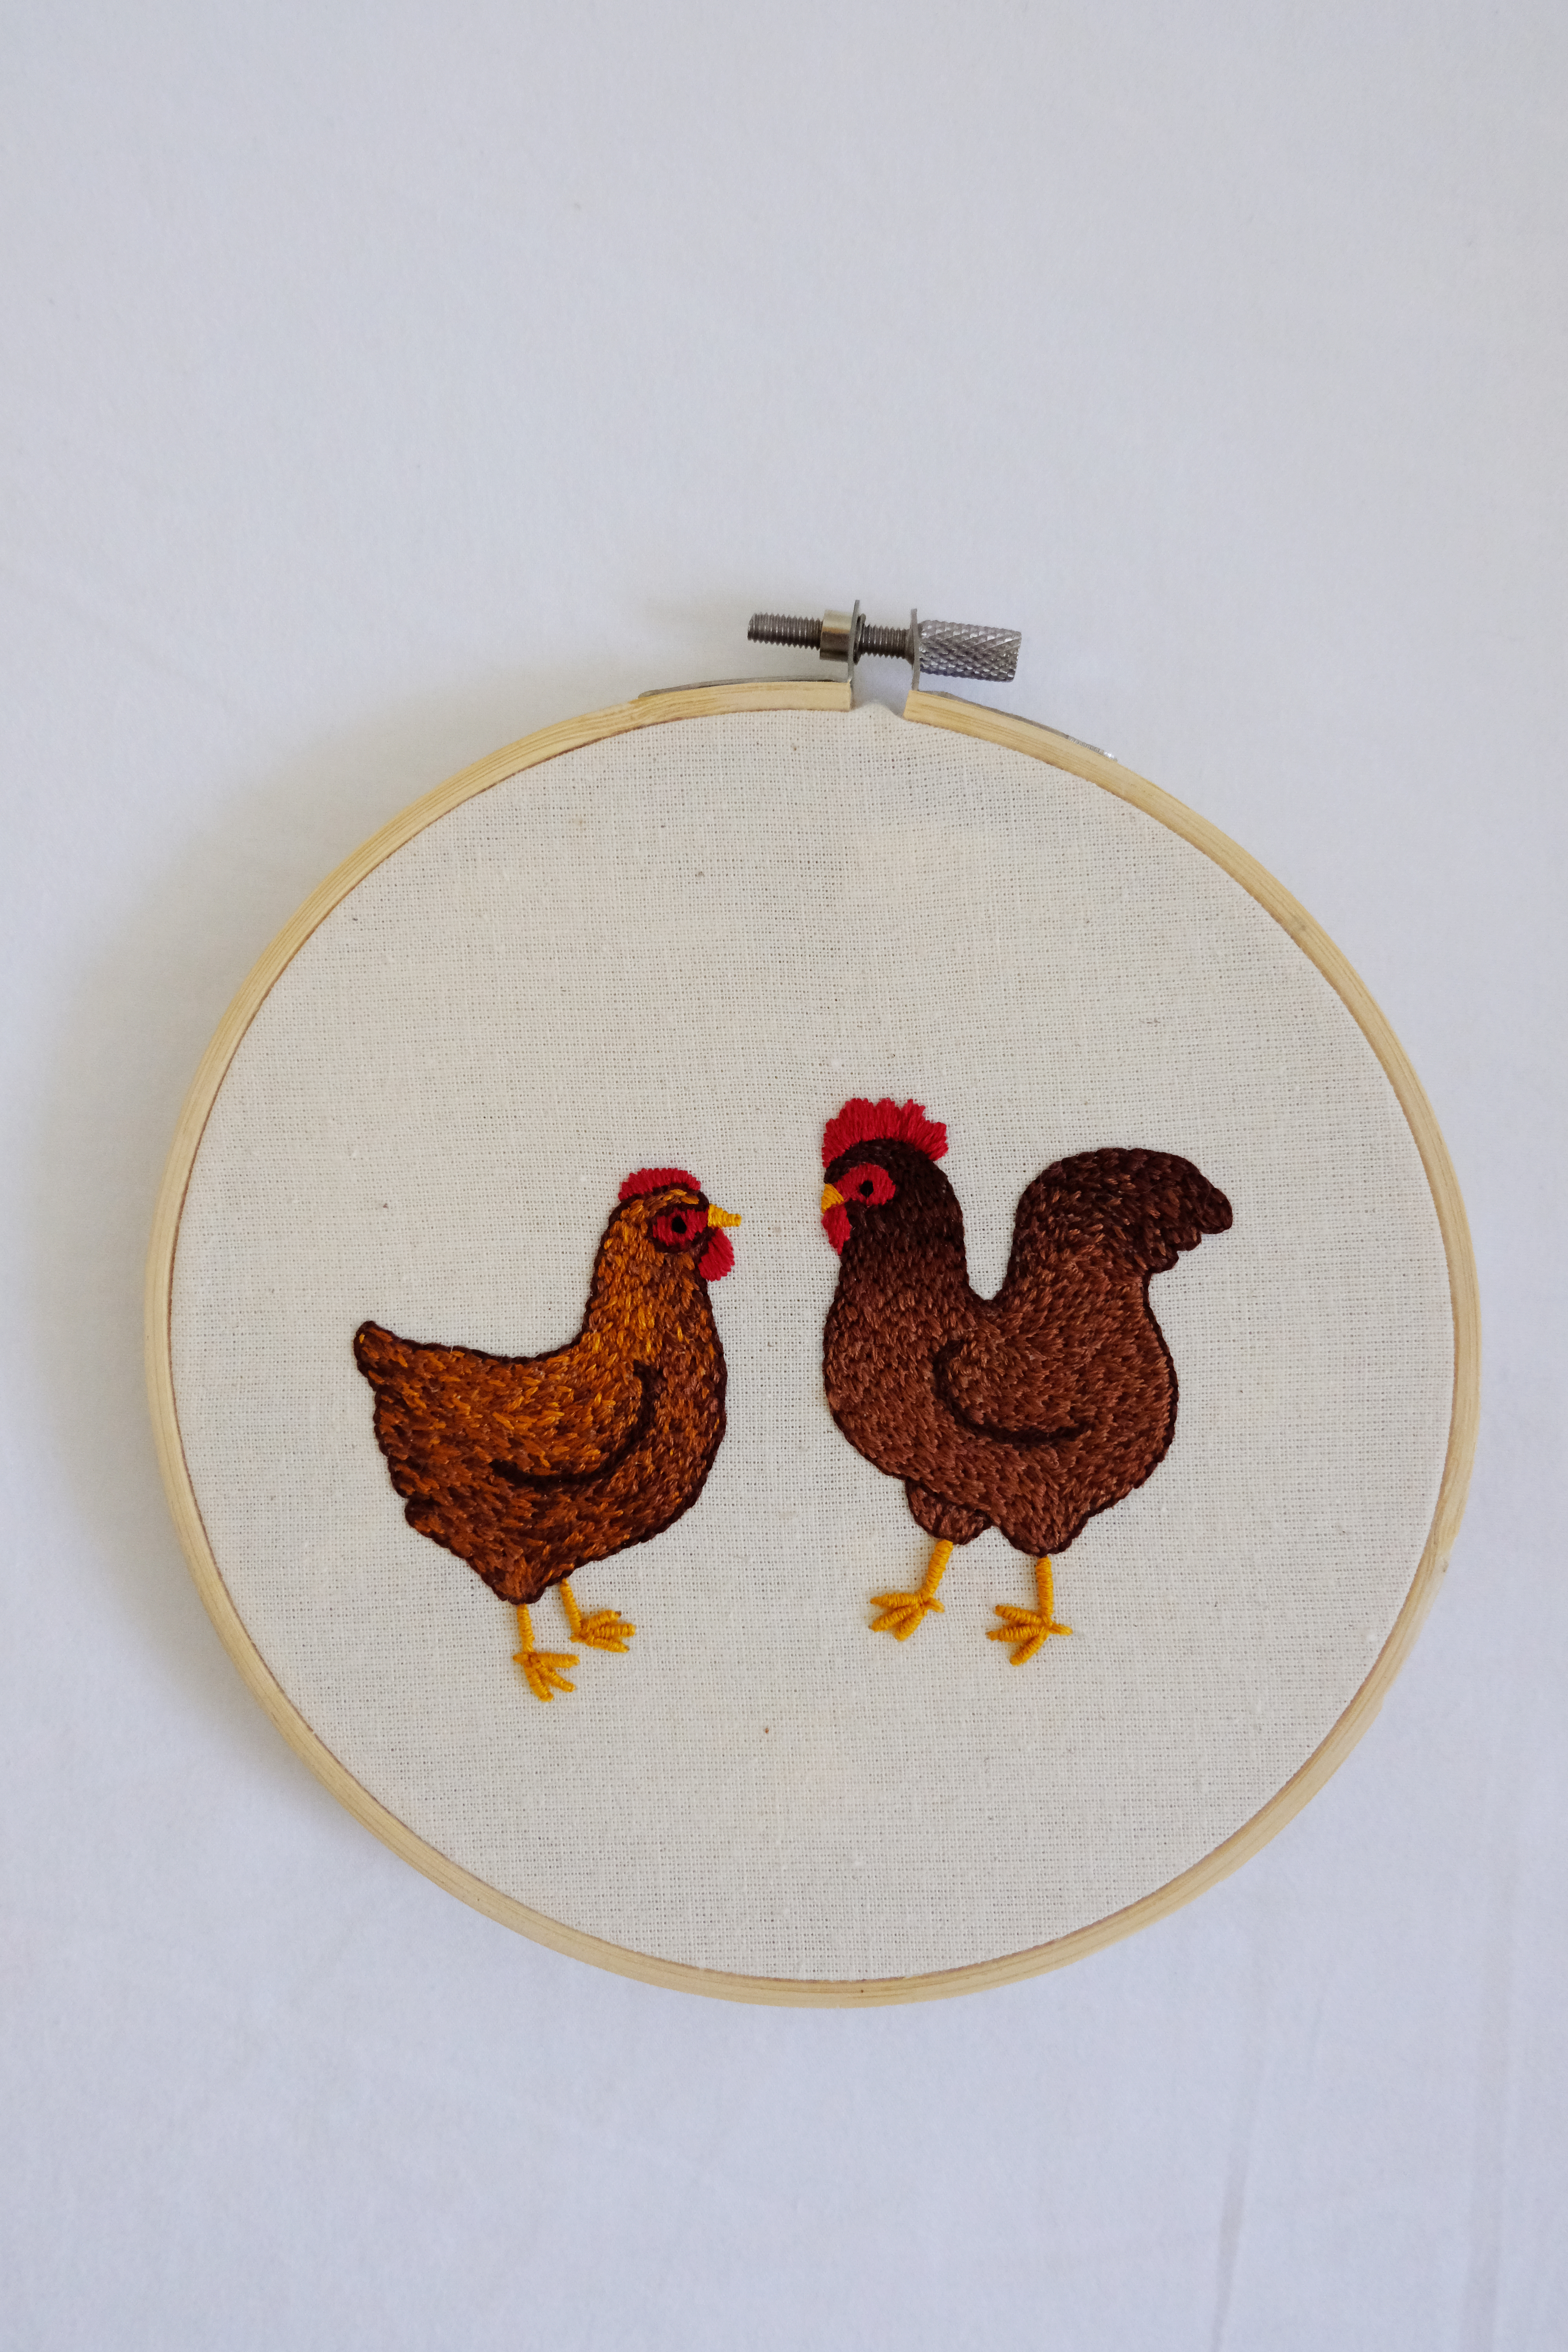
This simple embroidery chicken pattern is suitable for beginners, and is loosely based on a pair of Rhode Island Red chickens. Depending on the thread colours and stitches you use you can make the design more or less rustic or realistic. You can also use this chicken pattern to have a go at painting with stitches if you choose to fill in the chicken bodies.

If you are new to embroidery, our embroidery stitches guide will show you how to do all the stitches needed to complete this design, or check out our essential embroidery post for advice on starting embroidery as a beginner.

You will need

To complete the design like our sample project, you will need:

Embroidery thread:

  • 4 shades of brown: golden brown, mid brown, dark brown and very dark brown for the outline and feathers
  • Golden orange for the beak and legs
  • Black for the eyes
  • Red for the comb

Your chicken embroidery pattern

You will need:

  • Embroidery Thread
  • Embroidery hoop
  • Embroidery needle

Step 1

  1. Press your fabric and transfer the design to it using your preferred method. I find using am embroidery pen and a little lightbox the quickest way to trace patterns directly on to fabric.
  2. Place your fabric in the hoop, with the design centred in the middle.
  3. Back stitch the outline of the chickens with the darkest brown floss and then chain stitch the wings (this helps them stand out against the feather stitches). See our How to backstitch article for help with this.

The Hen

Step 1

Chicken Embroidery Stitching Pattern

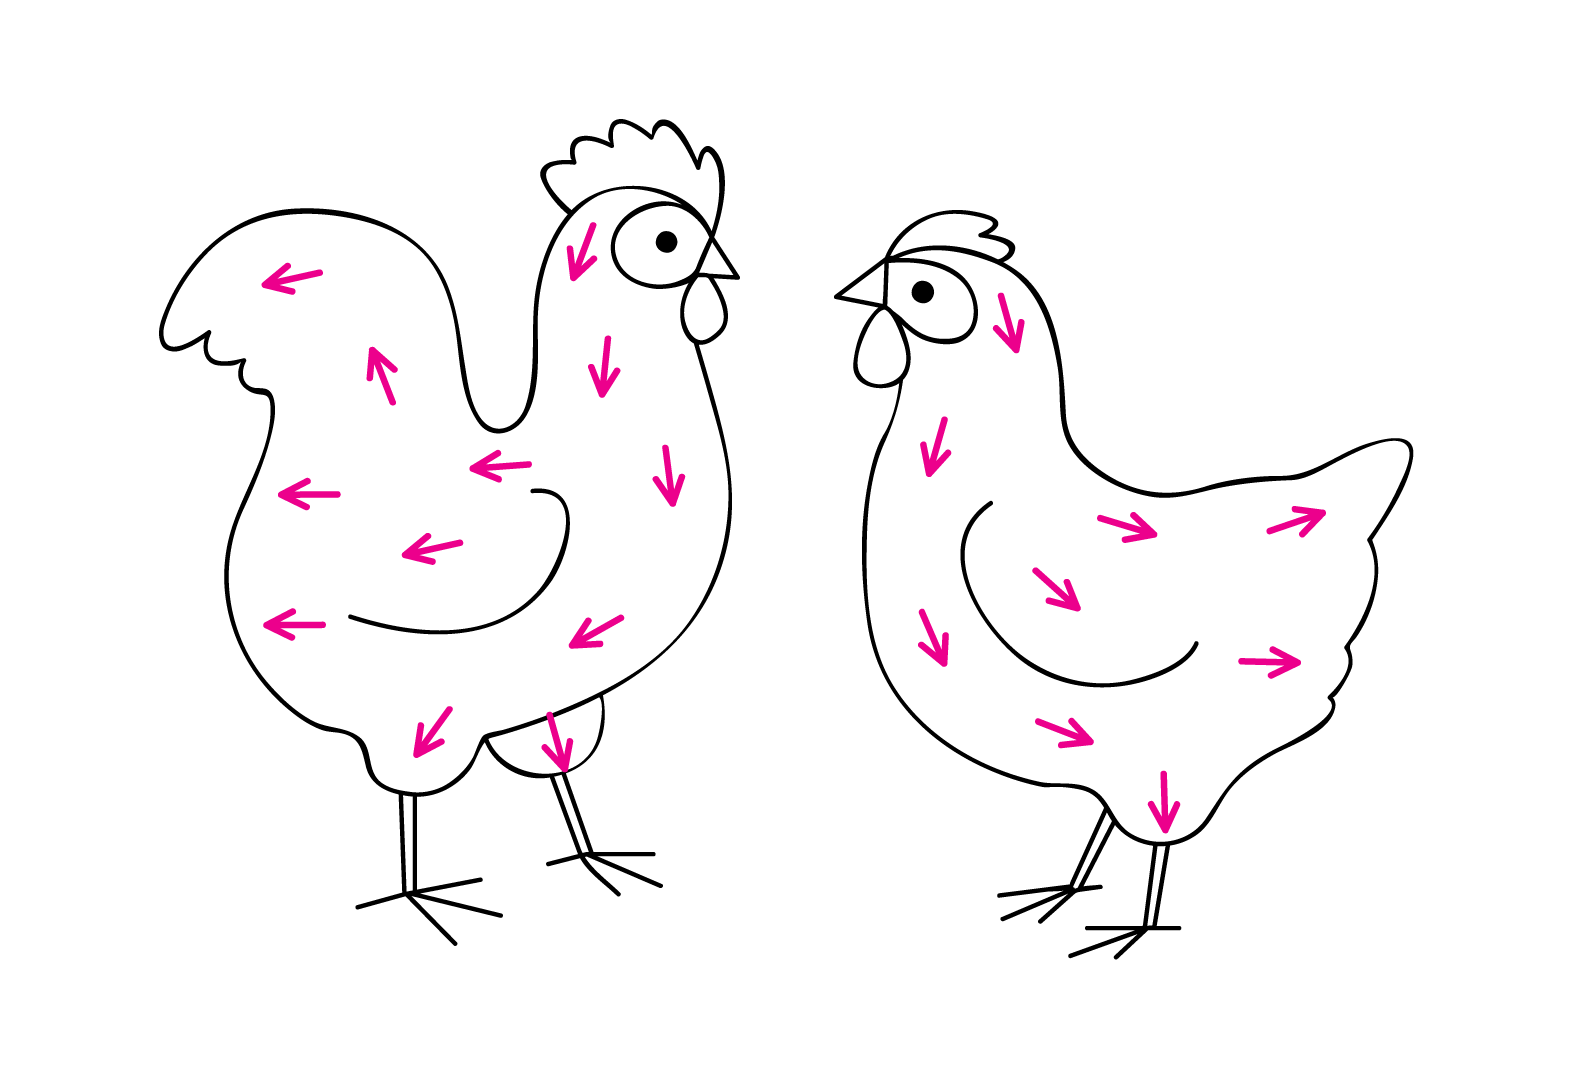
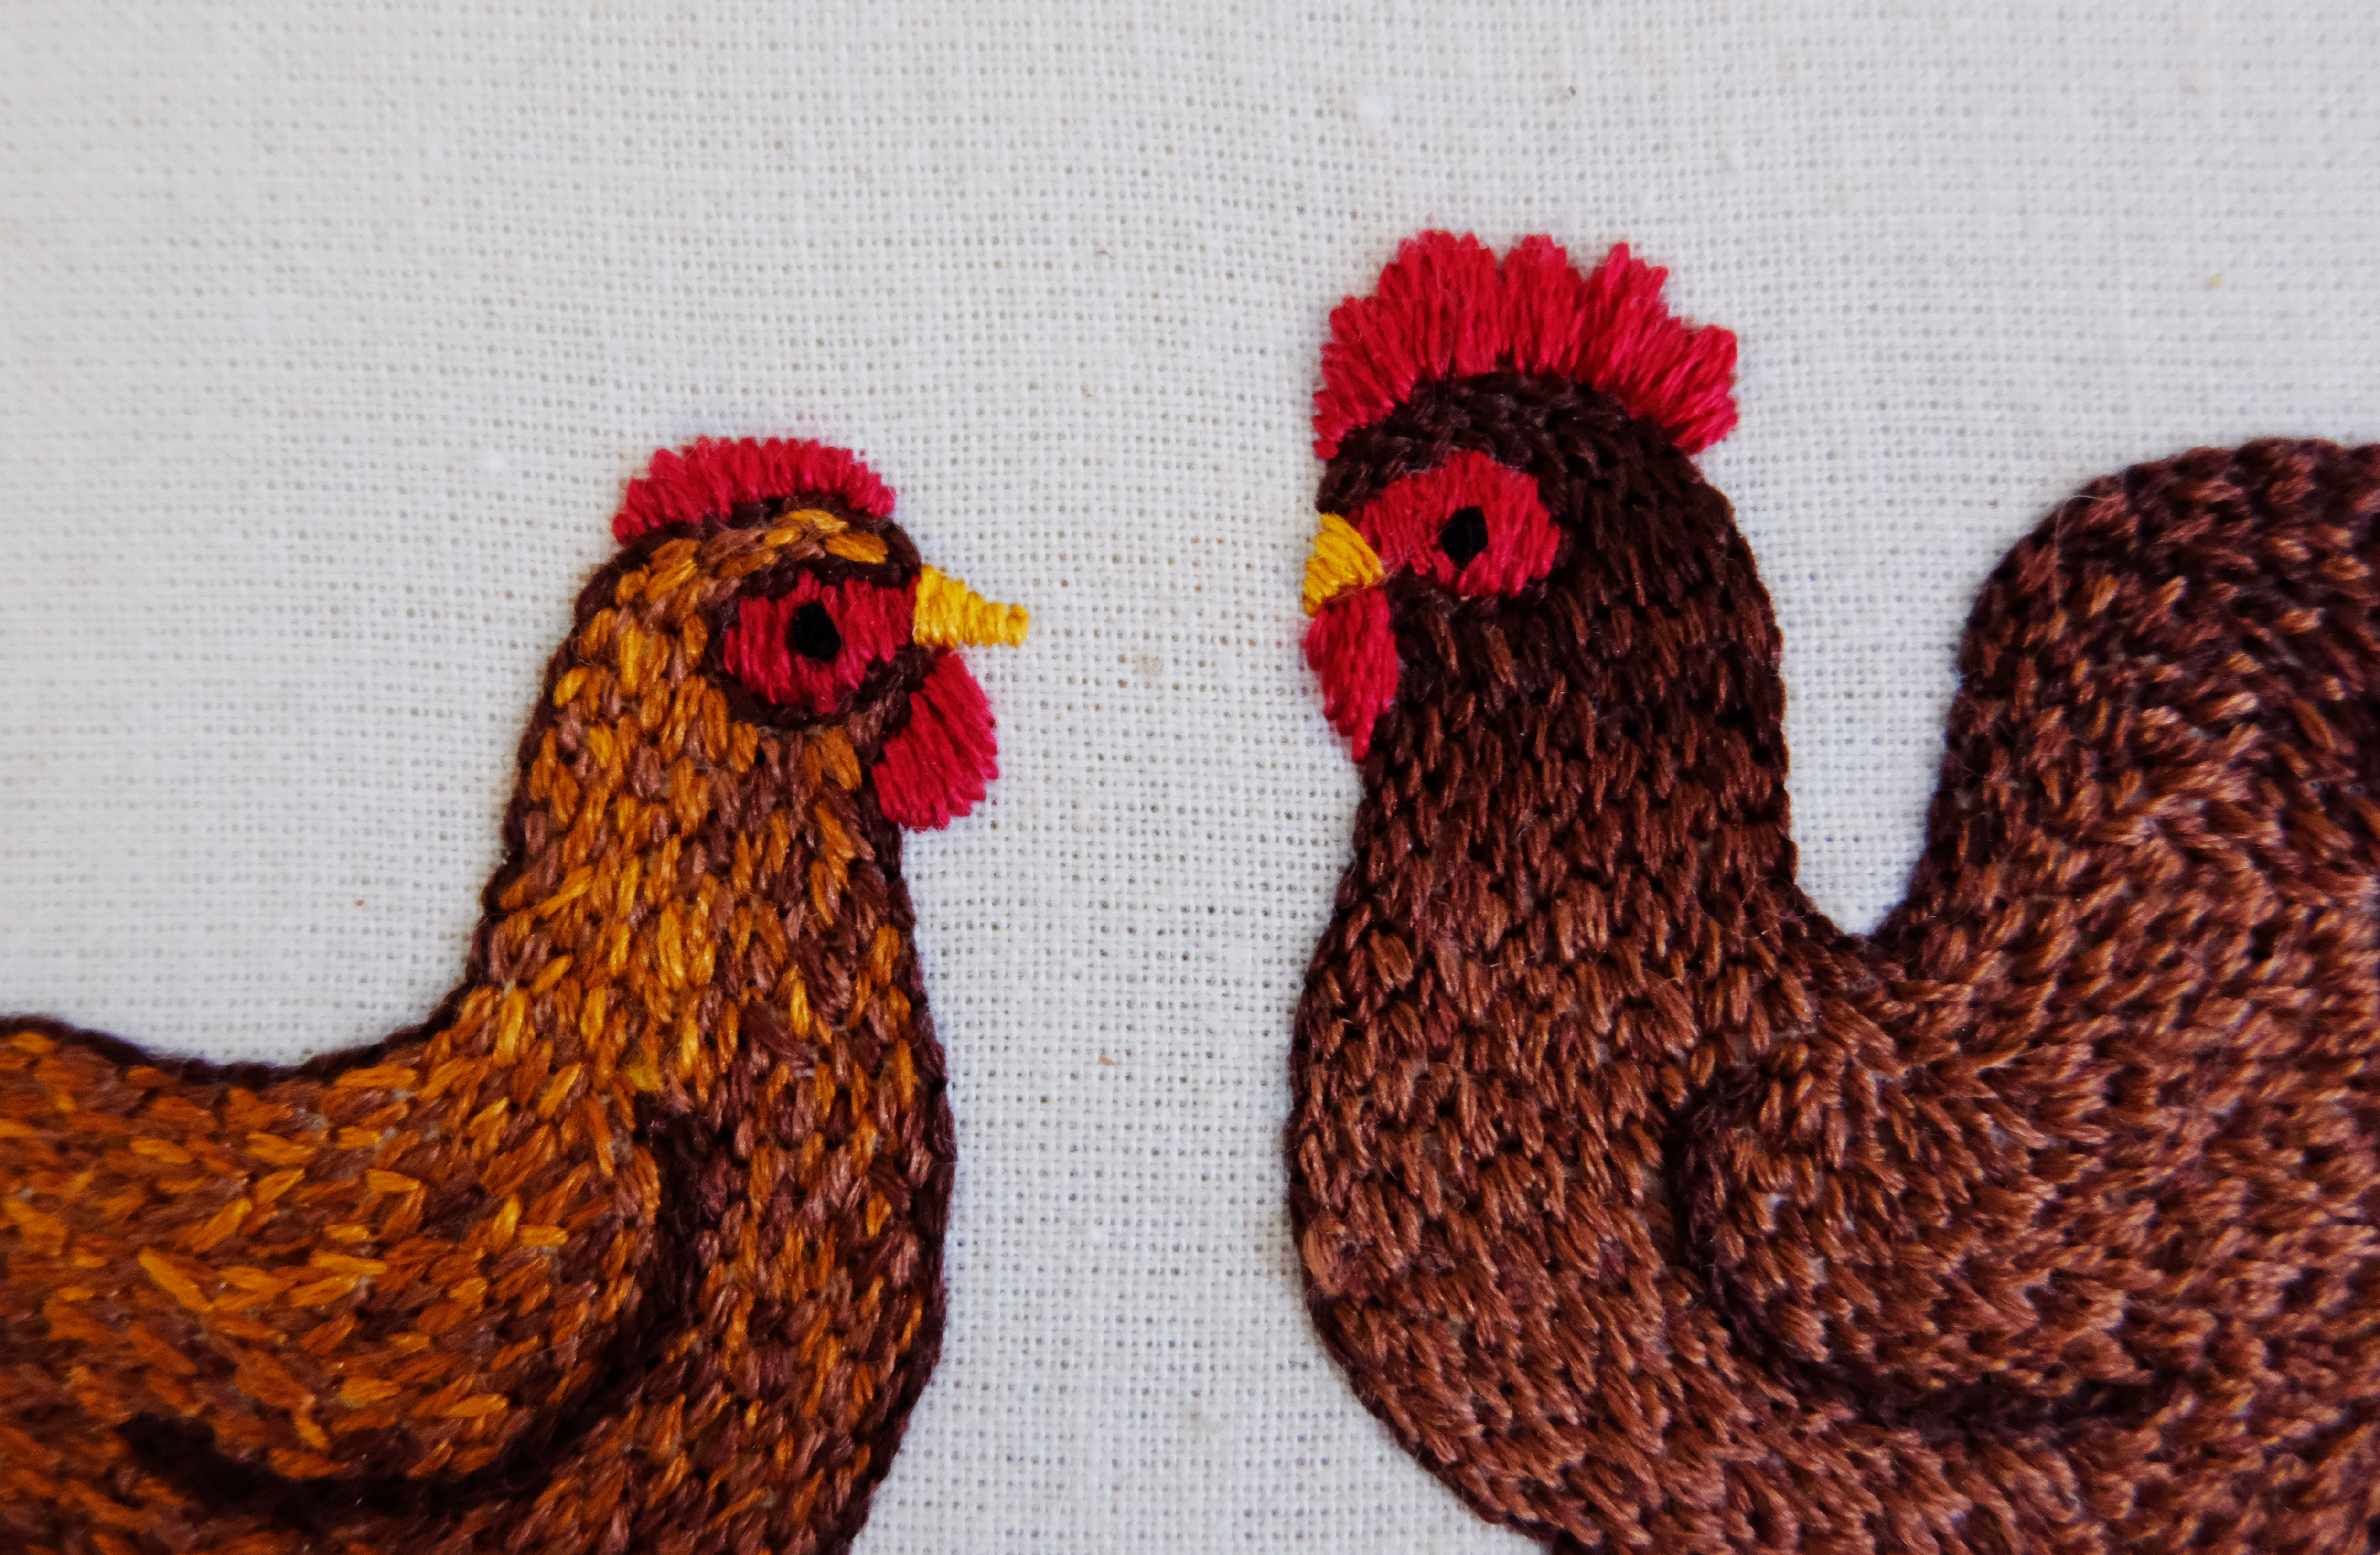
Using the mid brown thread, start to fill in the body of the hen, using short stitches following the direction the feathers would grow. Then do the same with the dark brown thread. Use the golden brown thread to add some highlights to the upper part of the chicken pattern. Finally, using the darkest brown thread, fill in any little stitching gaps. Using the four shades of brown on the hens feathers gives it an attractive depth of colour and more texture than using a single shade of brown.

The Cockerel

Step 1

Using the darkest brown thread, fill in the head following the direction of the feathers. You then need to create a gradient between the darkest brown and the dark brown thread. Continue stitching down the neck, before transitioning to the mid brown. Use the mid brown thread to fill in the body of the cockerel, then transition to the darker shades of brown to fill in the tail.

The combs and beaks

Step 1

Chicken pattern

Fill in the comb’s using the red thread and satin stitch. See our how to do Satin stitch for advice. Use the golden orange thread to stitch the beaks with satin stitch. The end of the beak needs some very tiny stitches so take your time and be patient.

The legs

Step 1

Using the golden orange thread, use bullion knots to add the legs and feet to both chickens. See or hand embroidery tutorial:bullion knot guide for advice. If you find bullion knots too fiddly, you could use chain stitch instead. See our how to do Chain stitch article for advice.

Finishing off the chicken embroidery designs

Step 1

If you choose to display this as a piece of hoop art, gather up the loose fabric around the back of the hoop and loosely stitch it together to keep it tidy. You can stitch on (or glue) a piece of felt to the back to hide everything.

Chicken Embroidery design

The chicken pattern would also work well as individual motifs to embroider onto kid’s clothes or to use as focal points in quilted cushions. Please share any chicken patterns you make with us on Instagram so we can see them!

More chicken patterns

Cross stitch chicken pattern

chicken pattern

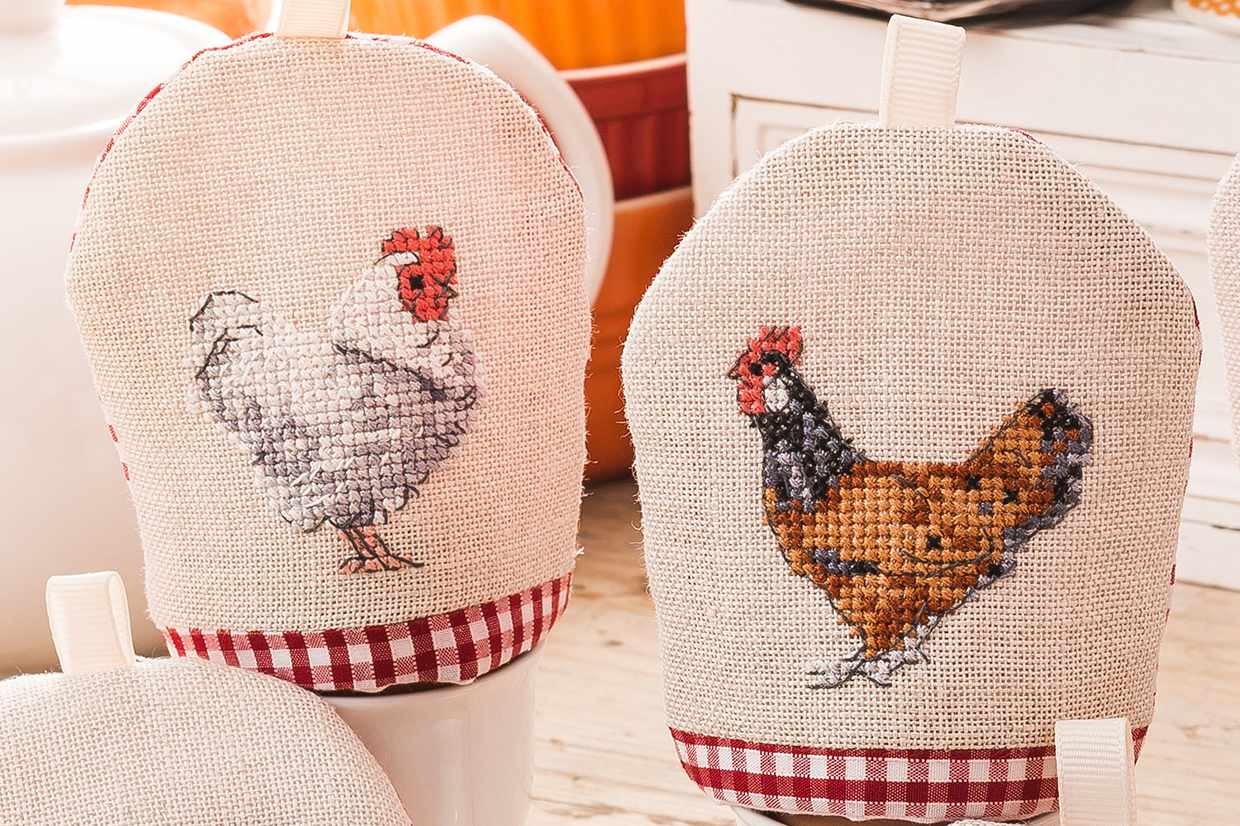
Looking for more chicken patterns to stitch? Here on Gathered, we also have this free cross stitch chicken pattern for you to stitch! Click for the chicken cross stitch designs. You may also enjoy our embroidered socks tutorial, and our sashiko patterns and projects for beginners article.

Chicken embroidery design kit

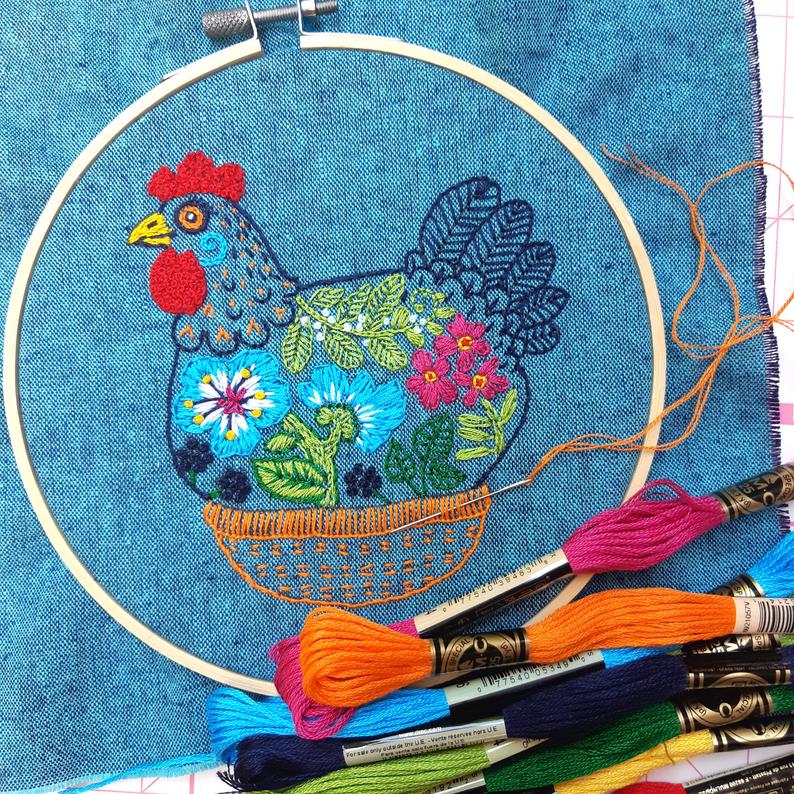
chicken embroidery design KS

For a more colourful fowl, how about this chicken embroidery pattern from Kindred Spirits Canada? It comes as a complete kit with thread, pre-printed fabric and chicken embroidery design. You can choose the fabric you want included, and choose to add the hoop or not, too. Just lovely!

Find on Kindred Spirit’s Etsy store

Rooster embroidery pattern

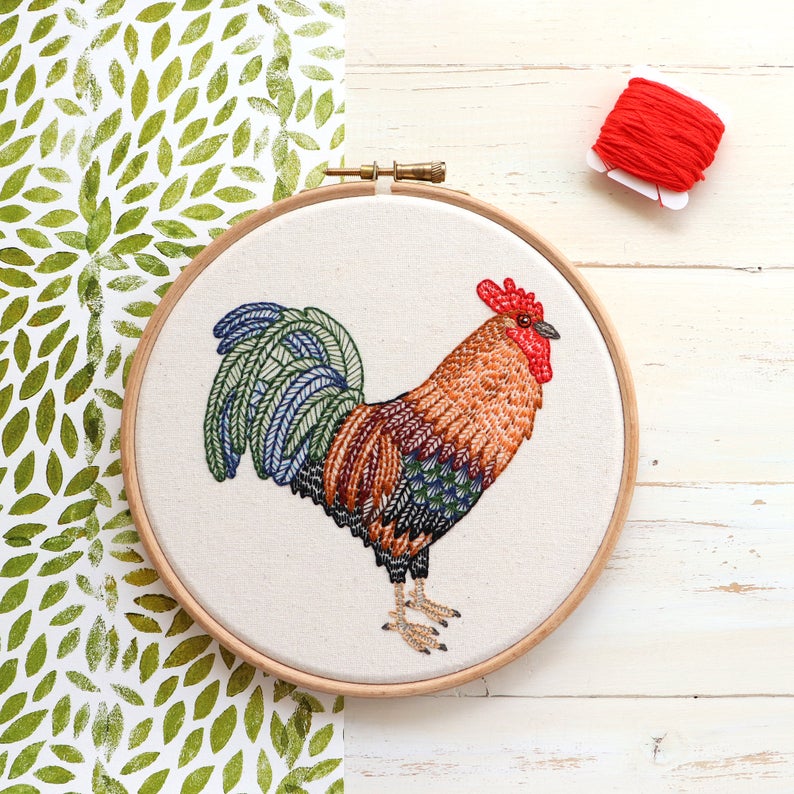
chicken pattern rooster

Don’t forget the boys! Roosters are often the most characterful birds in the farmyard as they strut the stuff and crow their magnificence to anyone will will listen – and anyone who won’t listen, too! This beautiful chicken pattern shows off his lovely plumage and comes as a digital download with full instructions.

Find on the Chloe Redfern Artist Etsy store

Bless our nest chicken embroidery pattern

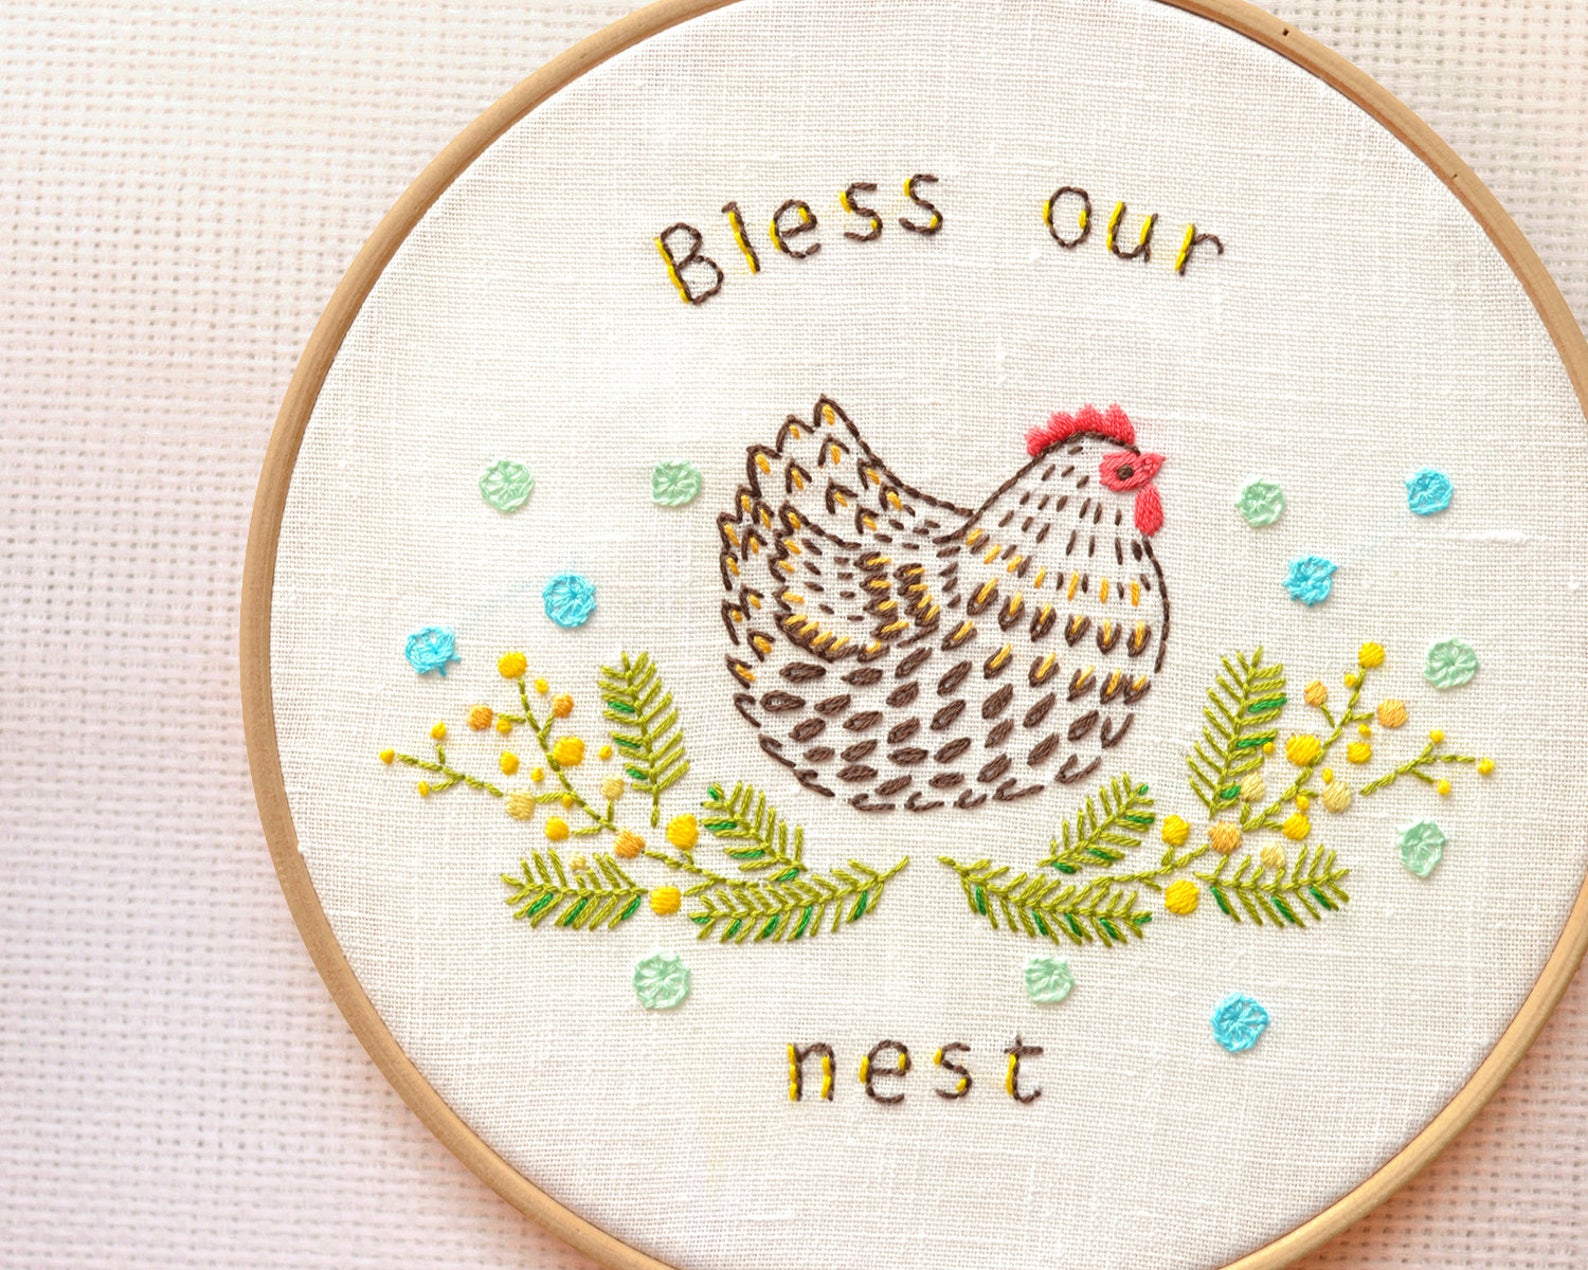
chicken embroidery design Naiveneedle

Awh, we can’t resist a sweet sentiment with our chicken patterns and this Chicken embroidery designs combines the two perfectly. It’s available as a digital download for you to print out and stitch at home.

Find it on the NaiveNeedle Etsy store

Beginner Chicken embroidery design kit

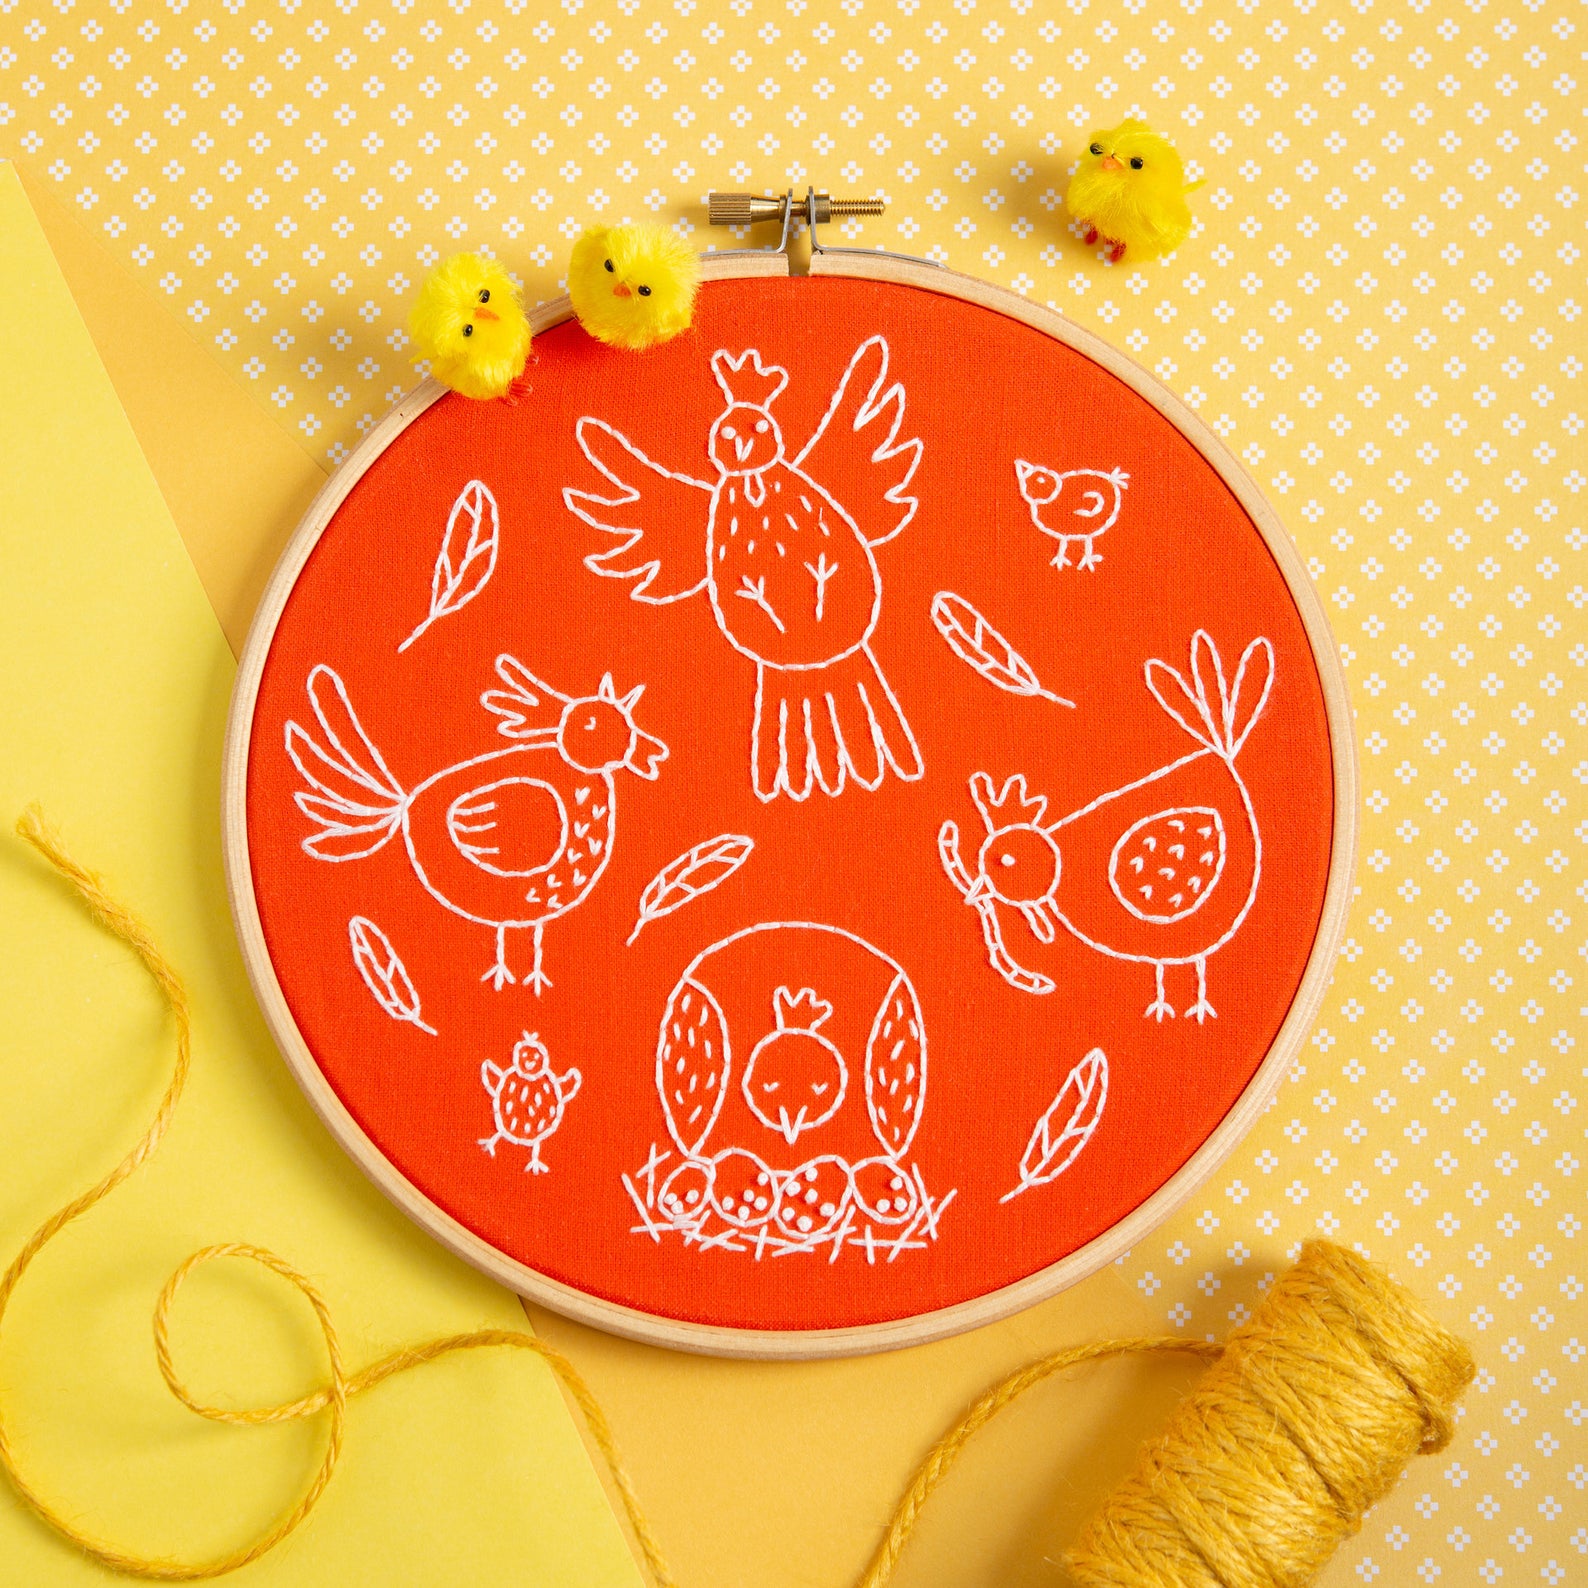
chicken embroidery design kit

These charming chicken patterns are worked in backstitch on coloured fabric for a brilliant beginner-friendly chicken embroidery pattern kit. We love this cute characters!

Find on the HawthornHandmade Etsy store