This gorgeous floral garland – from Cardmaking & Papercraft – is bursting with summery vibes and will brighten any living space! To create this floral decoration, simply download the PDF template below, print it out and cut your shapes from your chosen coloured card and papers.
Perfect for a party, wedding or home decor update, you can craft this garland using your tissue and patterned paper scraps, then tie the leaves and flowers together using baker's twine, jute string or even coloured ribbon.
Don't forget to share your projects on Facebook or post them on Instagram!
Download your free papercraft floral garland template:
To download the template, click on the link below the image and it will open in a new window. You can then save/download the template. There is one PDF to download, which contains all the elements you'll need for the garland.
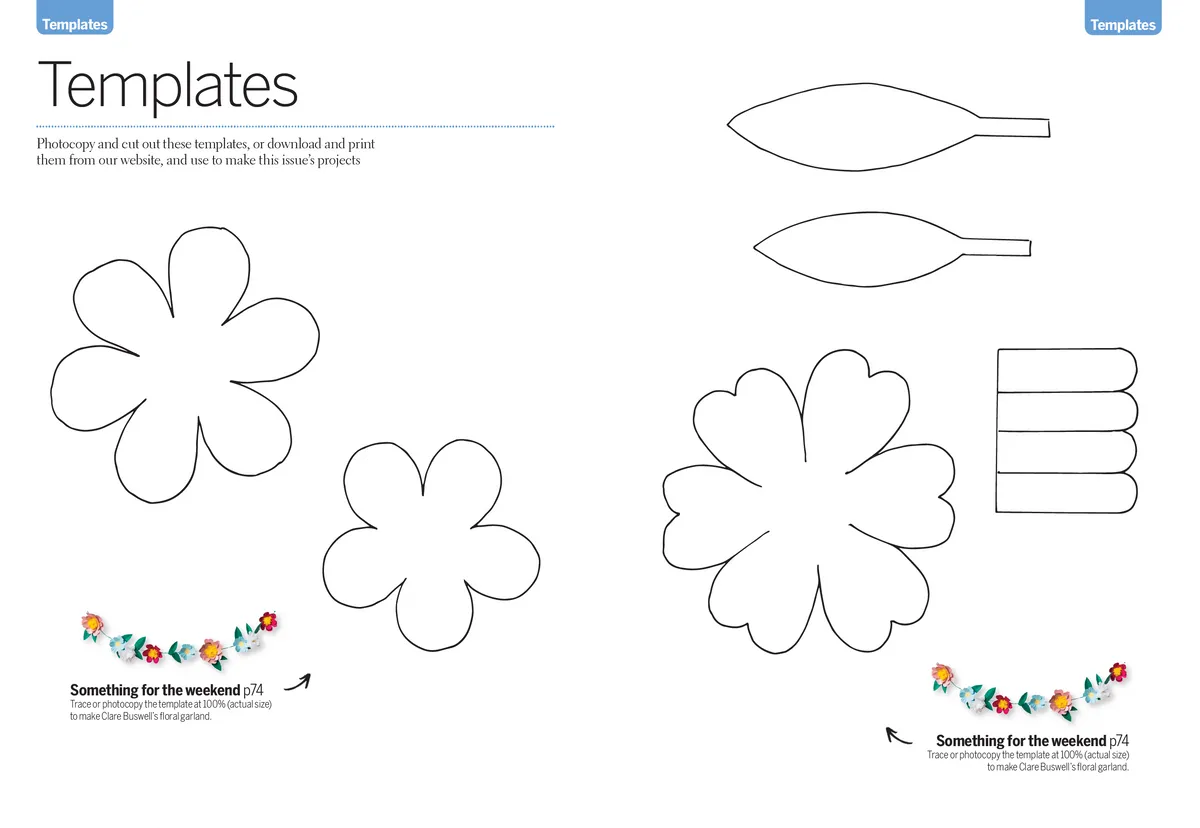
Floral garland papercraft template
Shopping List:
- Template (see above)
- Coloured card
- Crepe paper
- Green twine
- Tweezers
- Piercing tool
- Thread
- Scoring tool
- Embossing tool
- Ruler
- Glue