Cutting out
Step 1
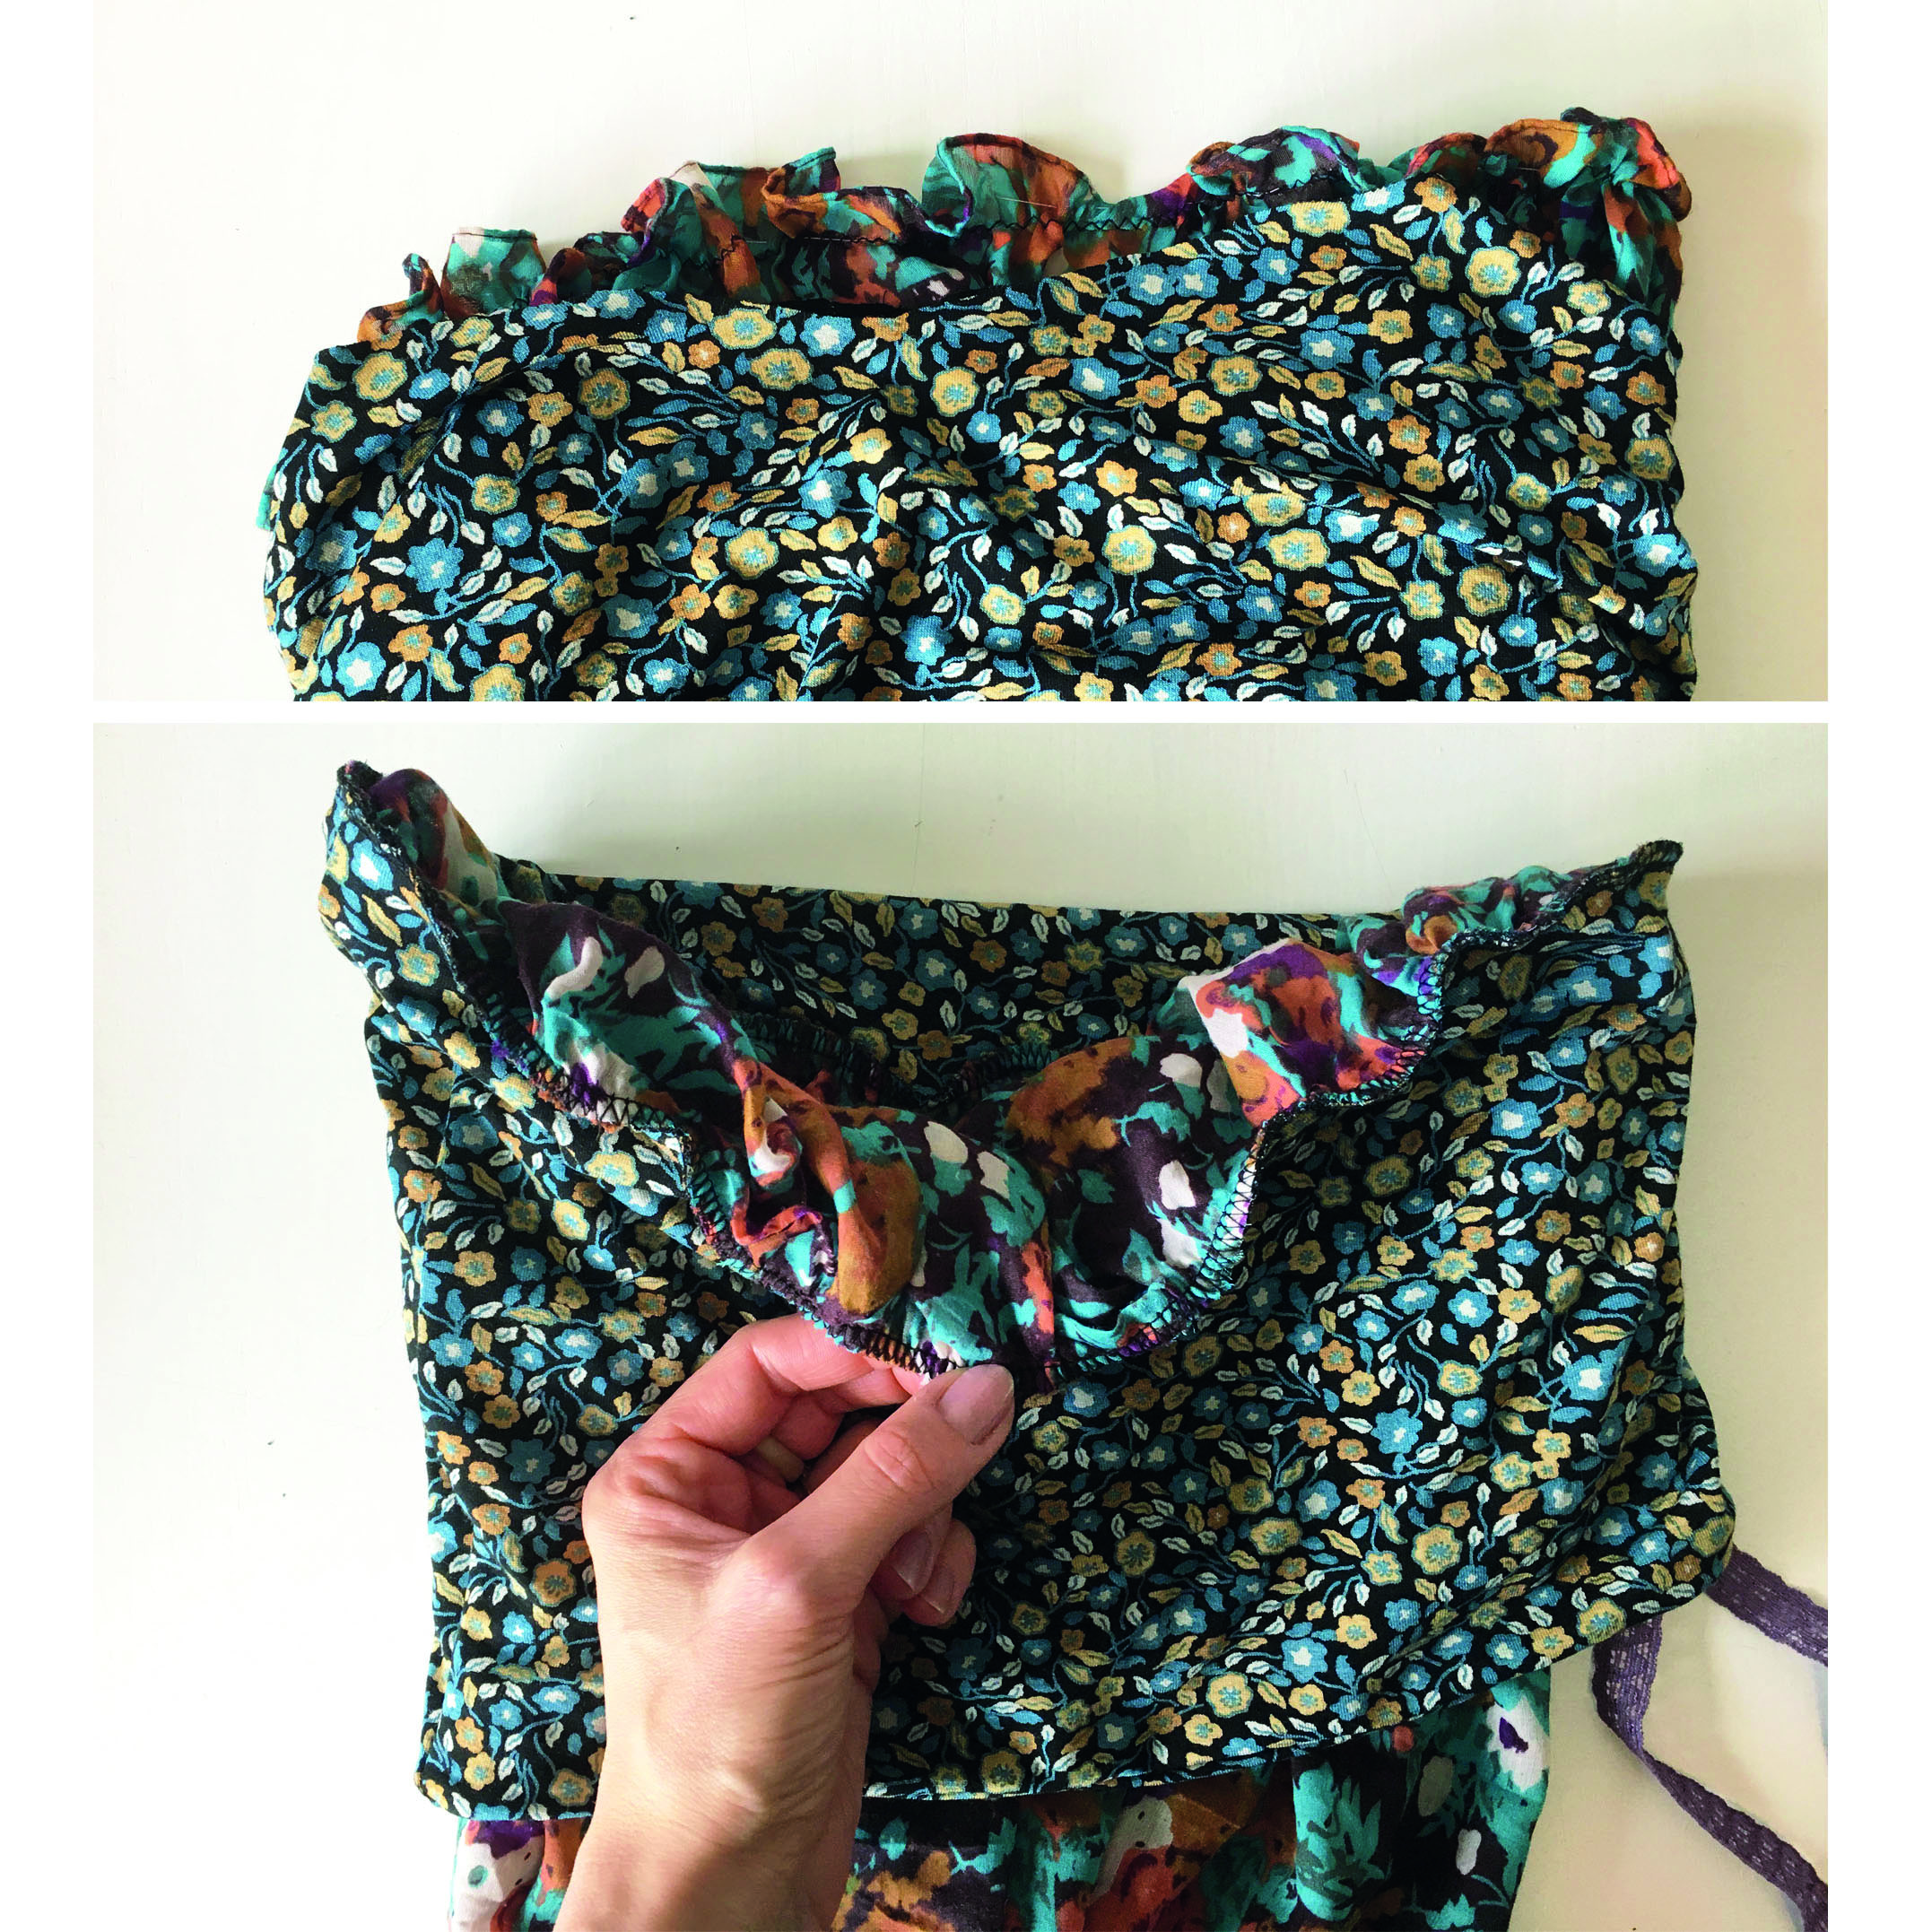
For the bottom part of the dress we need a round tube scarf. They come in different lengths and widths but most of them will create a loose, flowing skirt for the dress. If you do not have a tube scarf you can also use a rectangular scarf that is stitched together along the longest sides, so that it forms a tube.
Step 2
For the top part of the dress you will need to cut the jersey fabric into two rectangles. Measure yourself around the bust and subtract approx 8cm (31⁄8in) from this number – you may need to subtract more if you are using a very stretchy fabric, or less for a fabric that stretches less. This new measurement will be the total length of the bodice pieces.
Step 3
The height of the bodice ‘tube’ in our version is 23cm (91⁄8in). If you would like the bodice shorter or longer than this, you can add or subtract a few centimetres.
Step 4
If the fabric has stretch in both the horizontal and vertical, it does not matter how you cut it. But if the fabric only stretches is one direction, make sure you cut it so the stretch runs along the width. This is to be sure you can get the dress on and off easily.
Adding the neck loop
Step 1
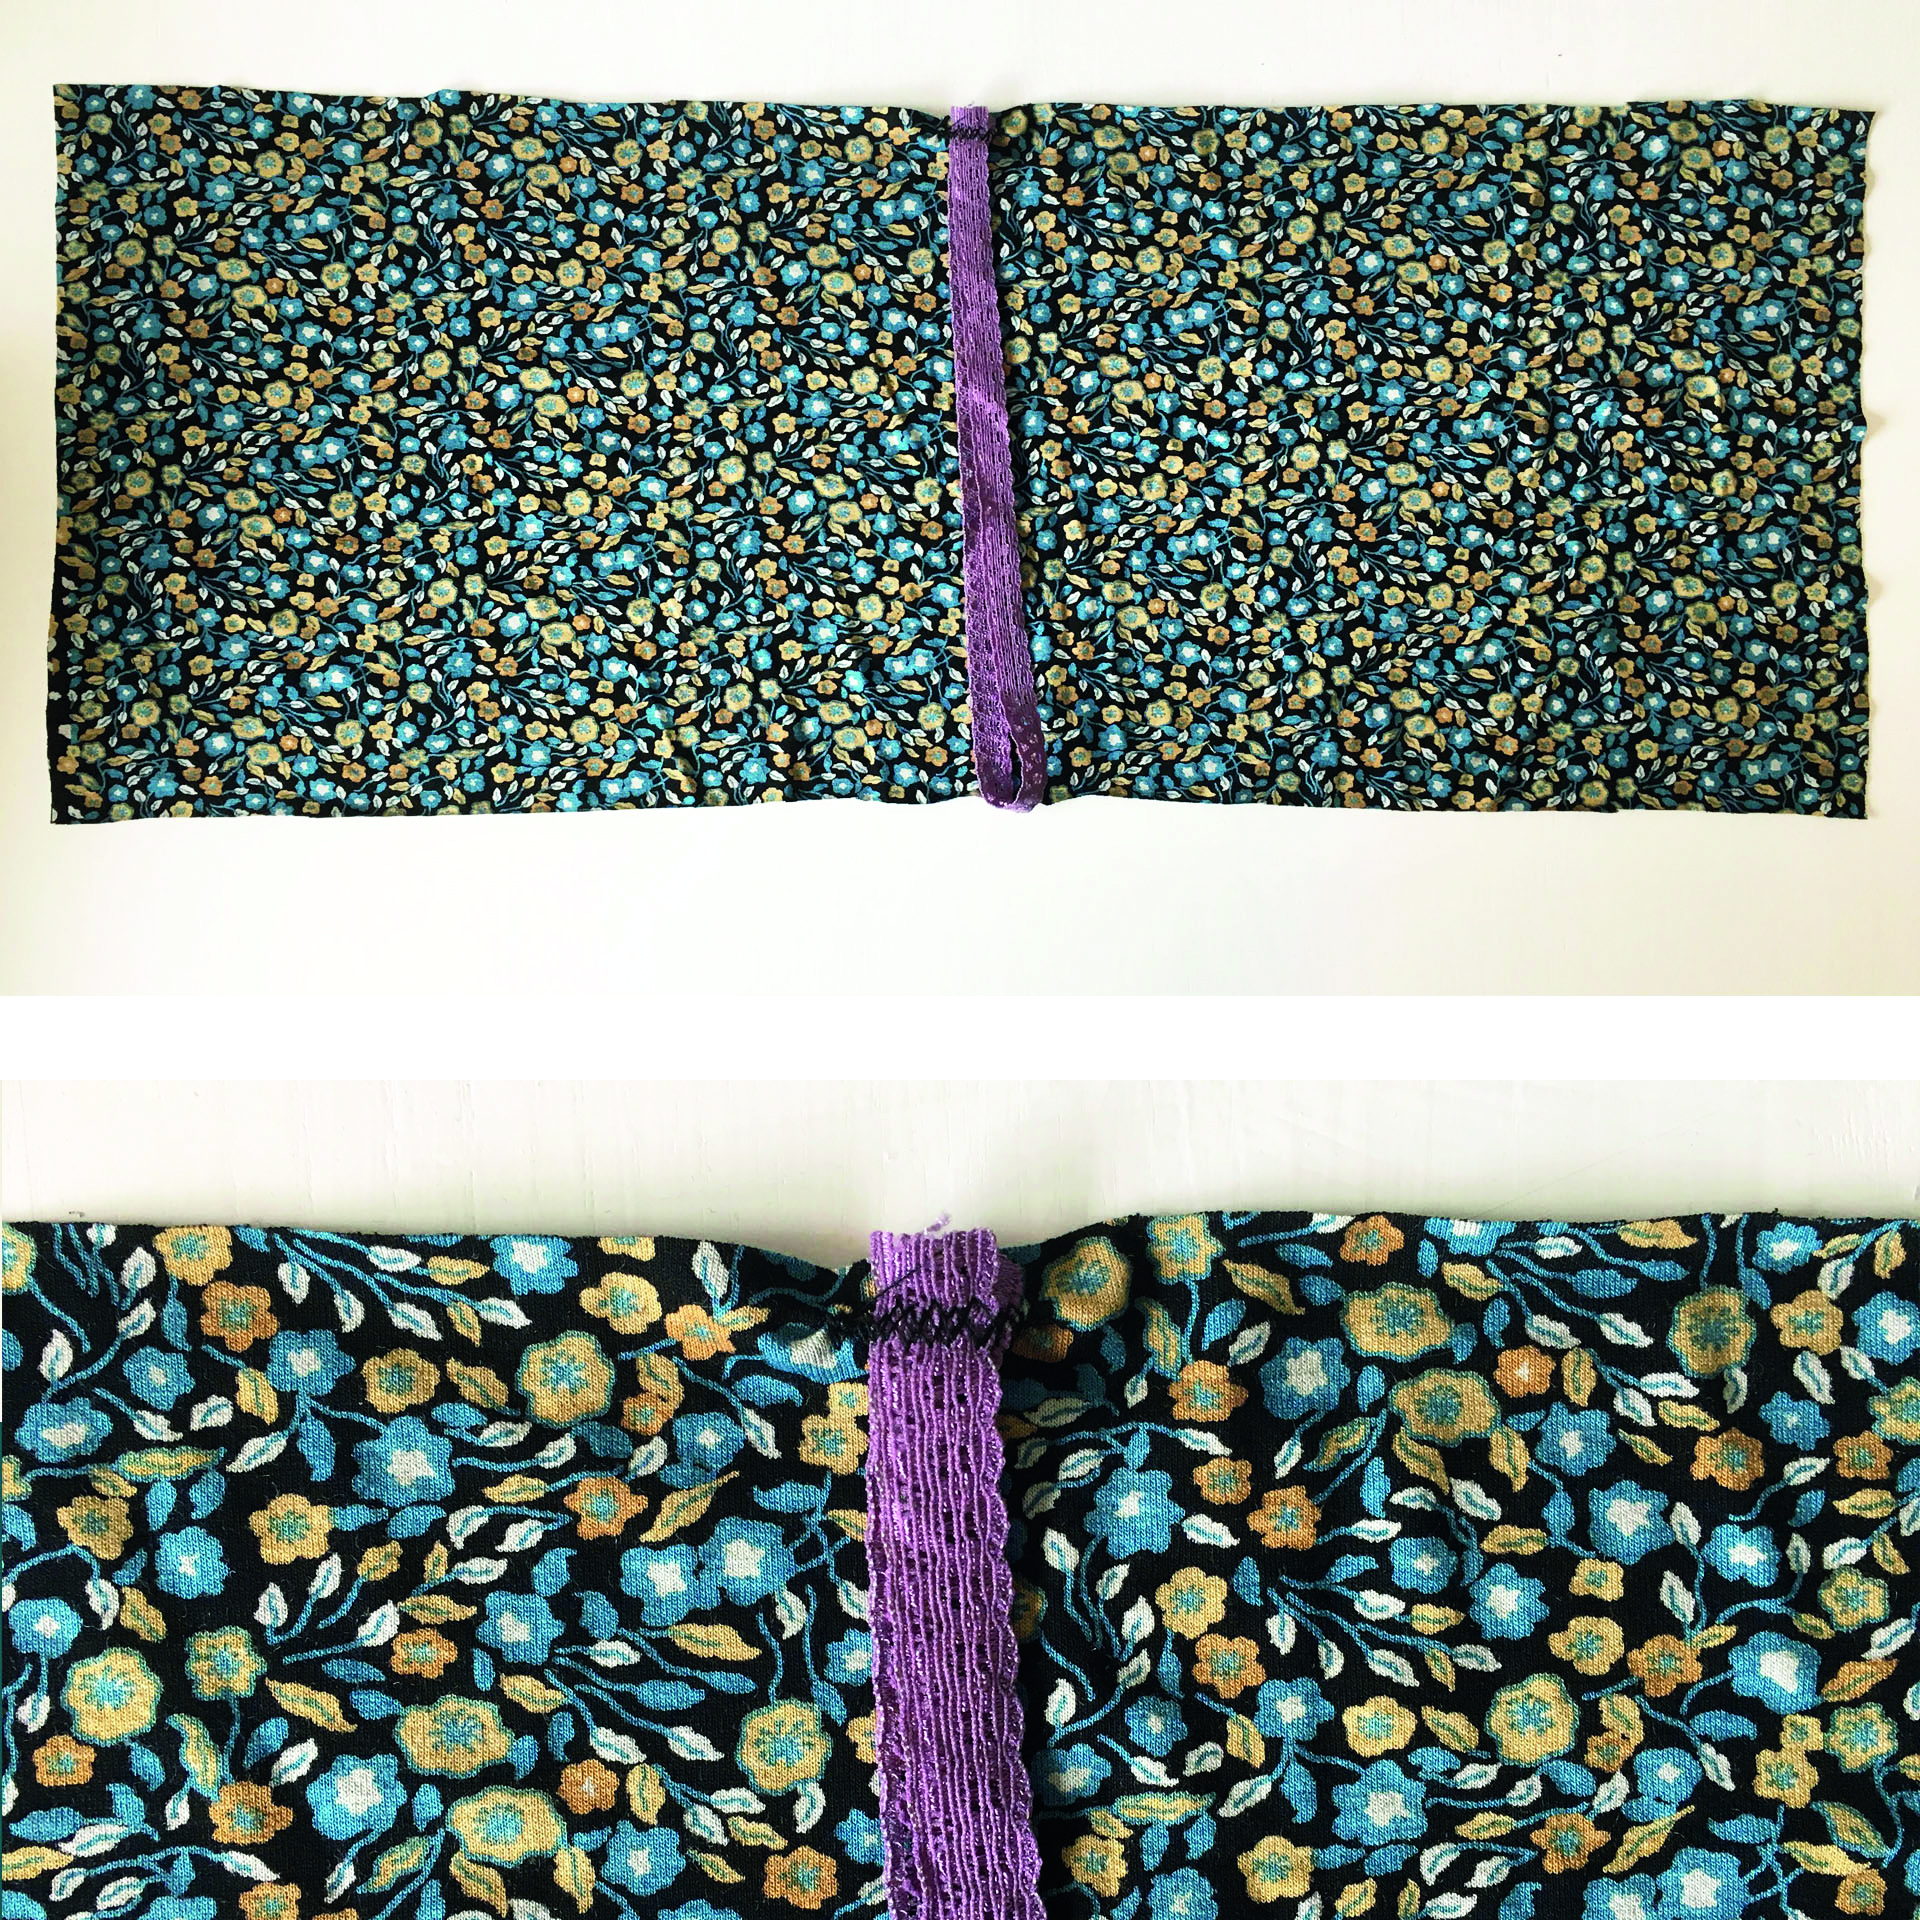
Lay one piece of jersey out on your work surface with RS facing up. Find the centre point of one long edge and place a pin at this point. Fold the elastic lace ribbon and place the two ends where the pin marking the centre is. The raw ends of the elastic should be facing towards the edge of the fabric.
Step 2
Measure the elastic lace ribbon on yourself. Place it around your neck and stretch it out down to where you want the top of the tube dress to start. Be sure to stretch it comfortably. Often the elastic will be looser than expected and if not stretched enough while measuring it will make the dress drop and sag. When you have the right length of the elastic lace ribbon add 2cm (¾in) for seam allowance and cut the rest away. The loop of the elastic lace ribbon used for our dress is 49cm (19in) long.
Step 3
Stitch the lace ribbon onto the fabric 1cm (3⁄8in) from the edge so it becomes a loop attached to the edge of the fabric.
Gathering the bodice front
Step 1
Fold up the elastic lace ribbon away from the piece of fabric. Lay the fabric out with the WS facing up.
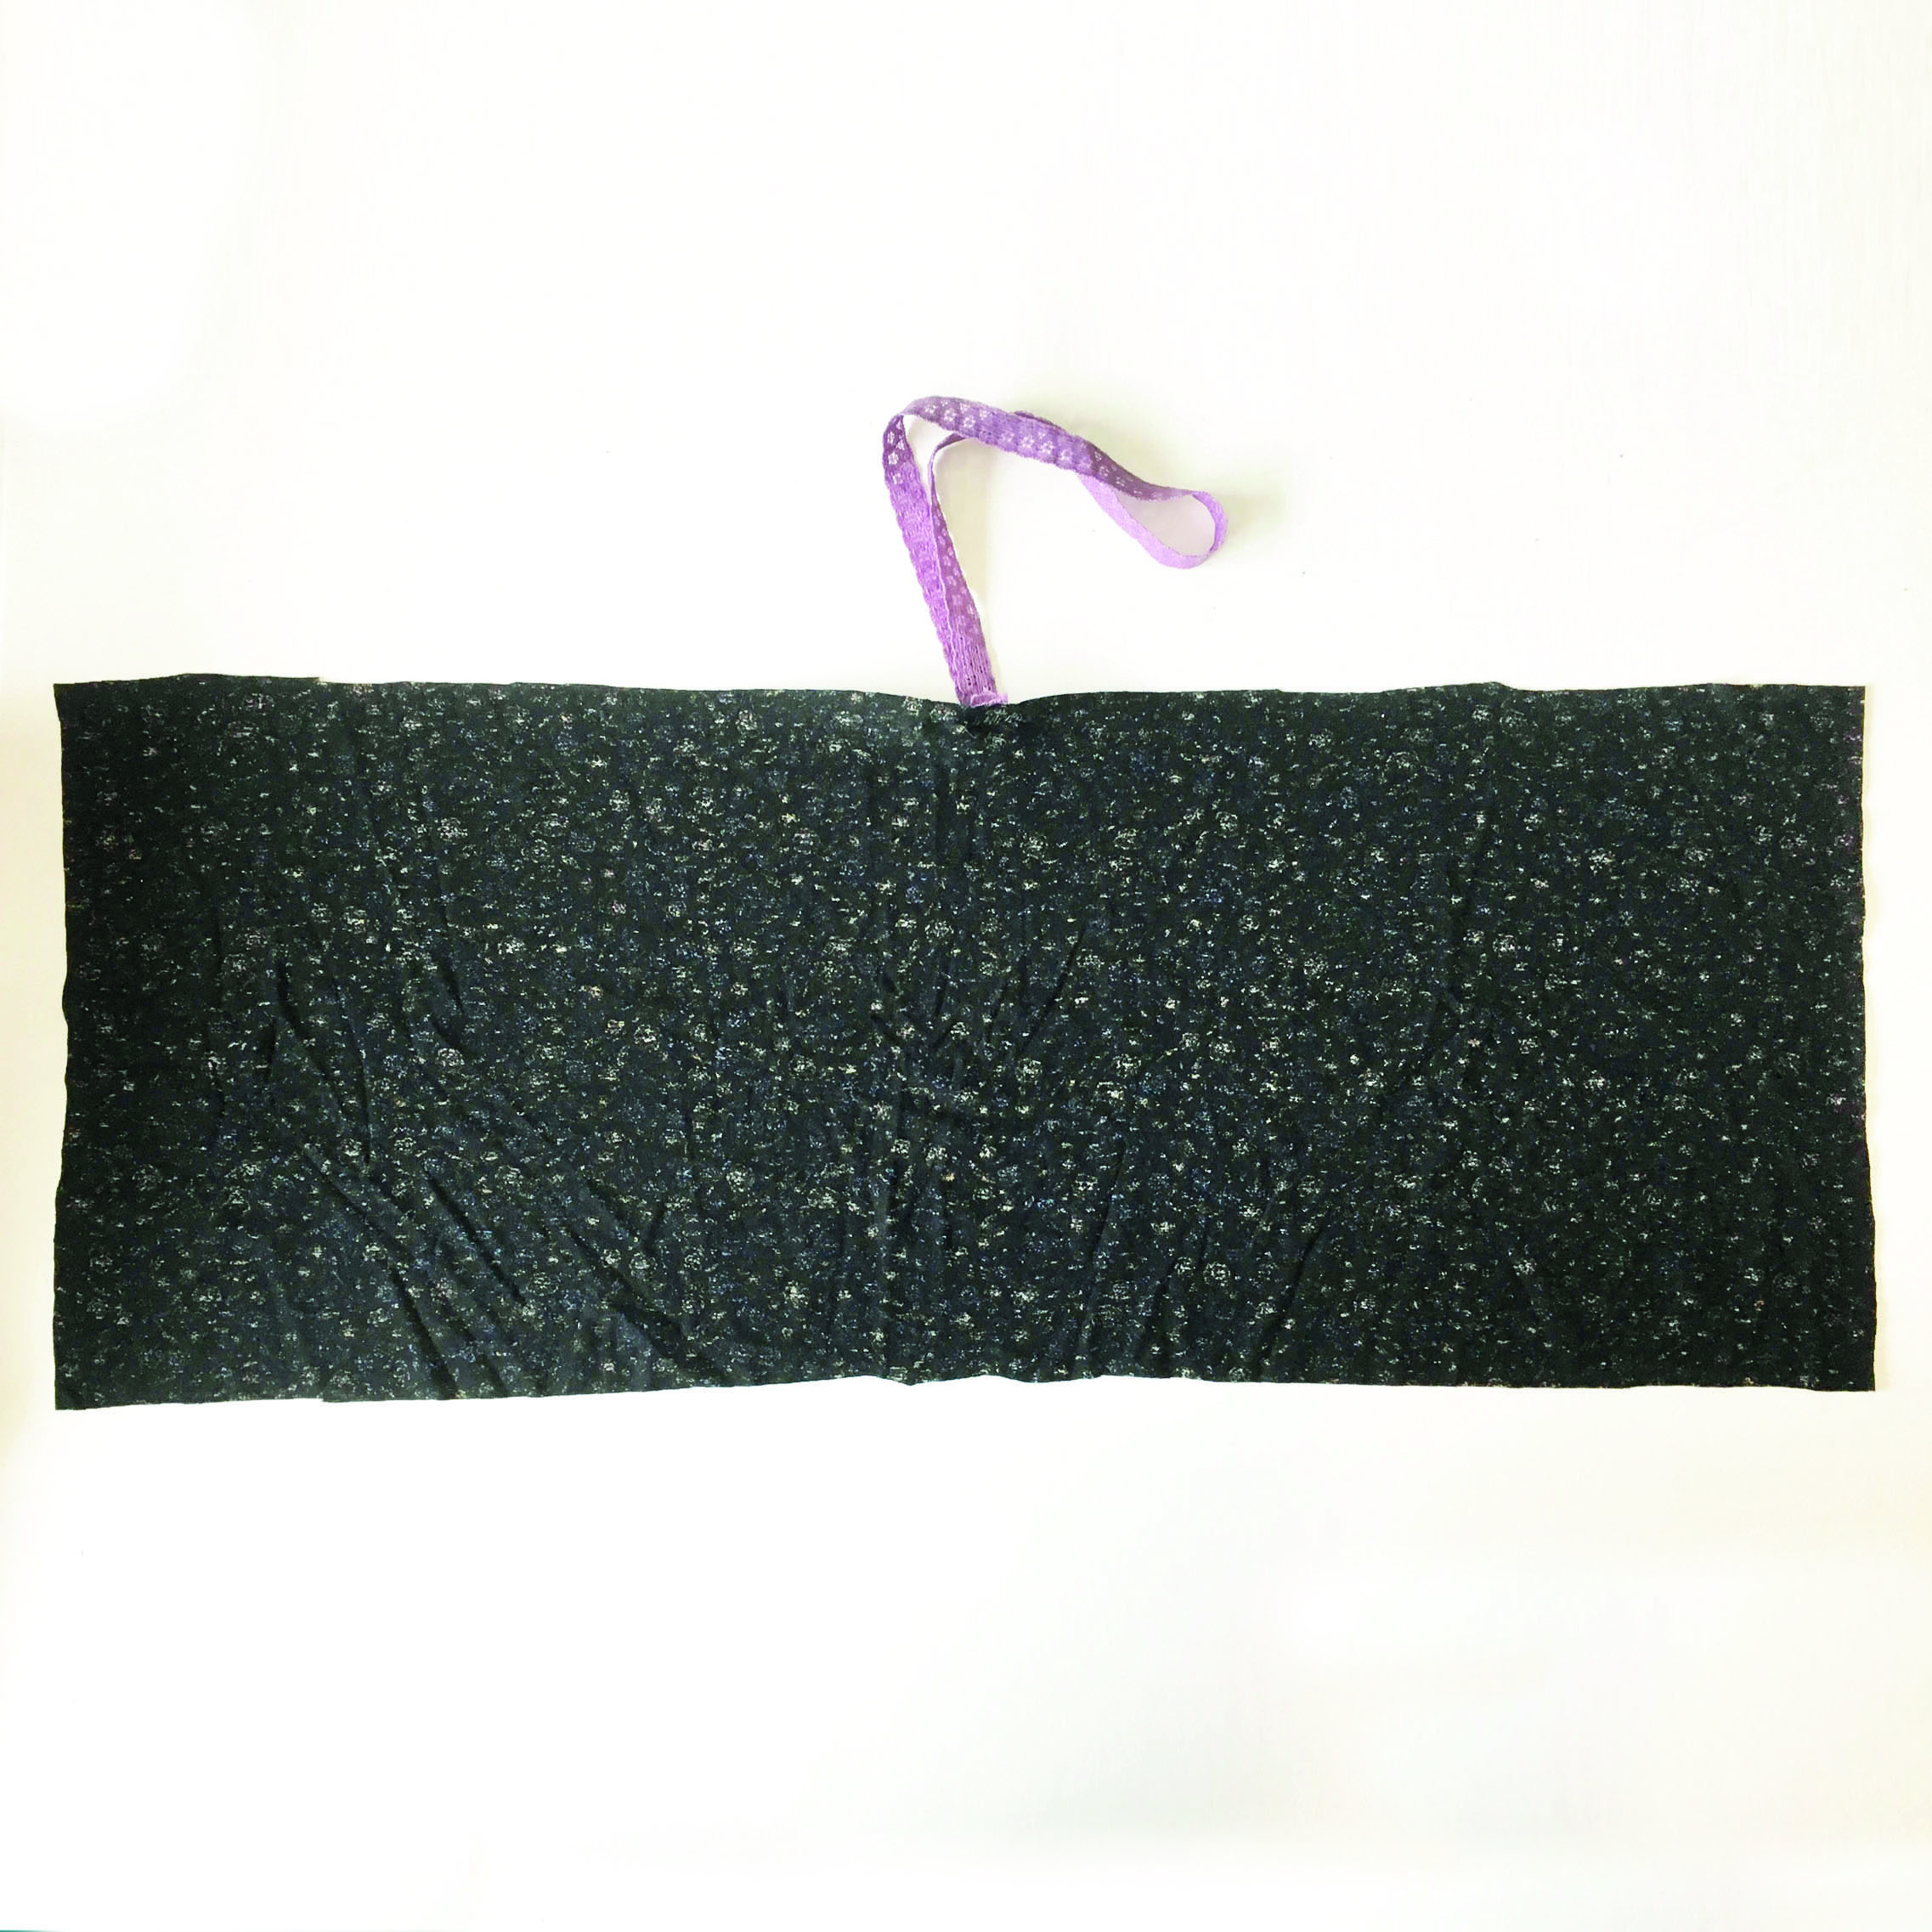
Step 2
Attach the elastic tape in the centre of the fabric with pins at both ends. Start near the edge of the fabric on the WS where the elastic lace ribbon is stitched on. The elastic tape is shorter than the height of the fabric so the fabric will gather.
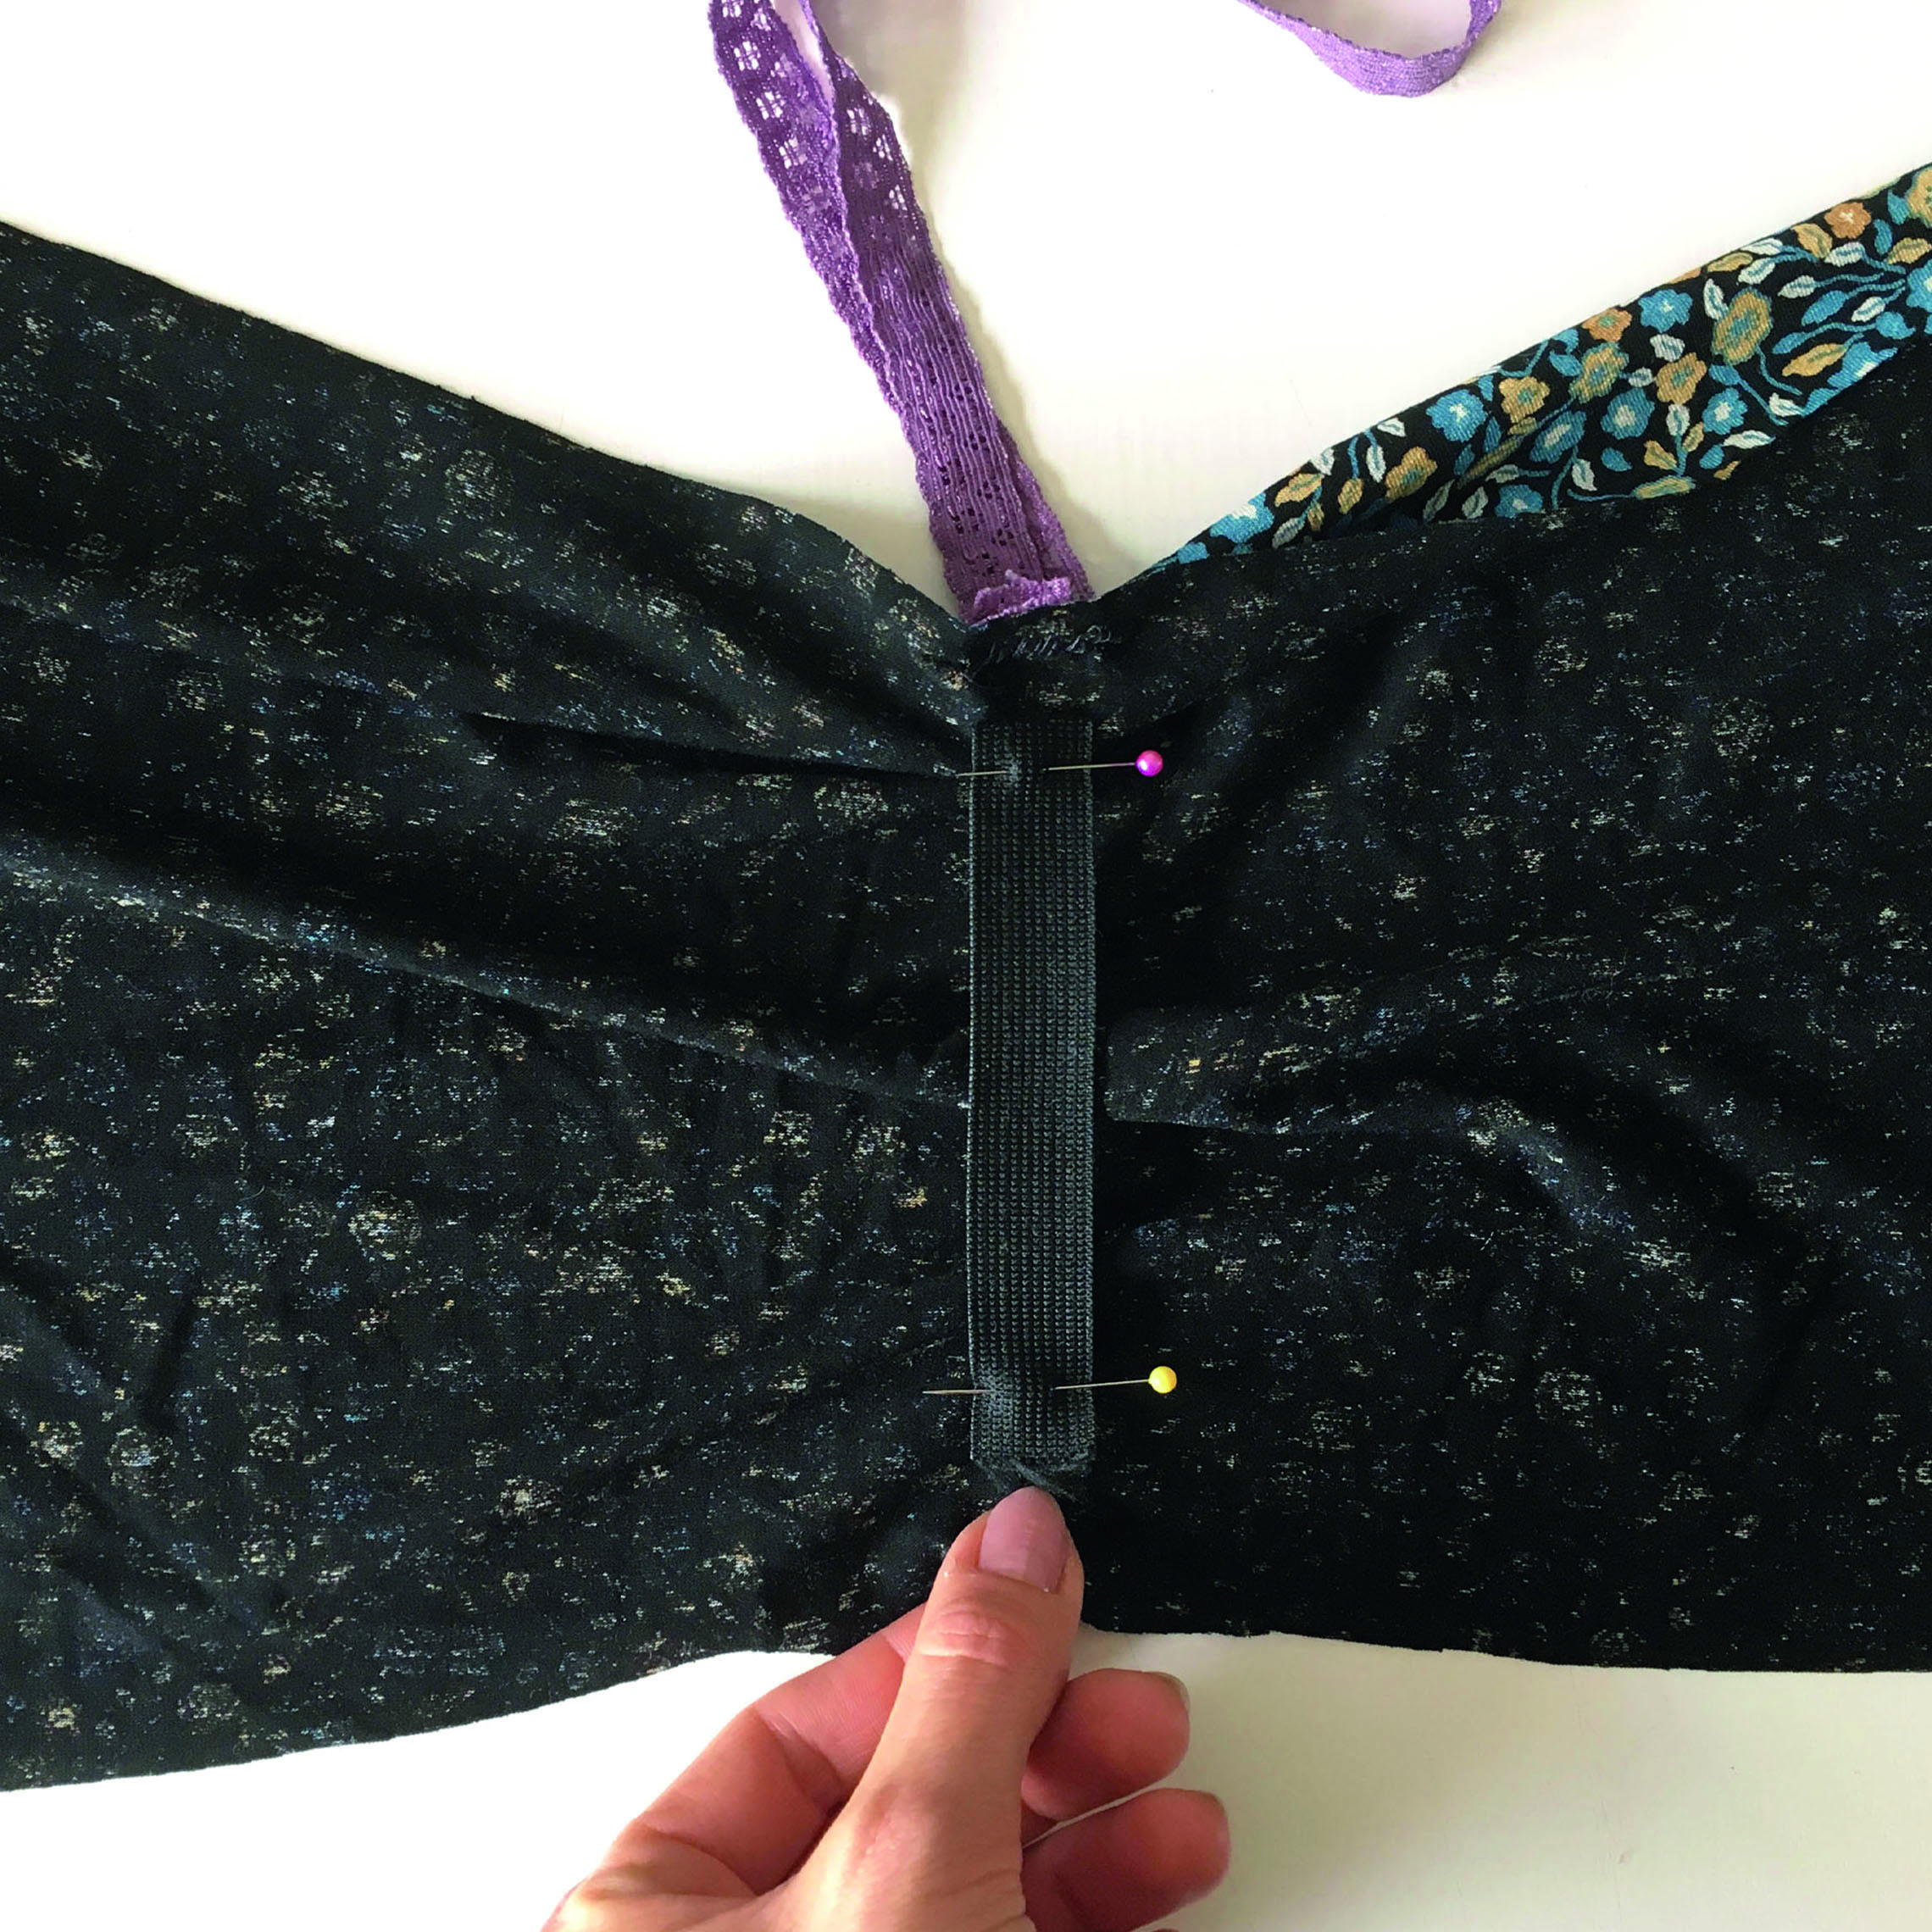
Step 3
Starting at one end of the elastic, stitch it onto the fabric with zigzag stitch. Make sure the elastic lace loop is folded out so you do not sew through it by mistake.
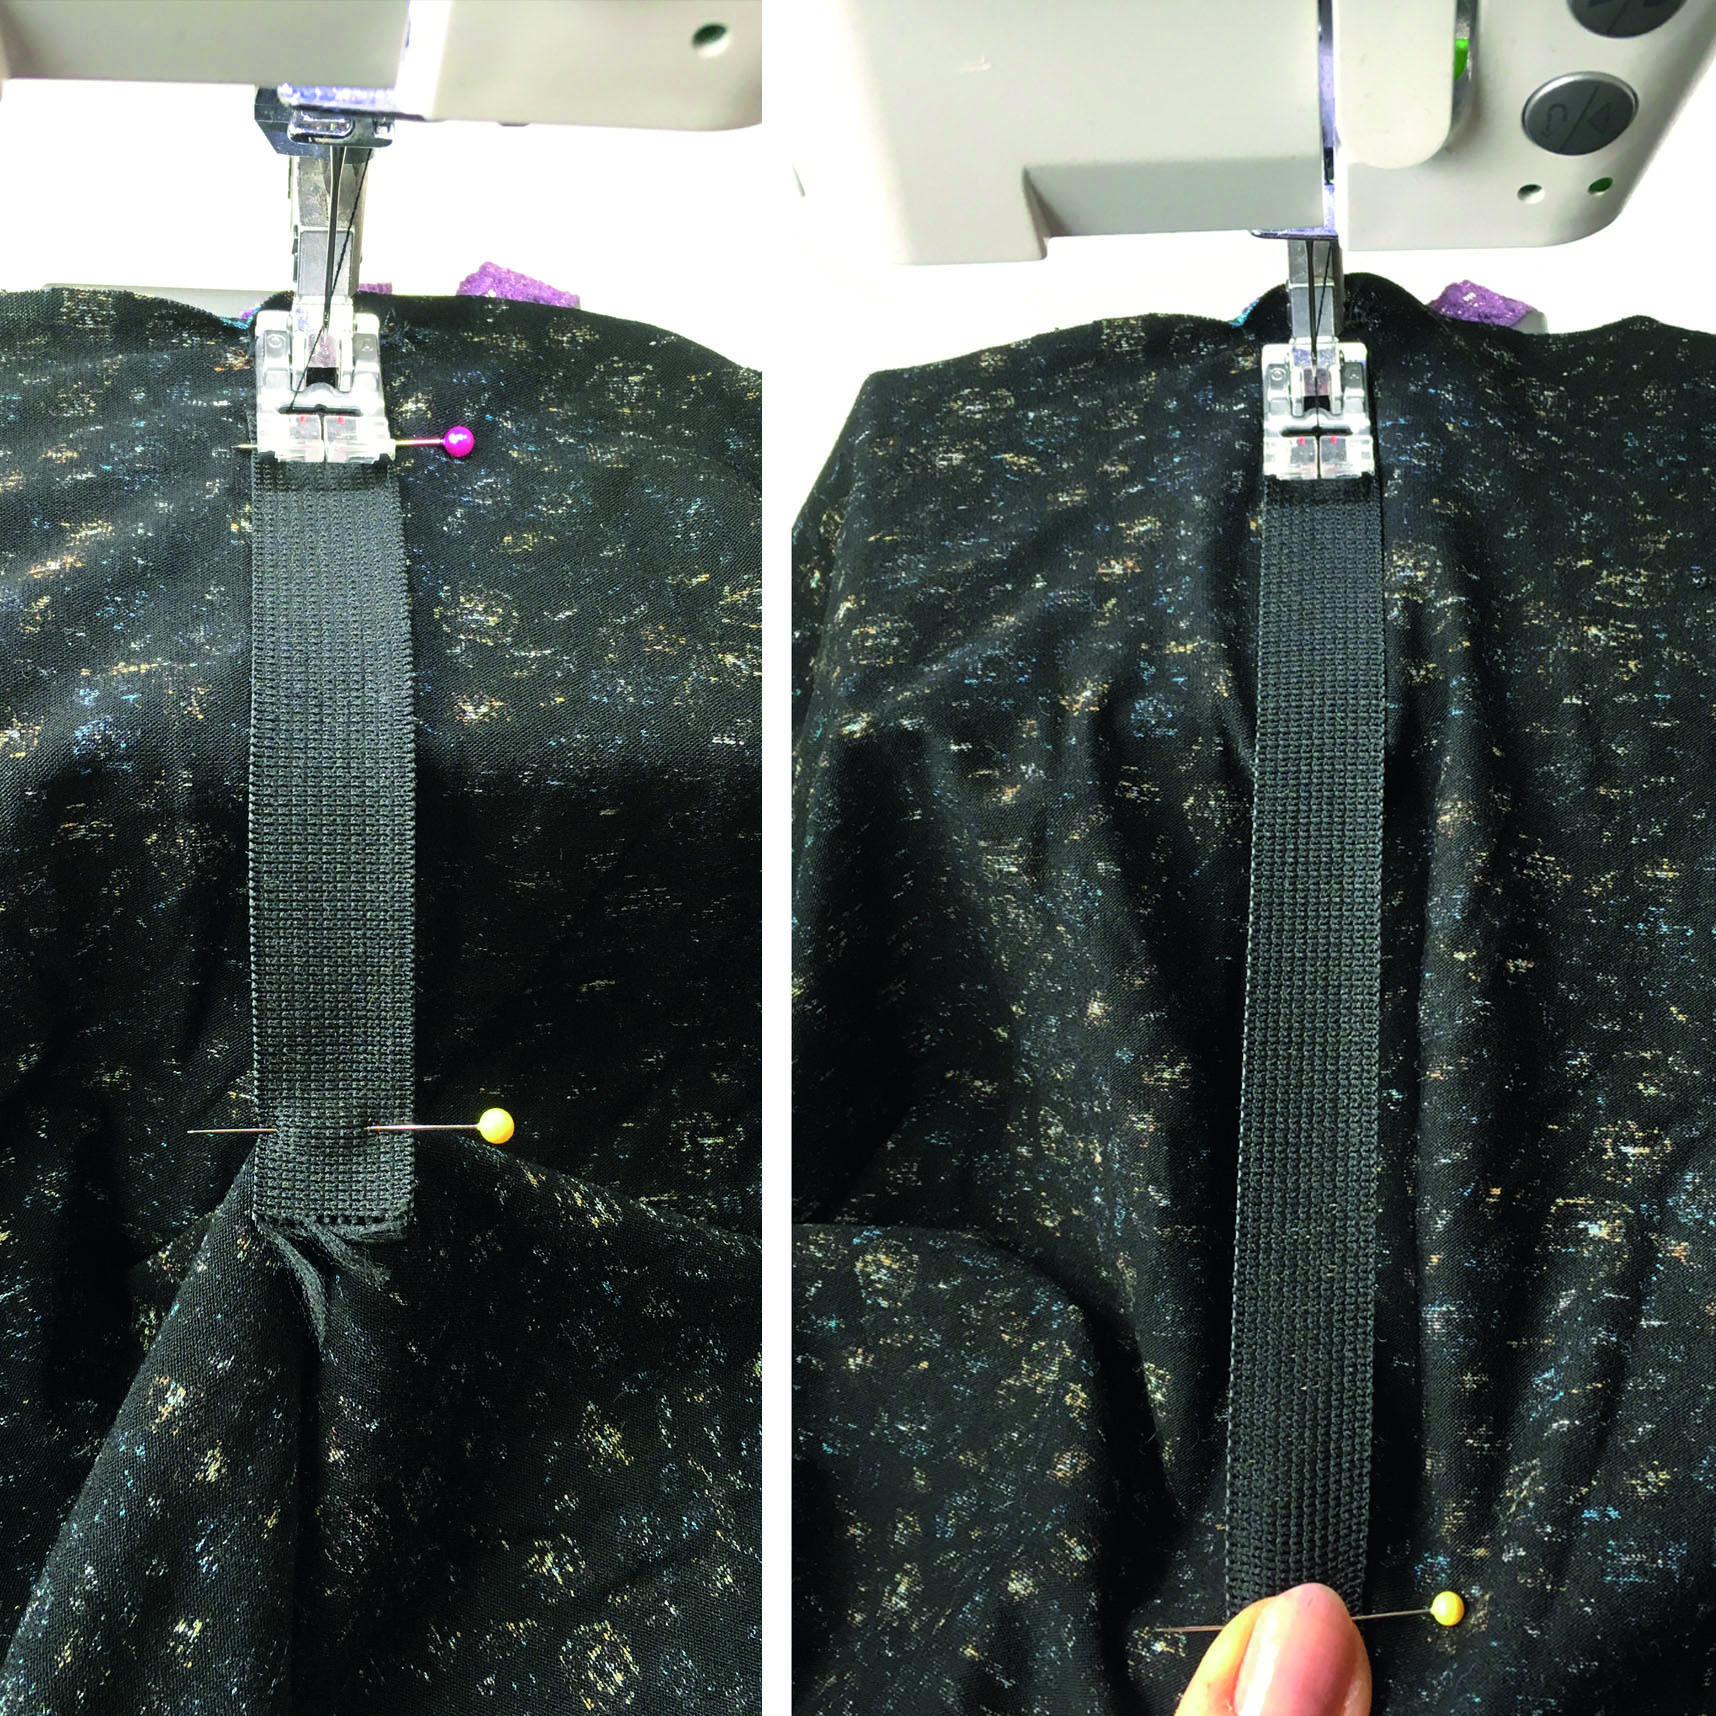
Step 4
From the RS of the fabric you will be able to see that the fabric gathers evenly down the middle.
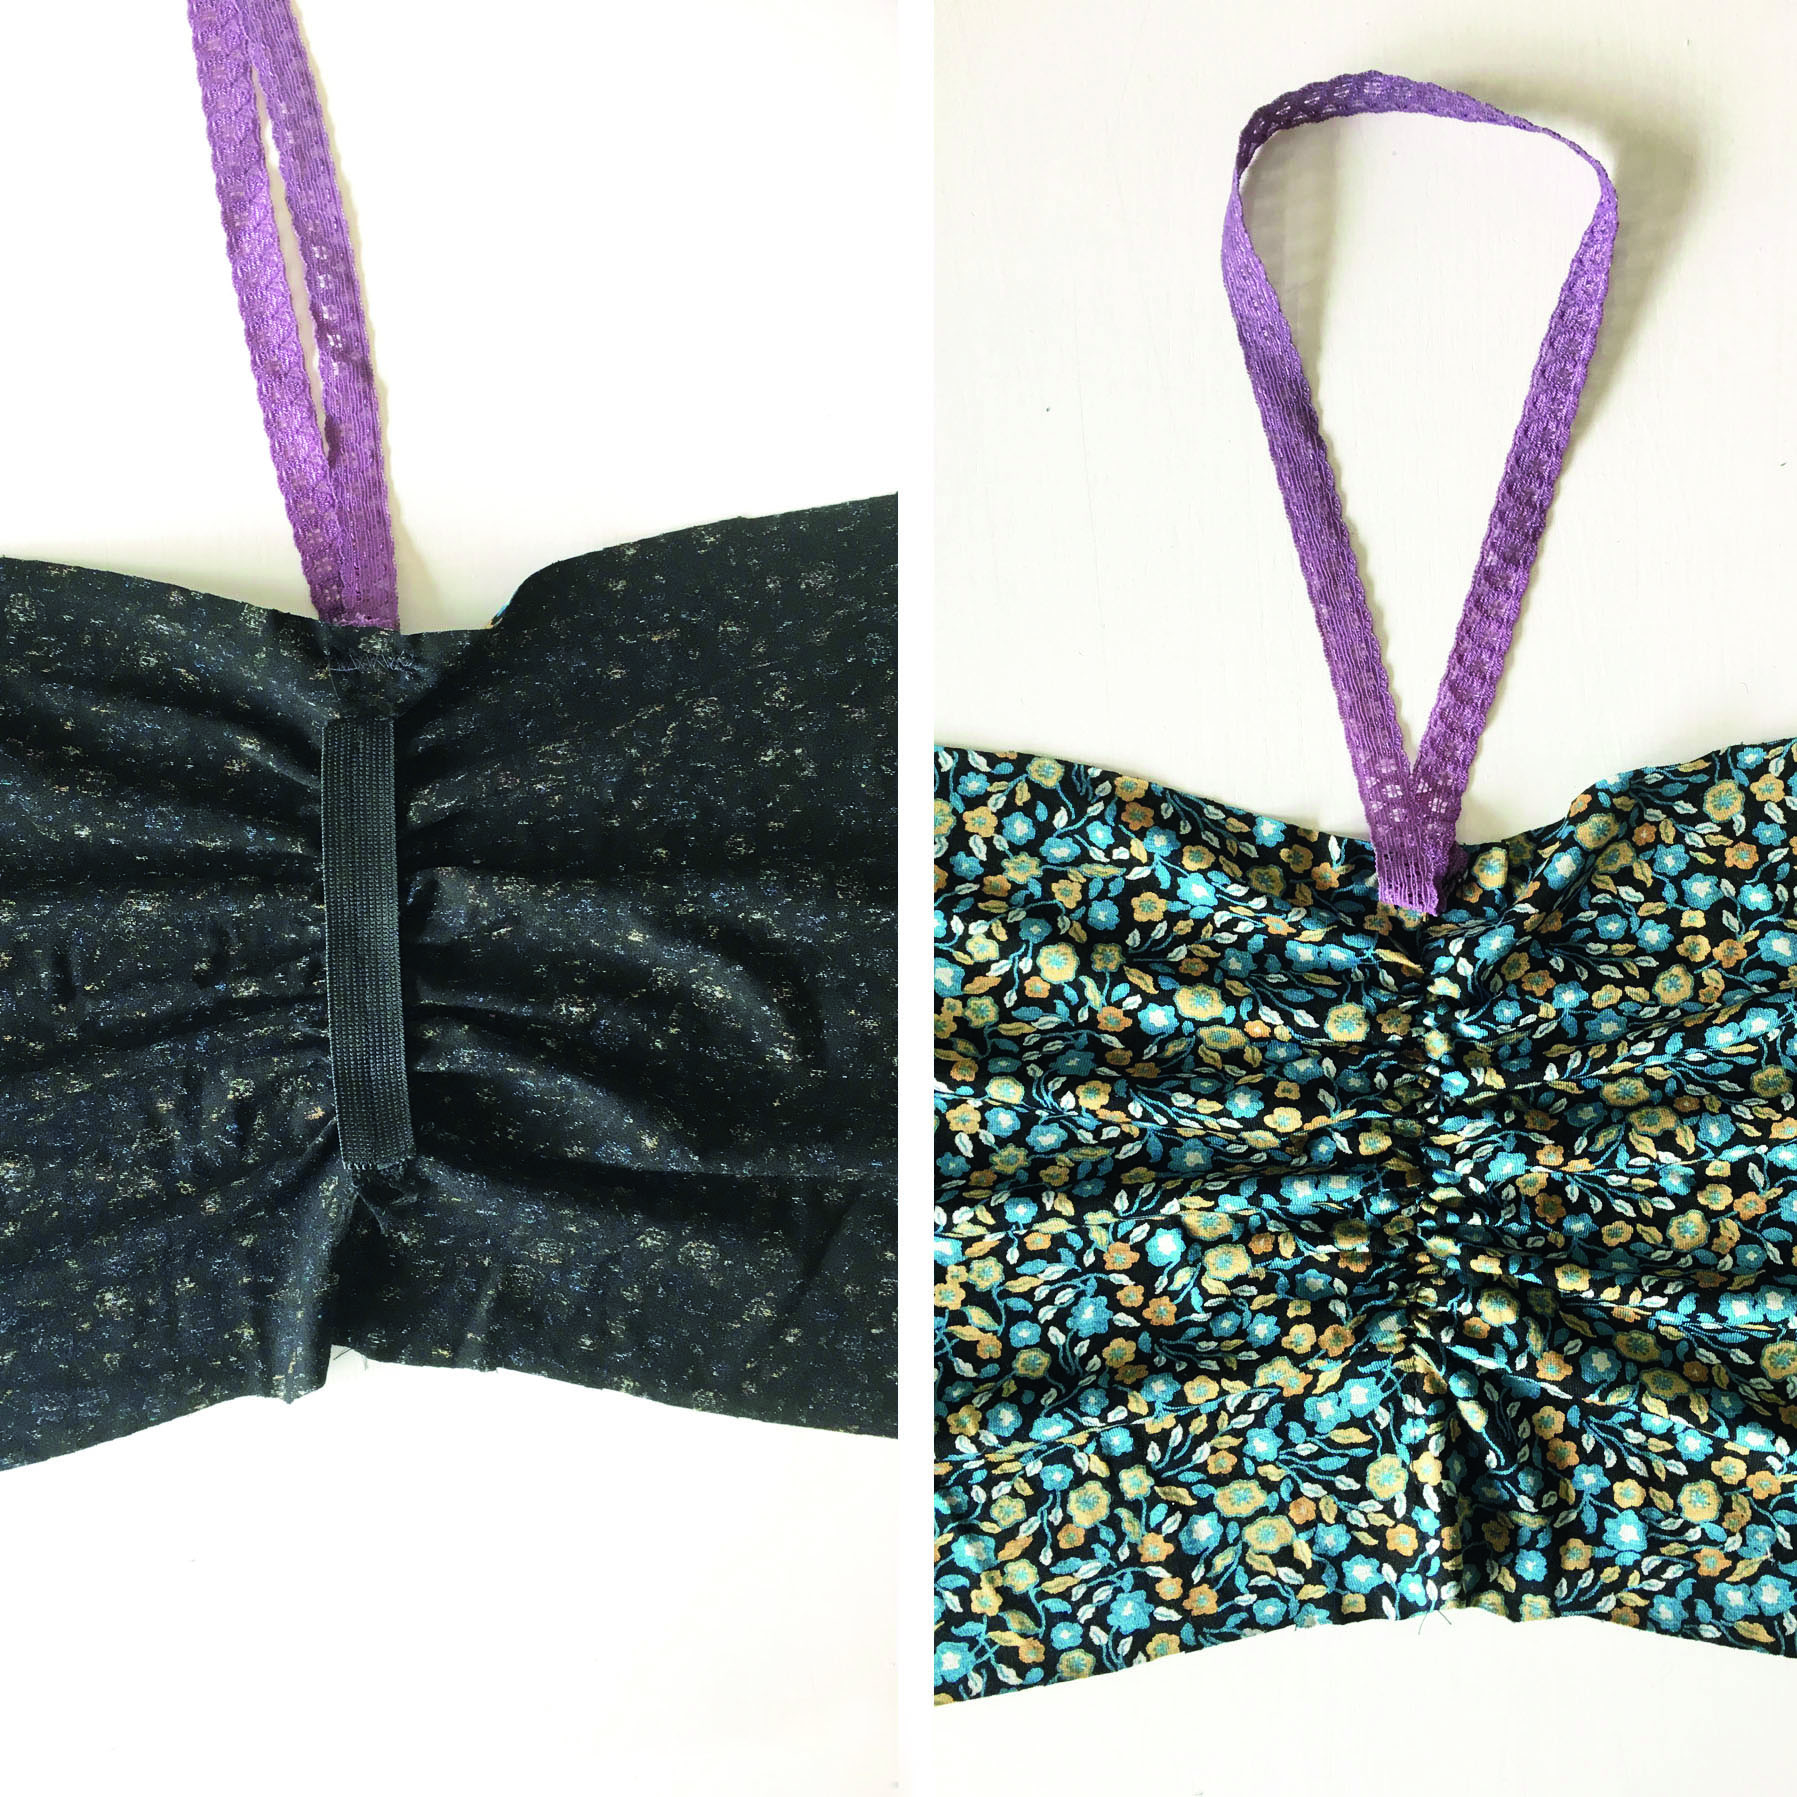
Making the bodice
Step 1
Now the two rectangular pieces of fabric must be joined together. Place the two rectangular dress top pieces together with RS facing. Pin then stitch along the long edge where the elastic lace ribbon is attached.
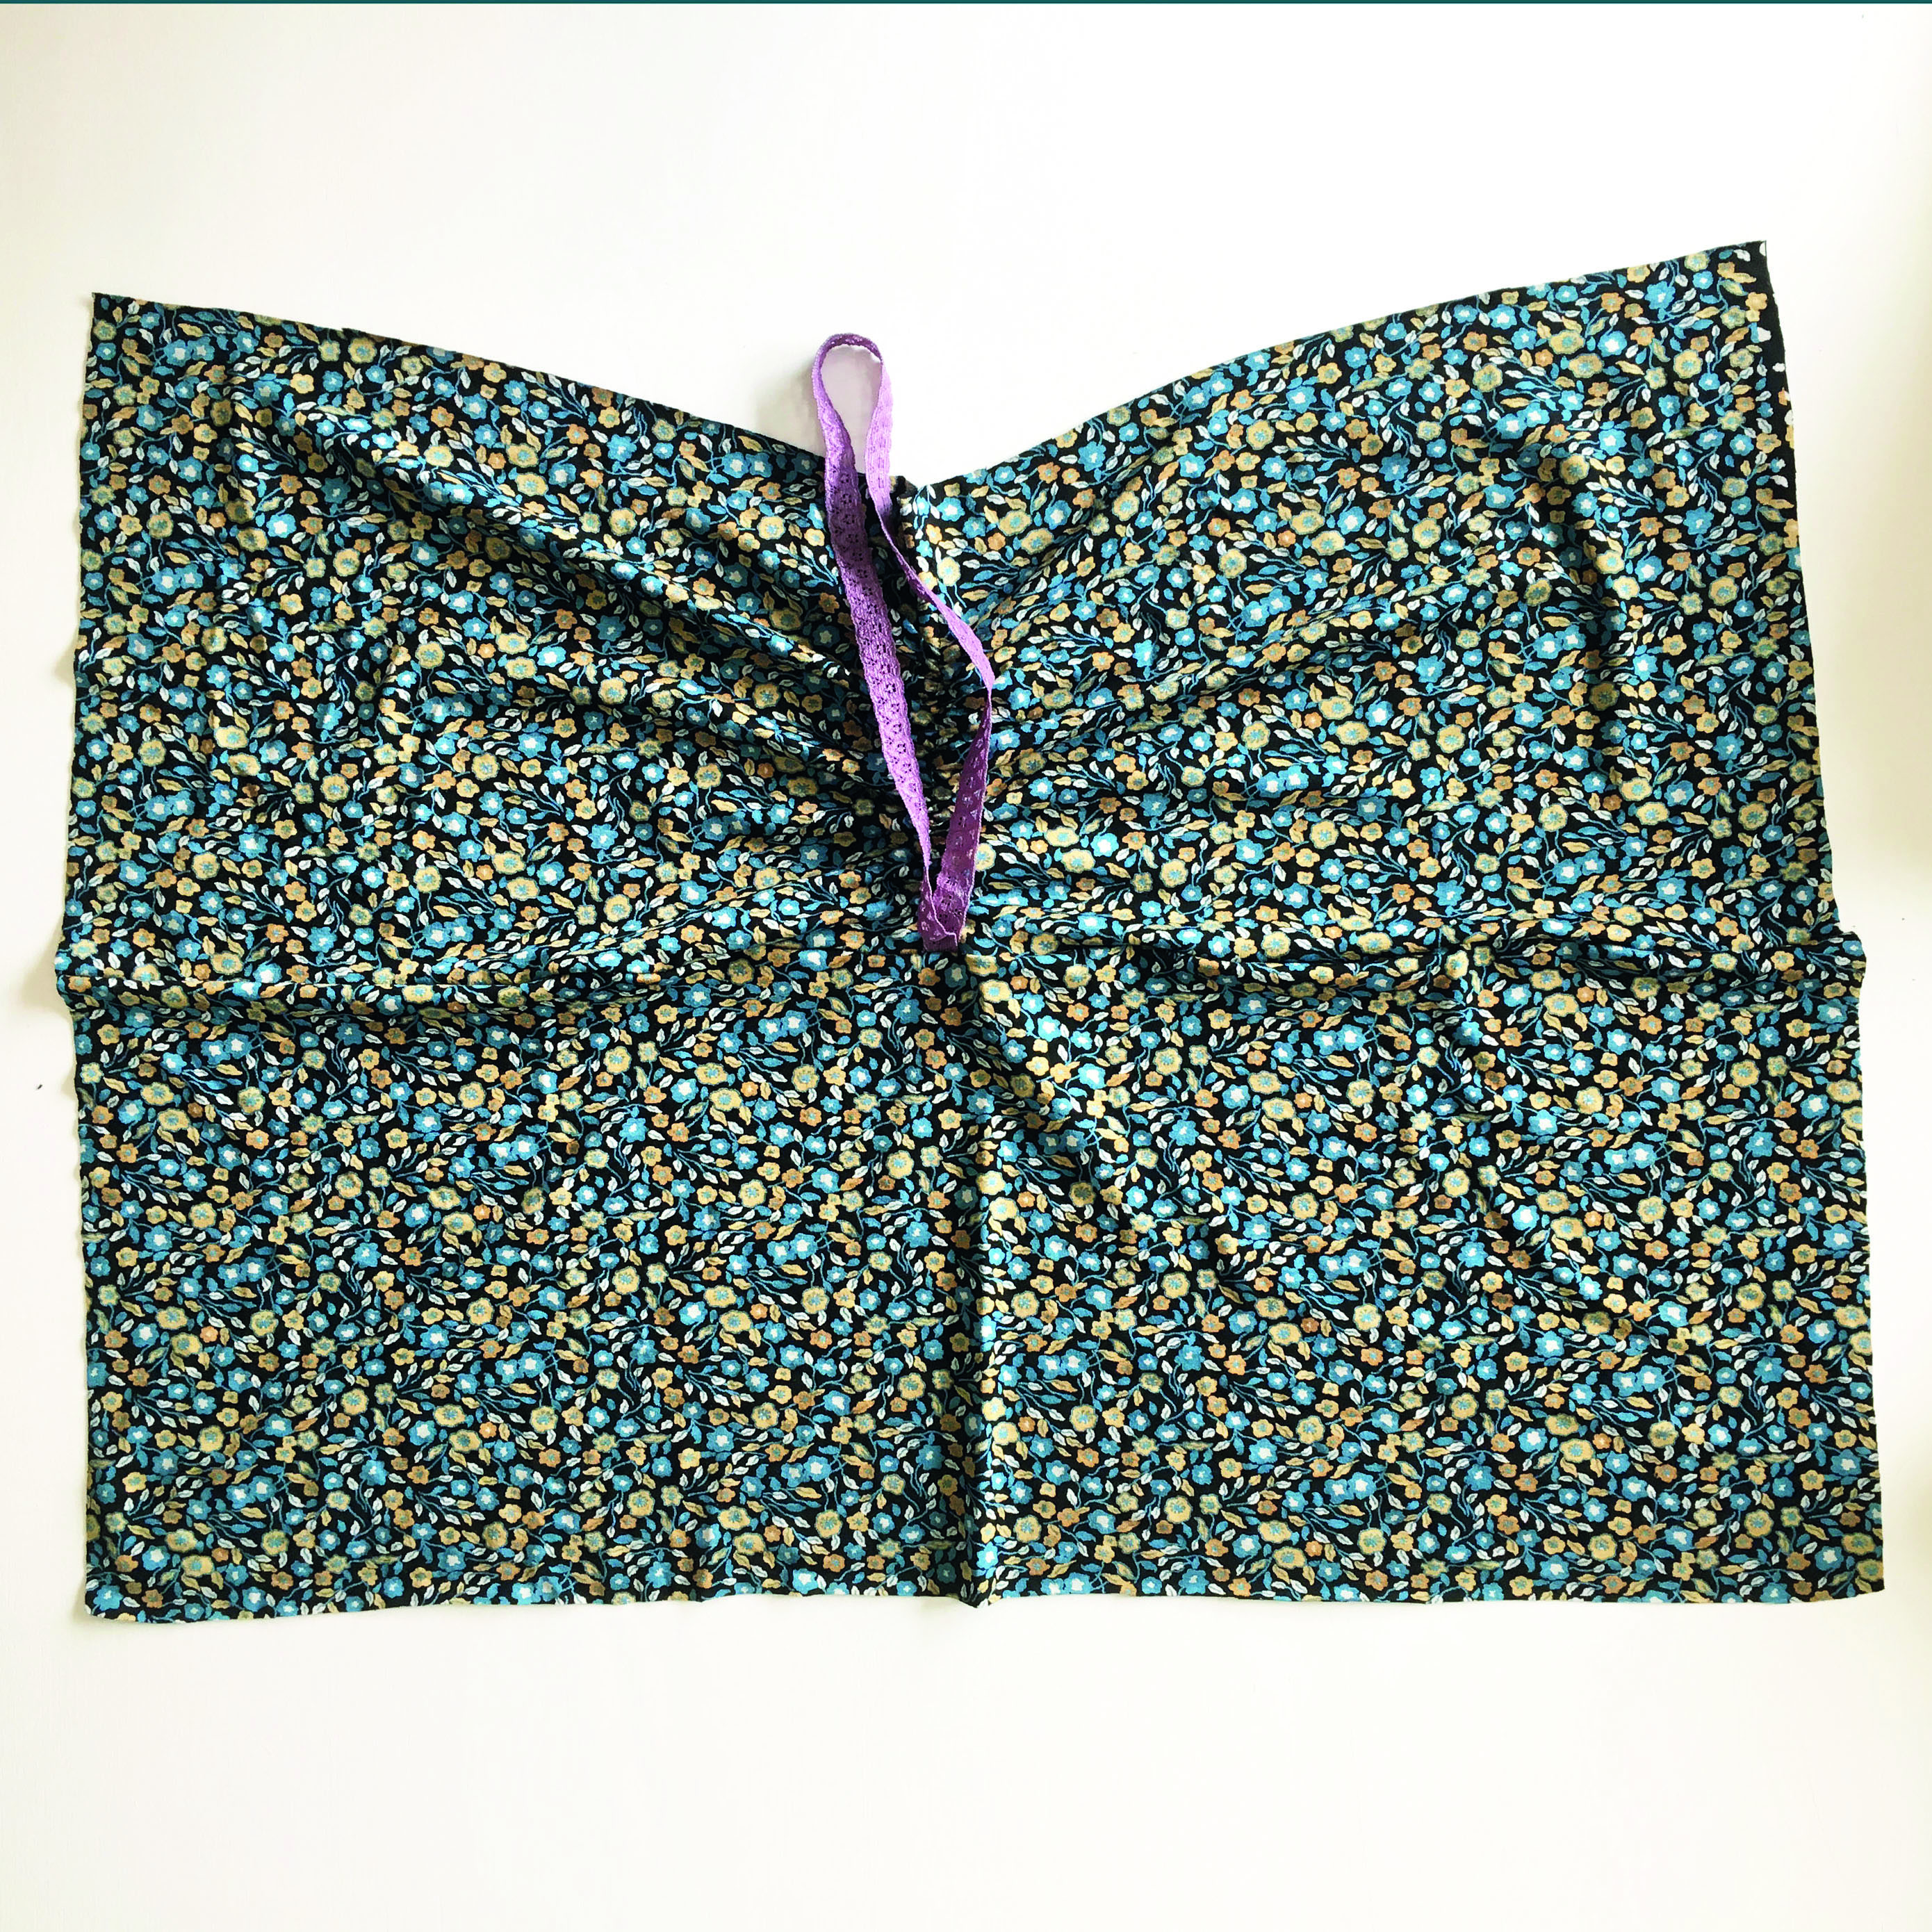
Step 2
The bodice fabric pieces are now stitched together. When you open them up you can see the loop of the elastic lace ribbon facing out of the centre.
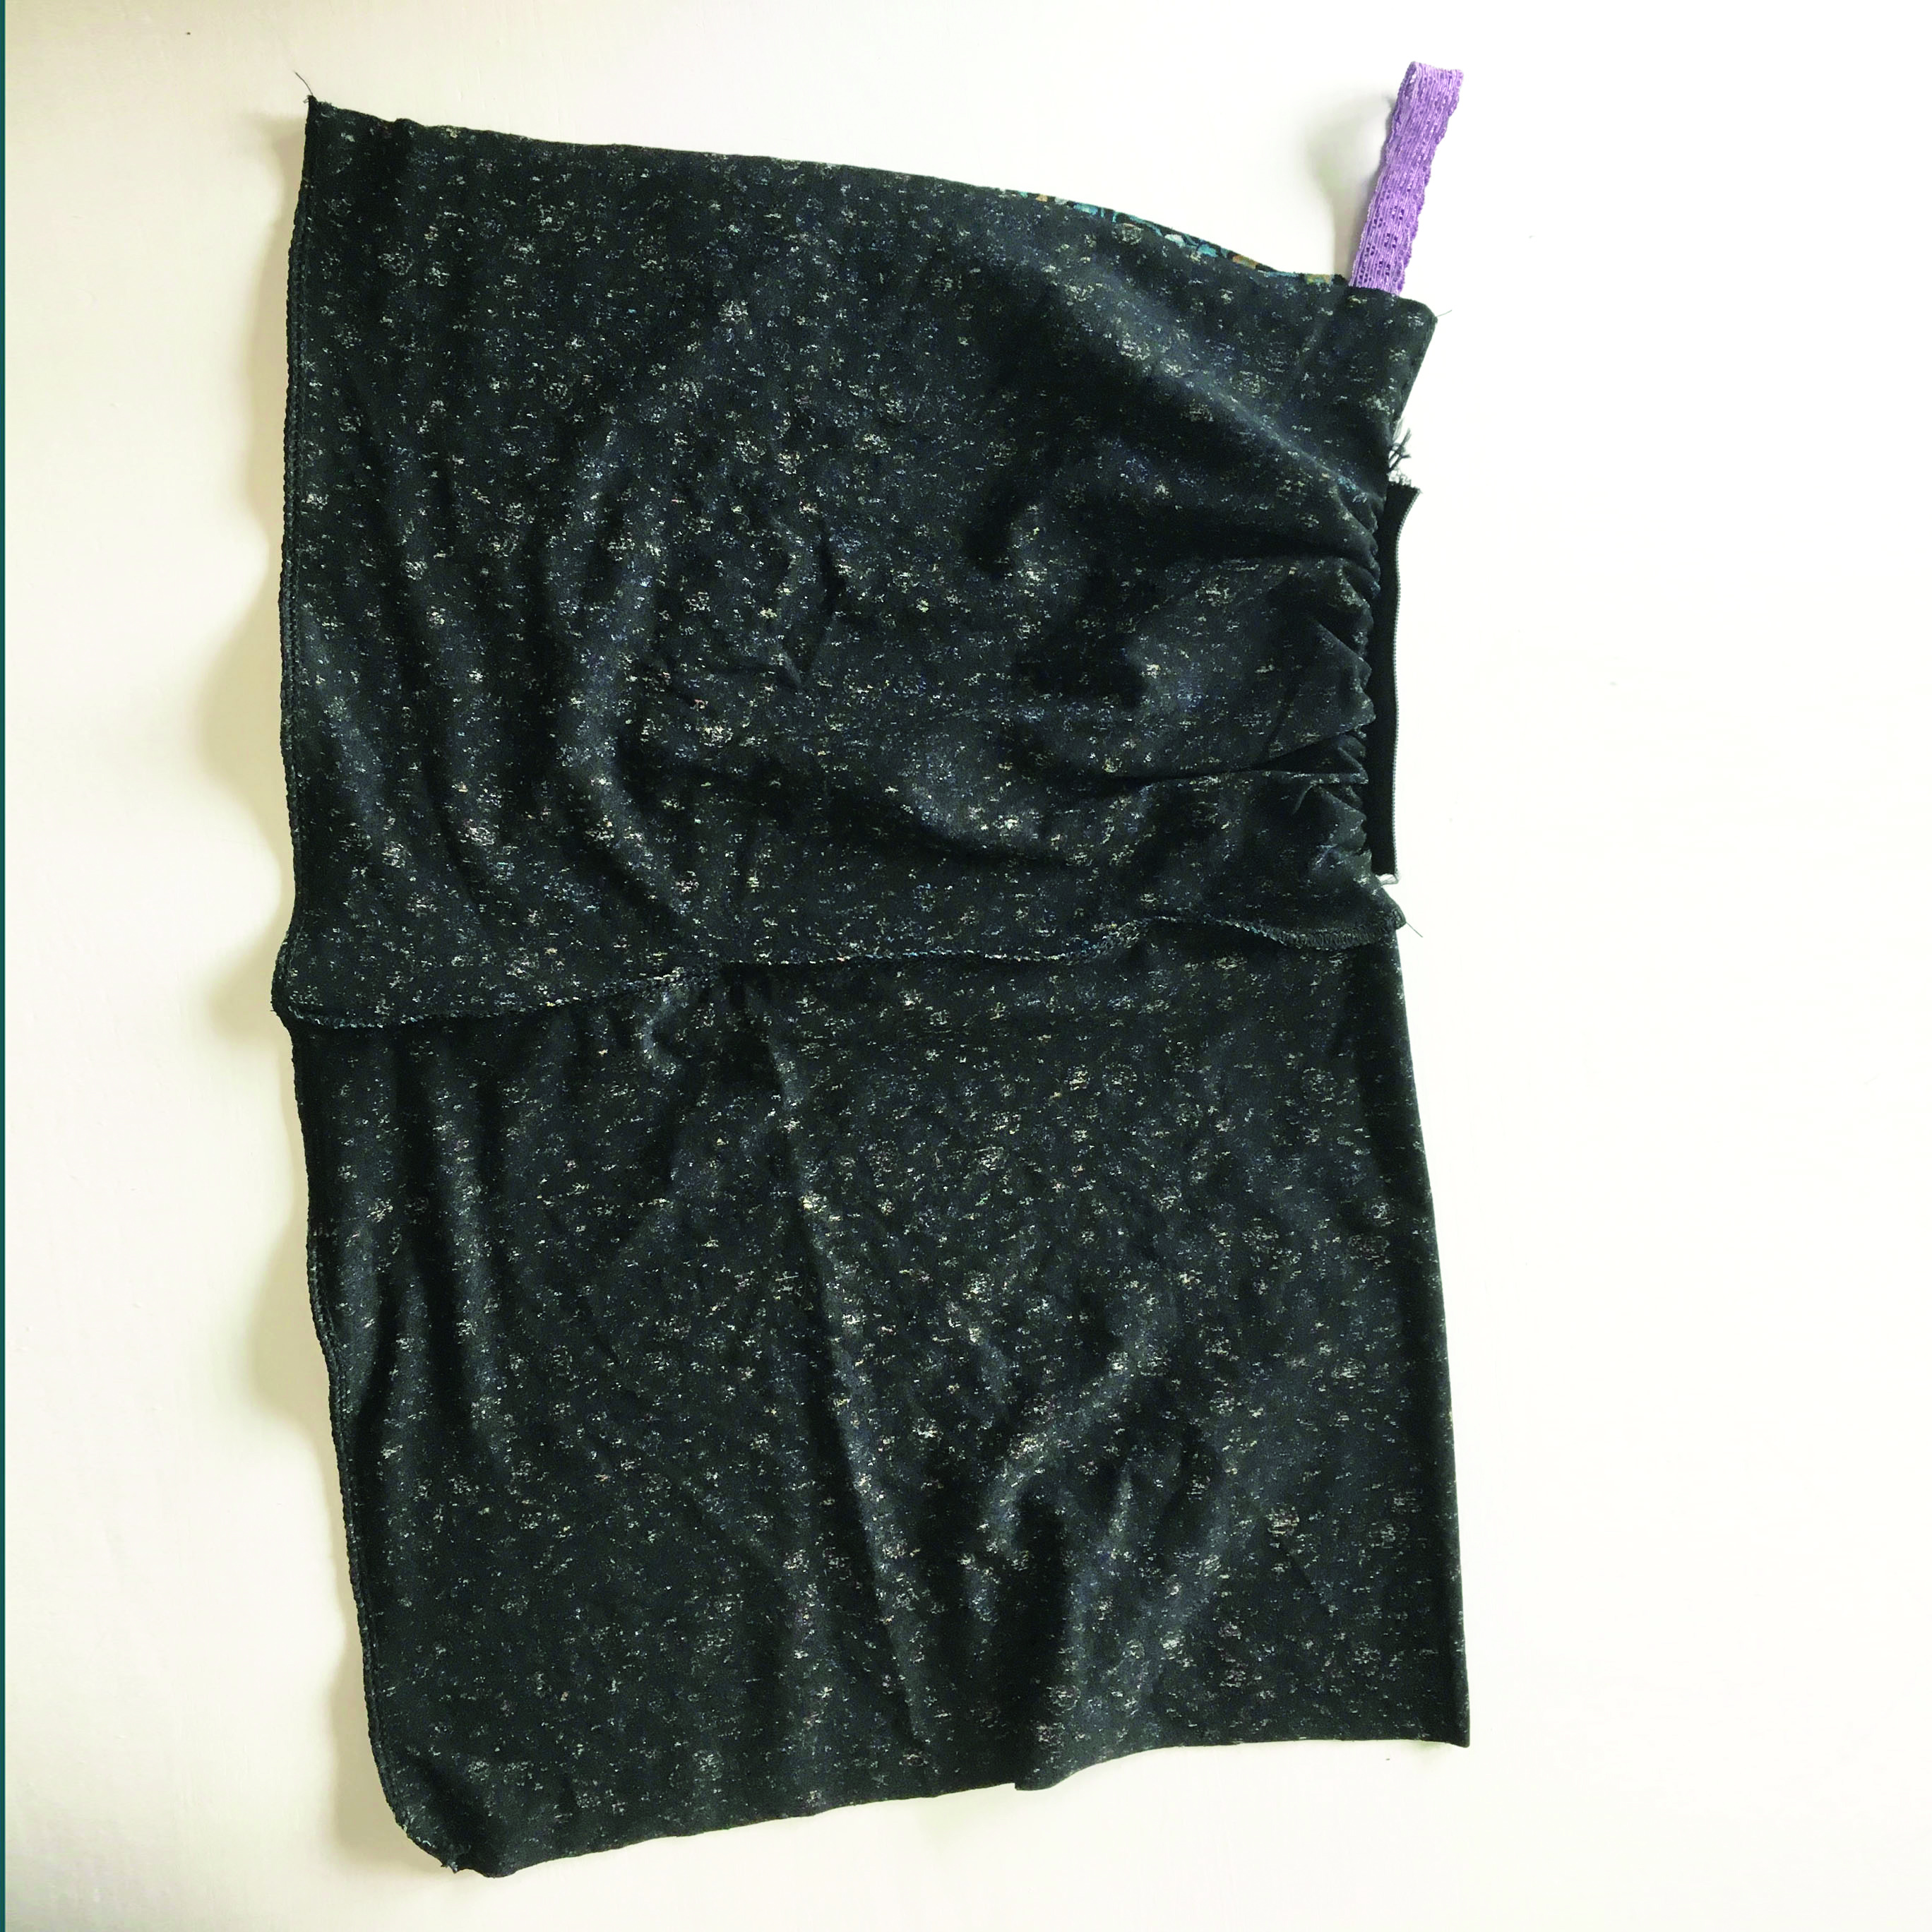
Step 3
Fold the piece of fabric so the RS are together and the two shorter ends meet. Pin and then stitch these two ends together, 1cm (3⁄8in) from the edge.
Step 4
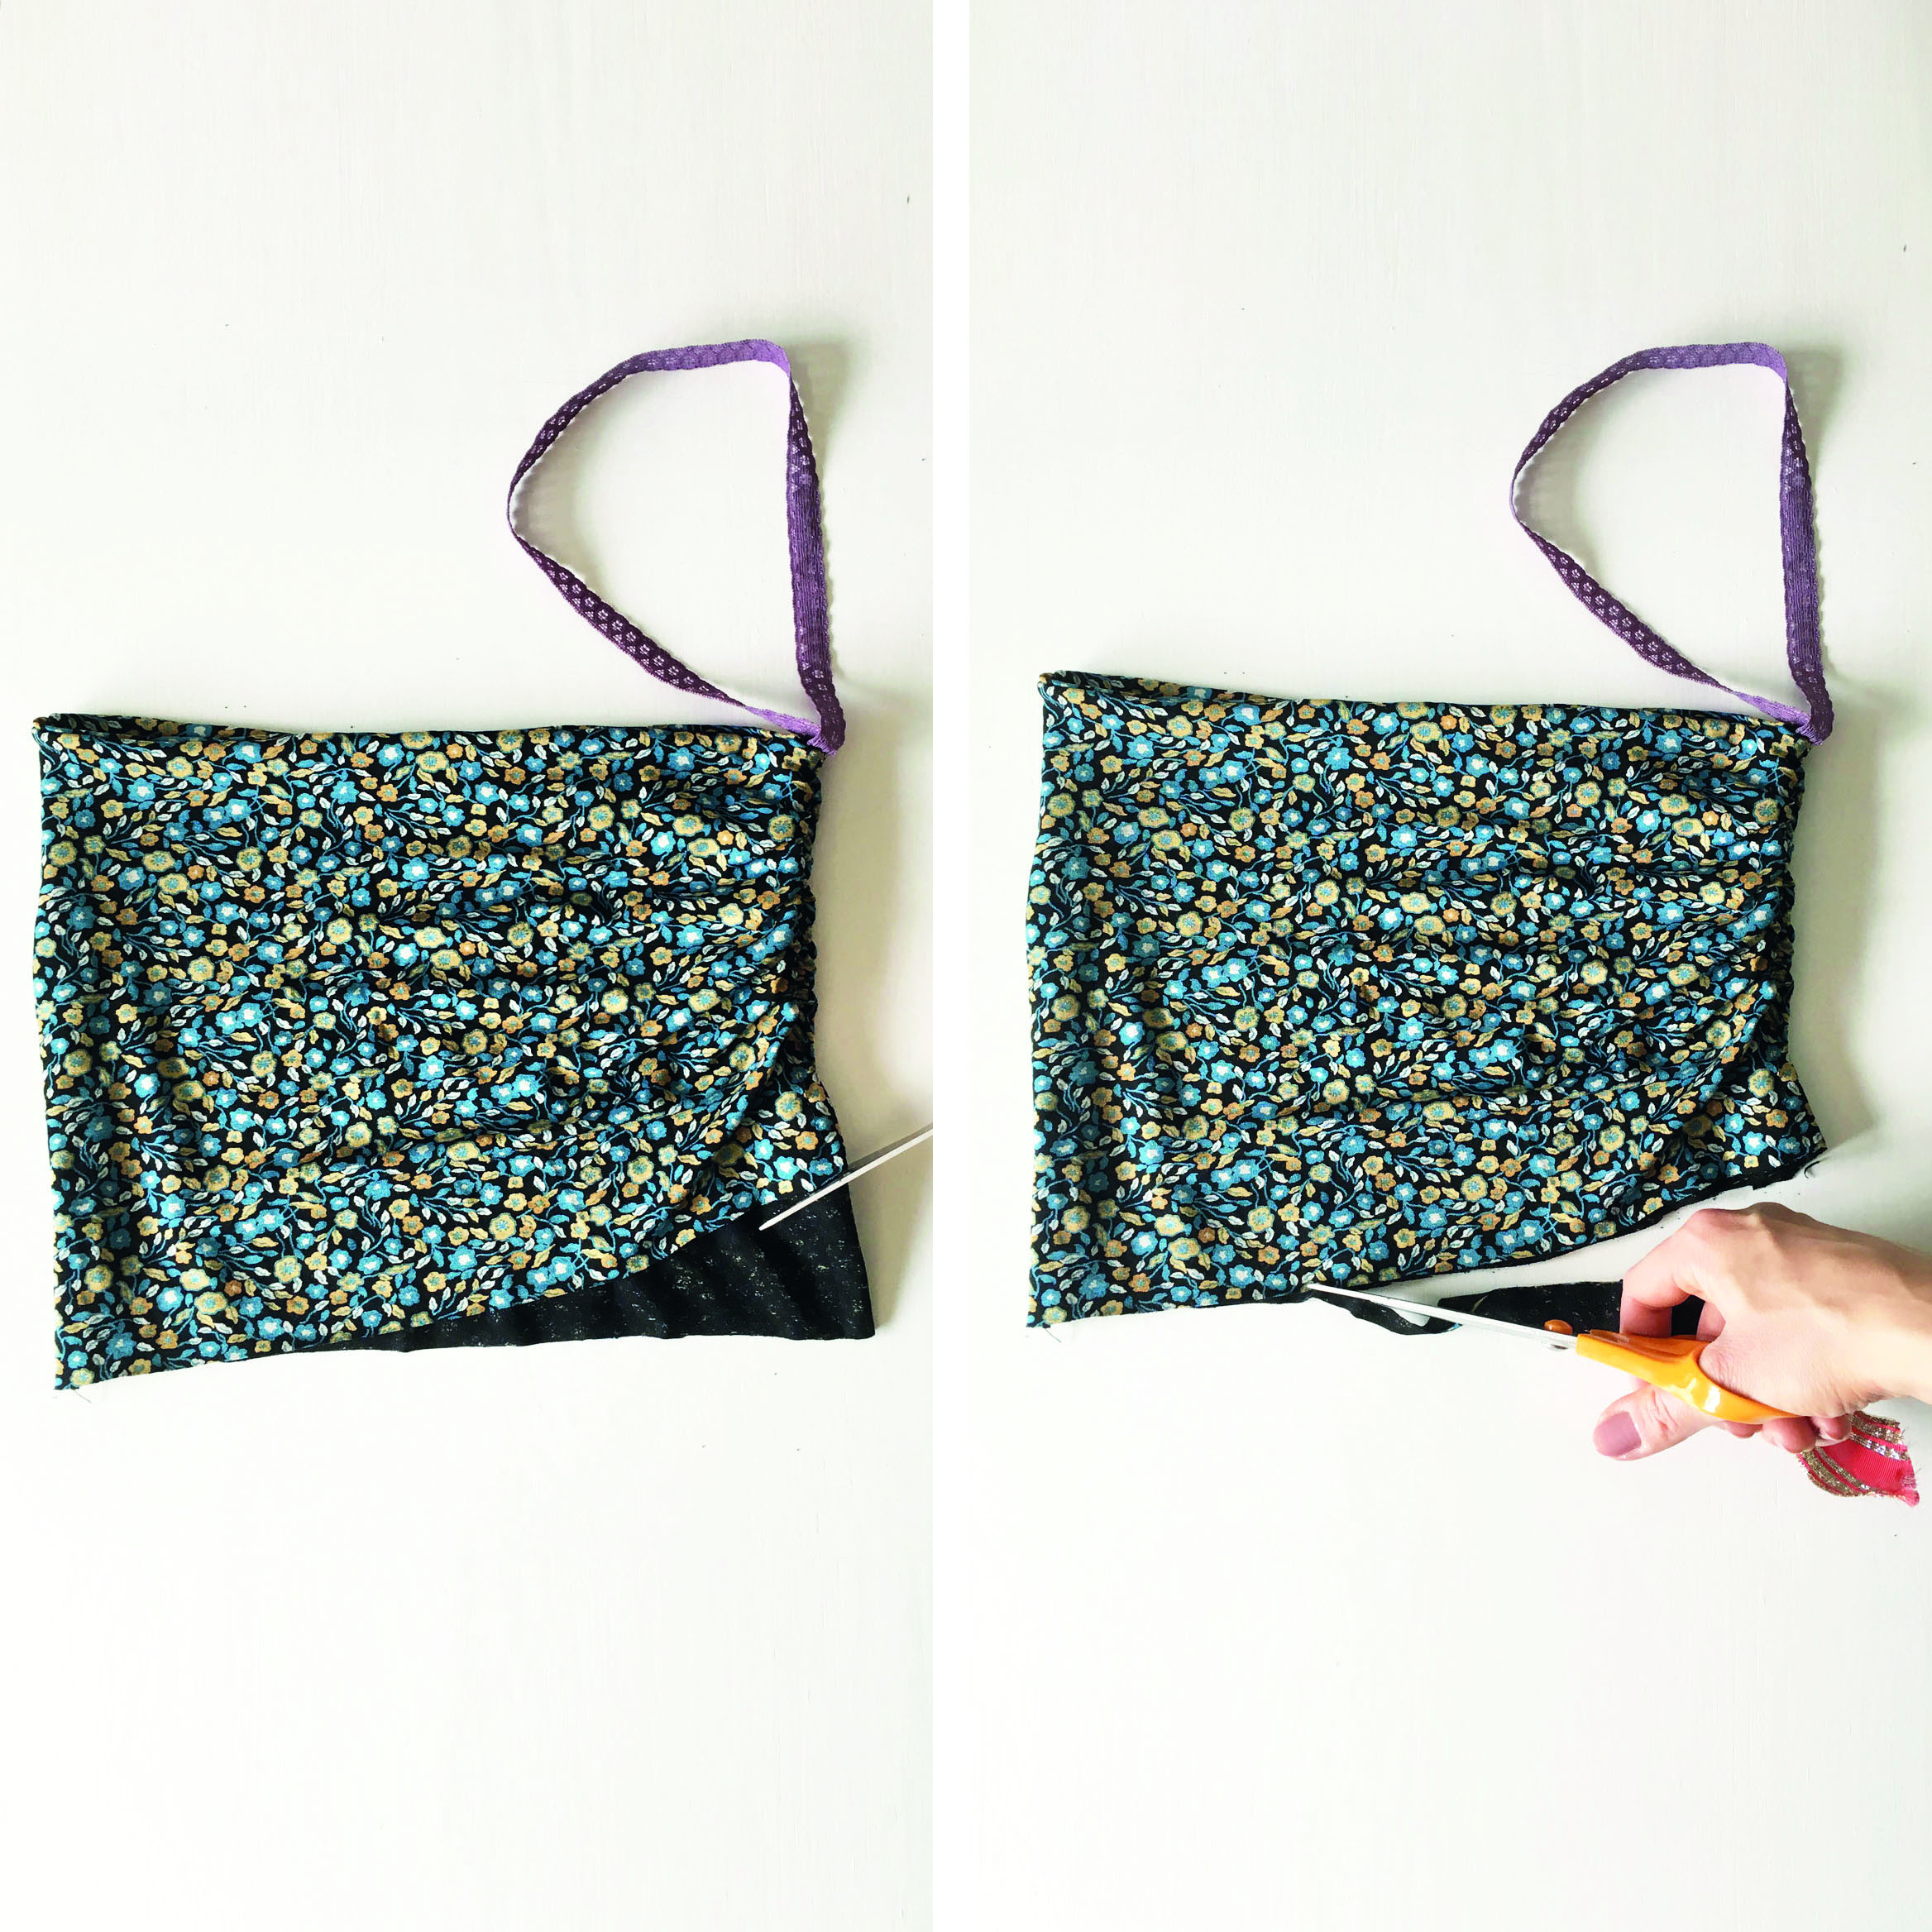
Turn the fabric RS out and you will now have a tube. The loop of elastic lace ribbon should be in the centre of the top edge. Because this side of the fabric becomes shorter with the gathering, the fabric behind it will peek out along the lower edge. Trim this excess away and then trim around the rest of the loop so that the raw edges align.
Step 5
Try the top on at this stage to check the fit. Adjust the fit if necessary.
Gathering the skirt
Step 1
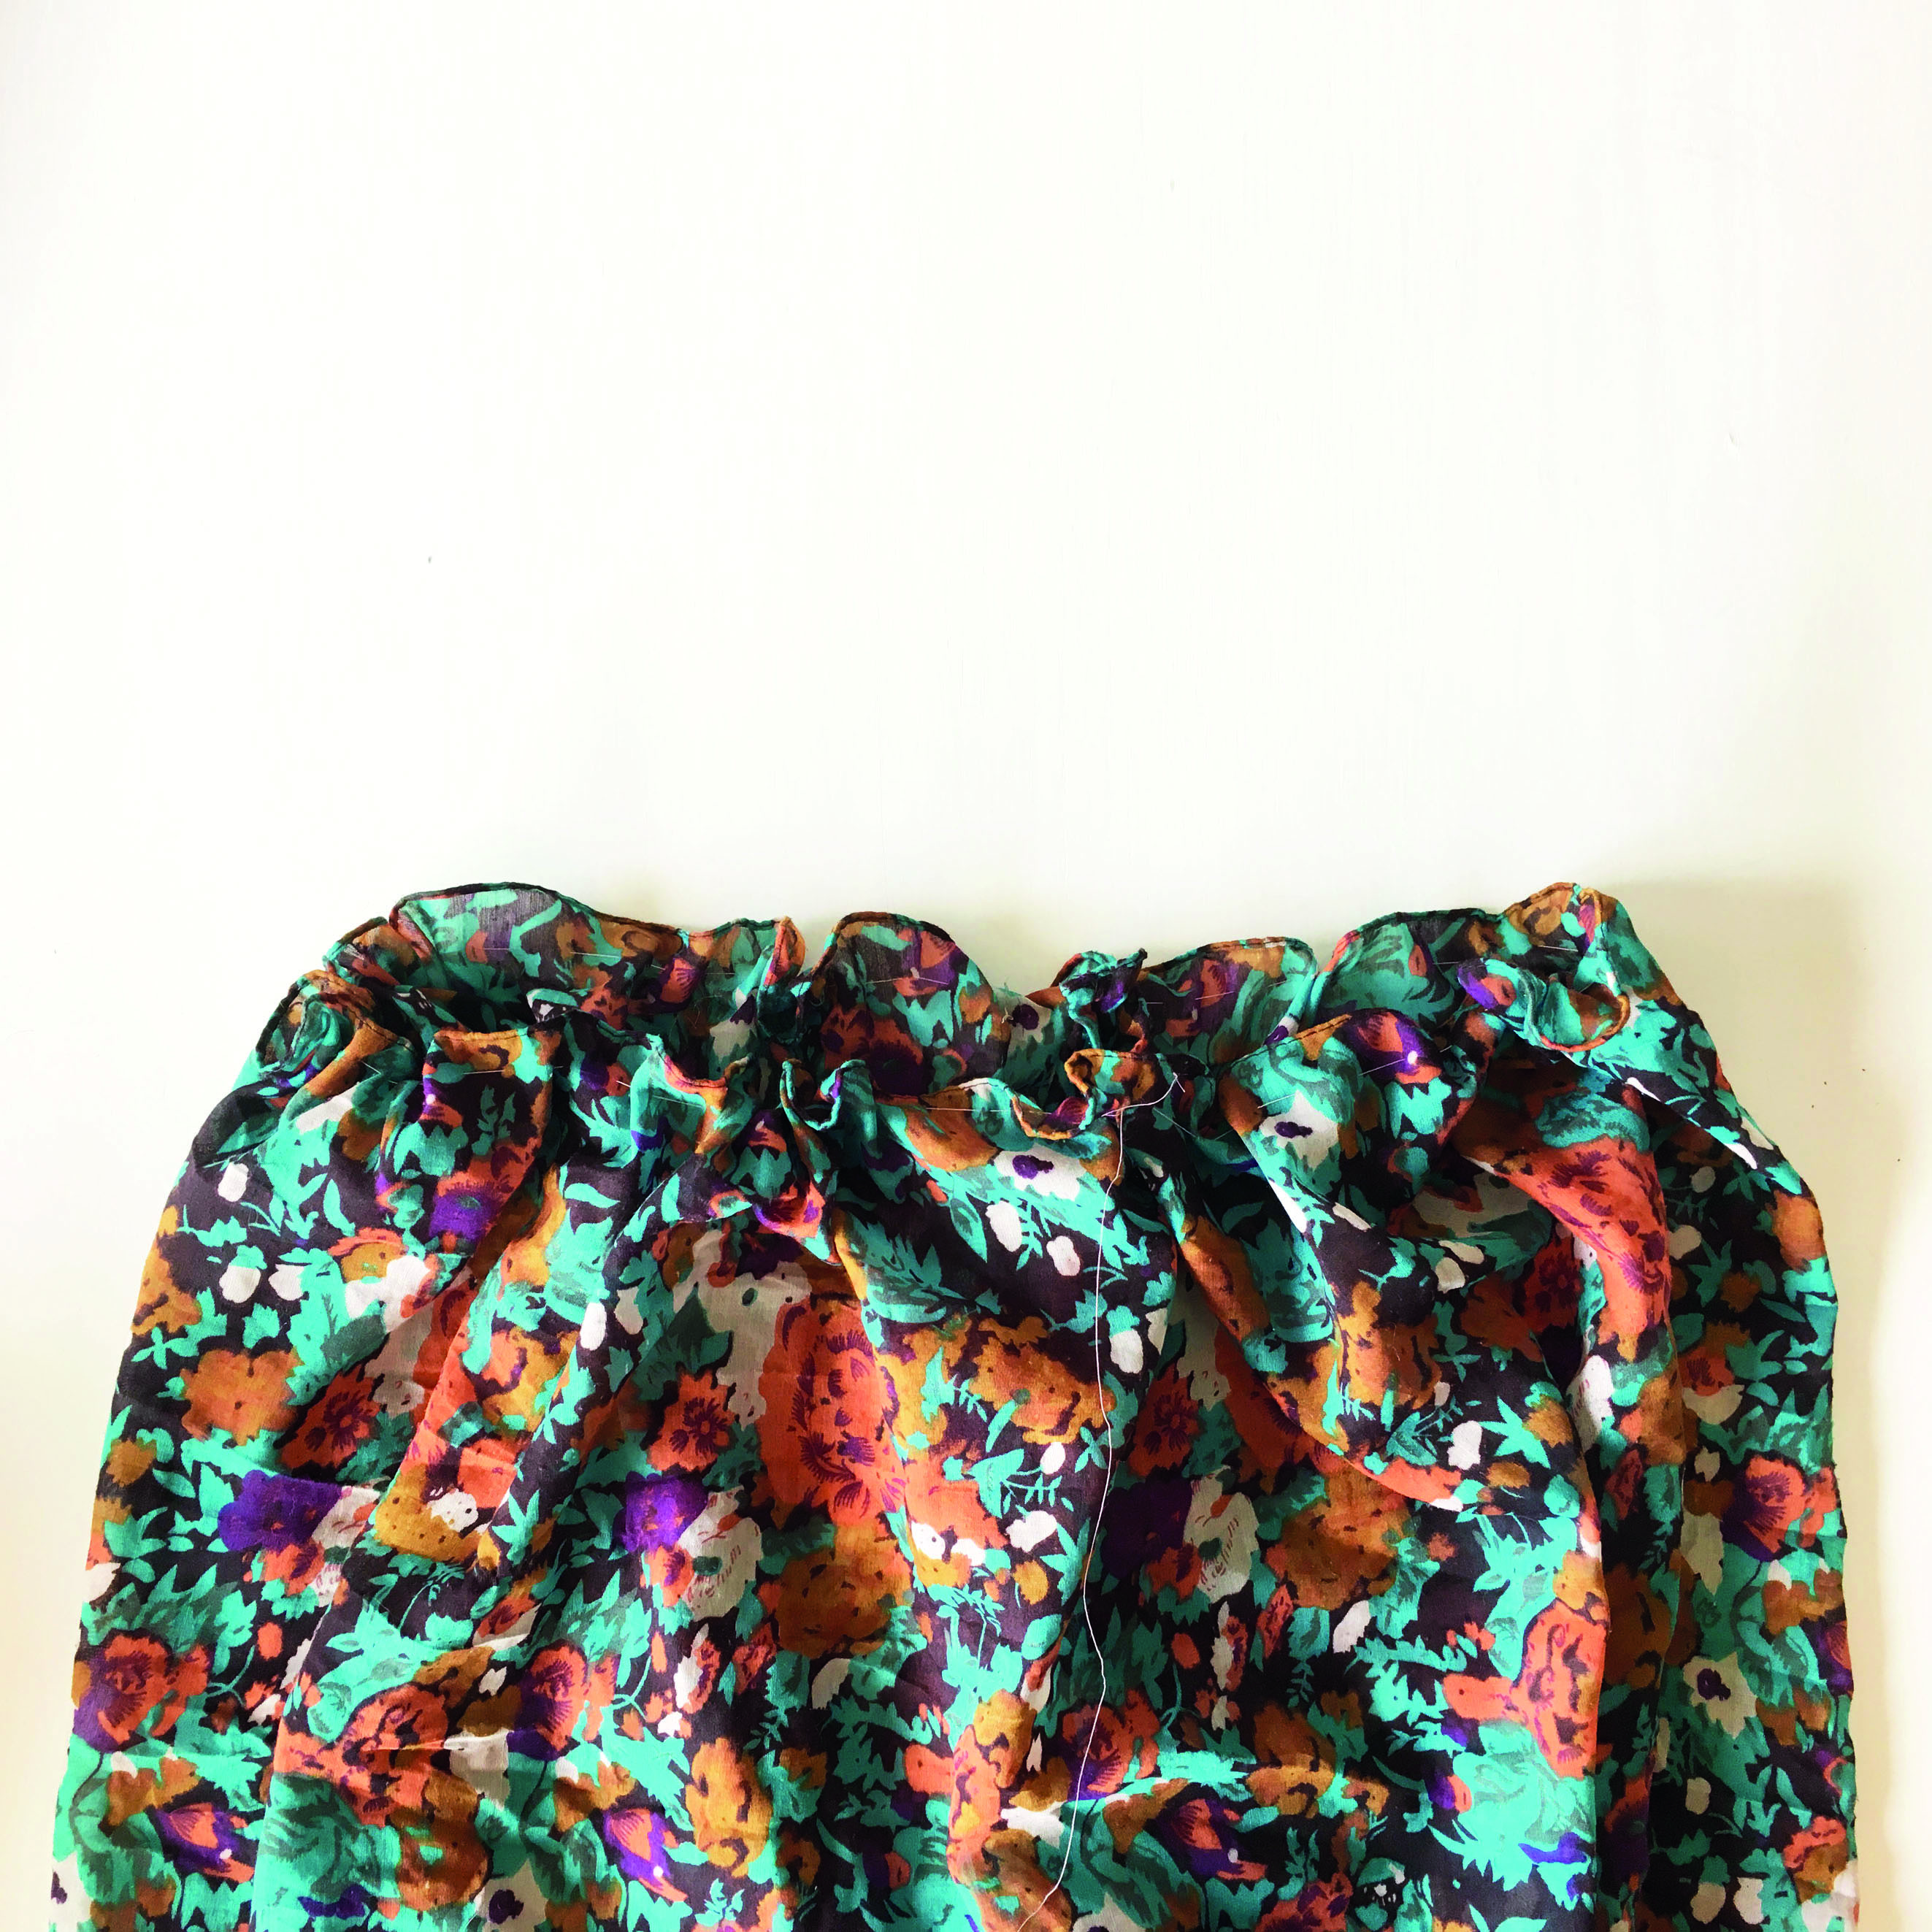
Hand-tack the top edge of the scarf opening by hand. Use loose stitches that you can pull together to make the fabric gather evenly all along the top edge. Spread the gathers out so that they are evenly spaced all the way around.
Step 2
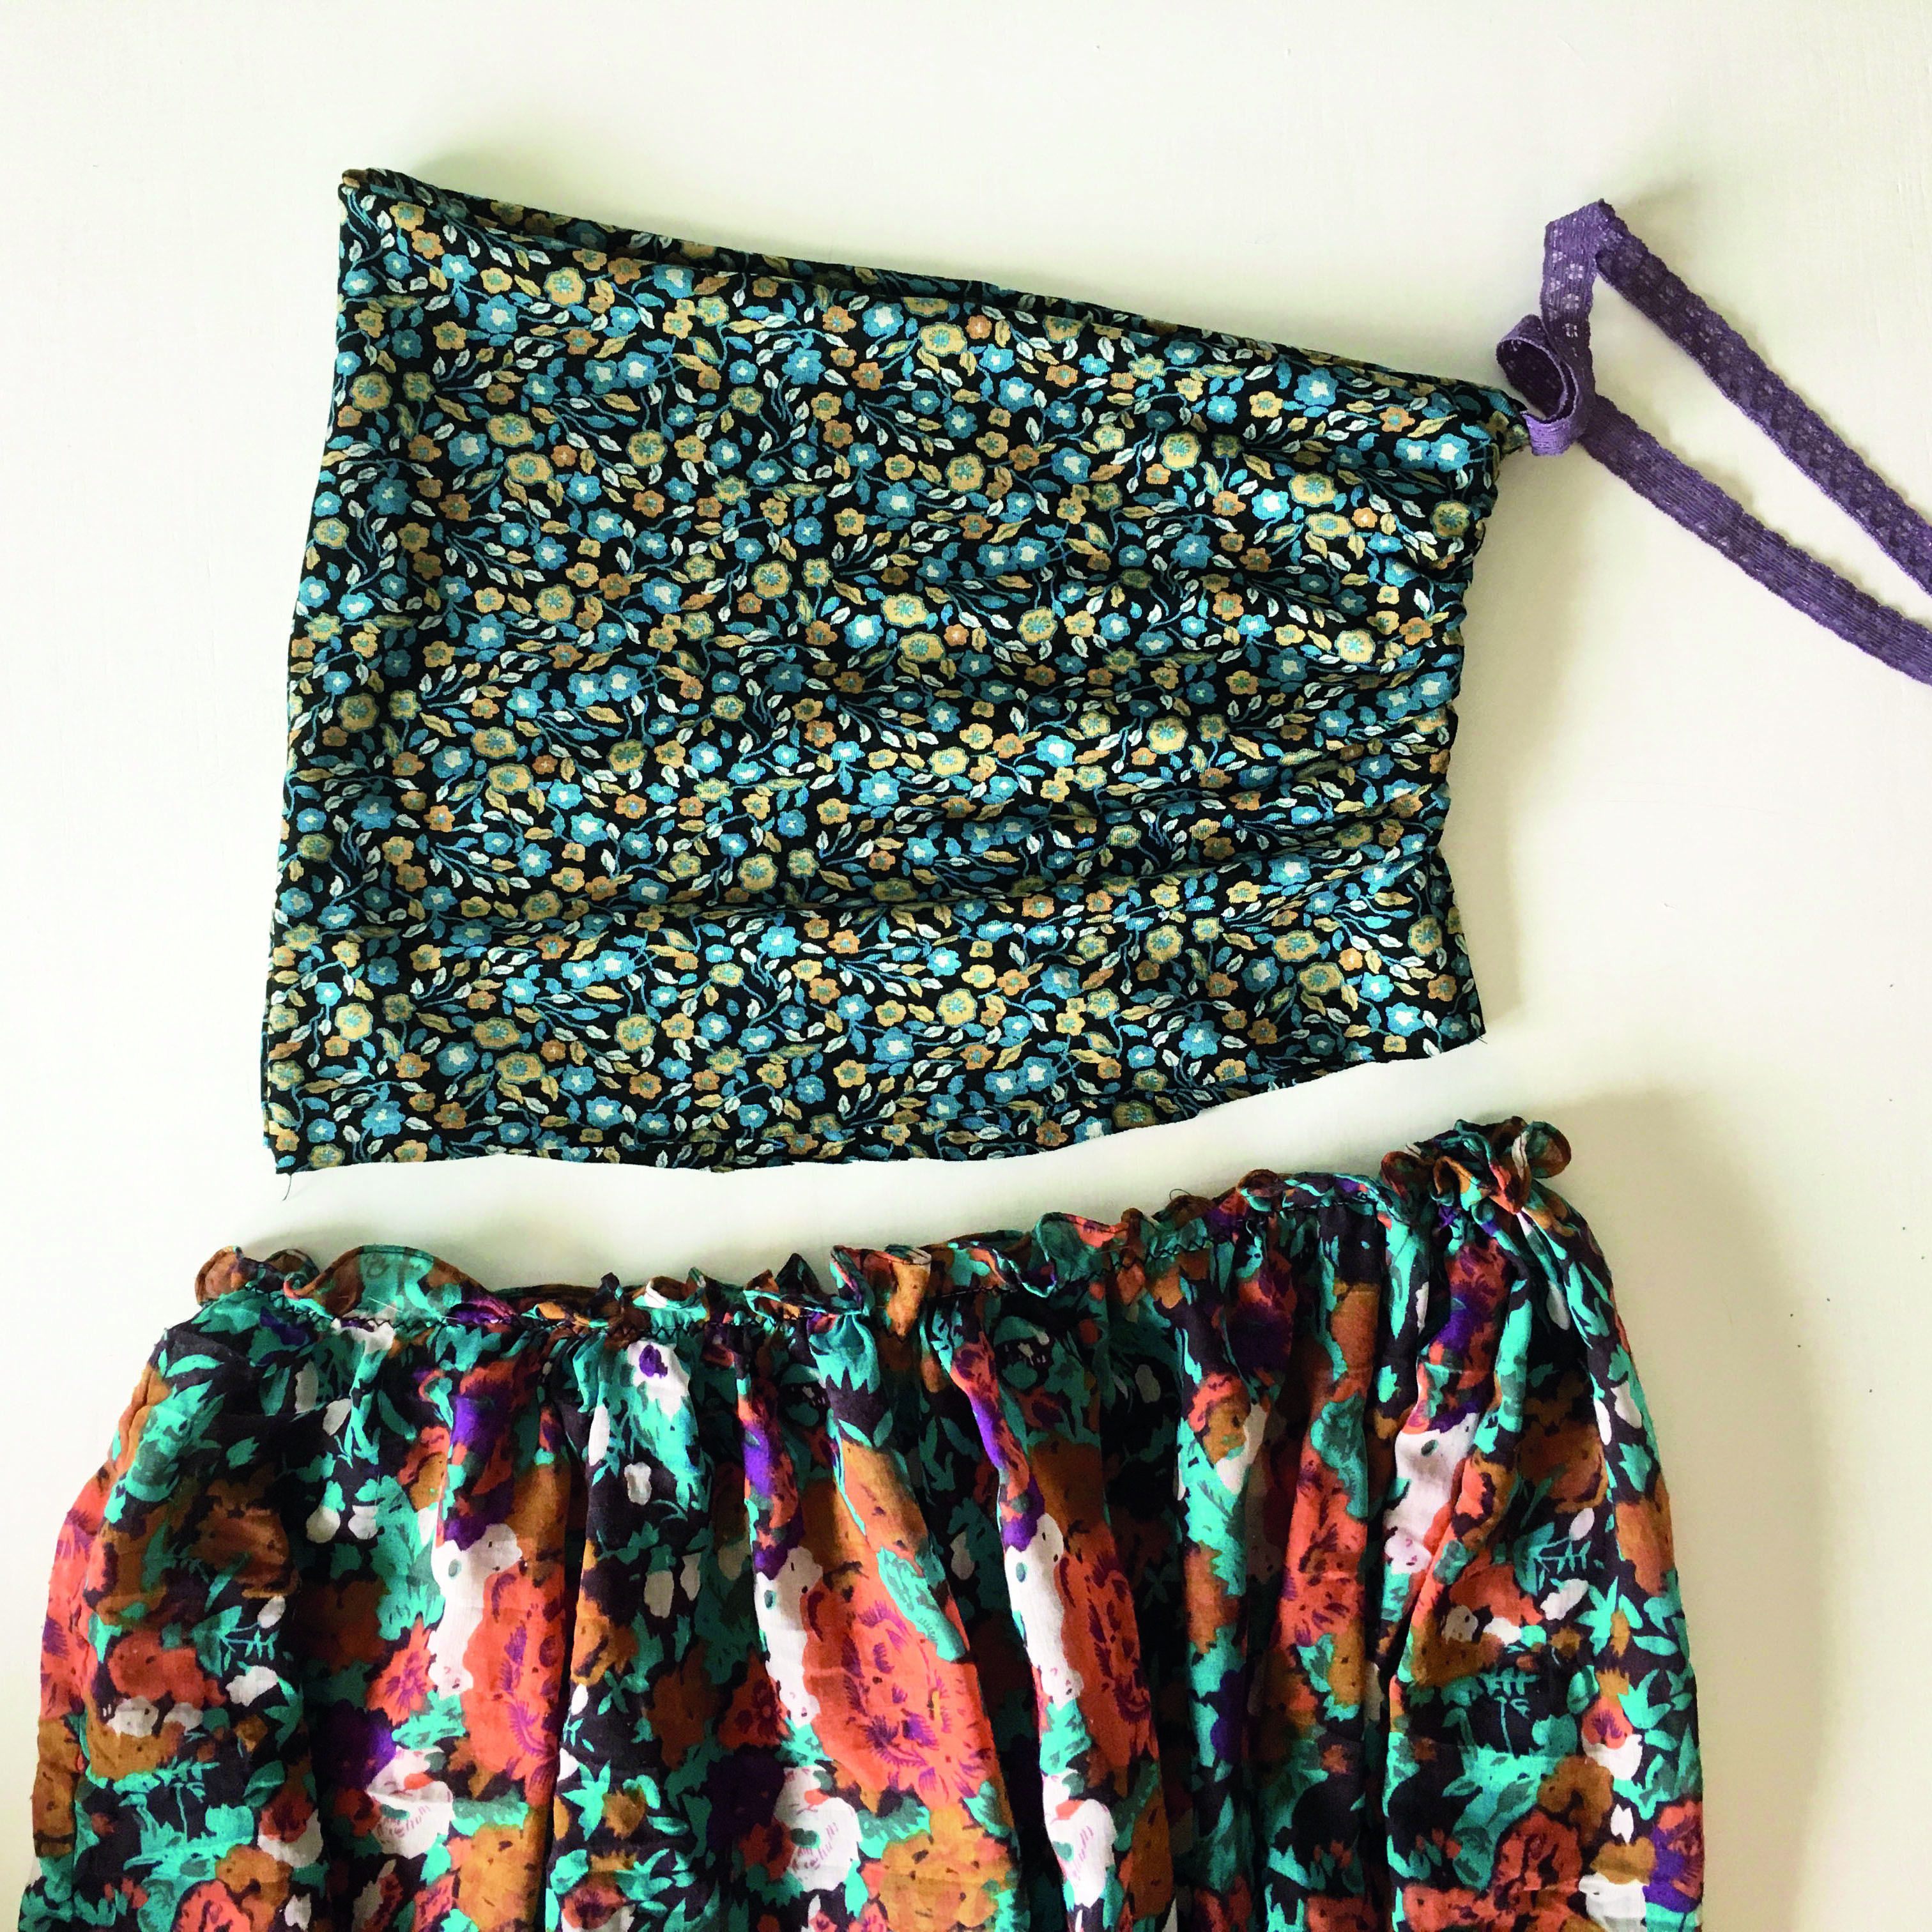
Sew the gathering folds of the skirt scarf tube with a zigzag stitch so they stay in place and are evenly gathered when you attach this part to the jersey top.
Assembling the dress
Step 1
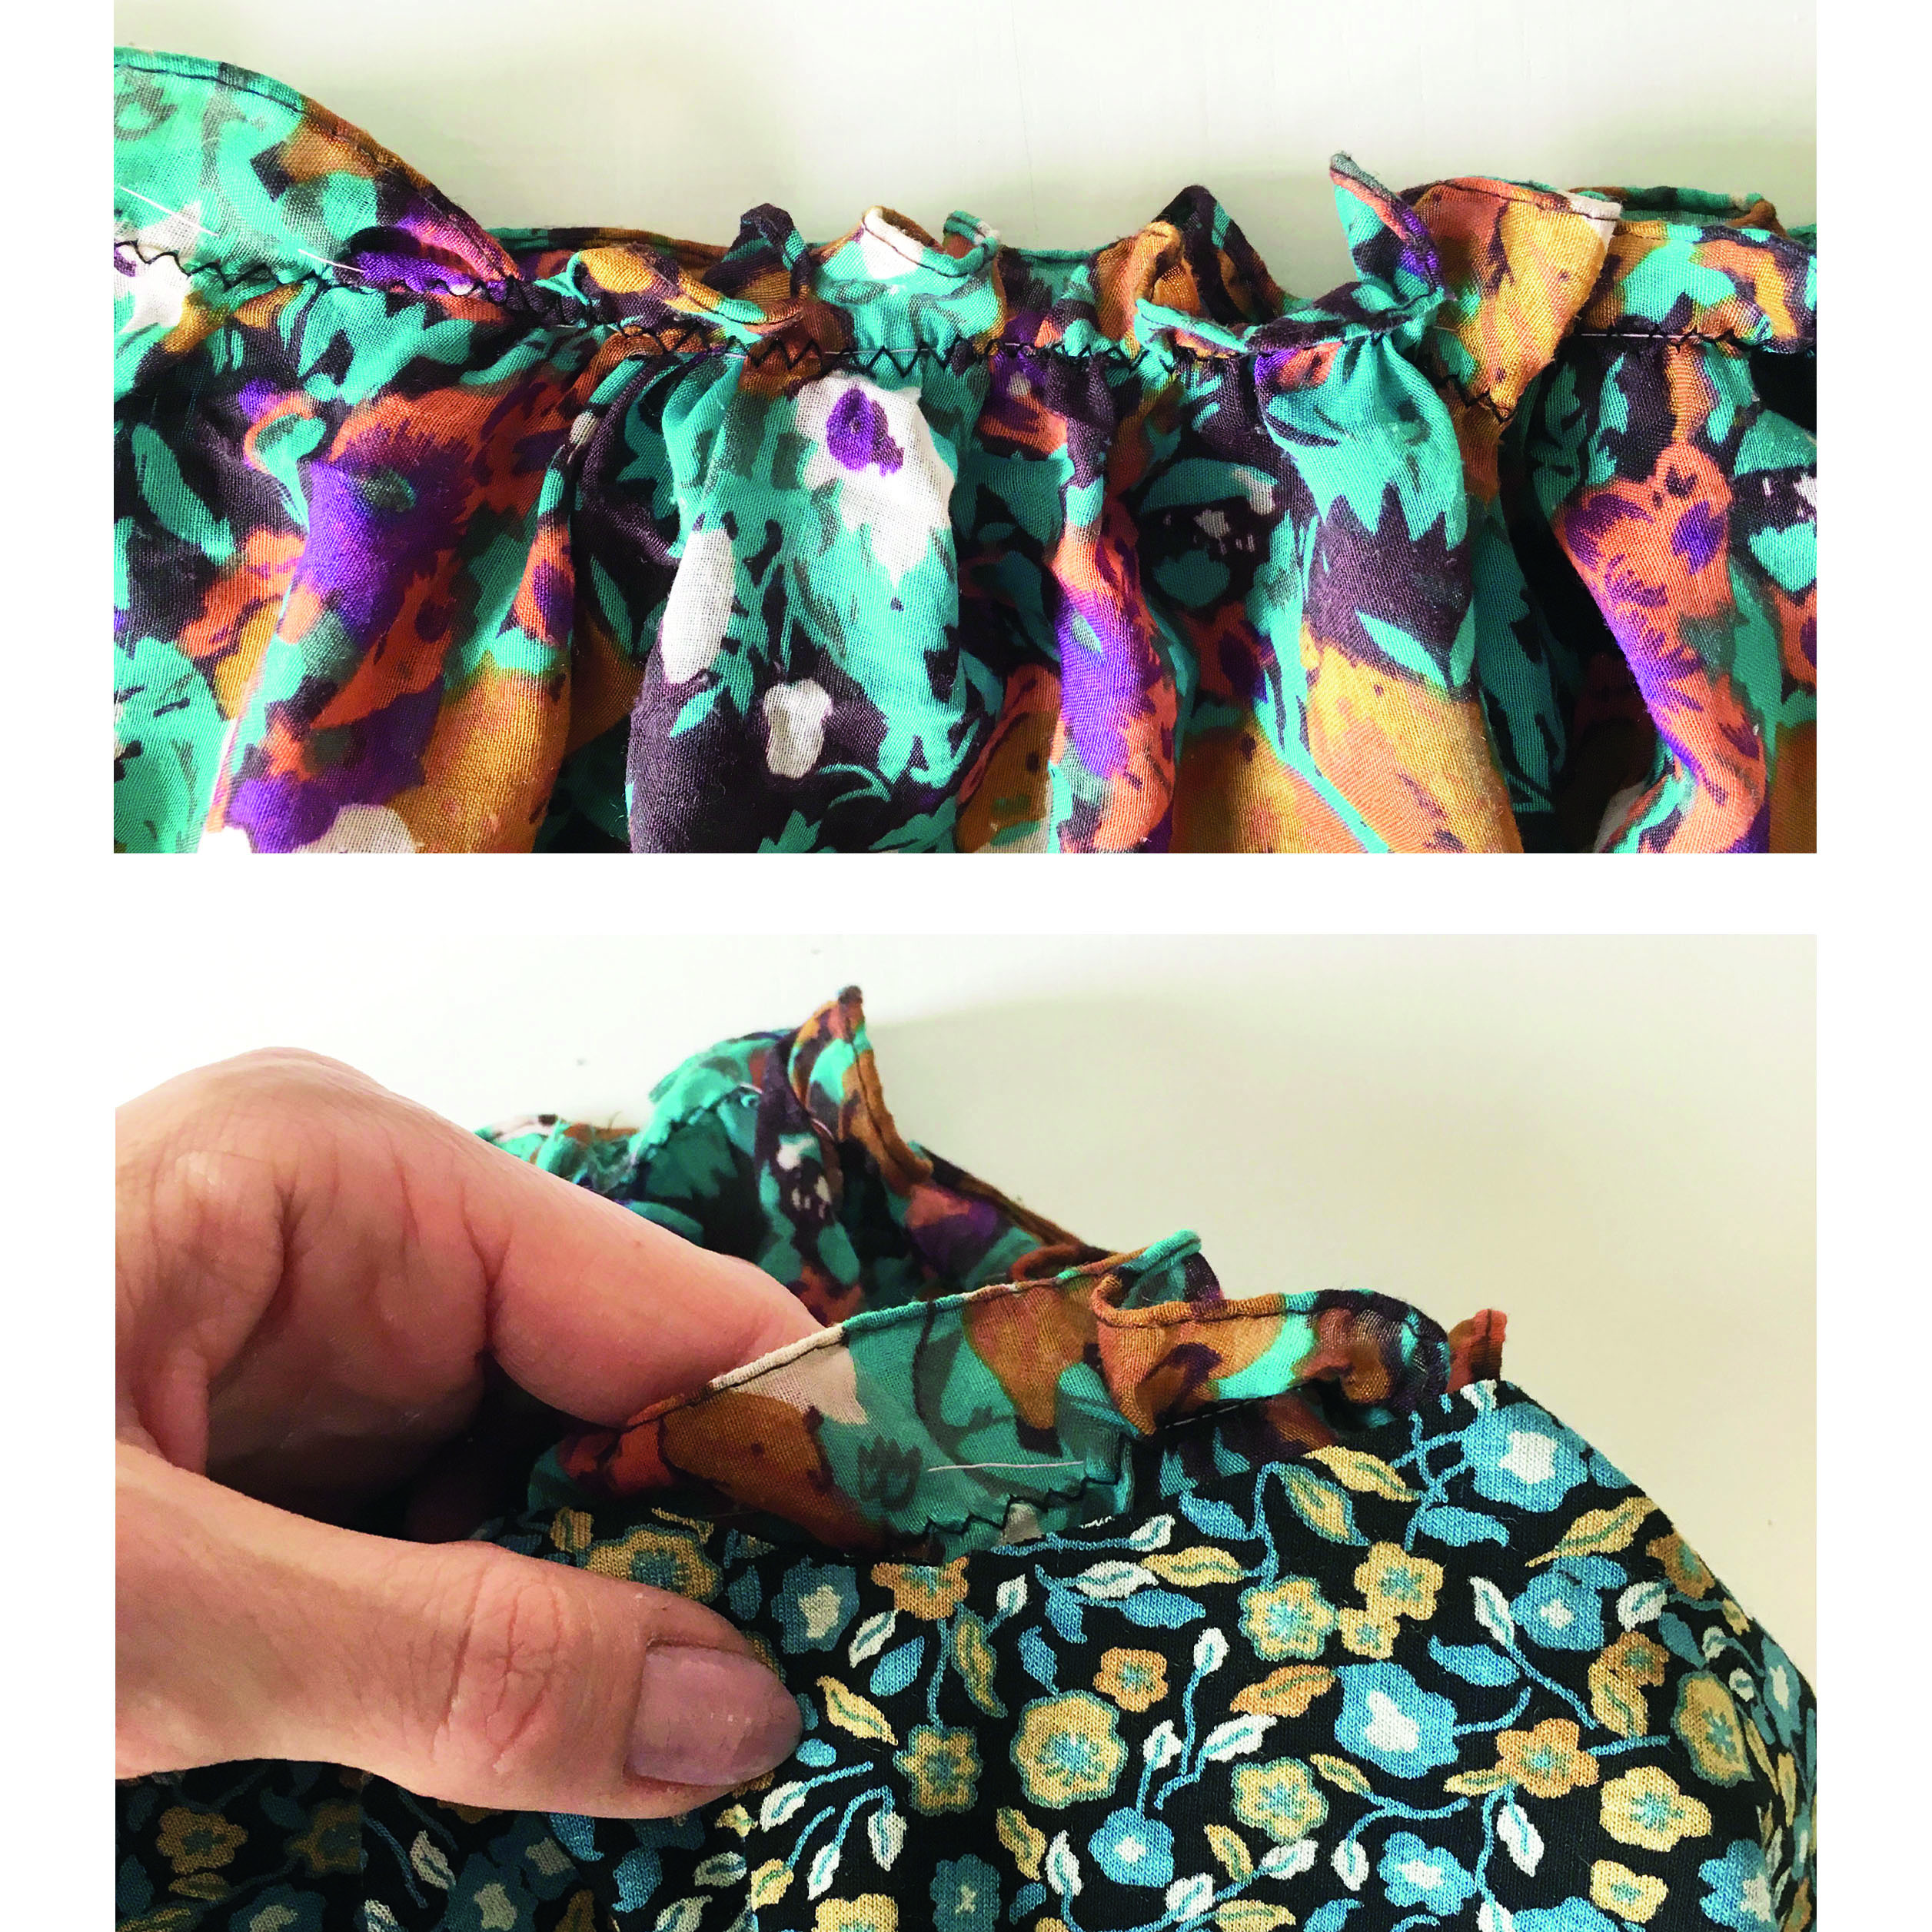
To attach the two parts of the dress, turn the top jersey tube inside out with the bottom edge facing upwards. Place the edges of the top tube part 2cm (¾in) below the top edge of the scarf skirt opening to make sure that you cover up the zigzag stitches at the top of the skirt. Pin in place.
Step 2
Stitch the top to the tube scarf with a zigzag stitch 1cm (3⁄8in) from the edge of the top tube. Trim away any excess fabric.
