These cute little keyrings are a good way to use up scraps of fabric – and they make great gifts.
How to sew sea life plushie keyrings
You will need
- Cotton fabrics: plains or small prints in blue, green and yellow
- Felt: blue, green and yellow, approx 12x12cm (41⁄2x41⁄2in).
- Beads and tiny buttons for eyes
- Cotton grosgrain ribbon: blue, green and yellow, each 13cm (5in) long.
- Bondaweb
- Soft toy stuffing
- 3 metal keyrings
Templates
Download the sewing pattern for these templates from our Simply Sewing Patterns: issue 8 PDF
Samantha says:
“Here’s a jolly, easy-to-sew fishy trio to make up in an afternoon. Practical and sweet, this little trio of fabric keyrings will make good use of some of your sewing box stash and are a great gift idea, too. Get creative with colours and fabrics, the world is your oyster (another great sea-themed shape to sew).”
How to make the turtle keyring
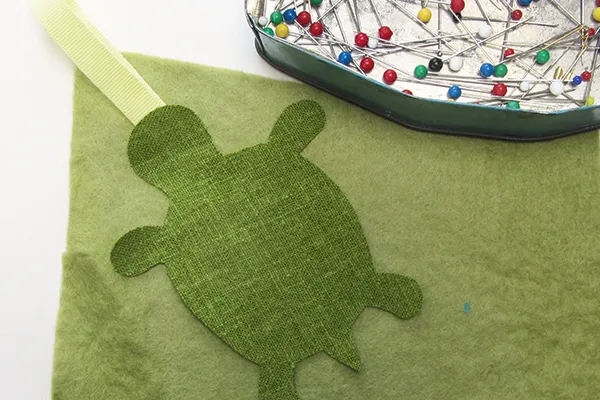
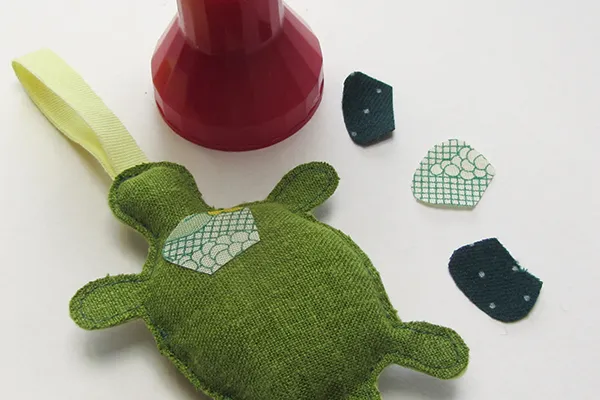
Step one: Trace around the turtle template onto to paper side of your Bondaweb then iron this onto the wrong side (WS) of some green fabric and cut it out. Using Bondaweb for this makes it easier and stops the fabric fraying. Cut out the shell details too in the same way using print fabrics.
Step two: Lay your cut out turtle shape onto the felt piece, right side (RS) up. You will be using the outline of your cut out turtle as a guide for sewing the two bits together. Fold your piece of ribbon in half and place it coming out of the turtle’s head.
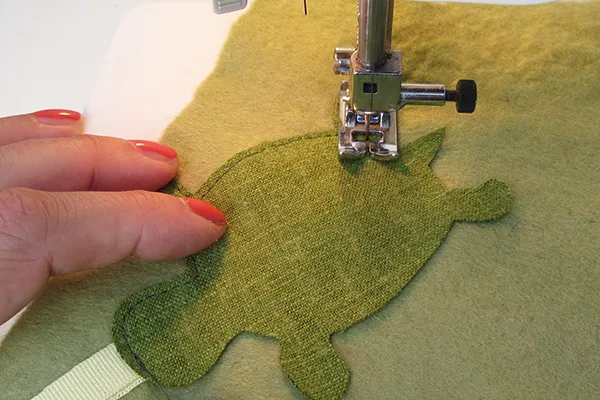
Step three: Start sewing your turtle about 2mm (1⁄8in) in from the edge, using the cut out shape as a sewing guide. Leave a 2cm (3⁄4in) gap for filling.
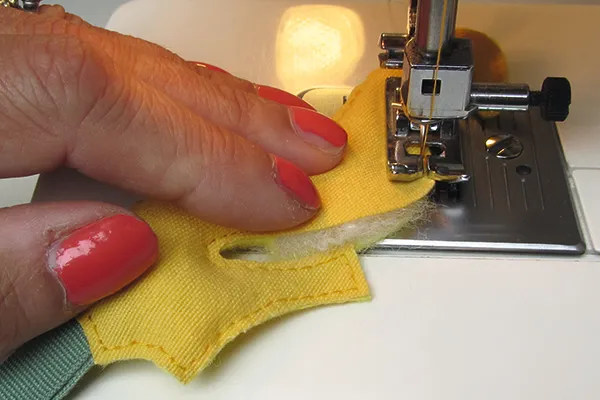
Step four: Using the end of a paint brush or pencil, gently stuff the turtle shape; use your fingers to help manoeuvre the stuffing.
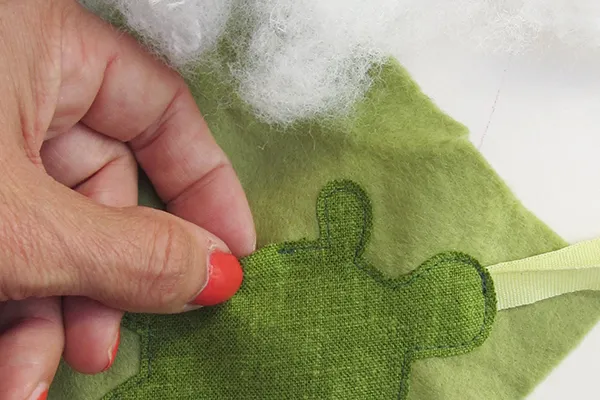
When you are happy with the shape, put your turtle on the sewing machine again and sew up the stuffing gap, carefully guiding the needle around the stuffed shape.
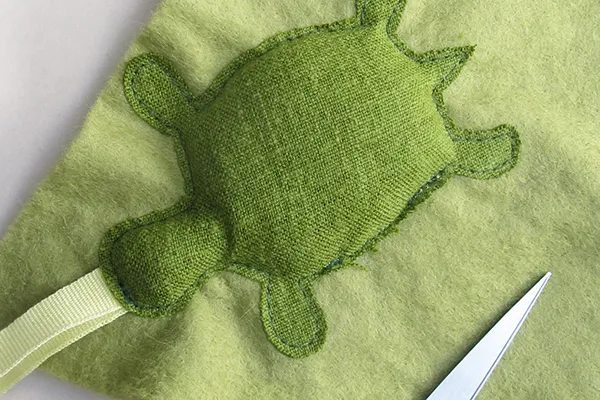
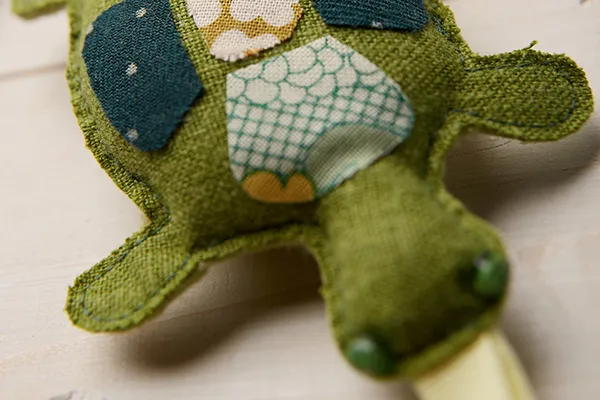
Step five: Now start to carefully cut out the turtle shape from the piece of felt. Fabric glue or stitch on the shell details and add his little beady eyes.
Attach the keyring and hey presto!
How to sew the fish keyring
Step one: Cut out a cotton fabric fish using our issue 8 templates and bondaweb in the same way as for the turtle.
Step two: Pin the piece of ribbon in place on the felt. Pin the cotton turtle shape onto the felt RS up on top.
Step three: Sew around your fish shape and leave a gap for stuffing.

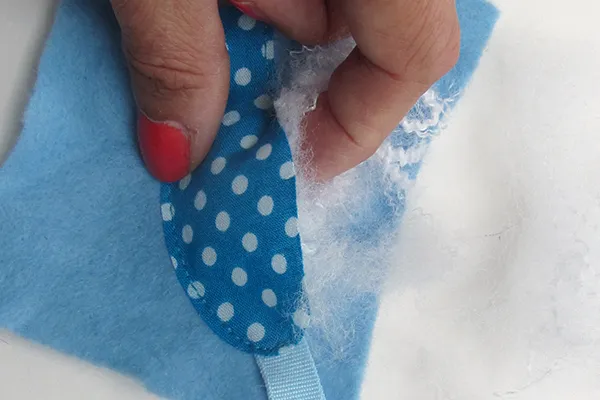
Step four: Stuff your fish, using a small paintbrush end or pencil to get the stuffing into the head.
Sew the stuffing gap closed. Hand-sew on your fish’s eye and cut carefully around the felt fish shape.
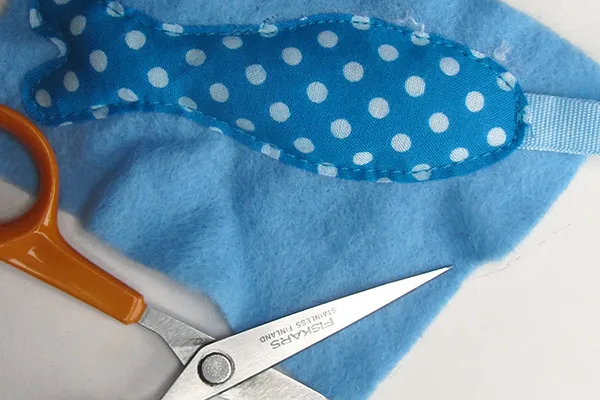
Attach your keyring hoop to finish.
How to make the seahorse keyring
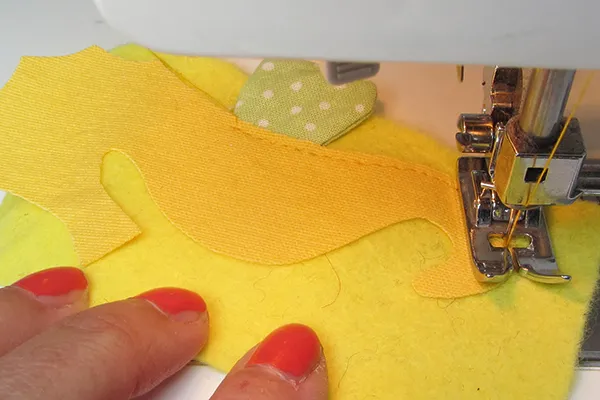
Step one: Use our issue 8 templates to cut out a cotton fabric seahorse and two fin pieces; Bondaweb will make fiddly bits easier to cut. Sew the fin pieces together, WS facing, then pull RS out and press.
Step two: Pin the piece of ribbon and the fin onto the felt. When you are happy with the positioning, pin the seahorse RS up on top.
Step three: This shape is a tricky one to sew, so take your time and make sure you leave a filling gap.
Step four: Stuff your seahorse shape – you may not be able to stuff the mouth or tail, but the felt will give it some body.
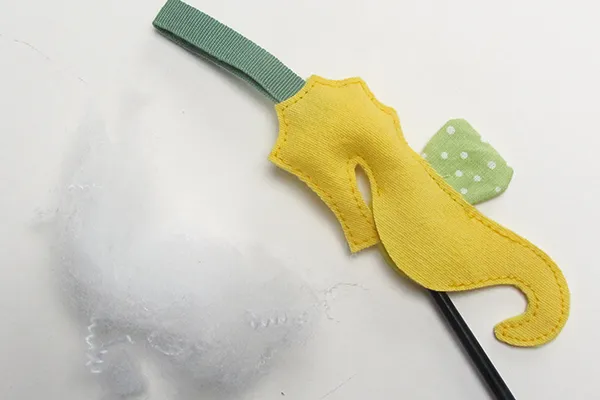
Sew the filling gap closed.
Step five: Cut out your seahorse shape from the felt. To make the eye, cut out a small circle of felt then stitch in place with a button on top. Finally, attach the keyring to the ribbon.
Enjoy your finished keyrings!

Designer Samantha likes nothing more than taking her sewing outdoors when the weather gets good. See her work at www.samanthastas.etsy.com.