Try a pinch of pinch pottery!

Get stuck into sculptural ceramic hand building with the classic pinch pot technique.

Try our magazines – get 6 issues from just £9.99!

Published: February 26, 2024 at 2:29 pm

You can’t get much simpler than a pinch pot – all you need is a lump of clay and your hands! It’s a fabulous technique for both beginners and experienced potters. The freedom of moulding and sculpting pots completely by hand is unmatched.

It’s one of the three main ceramic hand-building methods, the other two being coil pottery and slab pottery, which you can find out more about in our beginner's guide to pottery.

Pinch pots are a great project for kids to try, and adults will love the organic feel and natural charm of these sweet pots.


undefined

What is a pinch pot

Unlike other hand building methods, a pinch pot isn’t made up of individual sections or parts (like a base or walls). It’s made from a single ball of clay that is sculpted into shape with your fingers.

It is called a pinch pot because you use your fingers and thumb in a pinching motion to flatten and thin out the clay. It’s one of the simplest and quickest ways of making pottery that has been used for thousands of years.

We’ll show you how to make a pinch pot with a fab tutorial by Francesca Stone. In the tutorial below Francesca has used air dry clay, but the technique is the same when using regular potter’s clay and firing in a kiln. If you fancy making pinch pots just like Francesca’s, check out our where to buy the best air dry clay guide.

How to make a pinch pot

You will need:

  • Clay
  • Make-up sponge
  • Fine sandpaper
  • Porcelain paints or glazes
  • Fine-tipped paint brush
  • Gloss varnish (optional)

Step 1

Roll your clay into a ball

How to make a pinch pot – step 1

Wet your hands, then take a small piece of clay and roll it into a ball. You can make your finished pots stackable by repeating the process and making each ball of clay larger than the last.

Step 2

Shape the bowl with your thumb

How to make a pinch pot – step 2

Press your thumbs into the centre of a ball, then slowly work the clay outwards to make a small bowl shape, rotating to help create your rounded shape.

Smooth the clay as you go, until the clay is an even thickness all around.

The trick is to keep your fingers and thumb straight, so that you press the clay evenly between them and the pressure is spread out.

If you pinch with just your fingertips you will only be adding pressure to that specific area of clay, which will produce an uneven thickness.

Step 3

Smooth your surface

How to make a pinch pot – step 3

Cut off any excess clay around the rim. You may notice some slight cracking of the clay due to the pressure of pinching.

Use a damp make-up sponge or similar to smooth out the surface of the pot.

Step 4

Leave to dry

How to make a pinch pot – step 4

Repeat Steps 2-3 with the remaining balls of clay. Then leave to dry for 24-48 hours until the clay is a lighter colour all over. Use a fine sandpaper to smooth the pots again.

Step 5

Add on paint or glaze

How to make a pinch pot – step 5

Paint on dots, dashes or lines – the simpler the design, the better.

If you’re using air dry clay, use porcelain paints to decorate.

Alternatively you could use acrylic paint mixed with a small amount of gloss paint. This will give you a similar finish.

Step 6

Finish your pot

How to make a pinch pot – step 6

Now you can fire your pot in the kiln.

If you’re using air dry clay, once your pot is completely dry coat each pot with a thin layer of varnish, then leave to dry again.

You may find it necessary to add a second coat, then leave to dry thoroughly before using.

Now give that pinch pot a lick of paint

Once your pot is finished, check out our extra pinch pot ideas below, or take a look at our pottery painting ideas for even more inspiration.

Pinch pot ideas

Now we’ve covered how to make a pinch pot, you can start thinking creatively about how to make your pot a bit different.

As pinch pottery is quite sculptural in nature, you can easily incorporate other elements. Add handles or feet by joining with the classic slip and score joining technique.

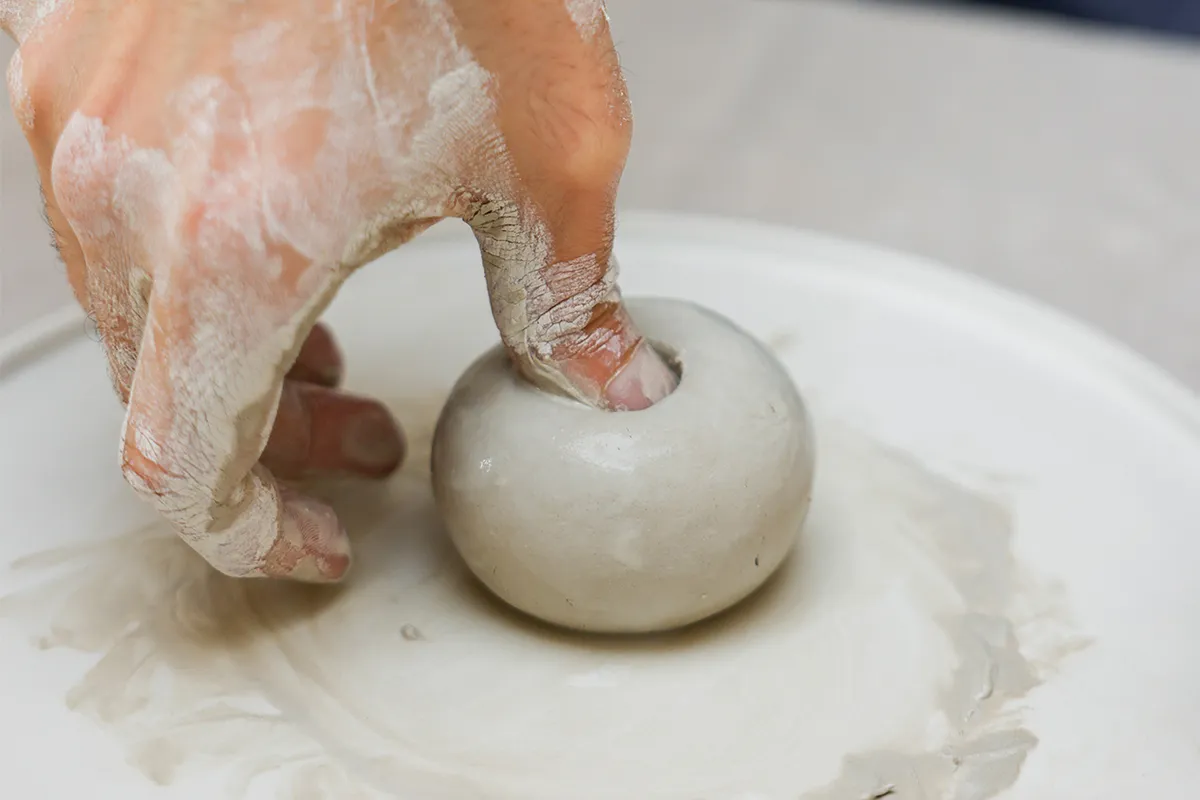
Add textures to your pinch pot

Pinch pot ideas – textured pot

Once you’ve got your pot shape perfect, it’s time to add those decorative touches. Glazes and colours can be used to really customise a piece, but don’t forget about adding textures too!

As long as you don’t make your clay walls too thin, you can score out textures with a modelling tool to add a whole extra dimension of detail. You can also use objects or even make your own stamps to press into your clay to add embossed designs to your pots.


Give your pot some charming additions

Pinch pot ideas – feet

Because of the sculptural nature of pinch pots, it’s a great technique for adding extra elements. Use the slip and score technique to create your joins.

Start by scoring a scratched texture into the surface with a modelling tool or fork. Then use a bit of slip (or water for air dry clay) to glue your pieces together.

You could add 3D elements or embellishments to your pot, or give it a handle for a marvellous mug. Even if you don’t want to get too complicated, some little feet will take your bowl from simple to spectacular.


Get inspired by nature

Pinch pot ideas – nature

If you’re lacking inspiration for your pinch pot design, then take a look at our favourite muse – the great outdoors! Sea shells, flowers, fruit and even creatures can all be a great source of inspiration.

You’ll have fun adding the textured details to your simple pinch pots.


When two (or more) become one

Pinch pot ideas – multiples

Once you get confident making pinch pots, you can start getting experimental with your shapes. One of our favourite ideas is joining multiple pinch pots together into one, like in this stunning flower vase.

You could also combine bowls for a selection of dips, or to use as separated storage vessels for jewellery.


Put a smile on your project

Pinch pot ideas – face

However you plan on using your pinch pot, there’s one design addition that will always raise a smile – a happy face! You can score it into the clay for textured facial features or paint one on instead. Decorate your pot this weekend and keep on smiling!


Pinch pots make a great introduction to ceramics

The beauty of pinch pottery is that you don’t really need any tools at all – it’s taking things back to the absolute basics.

As such it’s a great introduction for anyone that likes the idea of pottery and wants to give it a try before splashing out on serious equipment.

Try a pottery kit

If you want to try pinch pottery yourself or know a friend that would enjoy it, try one of these pottery kits from our roundup here on Gathered.