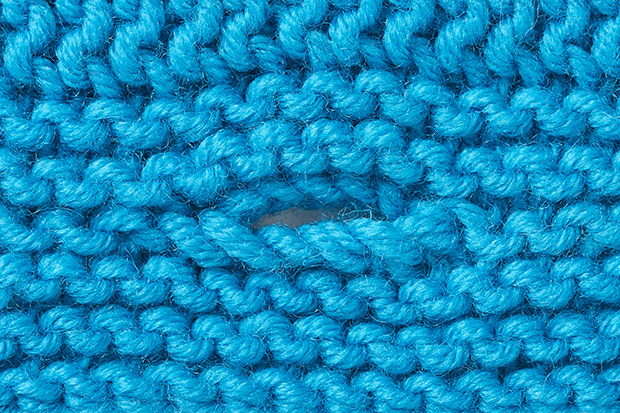
How many times have you been proudly finishing off a beautiful cardigan only to realise the buttonholes are slightly askew or a little on the looser side? Well, no more! Find out how to perfectly position your buttonholes and pick the best one for your chosen buttons. After all, it’s those finishing touches that make all the difference to a professional-looking knit!
In our masterclass on how to make a buttonhole in knitting, Rosee Woodland shares her tips on picking up stitches and placing buttons and buttonholes.
Picking up stitches for button bands
Firstly, you would usually use a smaller needle size for your button band, to stop stitches ‘flaring out’ and looking a little bit messy.
Your pattern may tell you how many stitches to pick up for your button band, or it may give a simpler instruction, such as picking up three stitches for every four rows.
There’s nothing wrong with these methods in finer yarns, but in chunky yarns you can get noticeable gaps and there are alternatives, as follows.
For stocking stitch garments with ribbed or garter stitch bands
Using a needle size one size smaller than the recommended ball band size for the button band, and with the RS facing, pick up and knit a stitch for EVERY single row.
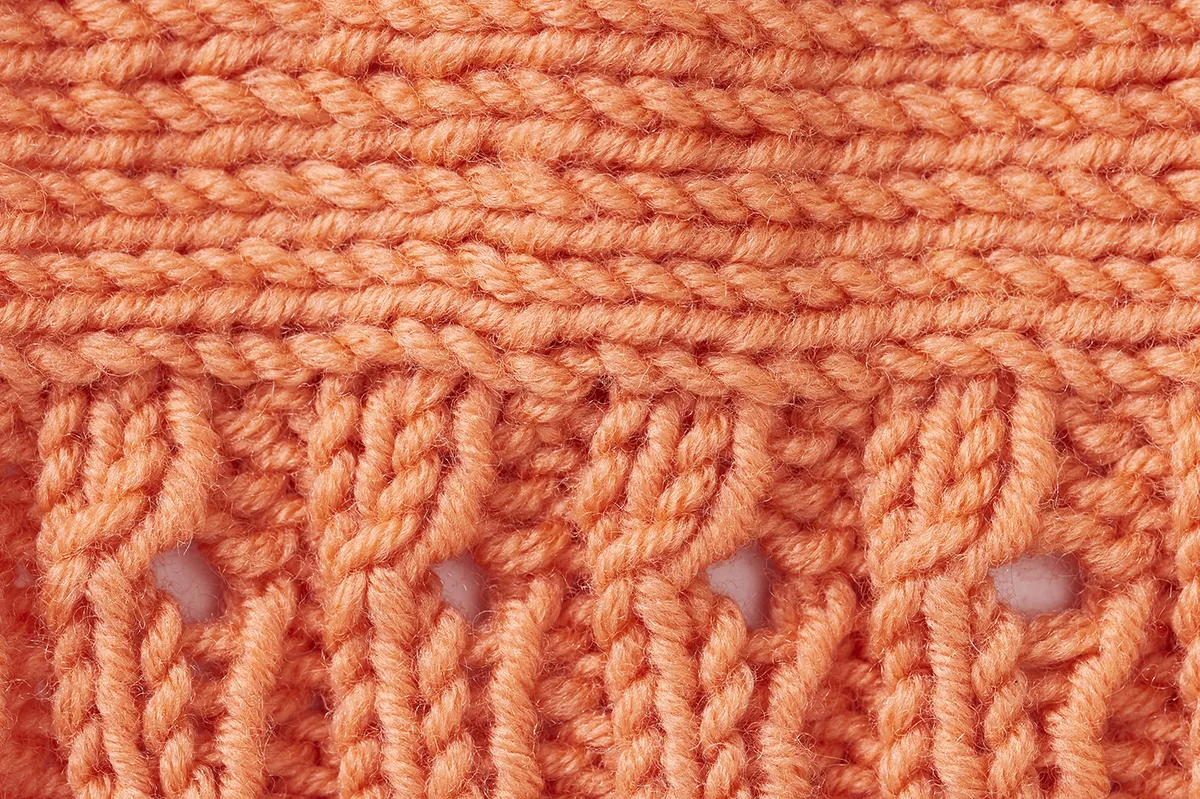
You will now have a higher than needed number of stitches than the pattern recommends and if you keep working with this higher number of stitches the button band will start to flare out, so you need to get rid of them, pronto!
Count the number of stitches you’ve picked up, then grab a calculator, and multiply that number by 0.75. This will remove a quarter of your stitches.
This number may end up being a fraction, so aim for the nearest whole number you can. Choose an even number for a 2 x 2 rib band, and an odd number for a 1 x 1 rib band.
You can then reduce a quarter of your stitches easily by working (K2, k2tog) all the way along your next row with the WS facing. However, unless your initial every-stitch pick-up was a multiple of four, you will have a few stitches left over. Use these leftover stitches to make any final decreases you need to get to your perfect stitch count.
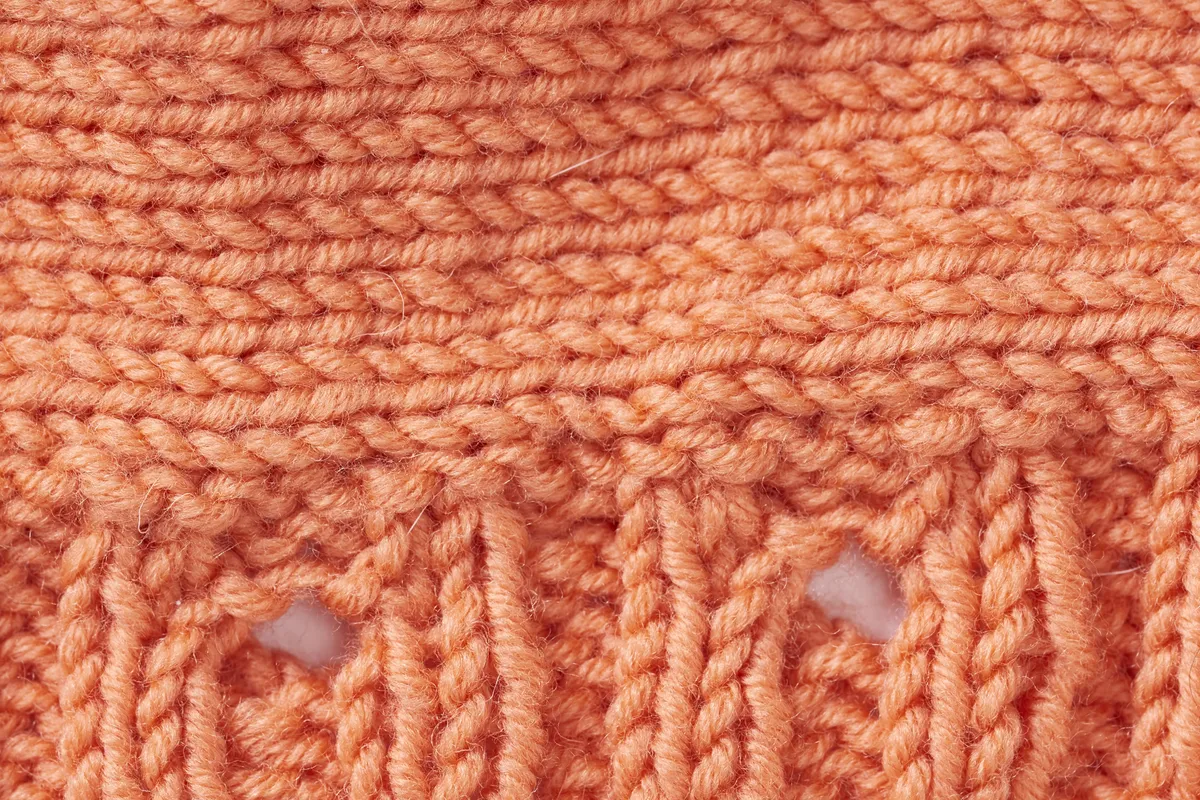
Working this one decreasing WS row as a knit row and the next RS row as a purl row will give you two rows of rev st st, which makes a nice ridged transition before starting your button band ‘properly’ on the next WS row.
Alternatively you can work a single decreasing WS row as a knit row and then start your button band as written in the pattern, from the RS of the work.
Don’t forget to change to the recommended button band needle size at this point!
For garter stitch garment body and button bands
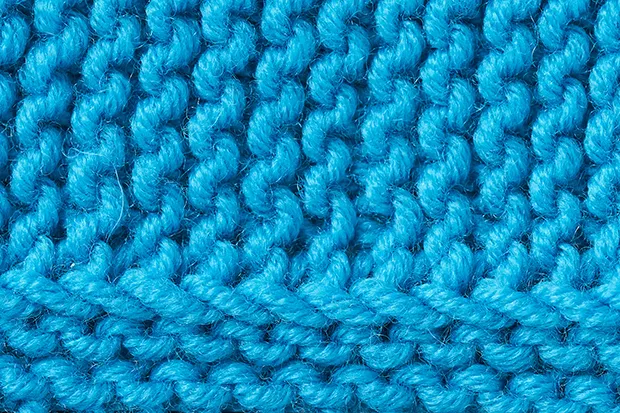
Using the needle size recommended for the button band, pick up and knit in every dip between the garter ridges, which will work out as one stitch for every two rows.
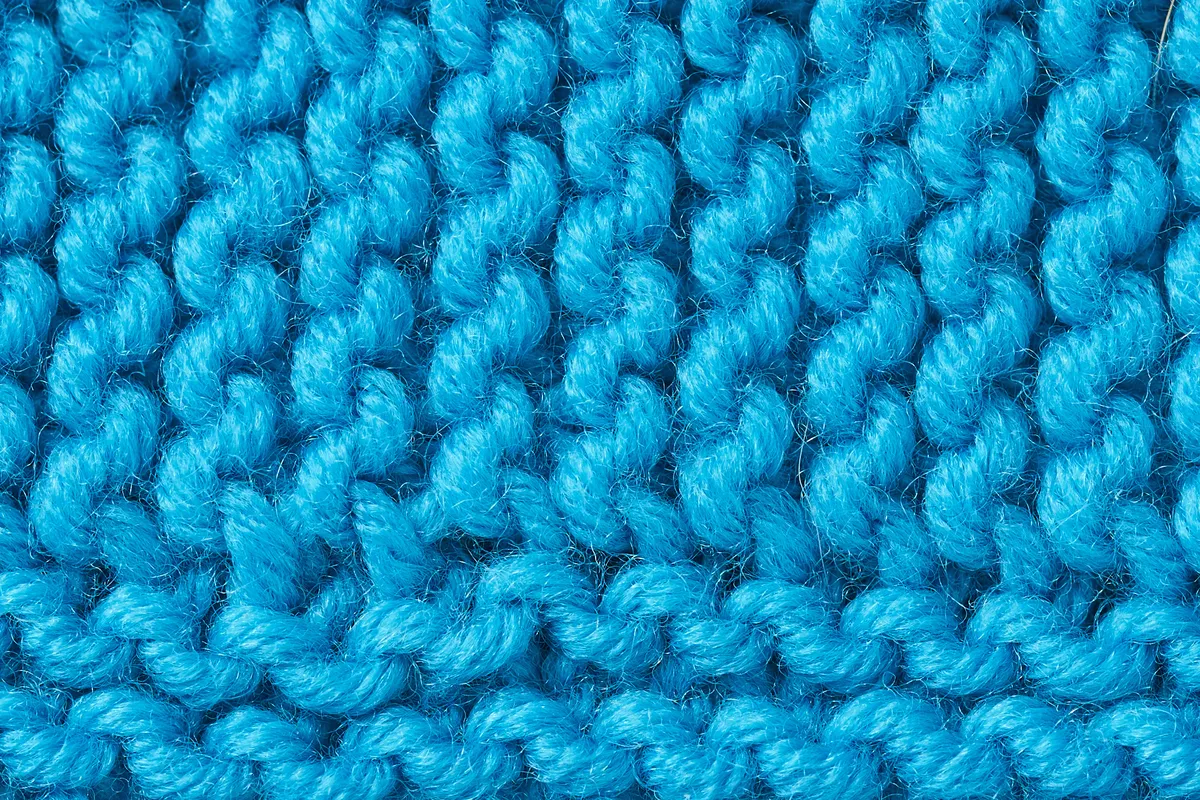
You can create an even neater look by slipping the first stitch of every row when making your front garment pieces. Pick up and knit into the back half of this slipped stitch when starting your button band. This creates another ‘transition’ line between the front pieces and the button band, again giving a more defined look.
For other stitch patterns
For other stitch patterns it’s worth following the stocking stitch method, and decreasing to the correct stitch count to fit in with the pattern repeat on your initial decrease row.
This may require a bit of maths (that’s what calculators are for though!) but it will look much neater than struggling to pick up an uneven ratio of stitches to rows in order to achieve the right stitch count for your pattern repeat.
How to place buttons and buttonholes
Knitting is stretchy. This is great when you’re trying to pull a jumper over your head, but not so great when your buttons look ‘floppy’ or your buttonholes gape.
Go off-centre
If you place your buttonholes in the centre of the button band (say, row 7 of 13 or 14 rows), as the buttons pull at the buttonholes you will end up with buttons that look like they are sitting on the very edge of your button band.
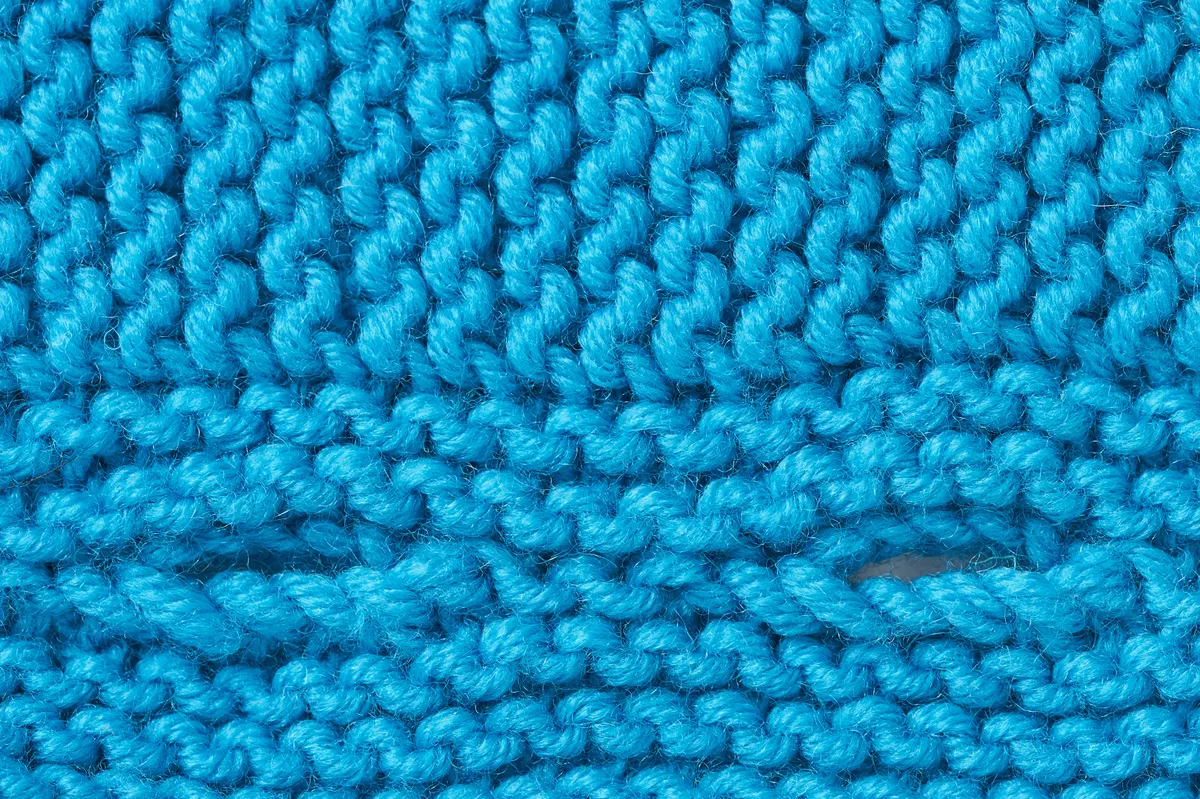
Instead, work your buttonholes two rows earlier (one row on very chunky yarn). This means the buttonholes will actually appear centred when they are stretched out by the buttons.
If your button band is ‘grown on’ – i.e. worked at the same time as the front of the garment, again, consider moving the buttonholes a stitch or two inwards, away from the front edges, for the same reason.
Be firm about it
To stop your buttons from looking floppy there are ways you can stabilise them.
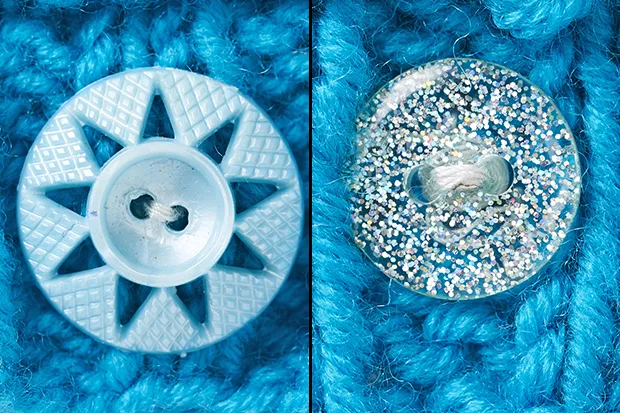
When sewing on large buttons, you can sew a small, flat button on the reverse of each one to give the larger buttons more structure.
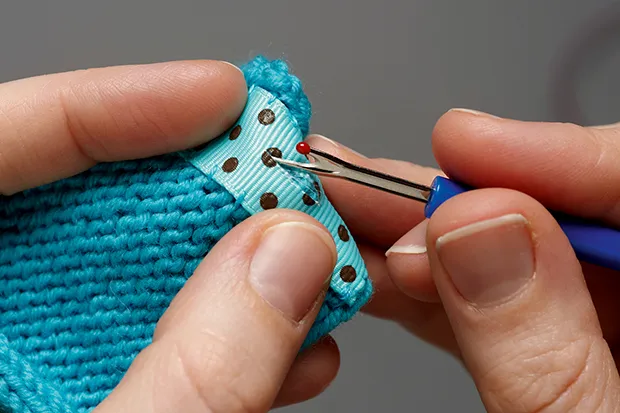
You can stabilise your button band as well as the actual buttons. Stitch a length of grosgrain ribbon onto the back of the button band to prevent it from stretching out. You can do the same on the buttonhole band, but remember to make slits in the ribbon for your buttons to go through! Edge these by using buttonhole stitch and a sewing needle and matching thread.
Right place, right time
When making your button band you’ll often work it in one piece, from one bottom edge up to the neck and down to the other bottom edge of the front of your garment.
Sometimes, you might make the button band and buttonhole band separately and join them at the back neck.
Either way, make sure you mark your button placement at the same time as you make your buttonholes. That way you can be sure exactly where they should go, rather than trying to work it out later and ending up with a wonky finish.
Mark your button placement with lockable stitch markers or lengths of contrasting waste yarn, placing them through the relevant stitch for each button placement.
When it comes time to remove them and sew on your buttons, make a small X with contrasting yarn, centred on the stitch you marked, to show you precisely where the button will sit. That way you won’t end up with buttons that are out of alignment with the matching button band.
How many times have you been proudly finishing off a beautiful cardigan only to realise the buttonholes are slightly askew or a little on the looser side? Well, no more! Find out how to perfectly position your buttonholes and pick the best one for your chosen buttons. After all, it’s those finishing touches that make all the difference to a professional-looking knit!
In the second part of our masterclass, Rosee Woodland looks at different types of buttonholes and troubleshoots some common button band problems.
Get the right buttonhole for your buttons
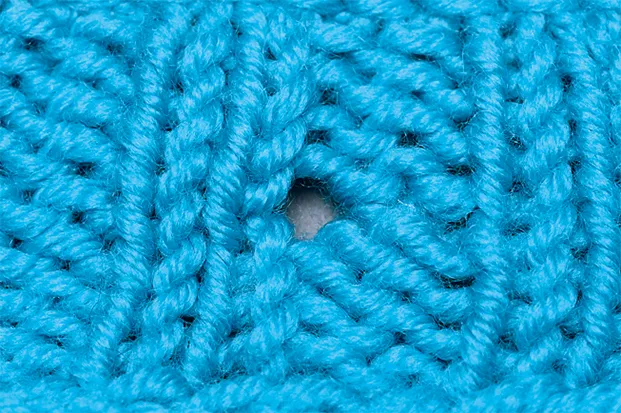
Tiny buttons:
Eyelet buttonhole over one stitch
You can hide this nicely in the purl ‘gutter’ stitches of a ribbed button band. If the pattern directions mean these buttonholes fall on the knit stitches of a ribbed band consider moving them into the purl stitches.
Worked on RS of fabric: *K2tog, yo; rep from * for every buttonhole.
Worked on WS of fabric: *P2tog, yo; rep from * for every buttonhole.
To make this buttonhole tighter, work the decrease through the back loops (eg, k2togtbl or p2togtbl).
Small buttons:
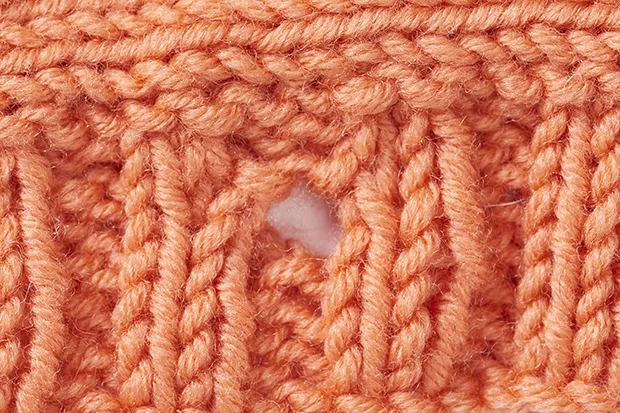
Double decrease buttonhole
Row 1 (RS) *Patt to 1 st before st marked for buttonhole, k2tog, yo, ssk; rep from * to end of row. Row 2 (WS) *Patt to yo of previous row, purl into front and back of the yo of the previous row to make 2 sts out of 1; rep from * to end of row.
Medium buttons:
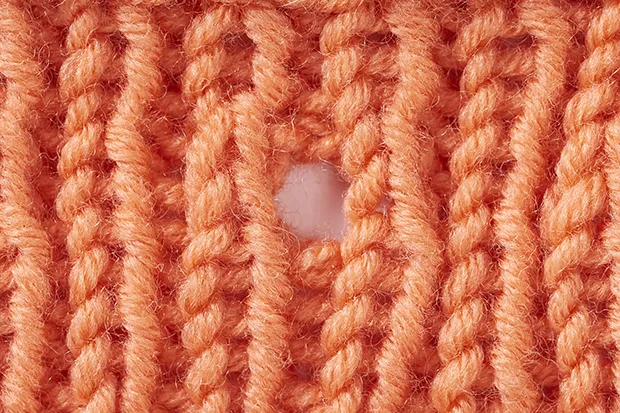
Over 1x1 rib stitch
These buttonholes look best when they are placed in the purl stitches of a 1x1 rib button band.
Set-up row (WS) *Patt across to first knit st where you want to place a buttonhole (these will be purl sts on the RS), kfb; rep from * to end of row. These kfb sts will be known as ‘inc sts’ on Row 1.
Row 1 (RS) *Patt to 1 st before inc sts, ssk, yo twice, k2tog; rep from * to end of row.
Row 2 *Patt to 1 st before double yo of last row, p2tog, yo, ssp; rep from * to end of row.
Row 3 *Patt to buttonhole, p2tog both horizontal loops by treating them as one purl stitch; rep from * to end of row.
Medium buttons:
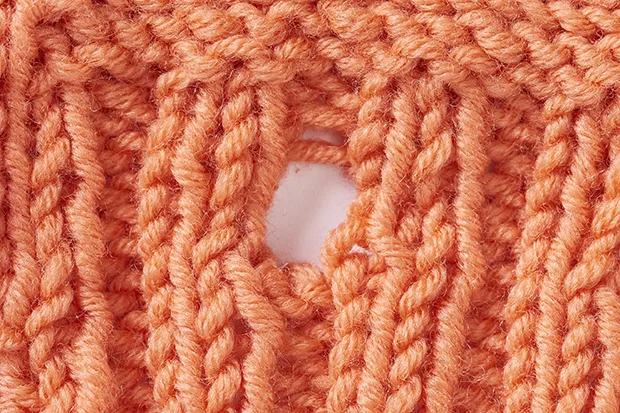
Over 2x2 rib stitch
These buttonholes look best placed in the 2 purl stitches of a 2x2 rib button band. To make a smaller buttonhole, skip Row 2 and work Row 3 in its place.
Row 1 (RS) *Patt to 1 knit st before 2 purl stitches where you want to place a buttonhole, ssk, yo twice, k2tog; rep from * to end of row.
Row 2 (WS) *Patt to 1 st before double yo of last row, p2tog, yo twice, ssp; rep from * to end of row.
Row 3 *Patt to buttonhole, (k1, p1) into double yo of last row; rep from * to end of row.
Medium to very large buttons:
For garter stitch
This one row buttonhole is particularly good for garter stitch button bands, which can be very stretchy. This buttonhole looks better when worked from the WS and can be worked over any number of stitches. Make sure you pull the wraps tight in both Steps 1 and 3 to avoid any loops appearing at either end of the buttonhole.
