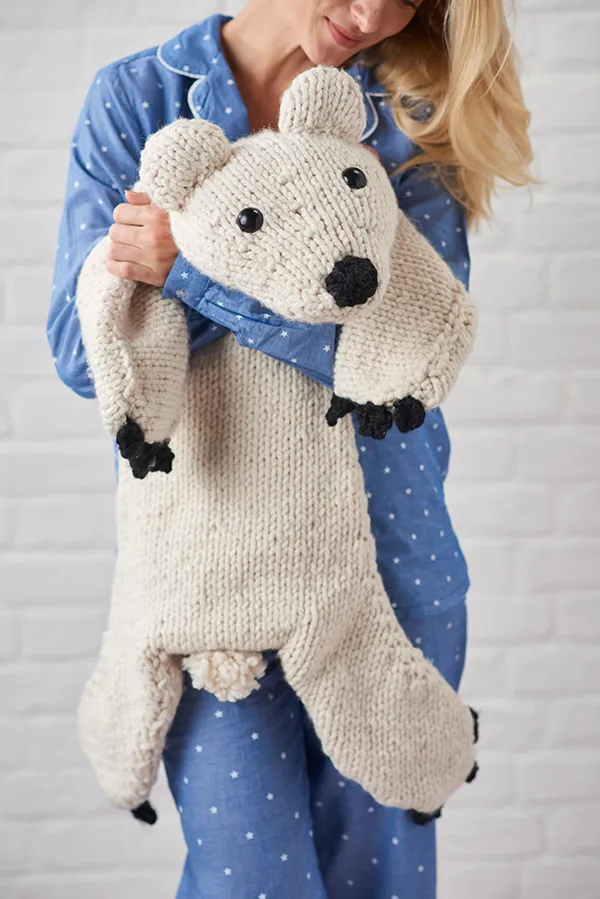
Make an adorable pal with our polar bear knitting pattern
If you want to win a little one over this Christmas, there’s no better gift than this polar bear, guaranteed to be the biggest cuddly toy in their bedroom by a mile. Kids can use him as a throw to keep warm on winter nights, snuggle up to him on the sofa, or lie him on the floor for cosy toes.
Worked in super chunky yarn on 9mm needles, this oversized plushie will knit up in no time at all. We’ve used acrylic yarn to keep him affordable (and hard-wearing), but you could swap it out for a more tactile natural yarn instead – it depends on how often you think he’ll visit the washing machine
Polar bear knitting pattern
Materials
- Cygnet Seriously Chunky yarn, 100% acrylic, 100g/48m per ball, 10 balls in Cream (288) (Yarn A) and one ball in Black (217) (Yarn B)
- 9mm (UK 00, US 13) knitting needles, 33cm (13") long, or circular needles used as straight needles
- Two 2.5cm (1") toy safety eyes
- Soft toy stuffing
- Yarn needle
- Scrap yarn markers in two different colours (Yarn C and Yarn D)
- Pom pom maker
Tension
8 sts and 11 rows to 10cm (4") on 9mm needles. This is not the standard tension for this yarn, but the tension needed for the project. Knit a tension square before starting and adjust your needle size if needed, as knitting in the wrong tension could use additional yarn.
Abbreviations (UK)
- st(s) stitch(es)
- k knit
- kfb knit into the front and back of the same st, increasing from one to two sts
- kfbf knit into the front, back, and front again of the same st, increasing from one to three sts
- p purl
- skpo slip a st, knit
- a st, pass slipped
- st over, decreasing by one st
- k2tog knit two sts together, decreasing by one st, turn midway through a row
- RS right side
- WS wrong side
Finished size
Approx. 80 x 100cm (311⁄2 x 393/8")
Instructions
When sewing the sections together, pull the yarn tightly to secure them. If you’re making this for a young child, we’d recommend embroidering on the eyes or sewing on scraps of felt instead.
You will need:
- Yarn
- Knitting needles
- Stuffing
Head
Step 1


 Make two, but only add the scrap yarn markers to one, which will form the top side of the rug.
Cast on 3 sts using Yarn A and 9mm needles.
Row1(RS)k
Row 2 and all even rows unless otherwise stated, p
Row 3 kfb repeated to end (6 sts) Row 5 (kfb, k1) repeated to end (9 sts)
Row 7 (kfb, k2) repeated to end (12 sts)
Row9k
Row11k
Row13k
Row 15 (kfb, k2) repeated to end (16 sts)
Row17k
Row 19 (kfb, k3) repeated to end (20 sts)
Row 20 p, adding scrap yarn markers in Yarn C to the 6th and 14th sts
Row21k
Row 23 (kfb, k4) repeated to end (24 sts)
Row25k
Row27k
Row29k
Row 30 p, adding scrap yarn markers in Yarn D to the 4th, 10th, 15th and 21st sts
Row31k
Row 33 (k4, k2tog) repeated to end (20 sts)
Row 35 (k3, k2tog) repeated to end (16 sts)
Row 37 (k2, k2tog) repeated to end (12 sts)
Row 39 kfbf twice, k to the last 3 sts, kfbf twice, k1 (20 sts)
Row 41 kfbf twice, k to the last 3 sts, kfbf twice, k1 (28 sts)
Row 43 kfbf twice, k to the last 3 sts, kfbf twice, k1 (36 sts)
Front legs
Step 1

 Rows 45-65 increase the sts by casting on either side of the row, while Rows 67-103 cast off the rows Row 45 At the beginning of the row cast on 14 sts, k all sts (50 sts) Row 46 At the beginning of the row cast on 14 sts, p all sts (64 sts) You may find it easier to switch to circular 9mm needles at this point, as you will have a lot sts on the needles. Use the circulars as straight needles.Row 47 kfb, k to the last two sts, kfb, k1 (66 sts)
Row 49 kfb, k to the last two sts, kfb, k1 (68 sts)
Row51k
Row53k
Row55k
Row57k
Row 59 k1, skpo, k to the last 3 sts, k2tog, k1 (66 sts)
Row 61 k1, skpo, k to the last 3 sts, k2tog, k1 (64 sts) Row63castoff20sts,ktotheend of the row (44 sts)
Row 64 cast off 20 sts purlwise, p to the end of the row (24 sts)
Row 65 k1, skpo, k to the last 3 sts, k2tog (22 sts)
Row67k
Row69k
Row71k
Row 73 kfb, k to the last 2 sts, kfb, k1 (24 sts)
Row 75 k
Row 77 k
Row 79 k
Row 81 kfb, k to the last 2 sts, kfb, k1 (26 sts)
Row 83 k
Row85k
Row87k
Row 89 kfb, k to the last 2 sts, kfb, k1 (28 sts)
Row91k
Row 93 kfb, k to the last 2 sts, kfb, k1 (30 sts)
Row 95 kfb, k to the last 2 sts, kfb, k1 (32 sts)
Row 97 kfb, k to the last 2 sts, kfb, k1 (34 sts)
Row 99 kfb, k to the last 2 sts, kfb, k1 (36 sts)
Row 101 kfb twice, k to the last 3 sts, kfb twice, k1 (40 sts)
Row 103 kfb twice, k to the last 3 sts, kfb twice, k1 (44 sts)
Right back leg
Step 1
Row 105 kfb twice, k15, turn (19 sts). Place the remaining 27 sts onto a stitch holder or scrap yarn to be worked later.
Row 106 cast off one st purlwise, to the end of the row (18 sts) Row107kfb,ktotheendofthe row (19 sts)
Row 108 cast off one st purlwise, to the end of the row (18 sts) Row109kfb,k to the end of the row (19 sts)
Row 110 cast off 2 sts purlwise, p to the end of the row (17 sts) Row111kfb,k to the end of the row (18 sts) p
Row 112 cast off one st purlwise, p to the end of the row (17 sts)
Row 113 k
Row 114 cast off one st purlwise, p to the end of the row (16 sts)
Row 115 k
Row 116 cast off one st purlwise, p to the end of the row (15 sts) Row 117 kfb, k to the end of the row (16 sts)
Row 118 cast off 2 sts purlwise, p to the end of the row (14 sts)
Row 119 k1, skpo, k to the end of the row (13 sts)
Row 120 cast off 2 sts purlwise, p to the end of the row (11 sts)
Row 121 k1, skpo, k to the end of the rows (10 sts)
Row 122 cast off 3 sts purlwise, p to the end of the row (7 sts)
Row 123 cast off all sts
Left back leg
Step 1
Row 105 (second half) place the 27 sts on the stitch holder back onto the needle ready to be worked. Reattach the yarn and cast off 10 sts, k15, kfb twice (19 sts)
Row 107 cast off one st, k to the last 2 sts, kfb, k1 (19 sts)
Row 109 cast off 2 sts, k to the last 2 sts, kfb, k1 (18 sts)
Row 111 cast off one st, k to the last 2 sts, kfb, k1 (18 sts)
Row 113 cast off one st, k to the end of the row (17 sts)
Row 115 cast off one st, k to the end of the row (16 sts)
Row 117 cast off one st, k to the last 2 sts, kfb, k1 (16 sts)
Row 119 cast off 2 sts, k to the last 3 sts, k2tog, k1 (13 sts)
Row 121 cast off 2 sts, k to the last 3 sts, k2tog, k1 (10 sts) Row123castoff3sts, k to the end of the row (7 sts)
Row 124 cast off purlwise all sts
Joining the rug
Step 1
 Weave in all loose ends. With both pieces of the rug WS together, pin or tack. Using Yarn A and mattress stitch, sew around the body, head and legs, leaving a hole on the side of the body for stuffing the head. Fill the head with the toy stuffing, following the shaping of the knit and being careful not to overstuff.
Inserting the eyes
Step 1
 Place the eyes over the scrap markers in Yarn C. These are for guidance only, so you can change the placement if you wish. Once the eyes are put in place, remove the markers and secure the eyes with the washers.Using Yarn A and mattress stitch, sew up the hole in the body and weave in the loose ends.
Ears (make four)
Step 1
 Cast on 9 sts using Yarn A and 9mm needles.
Row 1 (RS) k
Row 2 p
Row 3 k
Row 4 p
Row 5 skpo, k5, k2tog (7 sts)
Row 6 p
Row 7 skpo, k4, k2tog (5 sts)
Row 8 p
Row 9 Cast off all sts
Take two ear panels and with WS together, pin. Using Yarn A and mattress stitch, sew around the outside, leaving the cast on edges open. Add a tiny handful of stuffing and repeat for the second ear. Place an ear between the two scrap markers in Yarn D on the right hand side of the head. Pin in place, then sew using Yarn A from the cast on edge into the head.
Weave in the loose ends, repeat for the left ear and remove markers.
Nose
Step 1
 Cast on 3 sts using Yarn B and 9mm needles.
Row 1 (RS) k
Row 2 p
Row 3 kfb twice, k1 (5 sts) Row4p
Row 5 skpo, k1, k2tog (3 sts) Row6p
Row 7 Cast off, leaving a long tail. Weave in the cast on loose end.
Place the nose centrally at the bottom of the snout. Sew neatly to the head using the long tail left after the cast off and weave in the loose end once secure.
Claws (make twelve)
Step 1
 Cast on 3 sts using Yarn B and 9mm needles.
Row 1 k
Row 2 k
Row 3 k
Row 4 k
Row 5 cast off, leaving a long tail for sewing up.
Starting with the front right leg, take three claws and pin to the end of the leg. Using the long tails left after casting off, sew each claw into the leg. Repeat for the remaining legs and weave in the loose ends.
Tail
Step 1

Using Yarn A, make a pom pom following the instructions on the pom pom maker. Place in the centre of the cast off edge between the back legs, sew in place and weave in the loose ends.

Make a cuddly polar bear
This sweet polar bear is a joy to knit and makes a lovely, child-friendly gift that little ones will treasure.
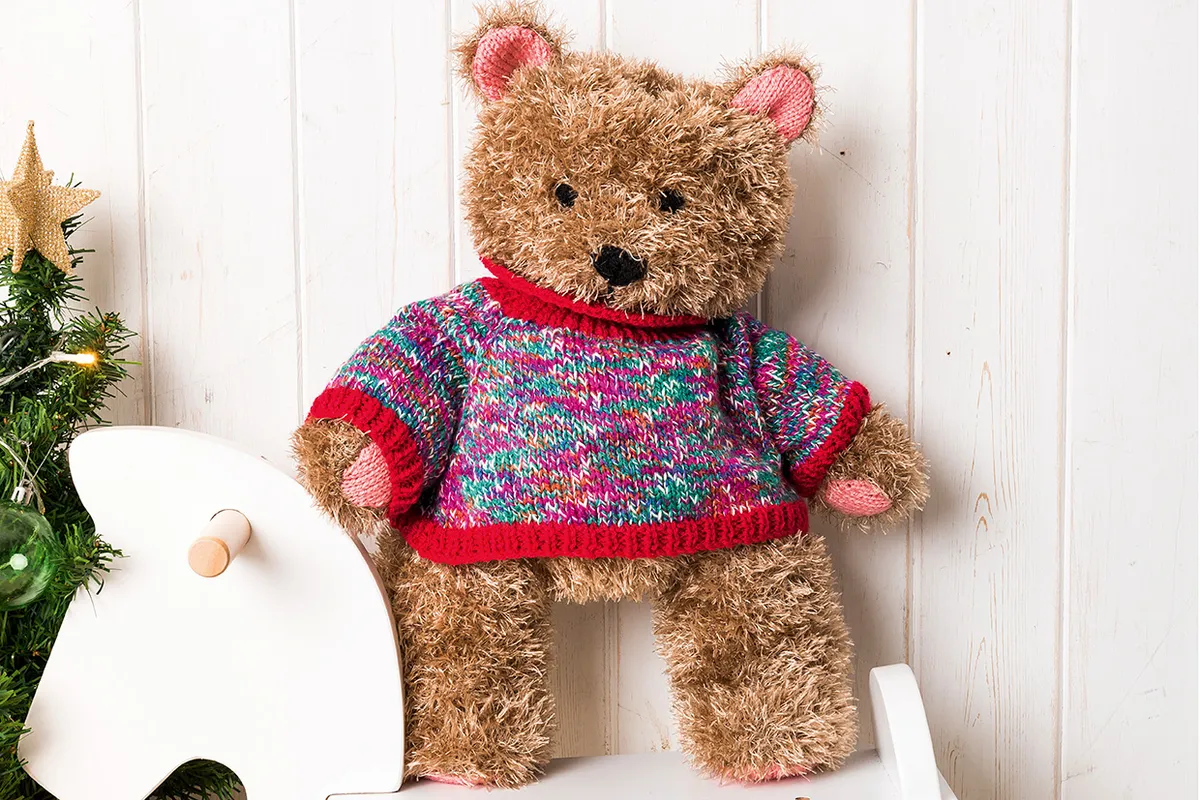
Don't stop there, knit this cute bear
Start knitting your own cuddly teddy bear today and enjoy creating a timeless, hand-made friend that’s perfect for gifting.