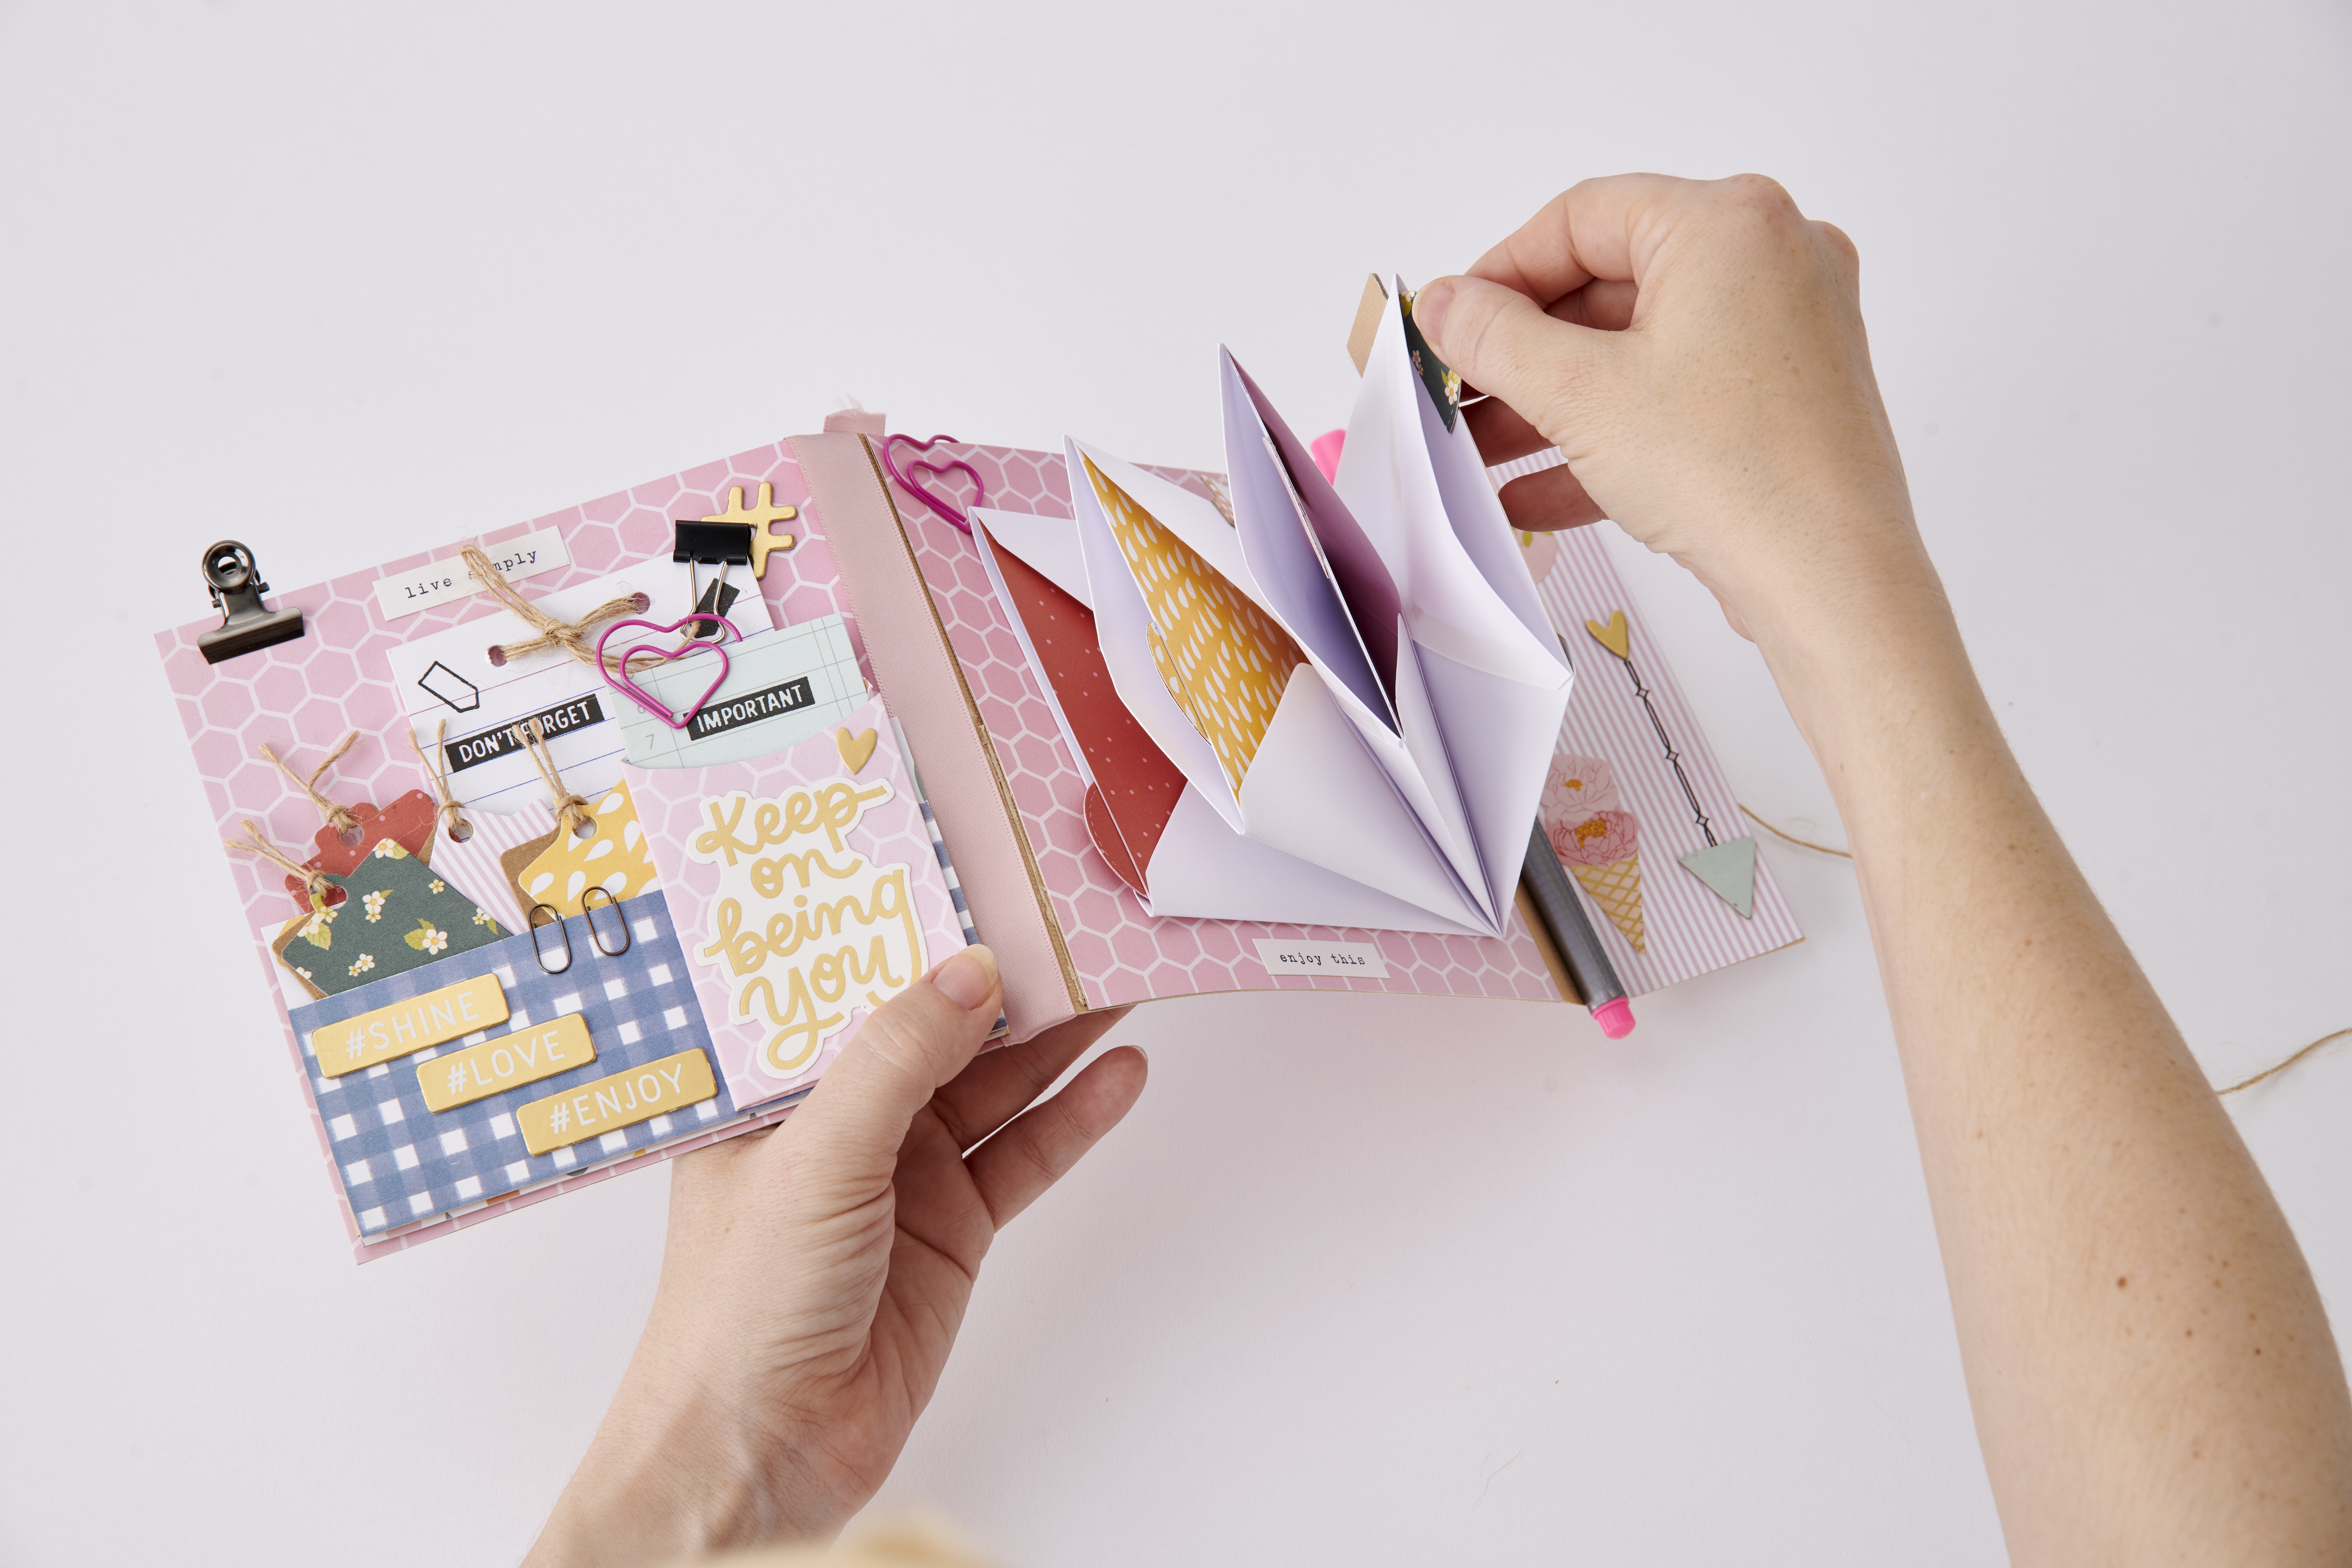
How to make your own DIY planner

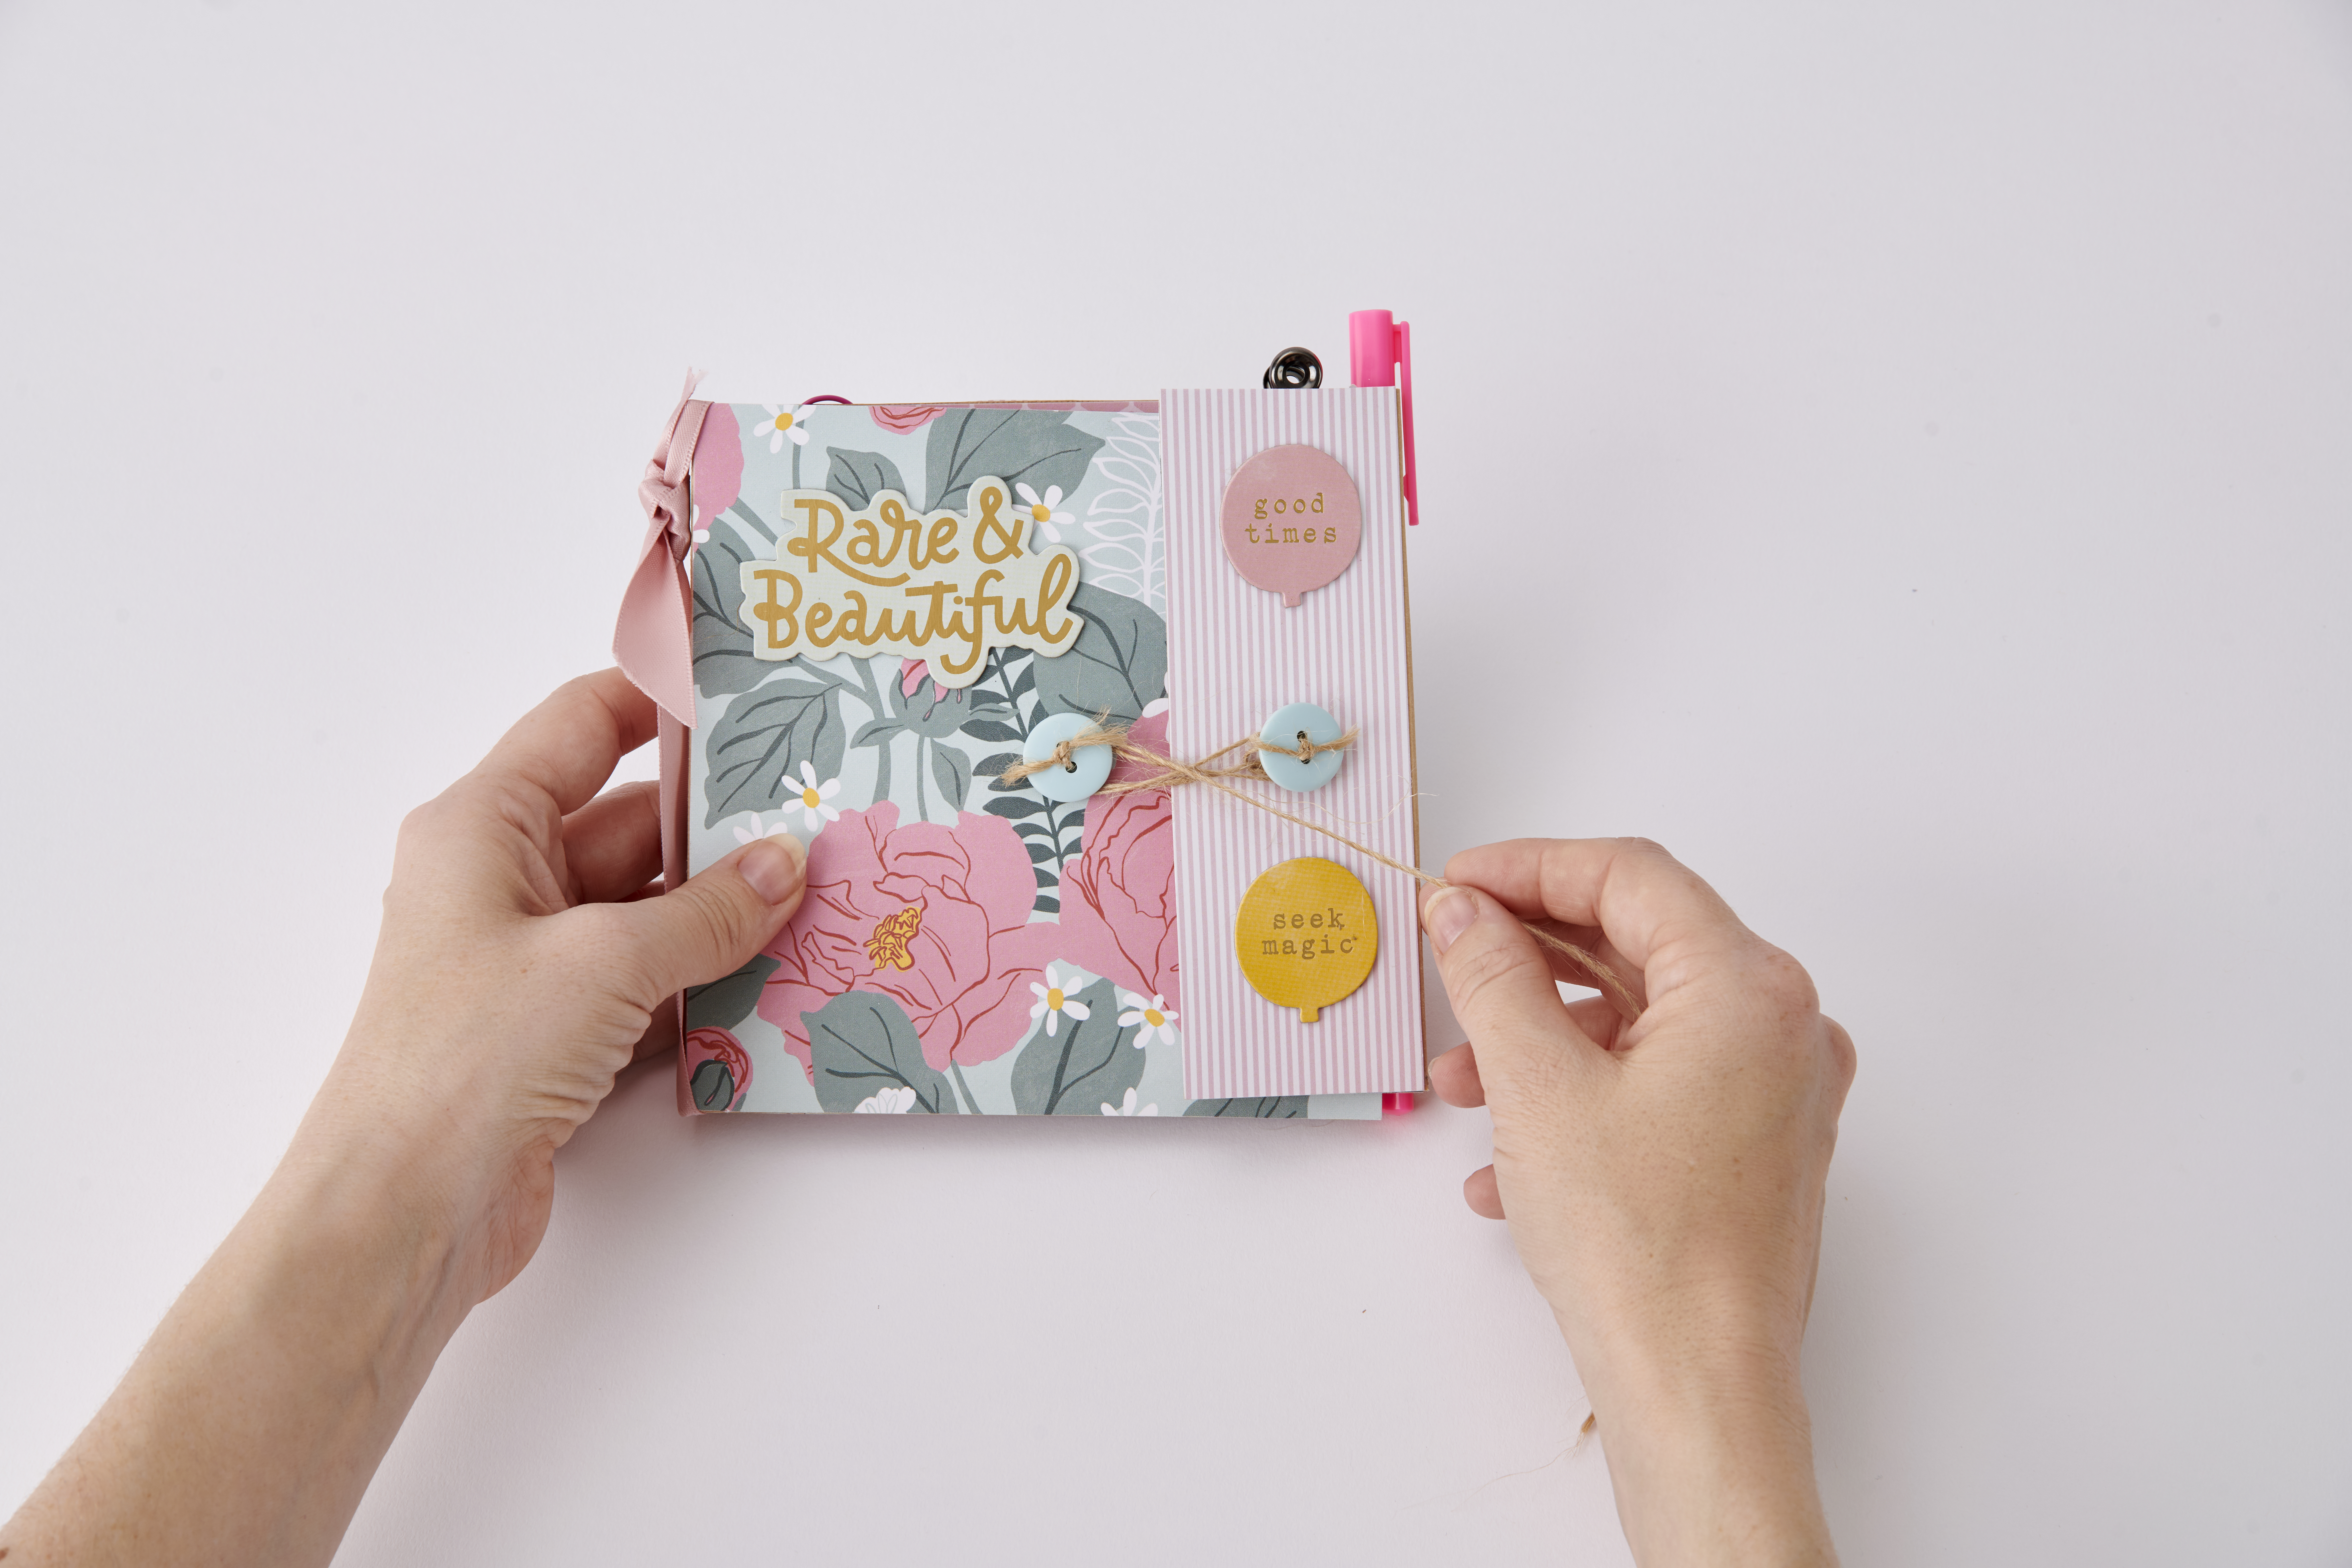
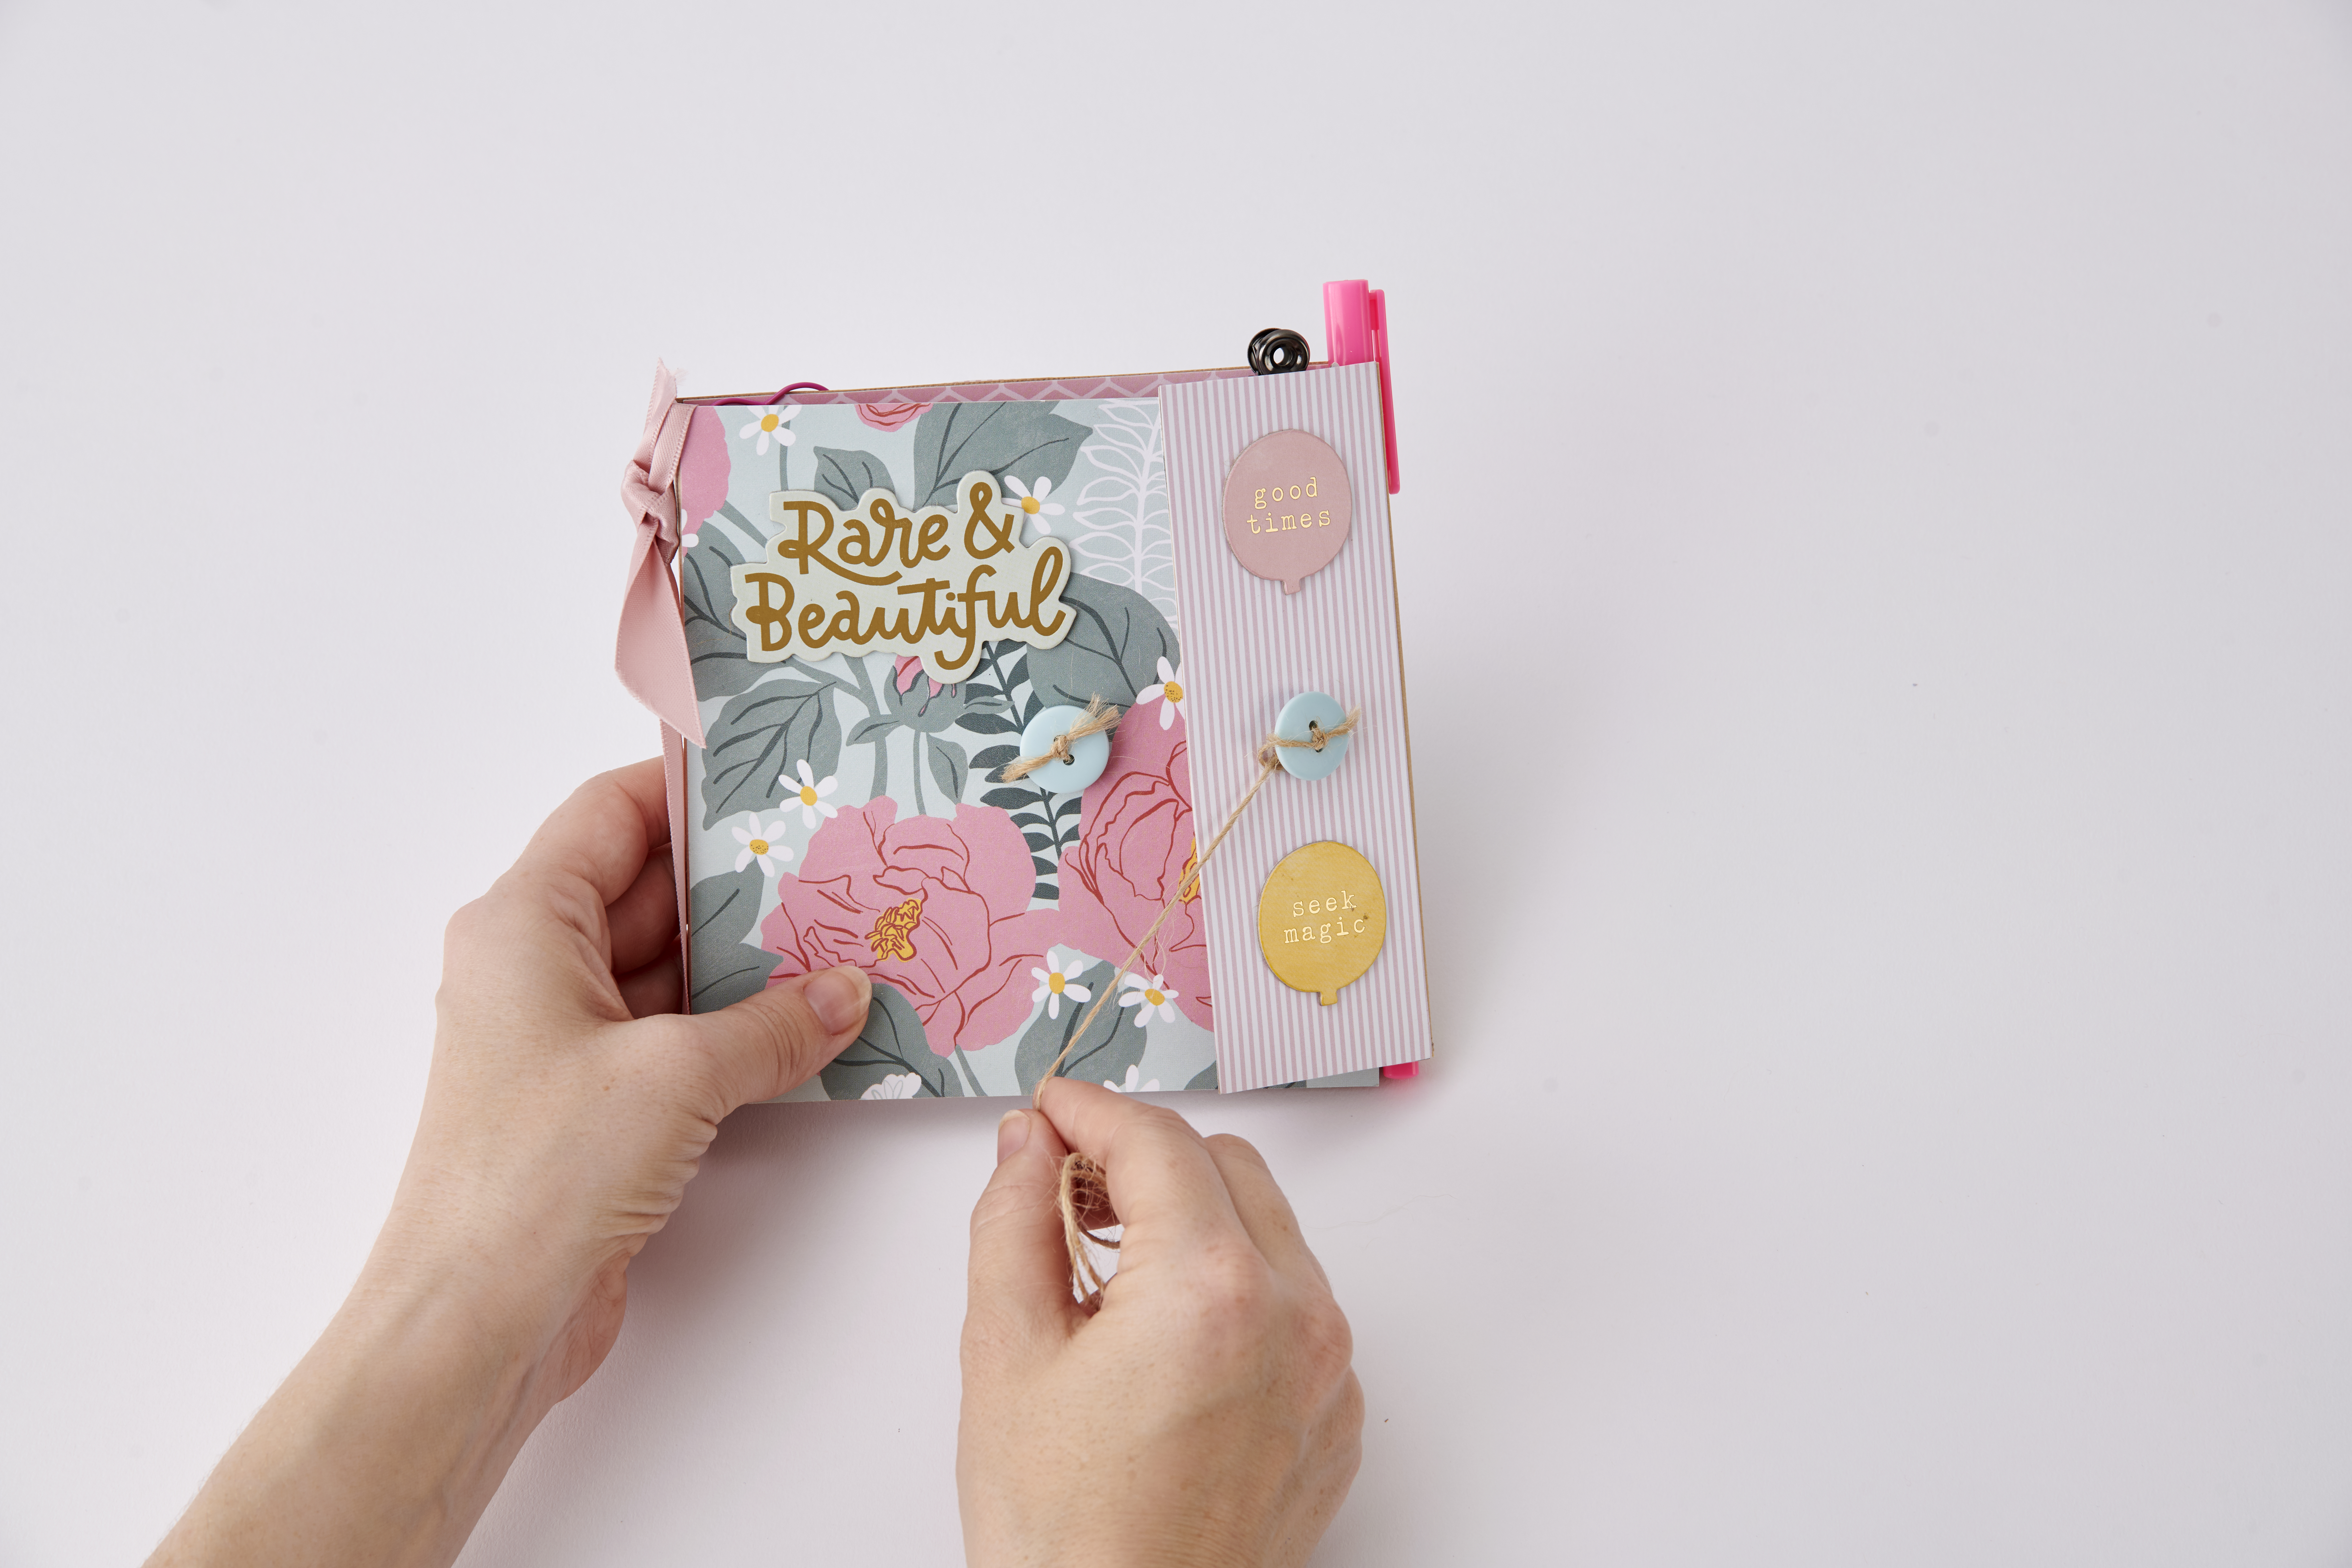
Learn how to make your own planner and turn over a new page for 2021 with this stylish DIY planner from Vicky Bailey.

Try 6 issues of any craft magazine for just £9.99

Published: December 29, 2020 at 8:57 am

Sticking to New Year resolutions can be trying to say the least, but keeping on top of things is much more fun with Vicky Bailey’s DIY planner in tow. From making to-do lists and jotting down crafty ideas when they pop into your head, get your 2020 off to an organised start and design your own planner!

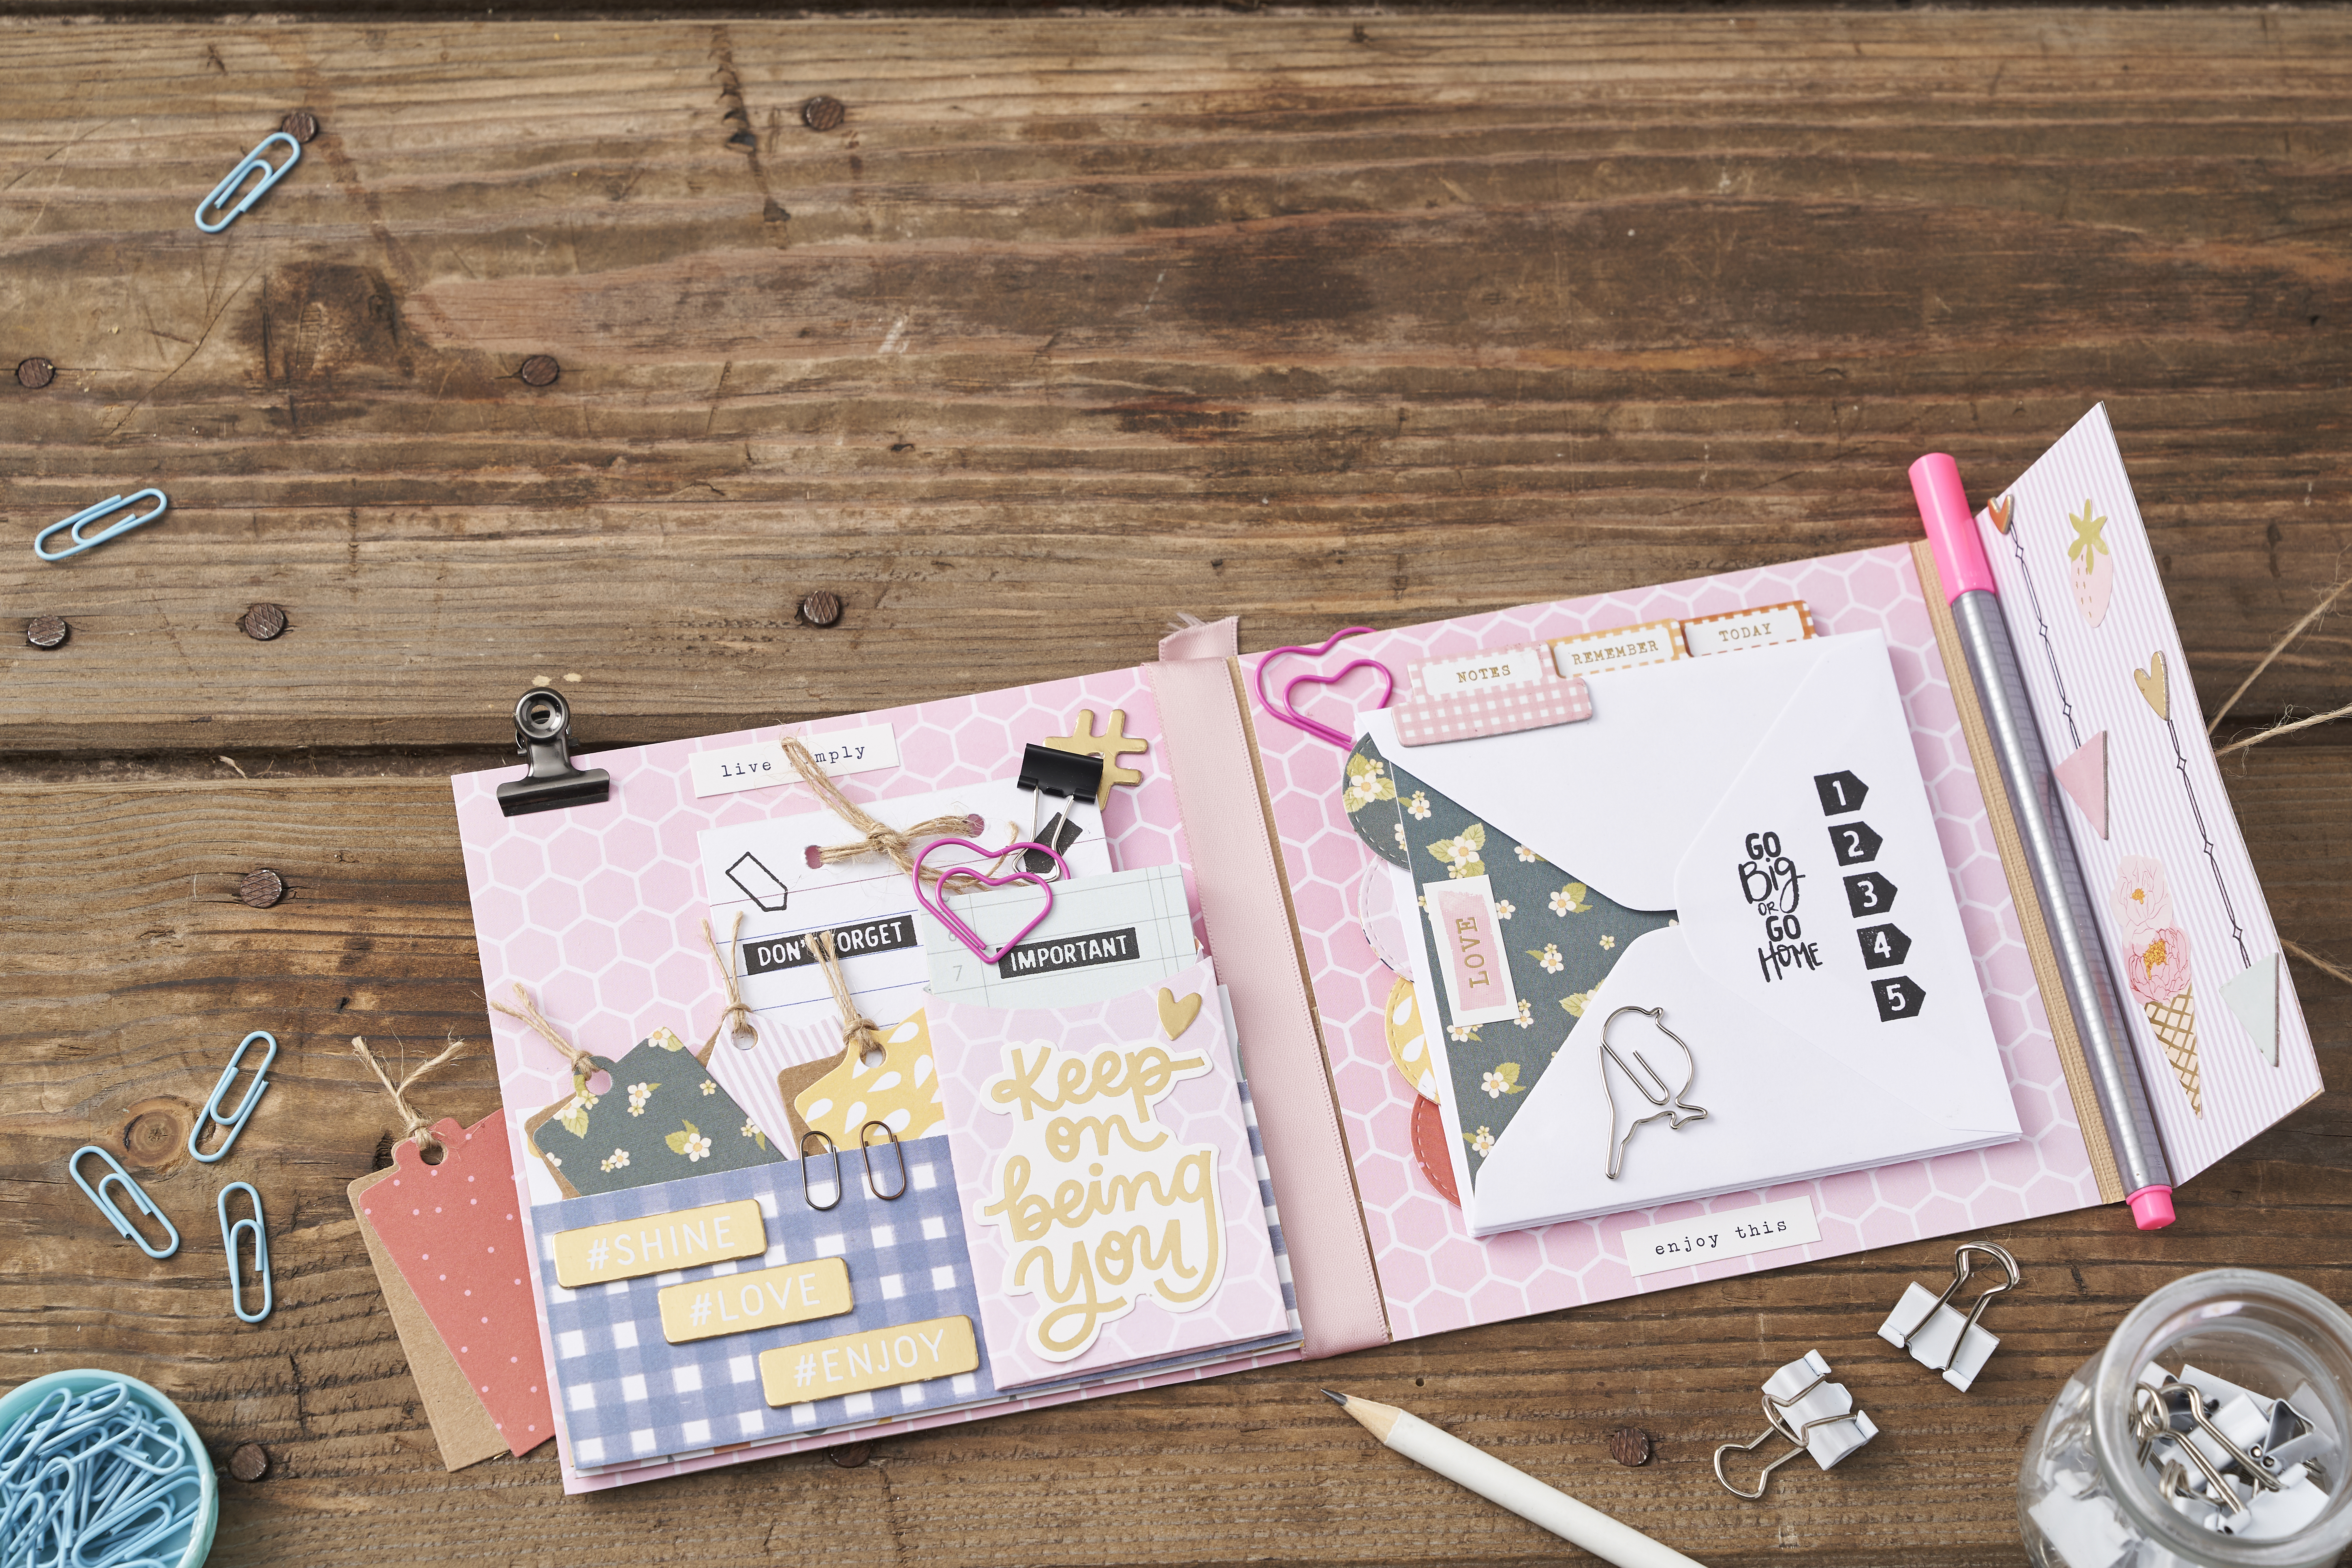
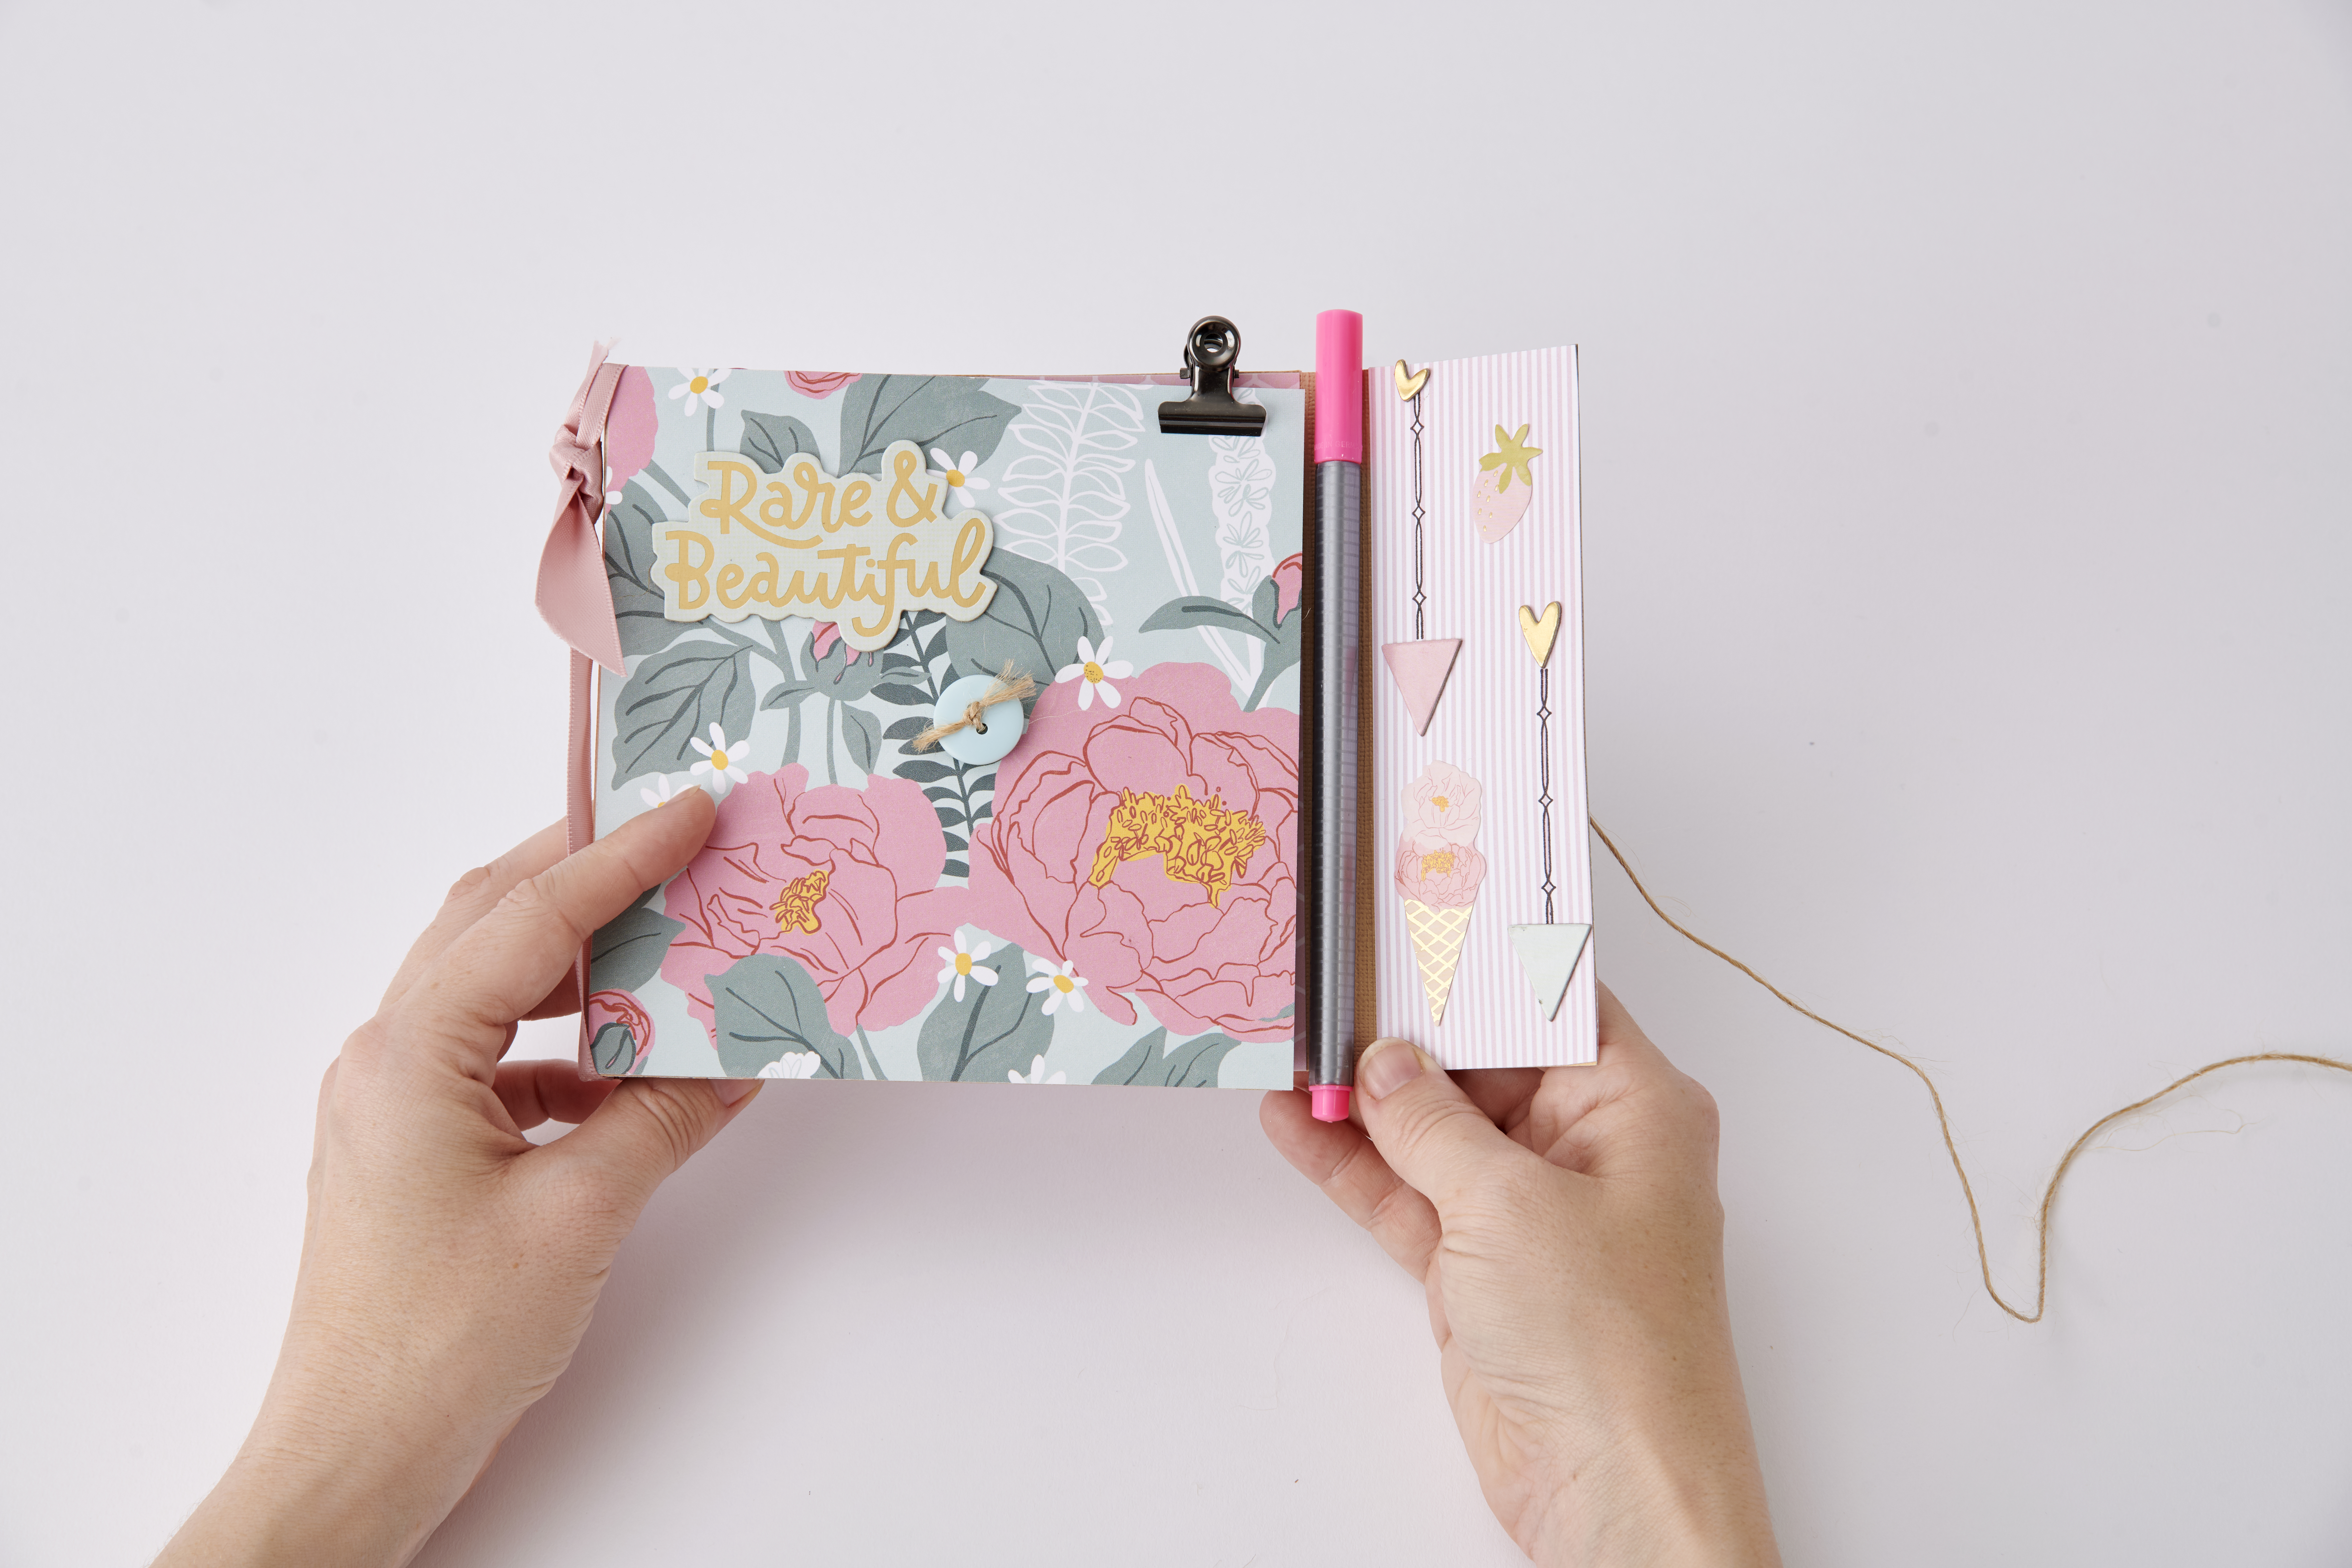
Use our free template (the ones labelled 'Home Style') to make your own planner from card, then decorate with beautiful papers and embellish with mini gift tags, paper clips, stickers and any other stylish stationery you might have in your stash. If you haven't been able to replenish your stash this past year, check out our selection of free patterned papers - just print them out and you're good to go!

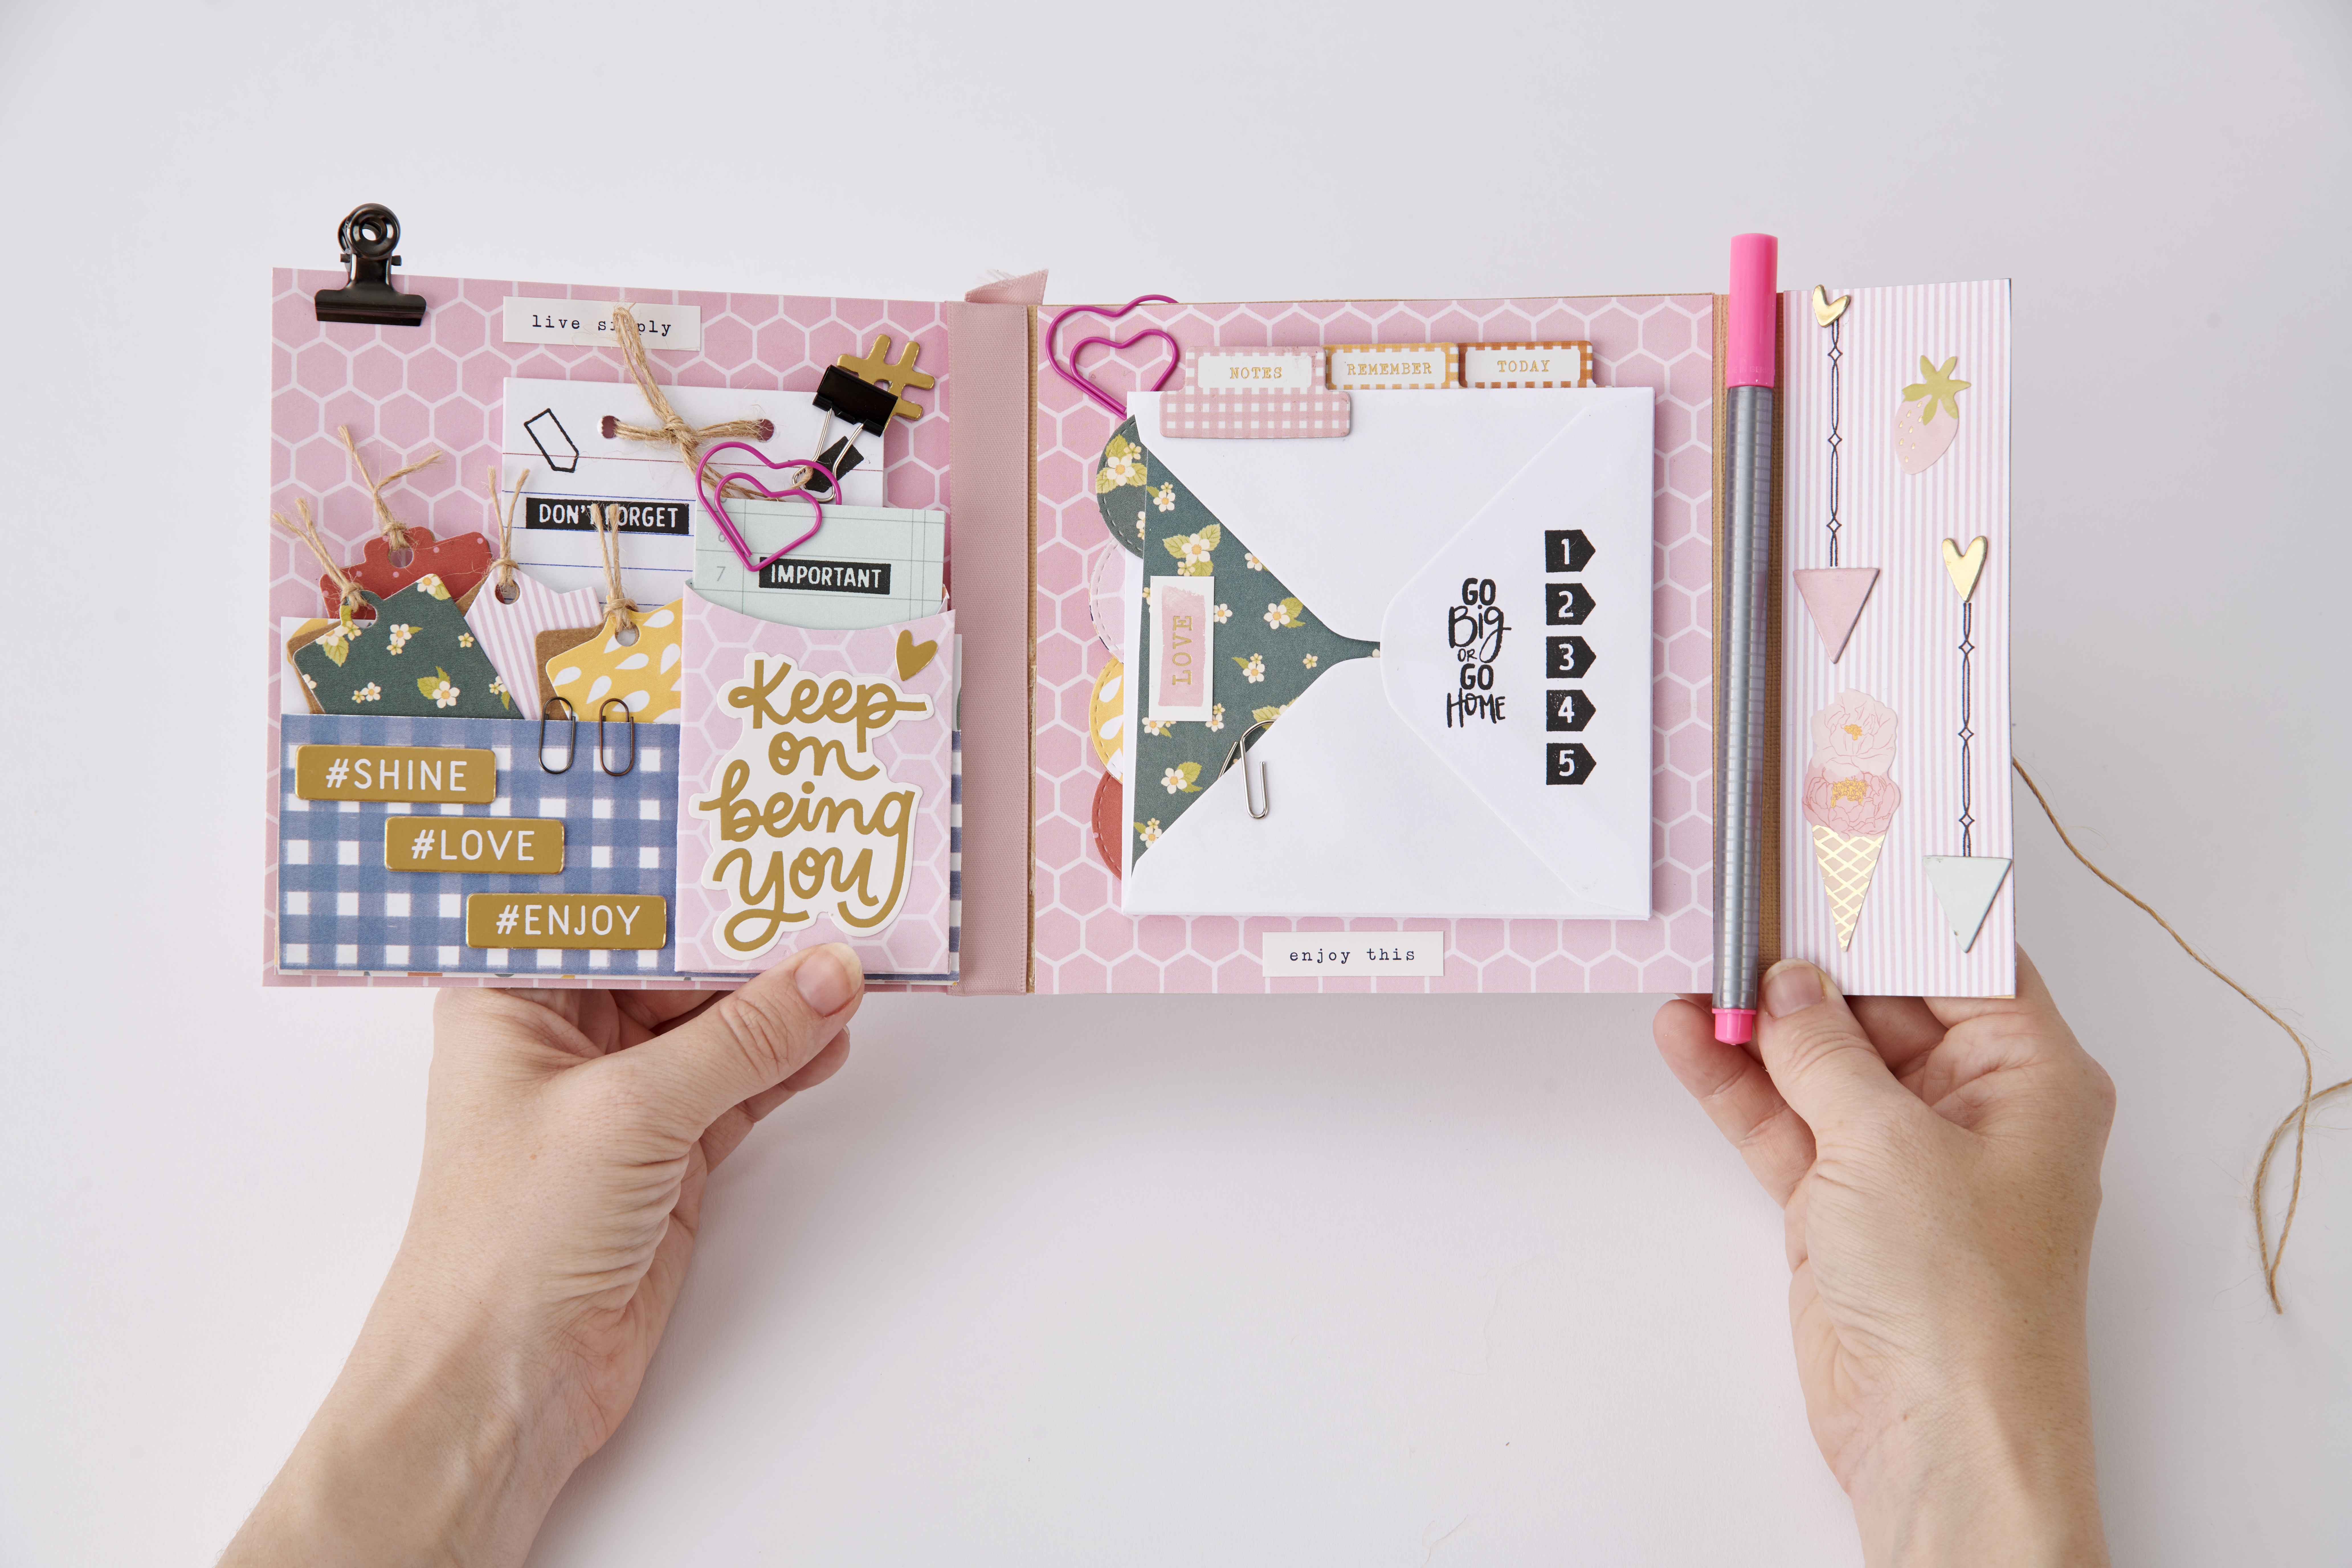
Here, Vicky has layered envelopes inside for an expanding pocket and included mini pouches; perfect for safely storing things away.

However, if you’re anything like us, you’ll need all the help you can get to keep on track. So, why not embellish your DIY planner with feel-good sentiments and pick-me-up mottos that will keep you motivated throughout the year.

If you've made your own DIY planner, please share your makes with us on Facebook and Twitter, too!
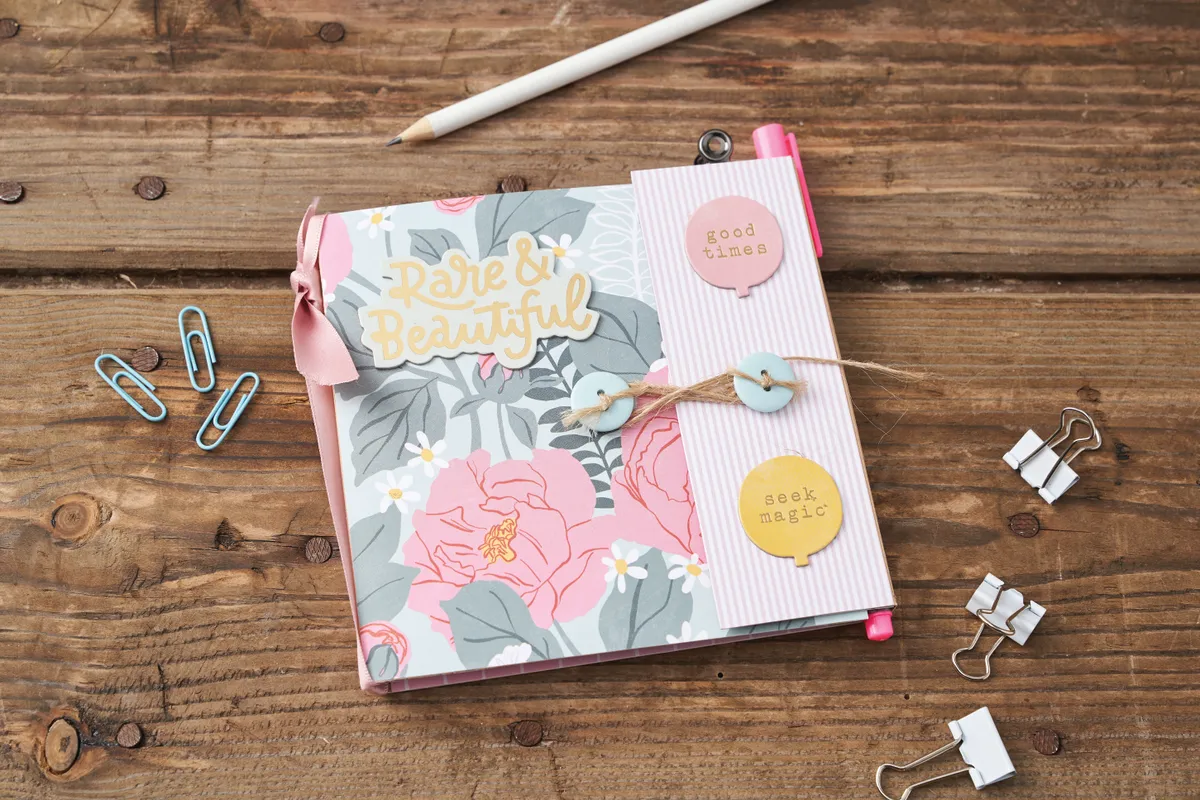
DIY planner

You will need:

  • Plain card
  • Patterned paper
  • Embellishments

Step 1

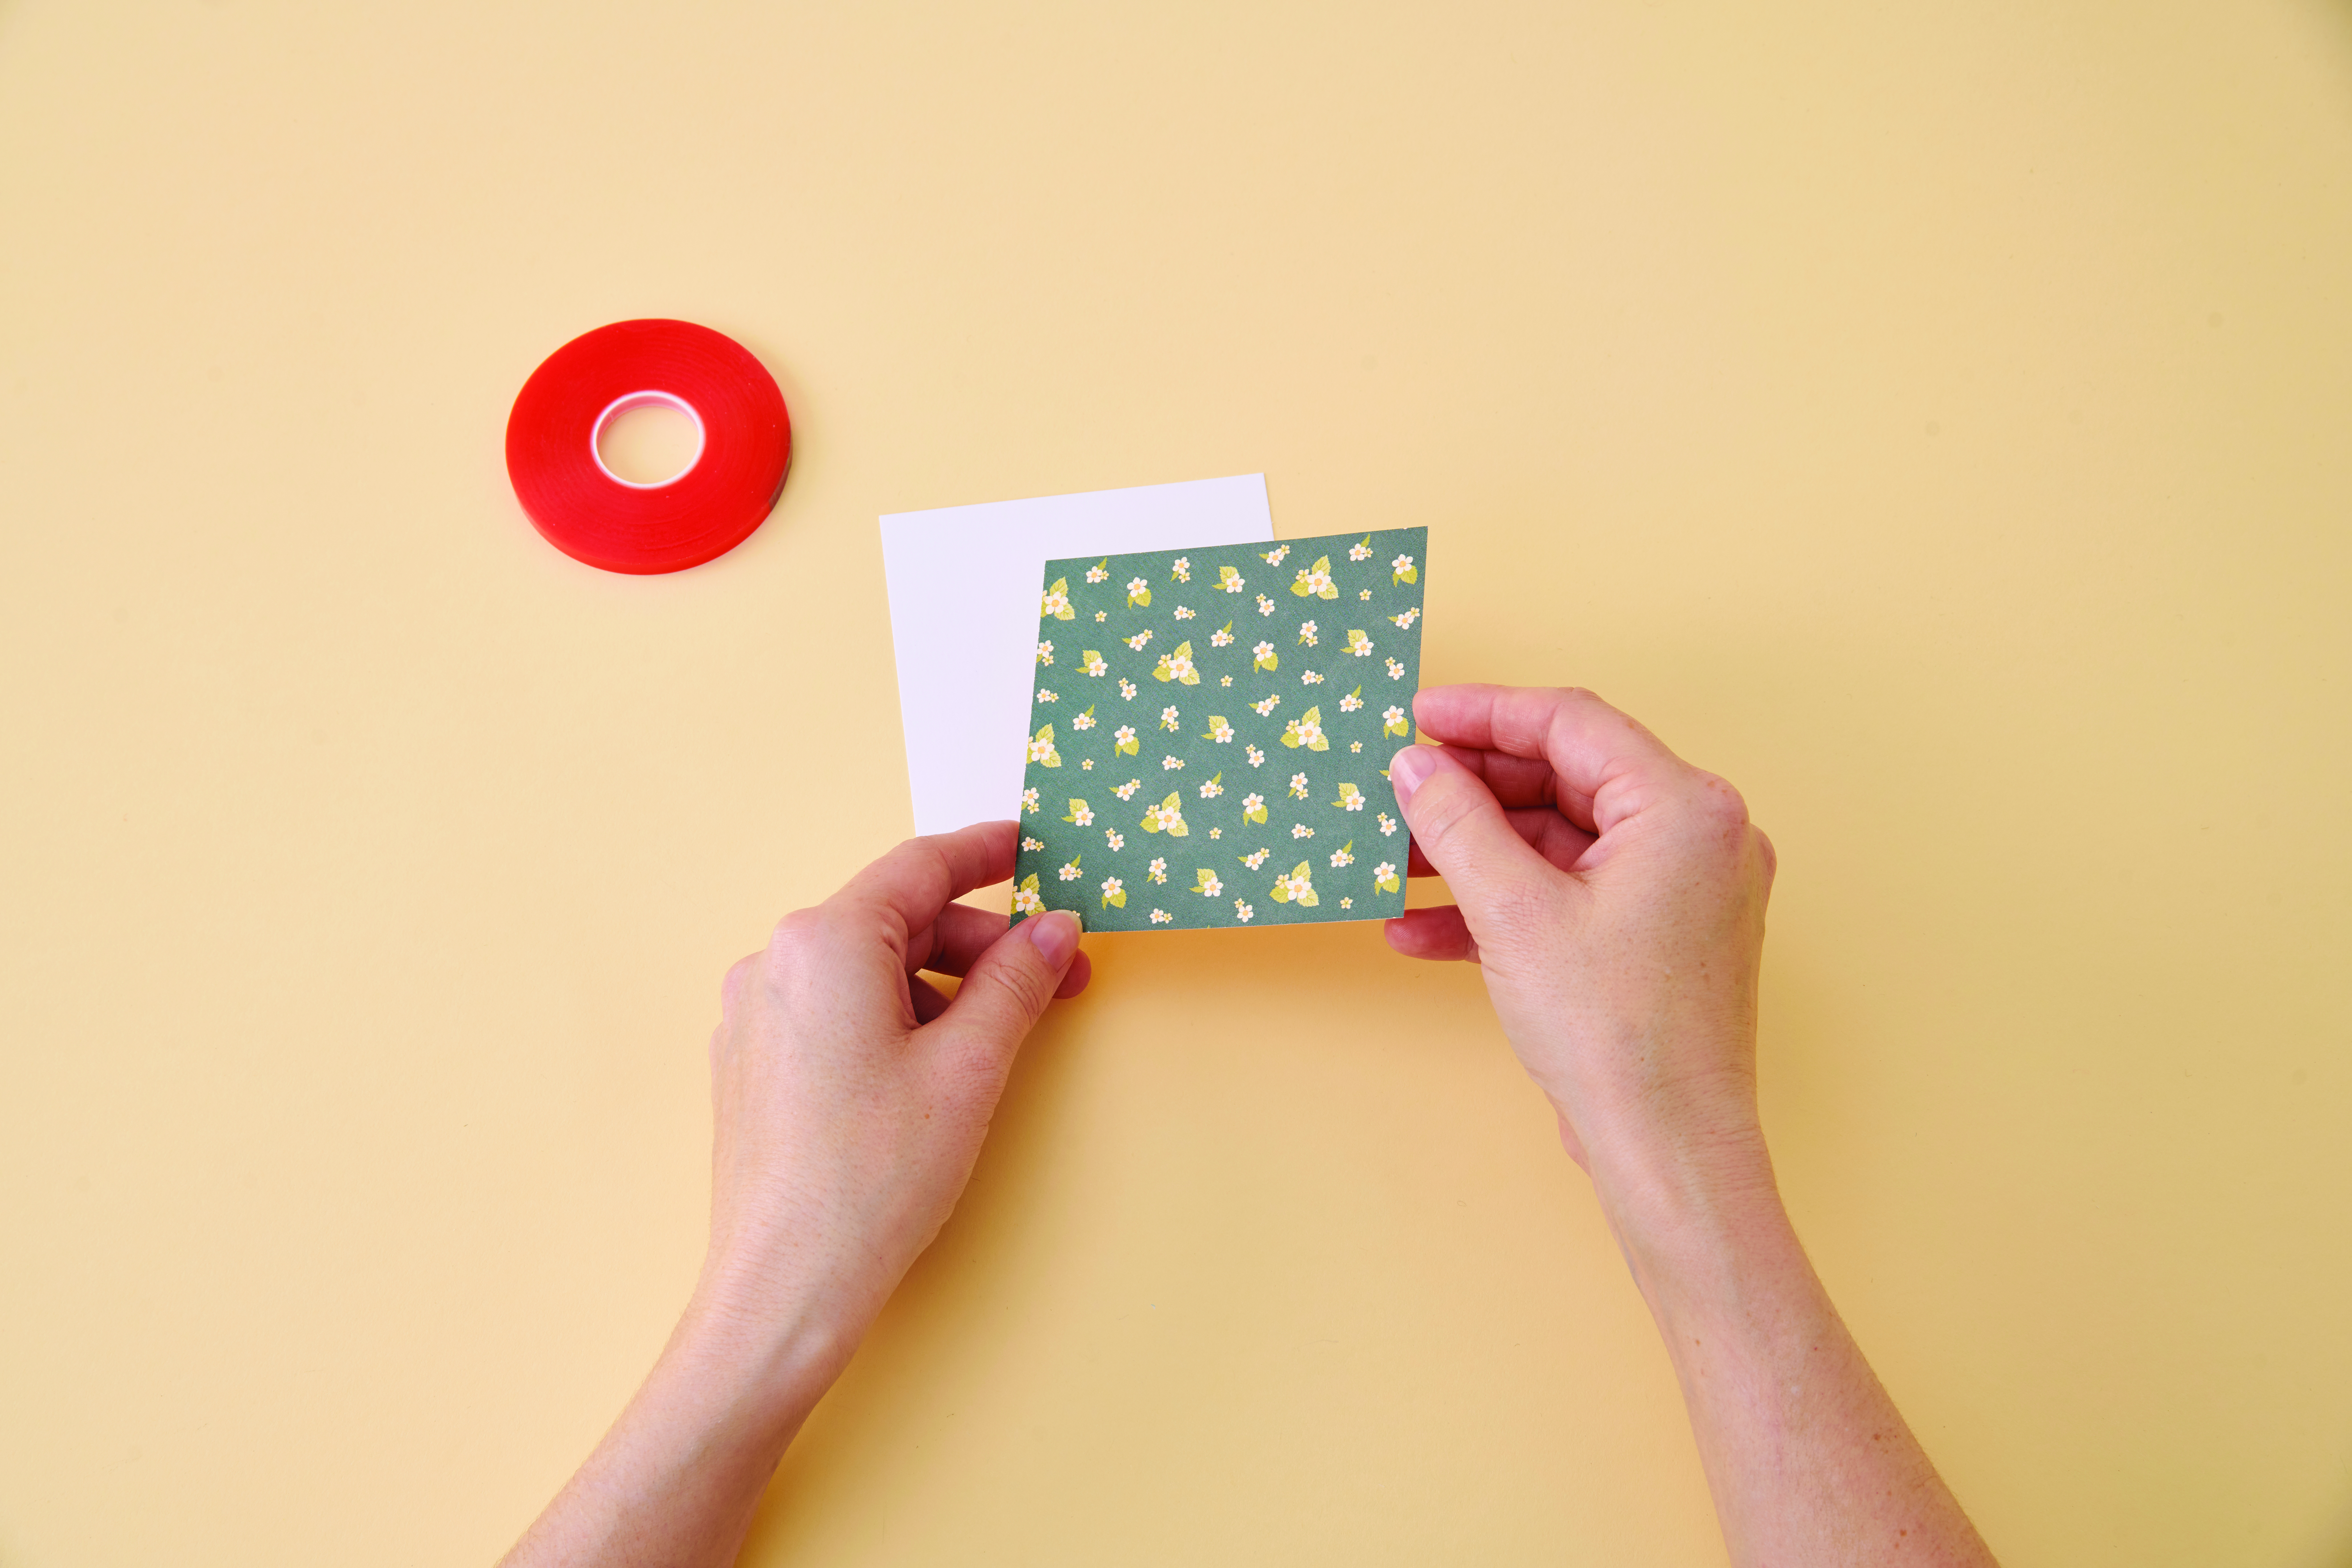
To make your DIY planner, download the free templates (marked ‘Home Style’) and assemble to create your base. Now we’re going to show you how to make the expanding pouch on the right-hand side. First, cut a 10cm square of white card. Cover the front panel with patterned paper using double-sided tape or glue. We’re using the American Crafts Dear Lizzy It’s All Good paper pad.

DIY planner

Step 2

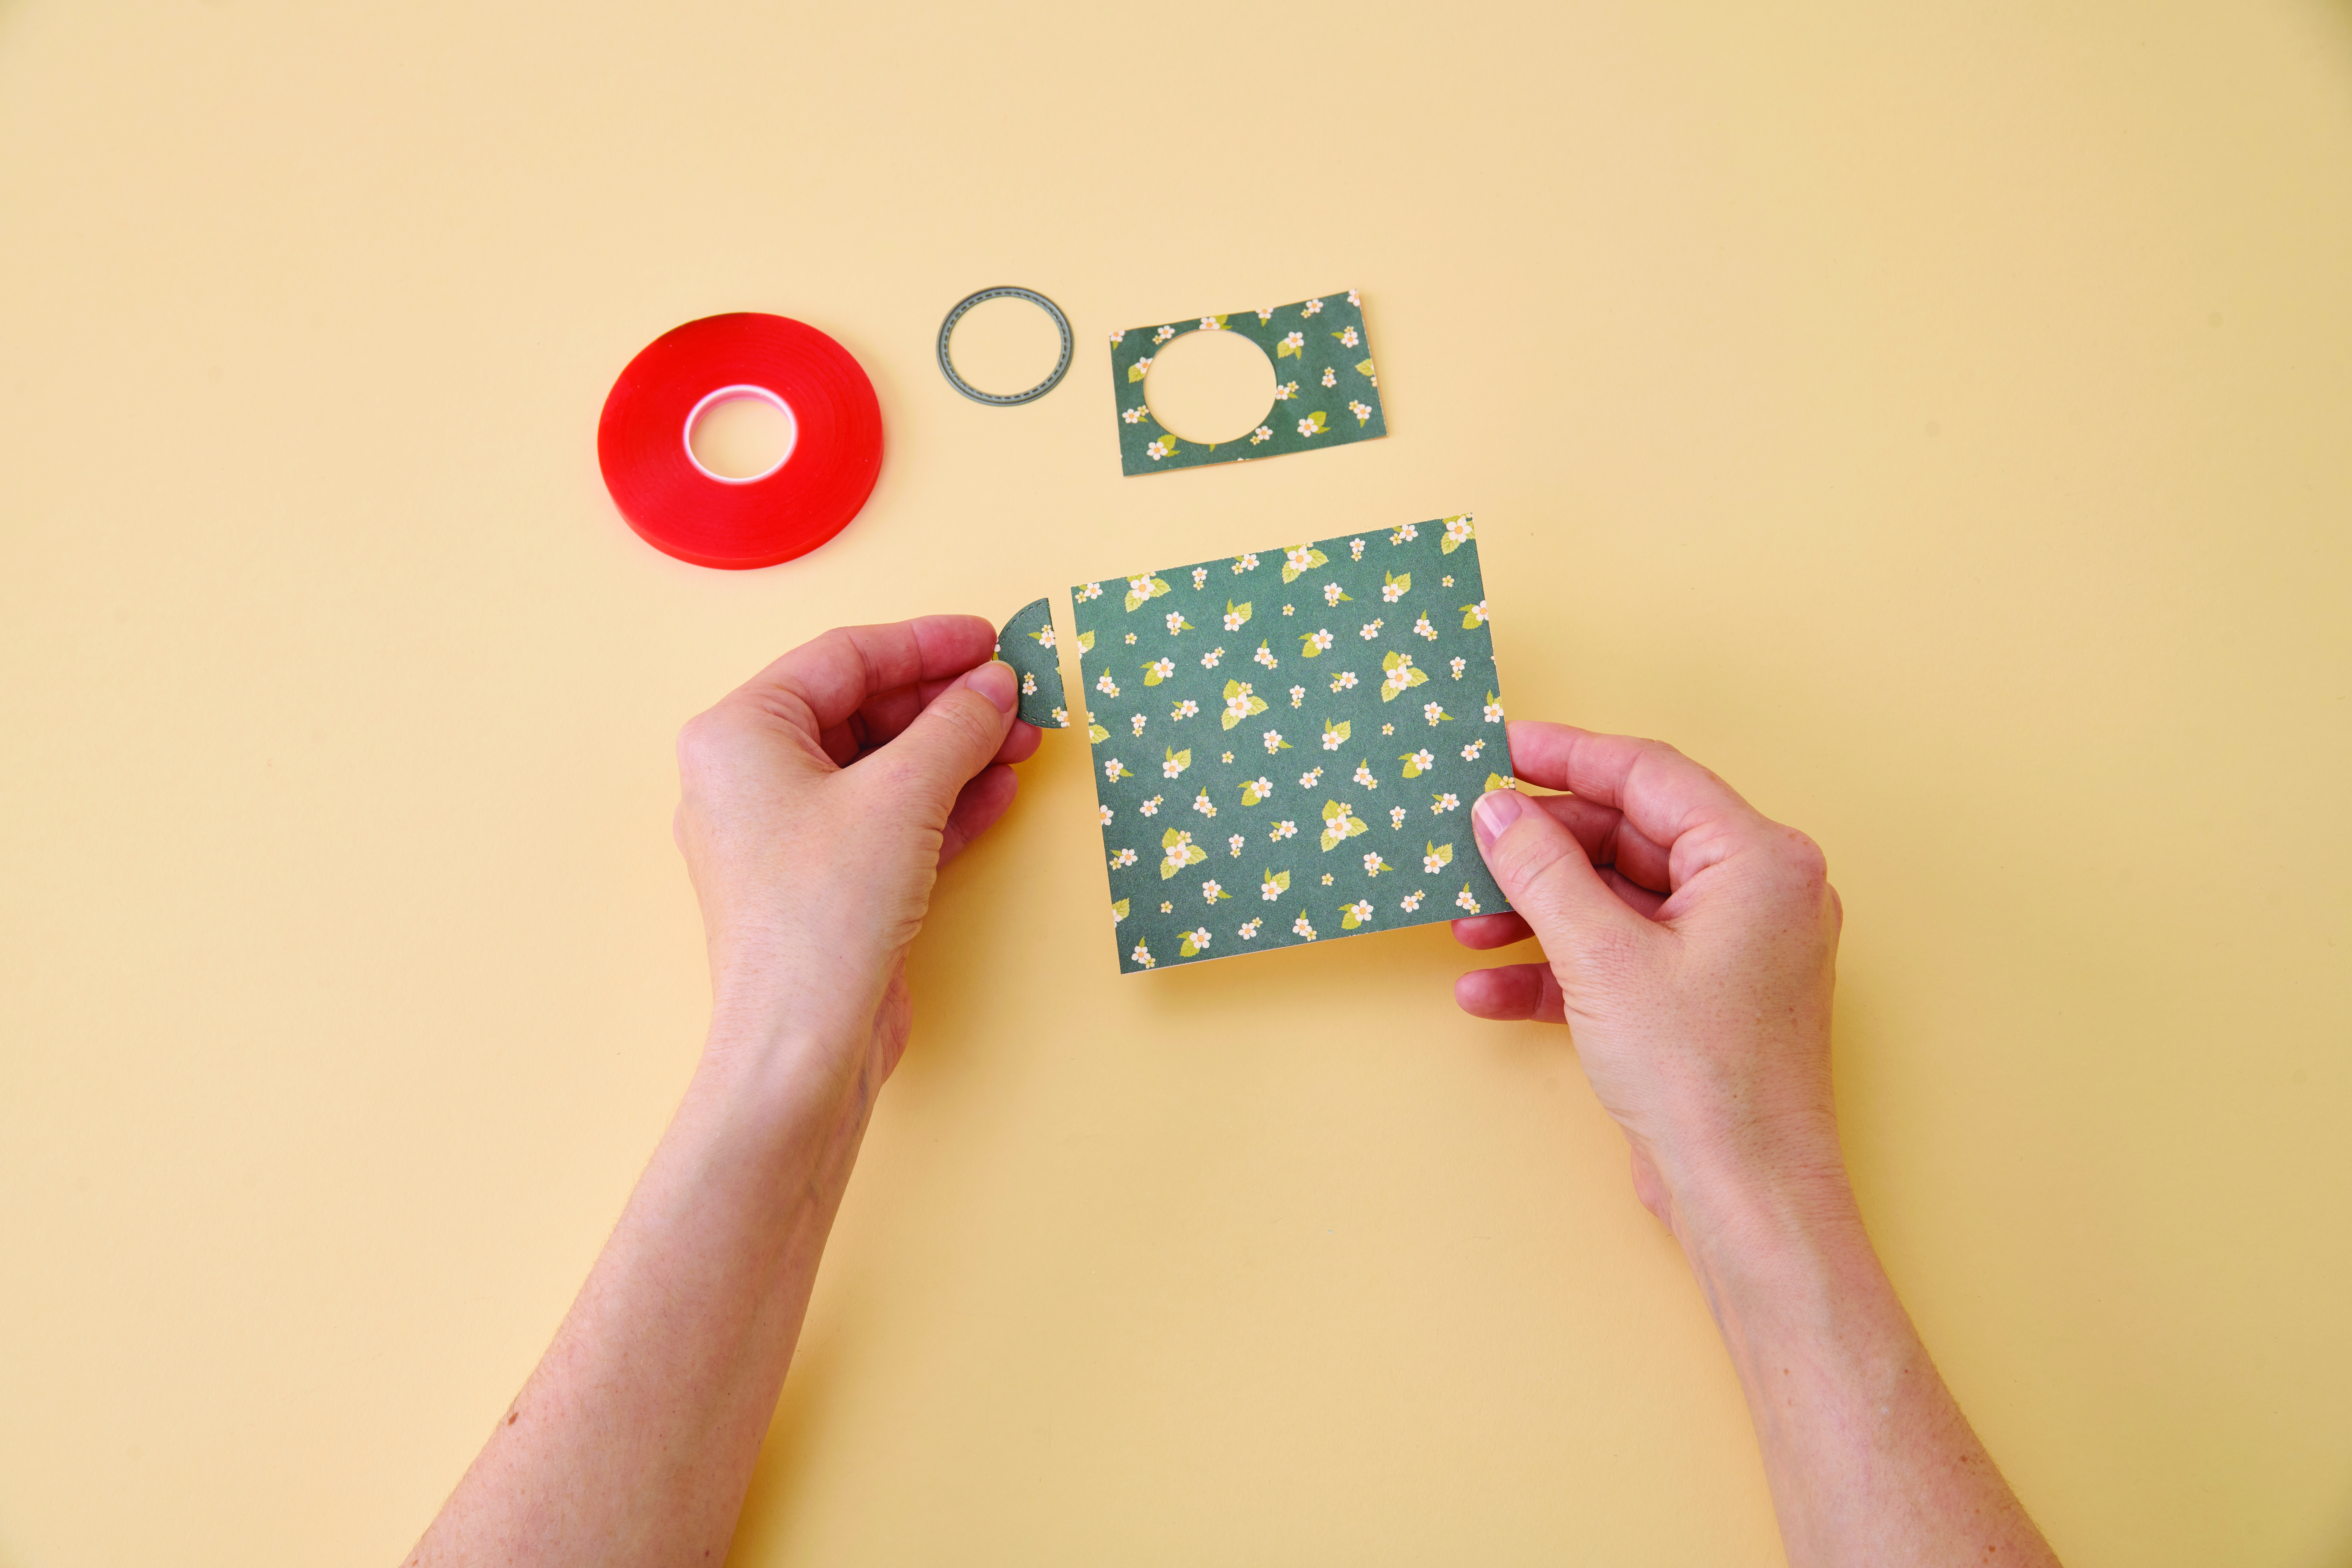
Cut a small circle from matching paper. We’re using a circle die, but you can use a punch, or draw around a 2 pence coin and cut out with scissors. Fold the circle in half and join together. Add the semi-circle to the side of the card to create a tab. Repeat steps 1 and 2 to create as many cards as you would like.

With every tab, stagger their position on each card you make.

DIY planner

Step 3

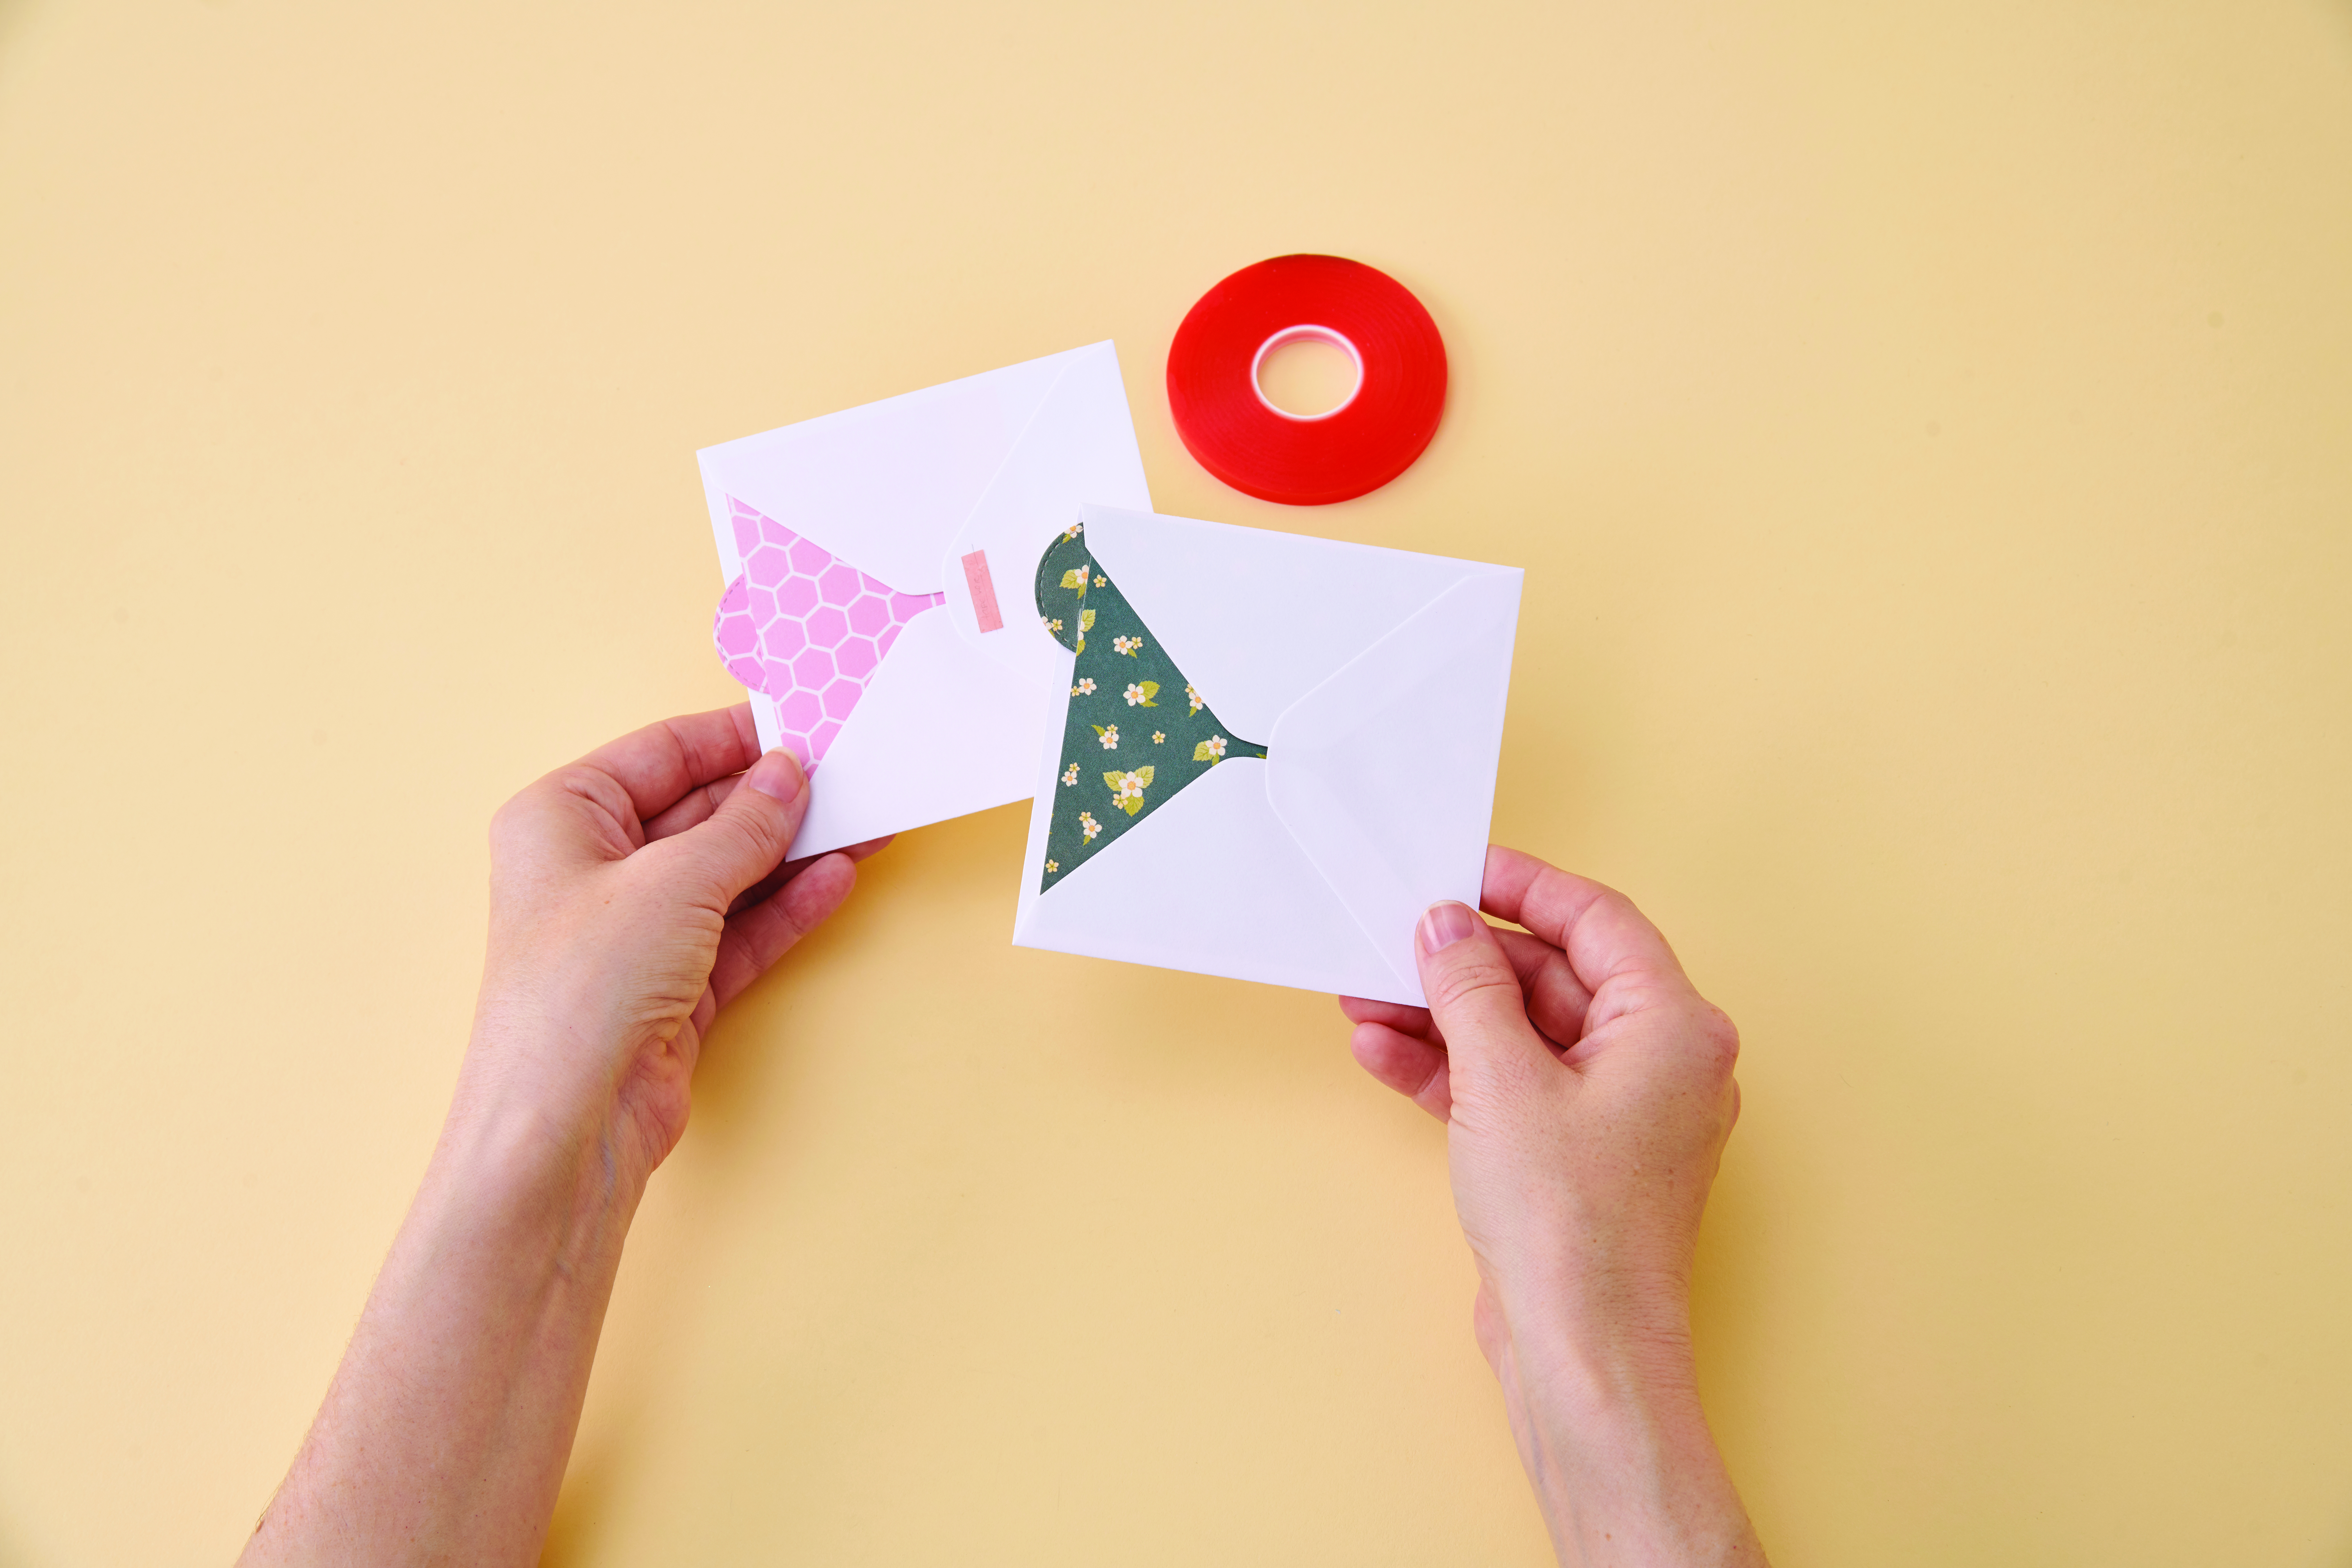
Fold the lip on an envelope back on itself and glue down. Slide in the card. Tape multiple envelopes together at the bottom to create the expander. Once you’re happy with your envelope-accordion, secure inside your DIY planner using double-sided tape on the last envelope (the one at the back) to the right of the inside of your planner. On the left-hand side, add more pockets and embellish as you like!

DIY planner

DIY planner

DIY planner

DIY planner

DIY planner

DIY planner

DIY planner