Stay stylish while you're doing your stretches! Learn how to sew a yoga mat bag with our free pattern.
Stay stylishly serene on your way to your next stretching session with Leah Farquharson’s yoga mat bag sewing pattern.
- How to make a make up brush roll
- DIY heat packs sewing pattern
- How to make a tshirt without a sewing pattern
Our free tutorial will talk you through step by step how to make this easy sewing project. You will need some basic sewing knowledge, but it's a great project for mastering techniques such as sewing circular shapes and using velcro and interfacing.
How to sew a yoga mat bag
You will need
- Cotton fabric: 70x90cm (28x35in), for the outer bag
- Cotton or linen fabric: 85x85cm (33x33in), for the inner bag lining
- Iron on interfacing: 30x90cm (12x35in)
- Velcro: 1m (40in)
- Basic sewing kit
Notes
- Use a 1cm (3⁄8in) seam allowance unless otherwise stated.
- Download the template for the bag end template with our issue 14 pattern sheet

If you're new to sewing and need a bit of help, make sure to head over to our complete guide to sewing for beginners.
Cutting out
From the outer fabric cut:
- Bag side: 63x66cm (247⁄8x26in).
- Bag ends: cut two circles using the template from our issue 14 pattern sheets
From the lining fabric cut:
- Bag lining side: 63x66cm (247⁄8x26in)
- Bag lining ends: cut two circles using the bag end template.
- Decorative strip: 6x66cm (2½x26in).
- Strap: cut two strips, 6x84cm (2½x33in) each.
From the interfacing cut:
- Bag ends: cut two circles using the template.
- Strap: 6x84cm (2½x33in).

Making the outer bag
Step 1
Press the long edges of both outer and lining bag sides under by 1cm (3⁄8in).
Step 2
Fold the decorative strip in half lengthwise, RS together and stitch. Turn rightside (RS) out. Press.
Step 3
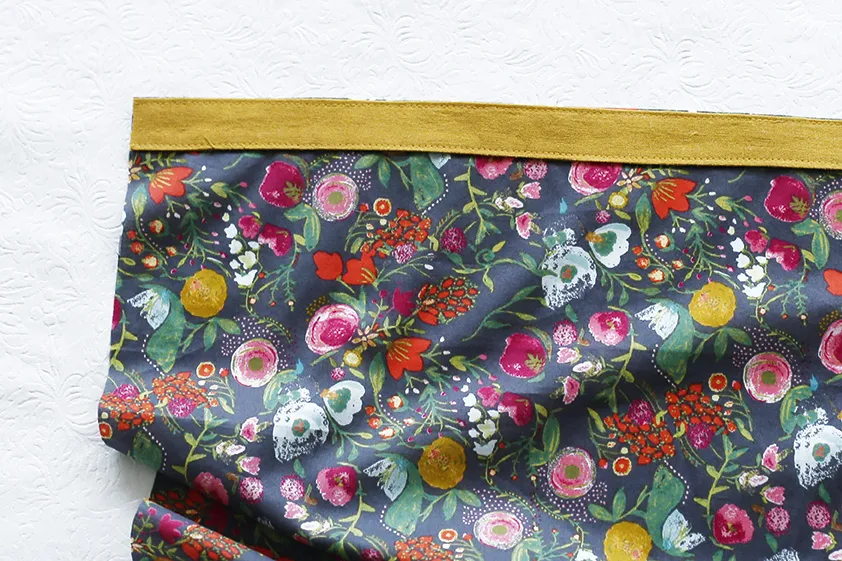
Position the strip on top of the RS of one turned-under edge of the outer bag side. Pin in place and topstitch (Fig 1)
Step 4
Stay stitch 5mm (¼in) in from both short edges of the bag sides.
Step 5
Press the interfacing to the wrong sides (WS) of both of the bag outer ends.
Step 6
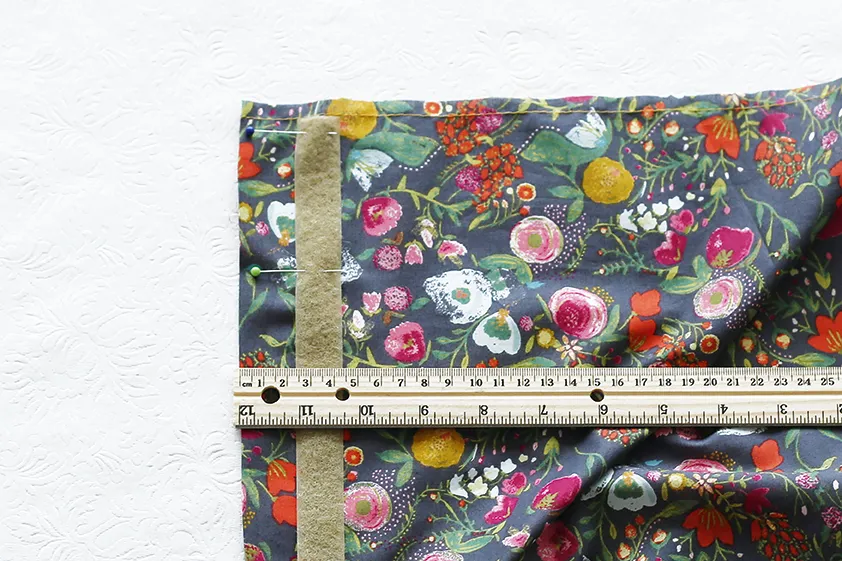
Place the loop side of the Velcro along the turned-under long edge of the bag side without the topstitched strip. The edge of the Velcro needs to be positioned 4.5cm (17⁄8in) from the turned-under edge. Trim the Velcro ends to fit then pin and stitch securely around all sides of the Velcro. (Fig 2)
Step 7
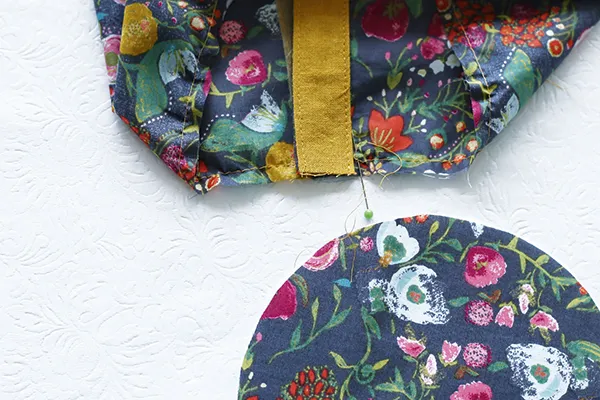
Overlap the edges of the bag sides so that the topstitched strip edge meets the outside edge of the Velcro on the other edge. Pin in place but don’t stitch just yet. (Fig 3)
Step 8
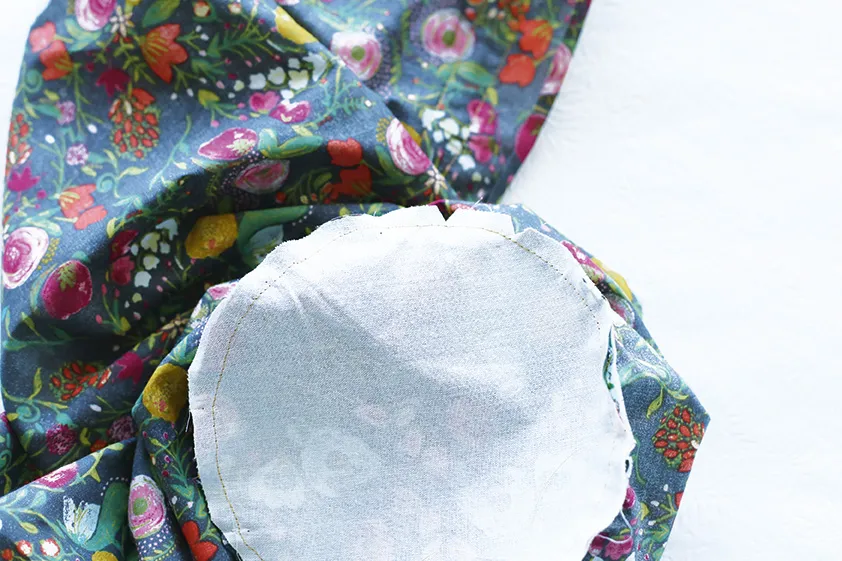
Pin the RS of one bag end to the RS of one bag side, and stitch together all the way around but leaving the section where the bag sides edges meet unstitched. (Fig 4)
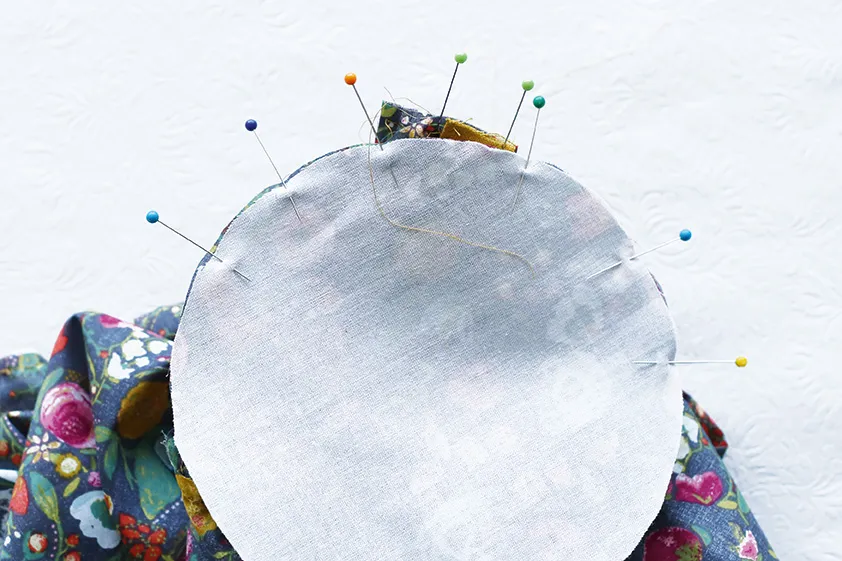
Clip the seam to help the circle shape lay flat. Repeat at the other end of the bag. (Fig 5)
Making the bag lining
Step 9
Place the hook side of the Velcro along one long edge of the bag lining side, right up to to the turned-under edge and stitch in place. Trim the Velcro ends to fit then stitch securely around all sides of the Velcro.
Step 10
Overlap the edges of the long bag lining sides to the same measurement you overlapped the bag outer so that the turned -under edge (without the Velcro) meets the turned-under Velcro on the other edge. Pin in place but don’t stitch at this stage.
Step 11
Pin the RS of one bag lining end to the RS of one lining bag side, and stitch together, but leave the section where the bag sides edges meet unstitched. Clip the seam to help the circle shape lay flat. Repeat this process to attach the other bag lining end to the bag lining side.
Making the strap
Step 12
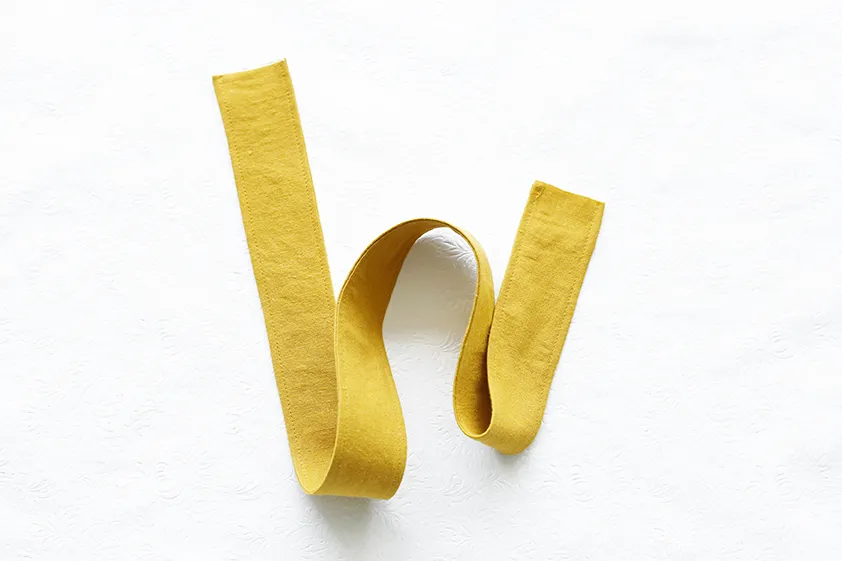
Press the interfacing to the WS of one of the strap fabric strips. Stitch the pieces RS together along both long edges. Turn the strap RS out and press. Topstitch along both long edges. (Fig 6)
Assembling the bag
Step 13
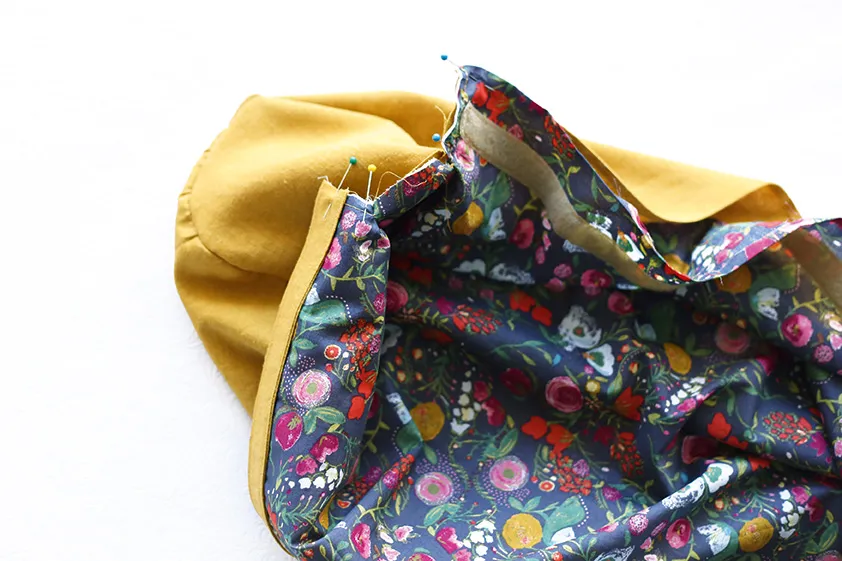
Turn the bag outer WS out. Turn the bag lining RS out then slip the outer inside the lining. Pin the bag lining with the Velcro edge to the outer bag edge with the decorative strip WS facing. (Fig 7) Matching turned-under edges, topstitch.
Step 14
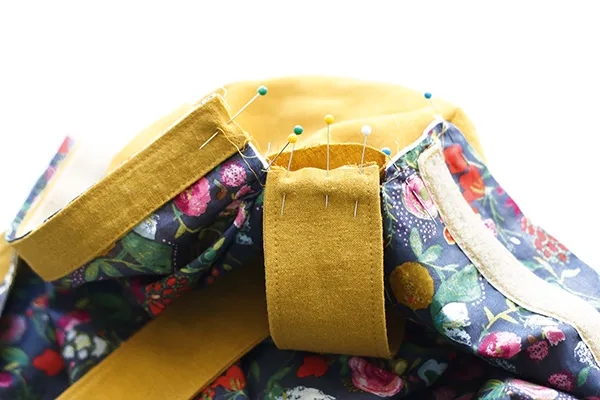
Pin one short end of the strap RS together to the open section left on the outer bag side only. Stitch securely. Repeat for the other side of the bag. (Fig 8)
Step 15
Press the Velcro together. (Fig 9)
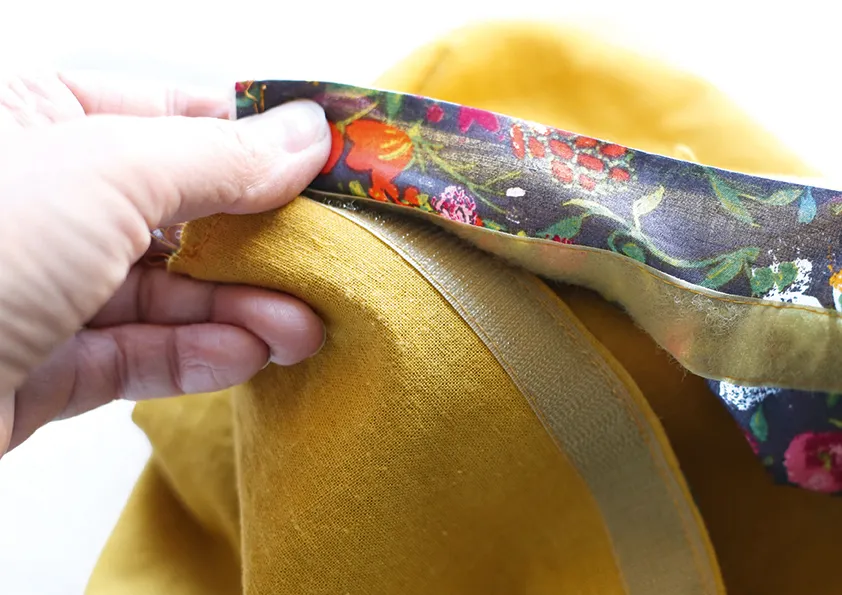
Pull the bag top flaps through the opening left in the circular end. Stitch securely through all of the layers – flaps, outer bag side, inner bag side, only at the spot where they all overlap. (Fig 10)
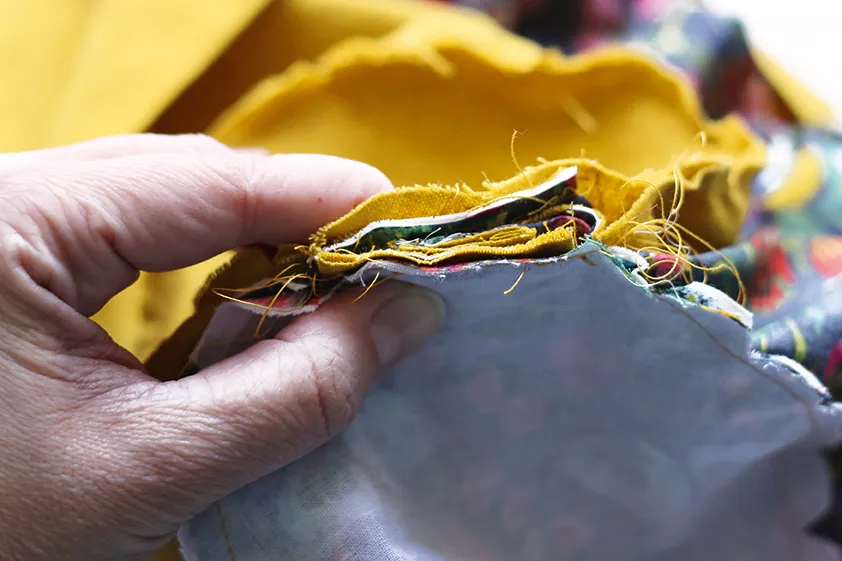
Step 16
Turn the bag RS out using the bag flap opening that’s unstitched, and topstitch to complete. (Fig 11)
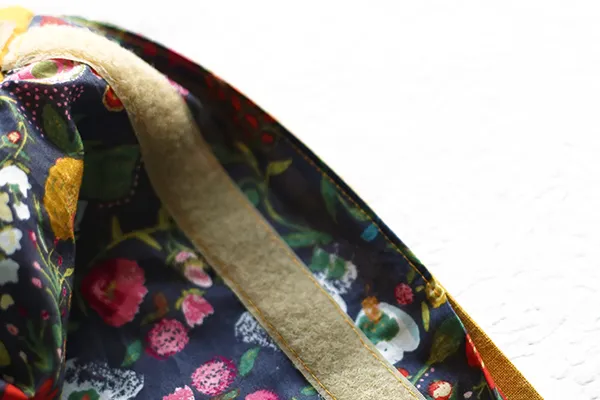
Your DIY yoga bag is complete – now just slip in your roll mat and get stretching!


Stitch the perfect post-workout layer with our free hoodie sewing pattern.
More makes for stretchy sewists
Now that you've made your own yoga bag, it's time to go one step further and really show off your sewing skills at yoga class by learning how to make leggings – teacher will be ever-so-impressed!


