All products were chosen independently by our editorial team. This review contains affiliate links and we may receive a commission for purchases made. Please read our affiliates FAQ page to find out more.

How to make DIY door hangers

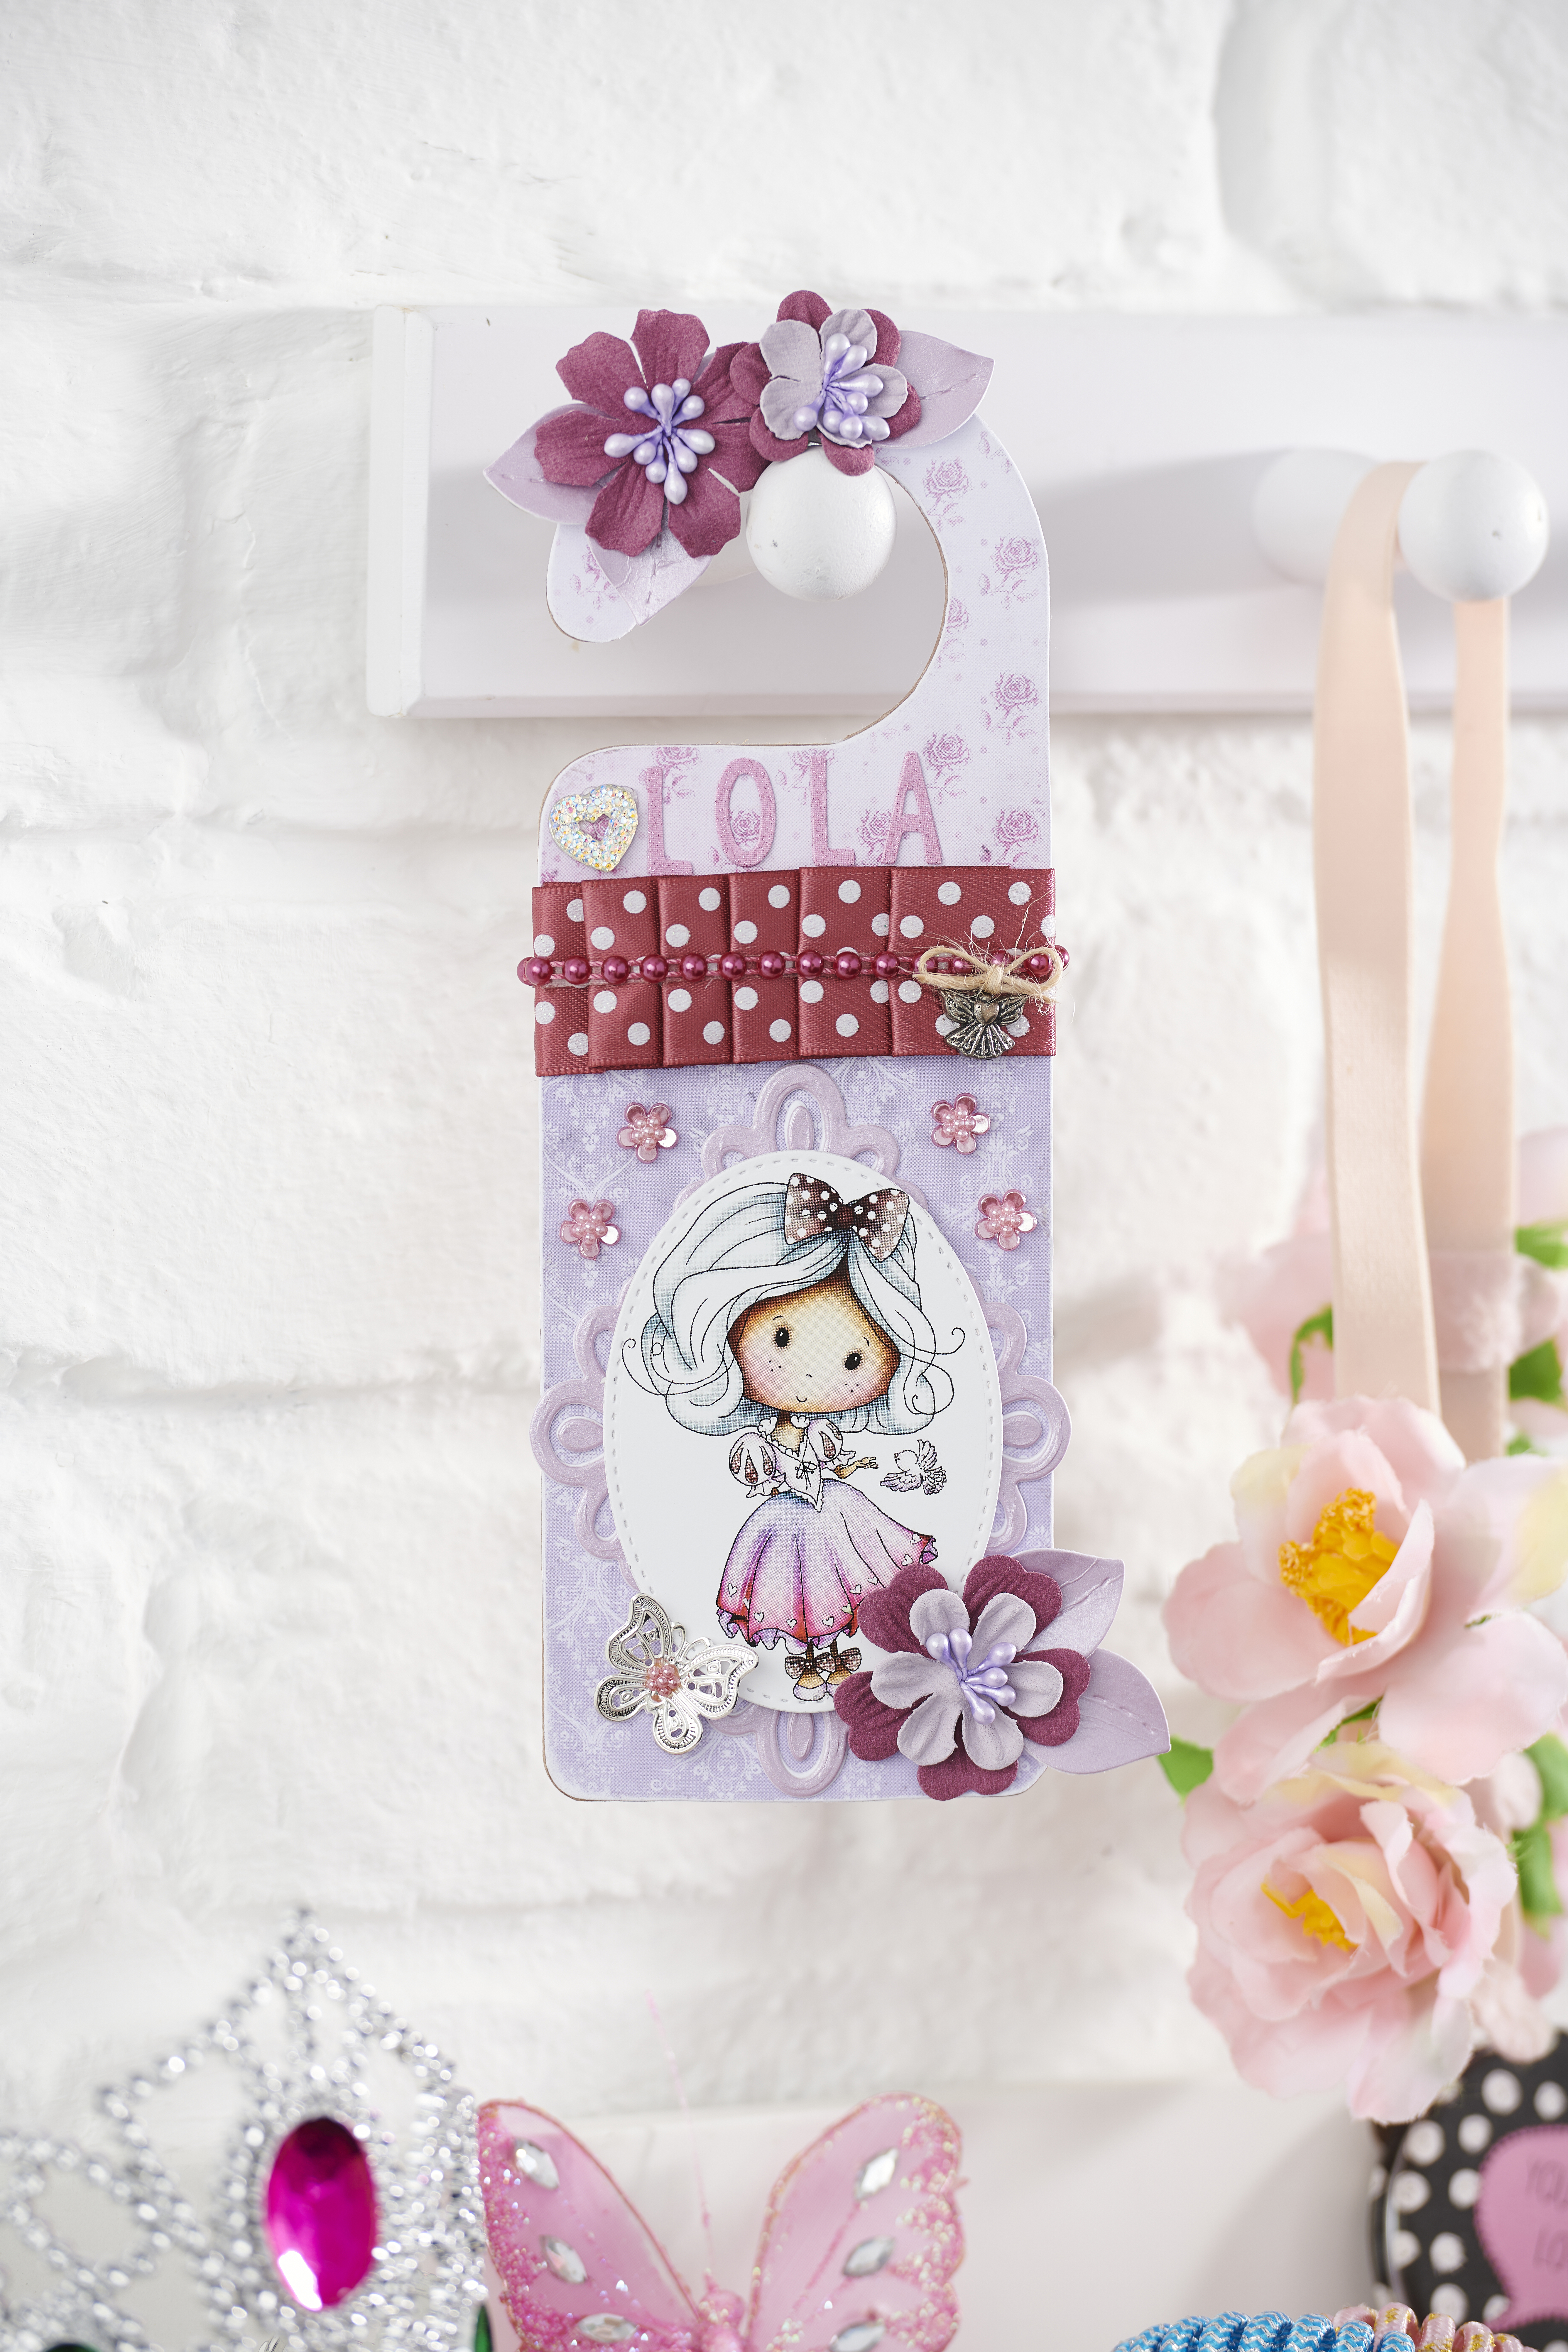
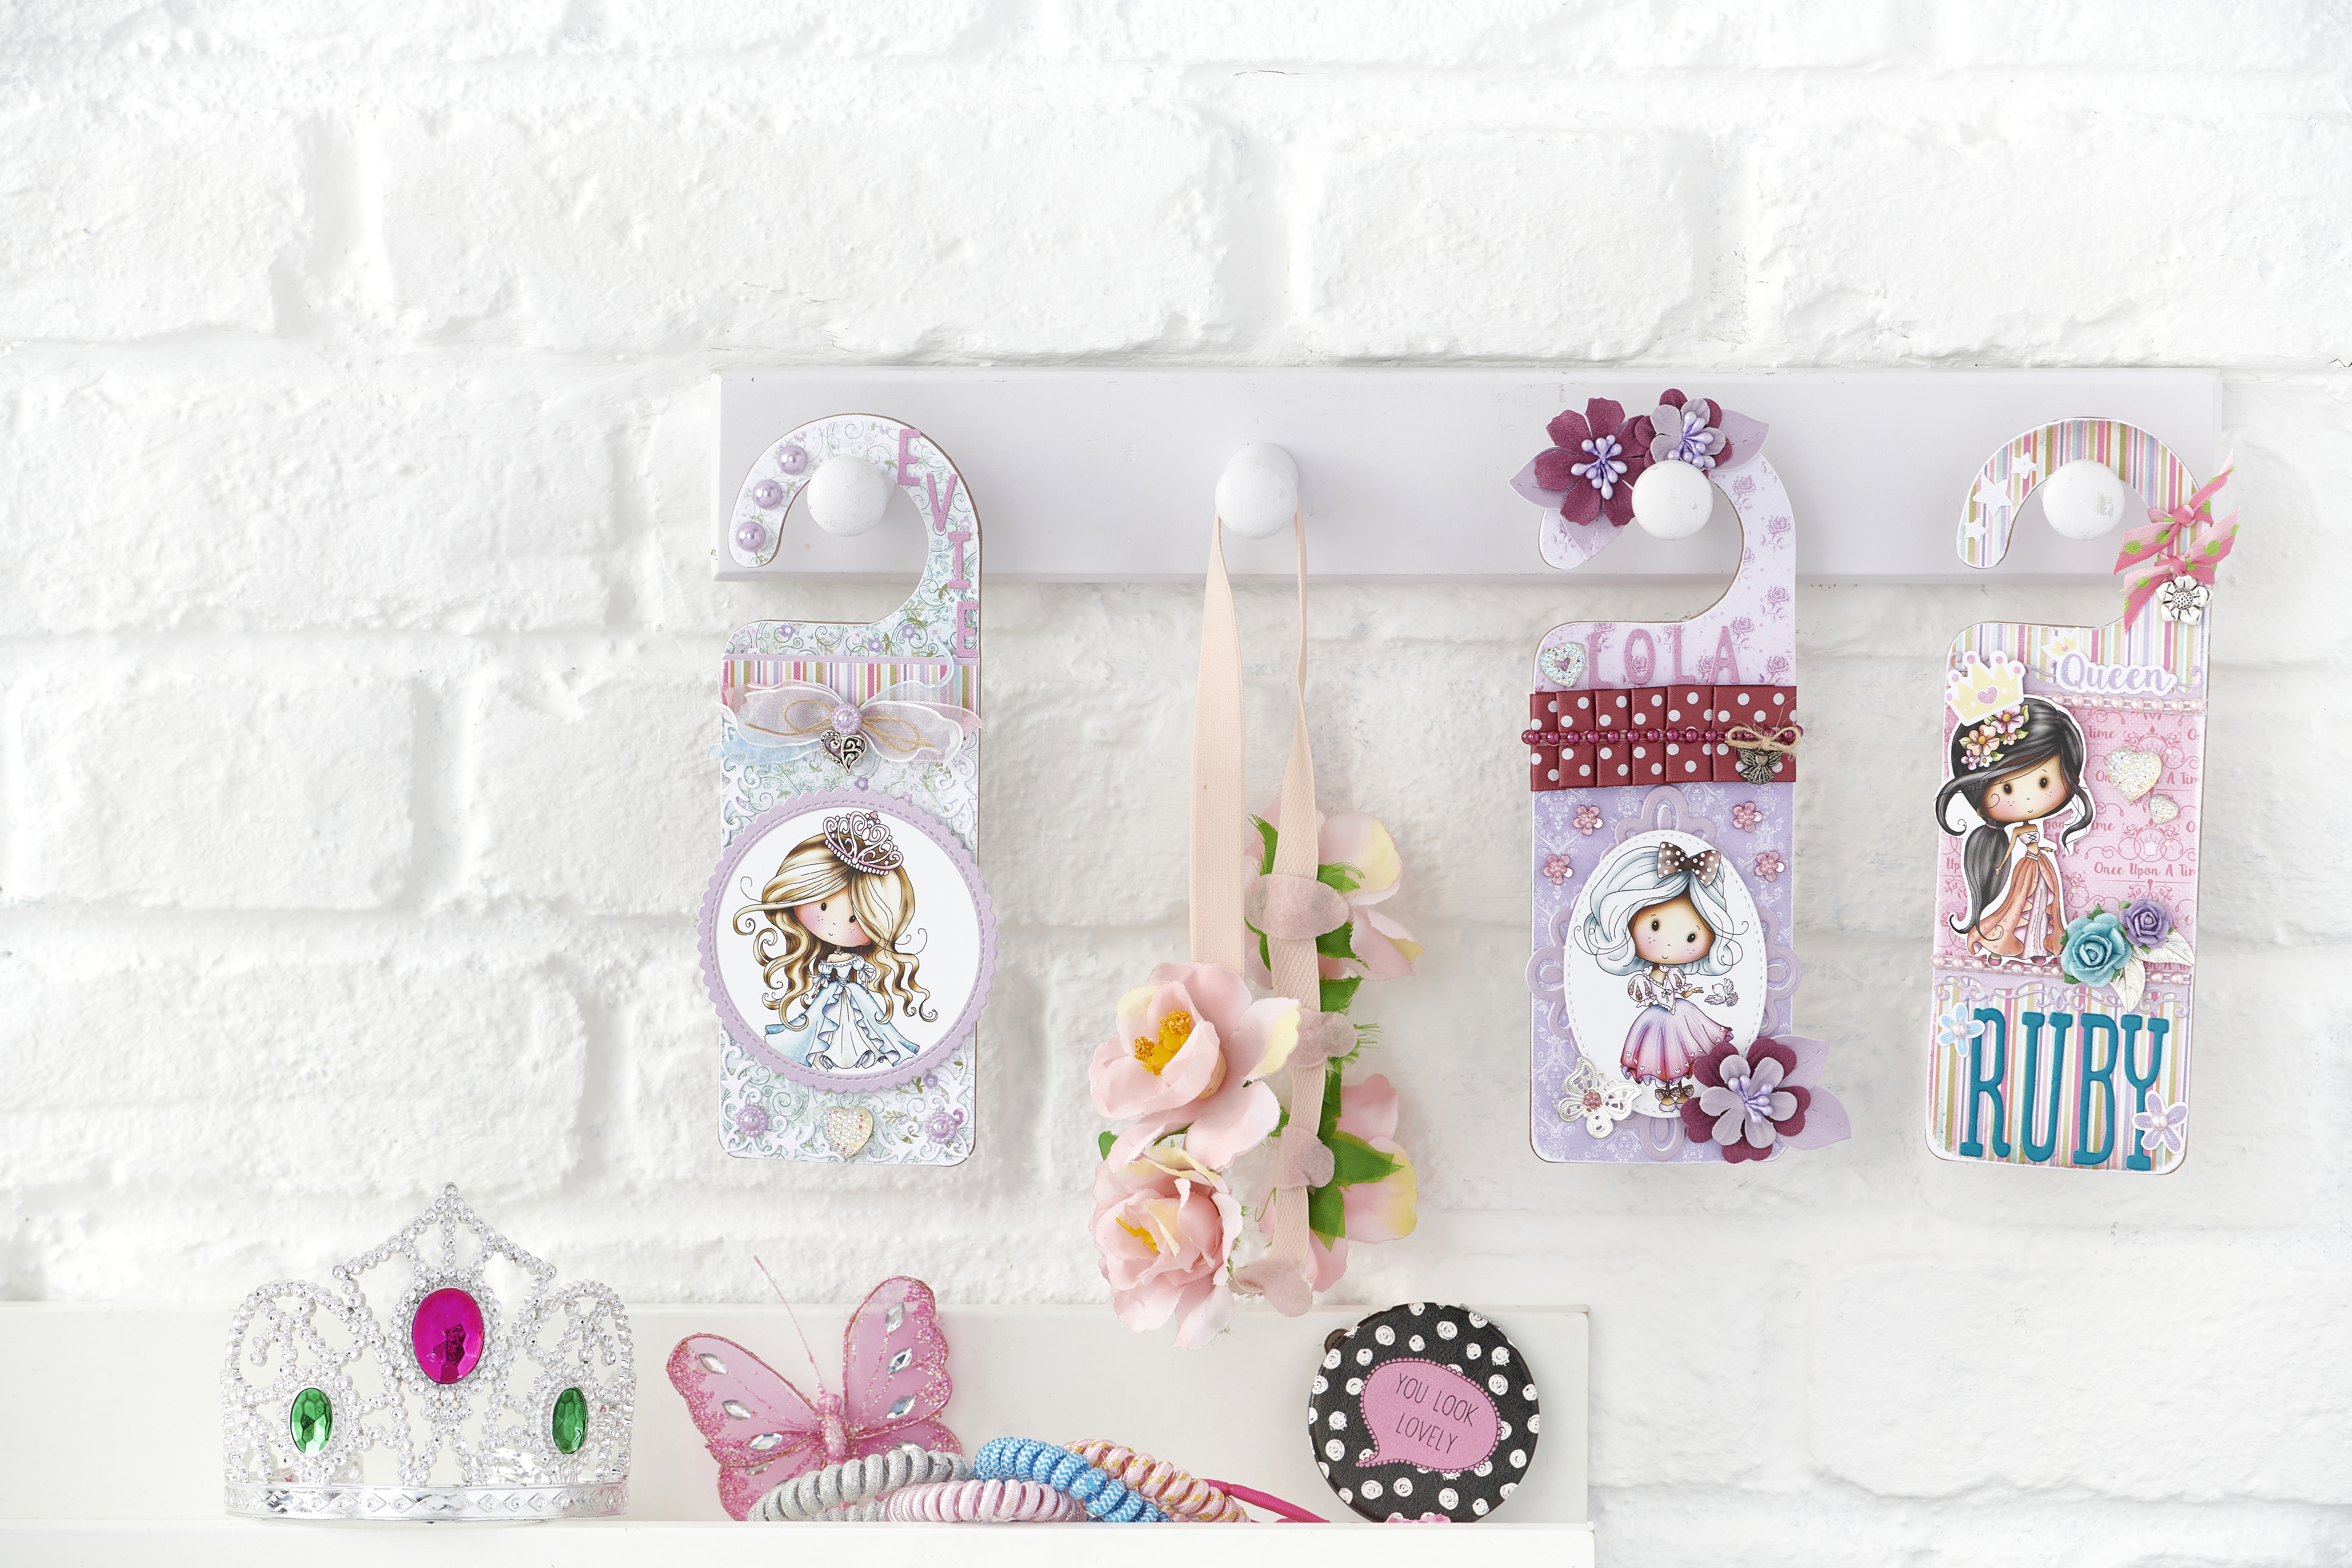
It’s easy to create some fairy tale magic and add a touch of sparkle to a little one’s room with these delightful door hangers!

Try 6 issues of any craft magazine for just £9.99

Published: January 2, 2021 at 10:54 am

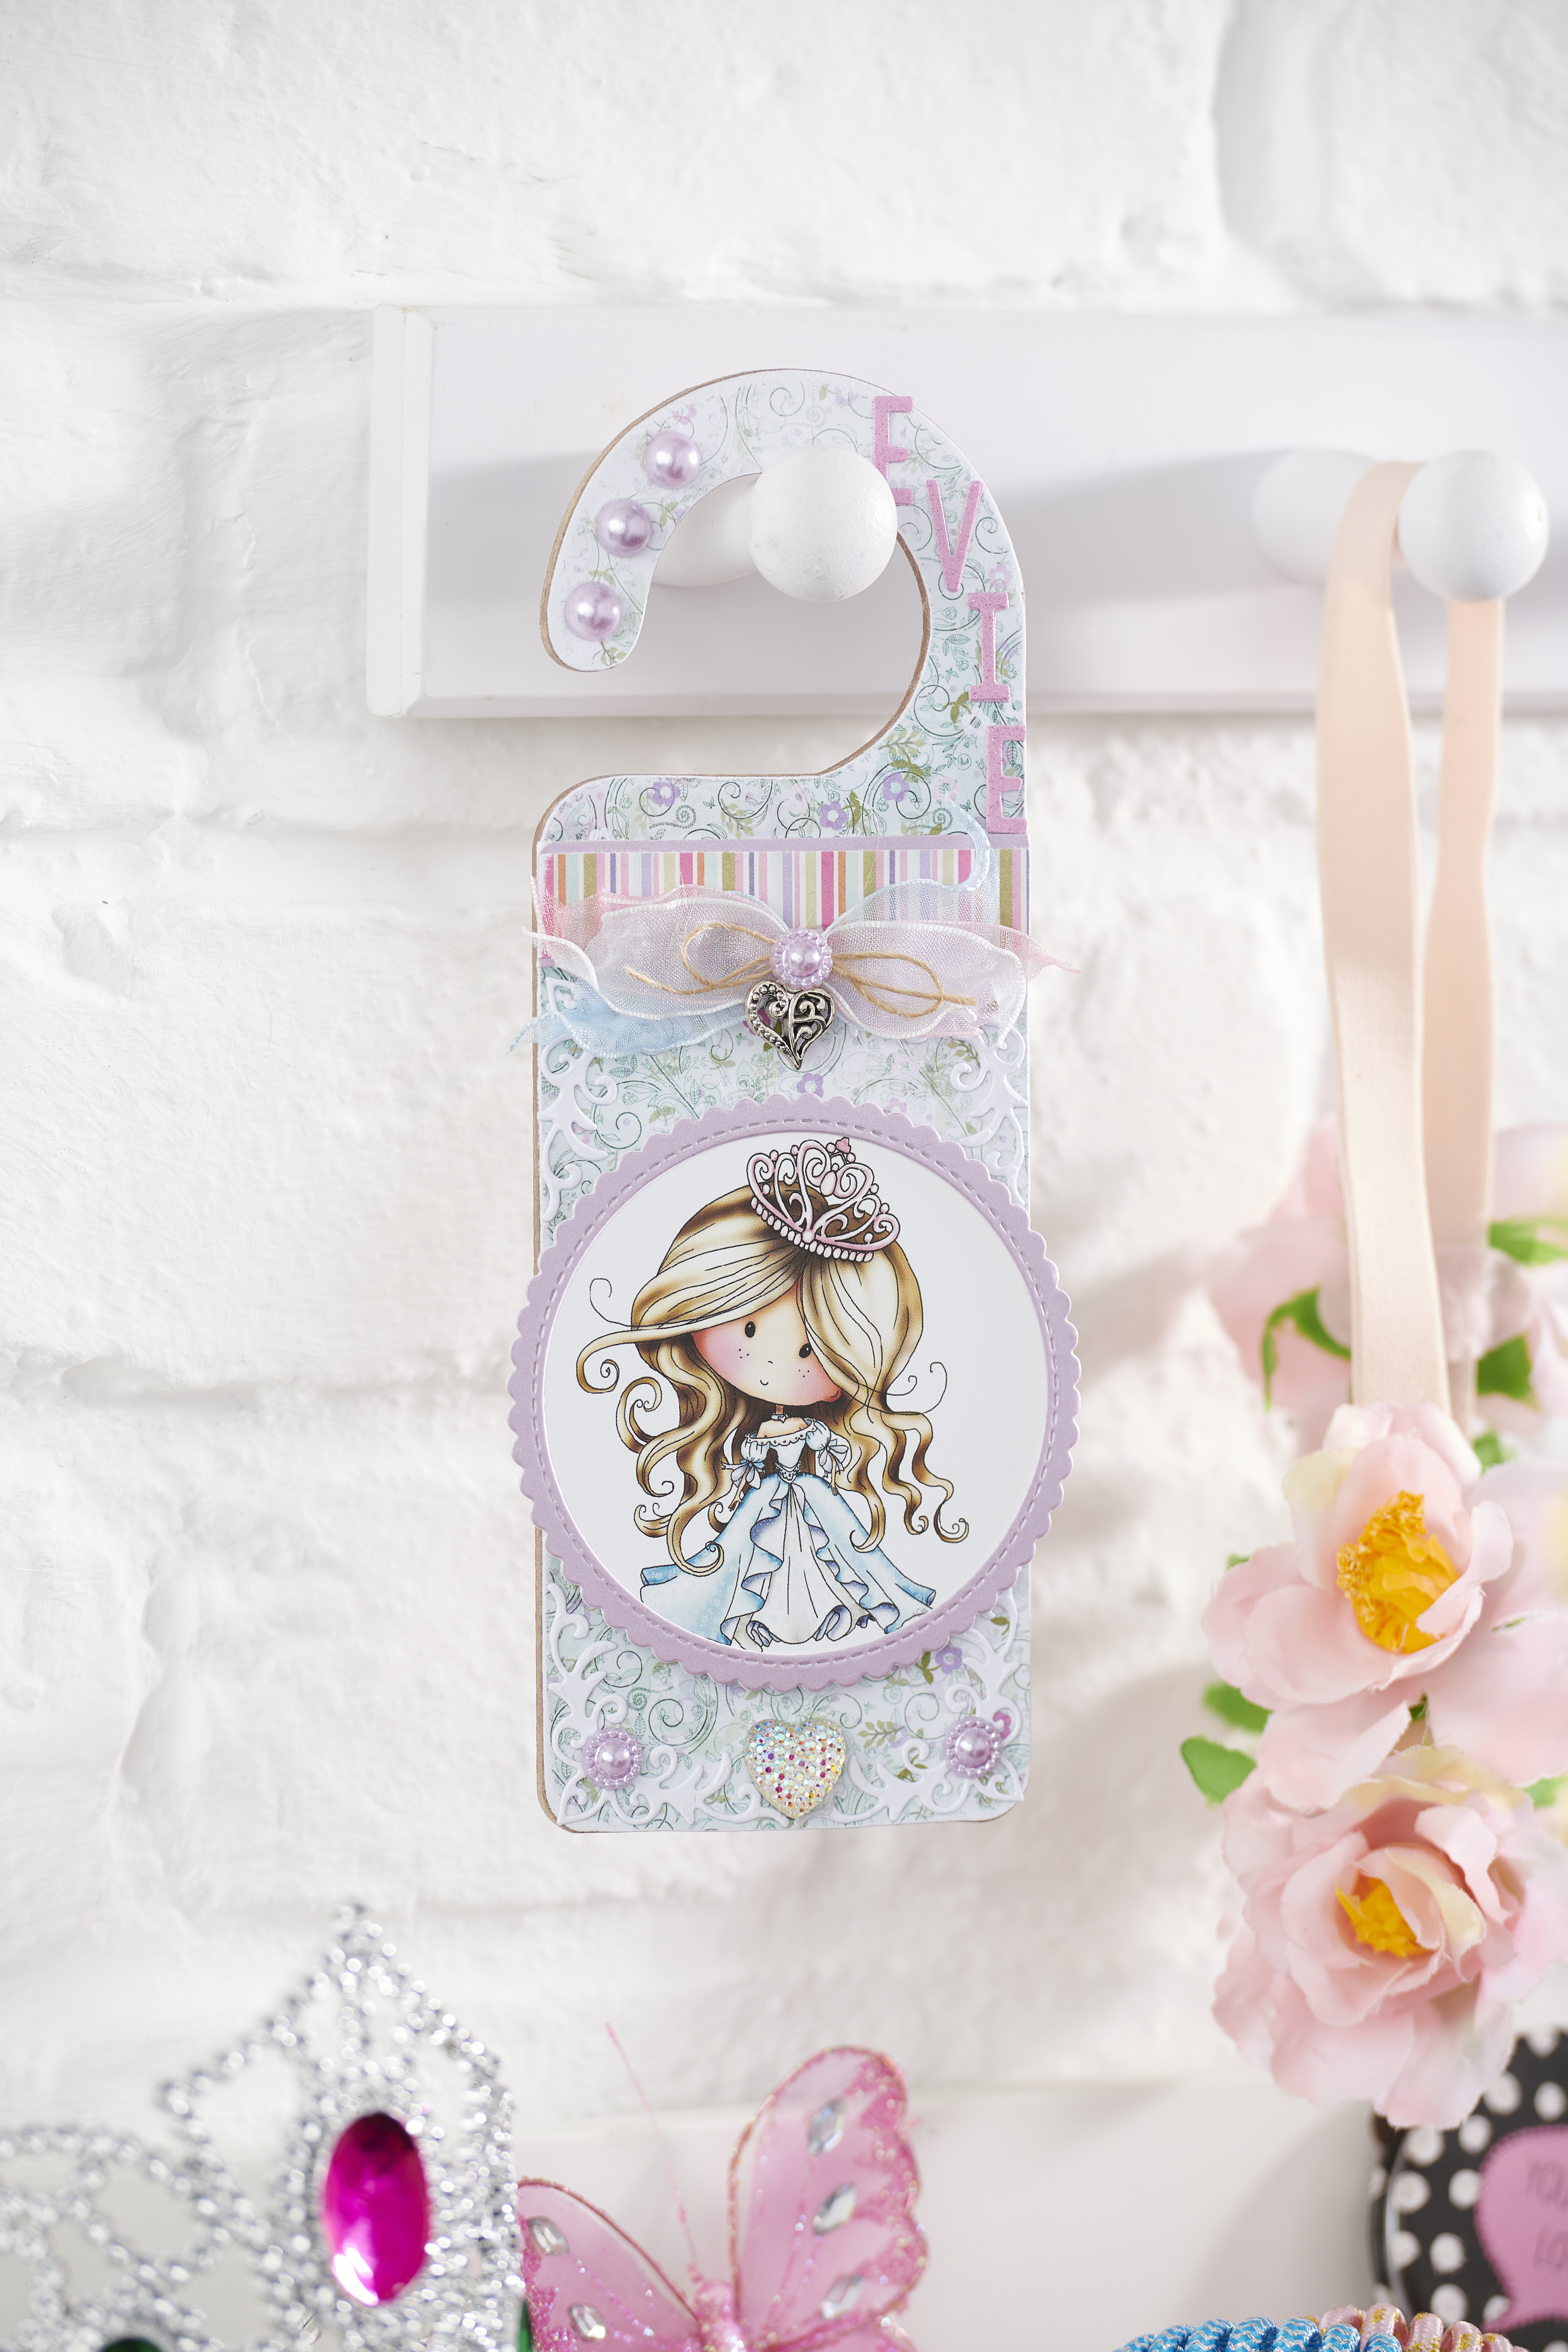
Craft your own fairy tale moment with these magical door hangers – the perfect quick-make gift for little ones!

We covered our MDF door hangers in pretty papers and pre-coloured toppers, along with oodles of gorgeous ribbons, embellishments and die-cuts for a speedy make. But you can decorate them in so many different ways – try painting, stamping or stencilling onto them to see all the different effects you can create. Make sure you add the recipient’s name to the hanger, for a truly personal present.

Here's a top tip for this make, why not use up leftovers in your craft supply for a stash-busting make?

Switch out the princess for a monster if that's more suitable...

If you're looking for some nice papers to decorate your DIY door hanger with, check out our selection of free patterned papers - just print them out and you're good to go! We've got lots of other great craft ideas on our website, including this fab salt dough recipe or why not learn how to make paper mache?

If you've made your own DIY door hangers, don't forget to share your makes with us on Facebook and Twitter, we love to see what you've made!
DIY door hanger

You will need:

  • MDF door hangers
  • Patterned paper
  • Embellishments

Step 1

We’re using the MDF door hangers from Stix 2 which are really great and sturdy, but you can always use a strong card – like corrugated card or greyboard (construction card).

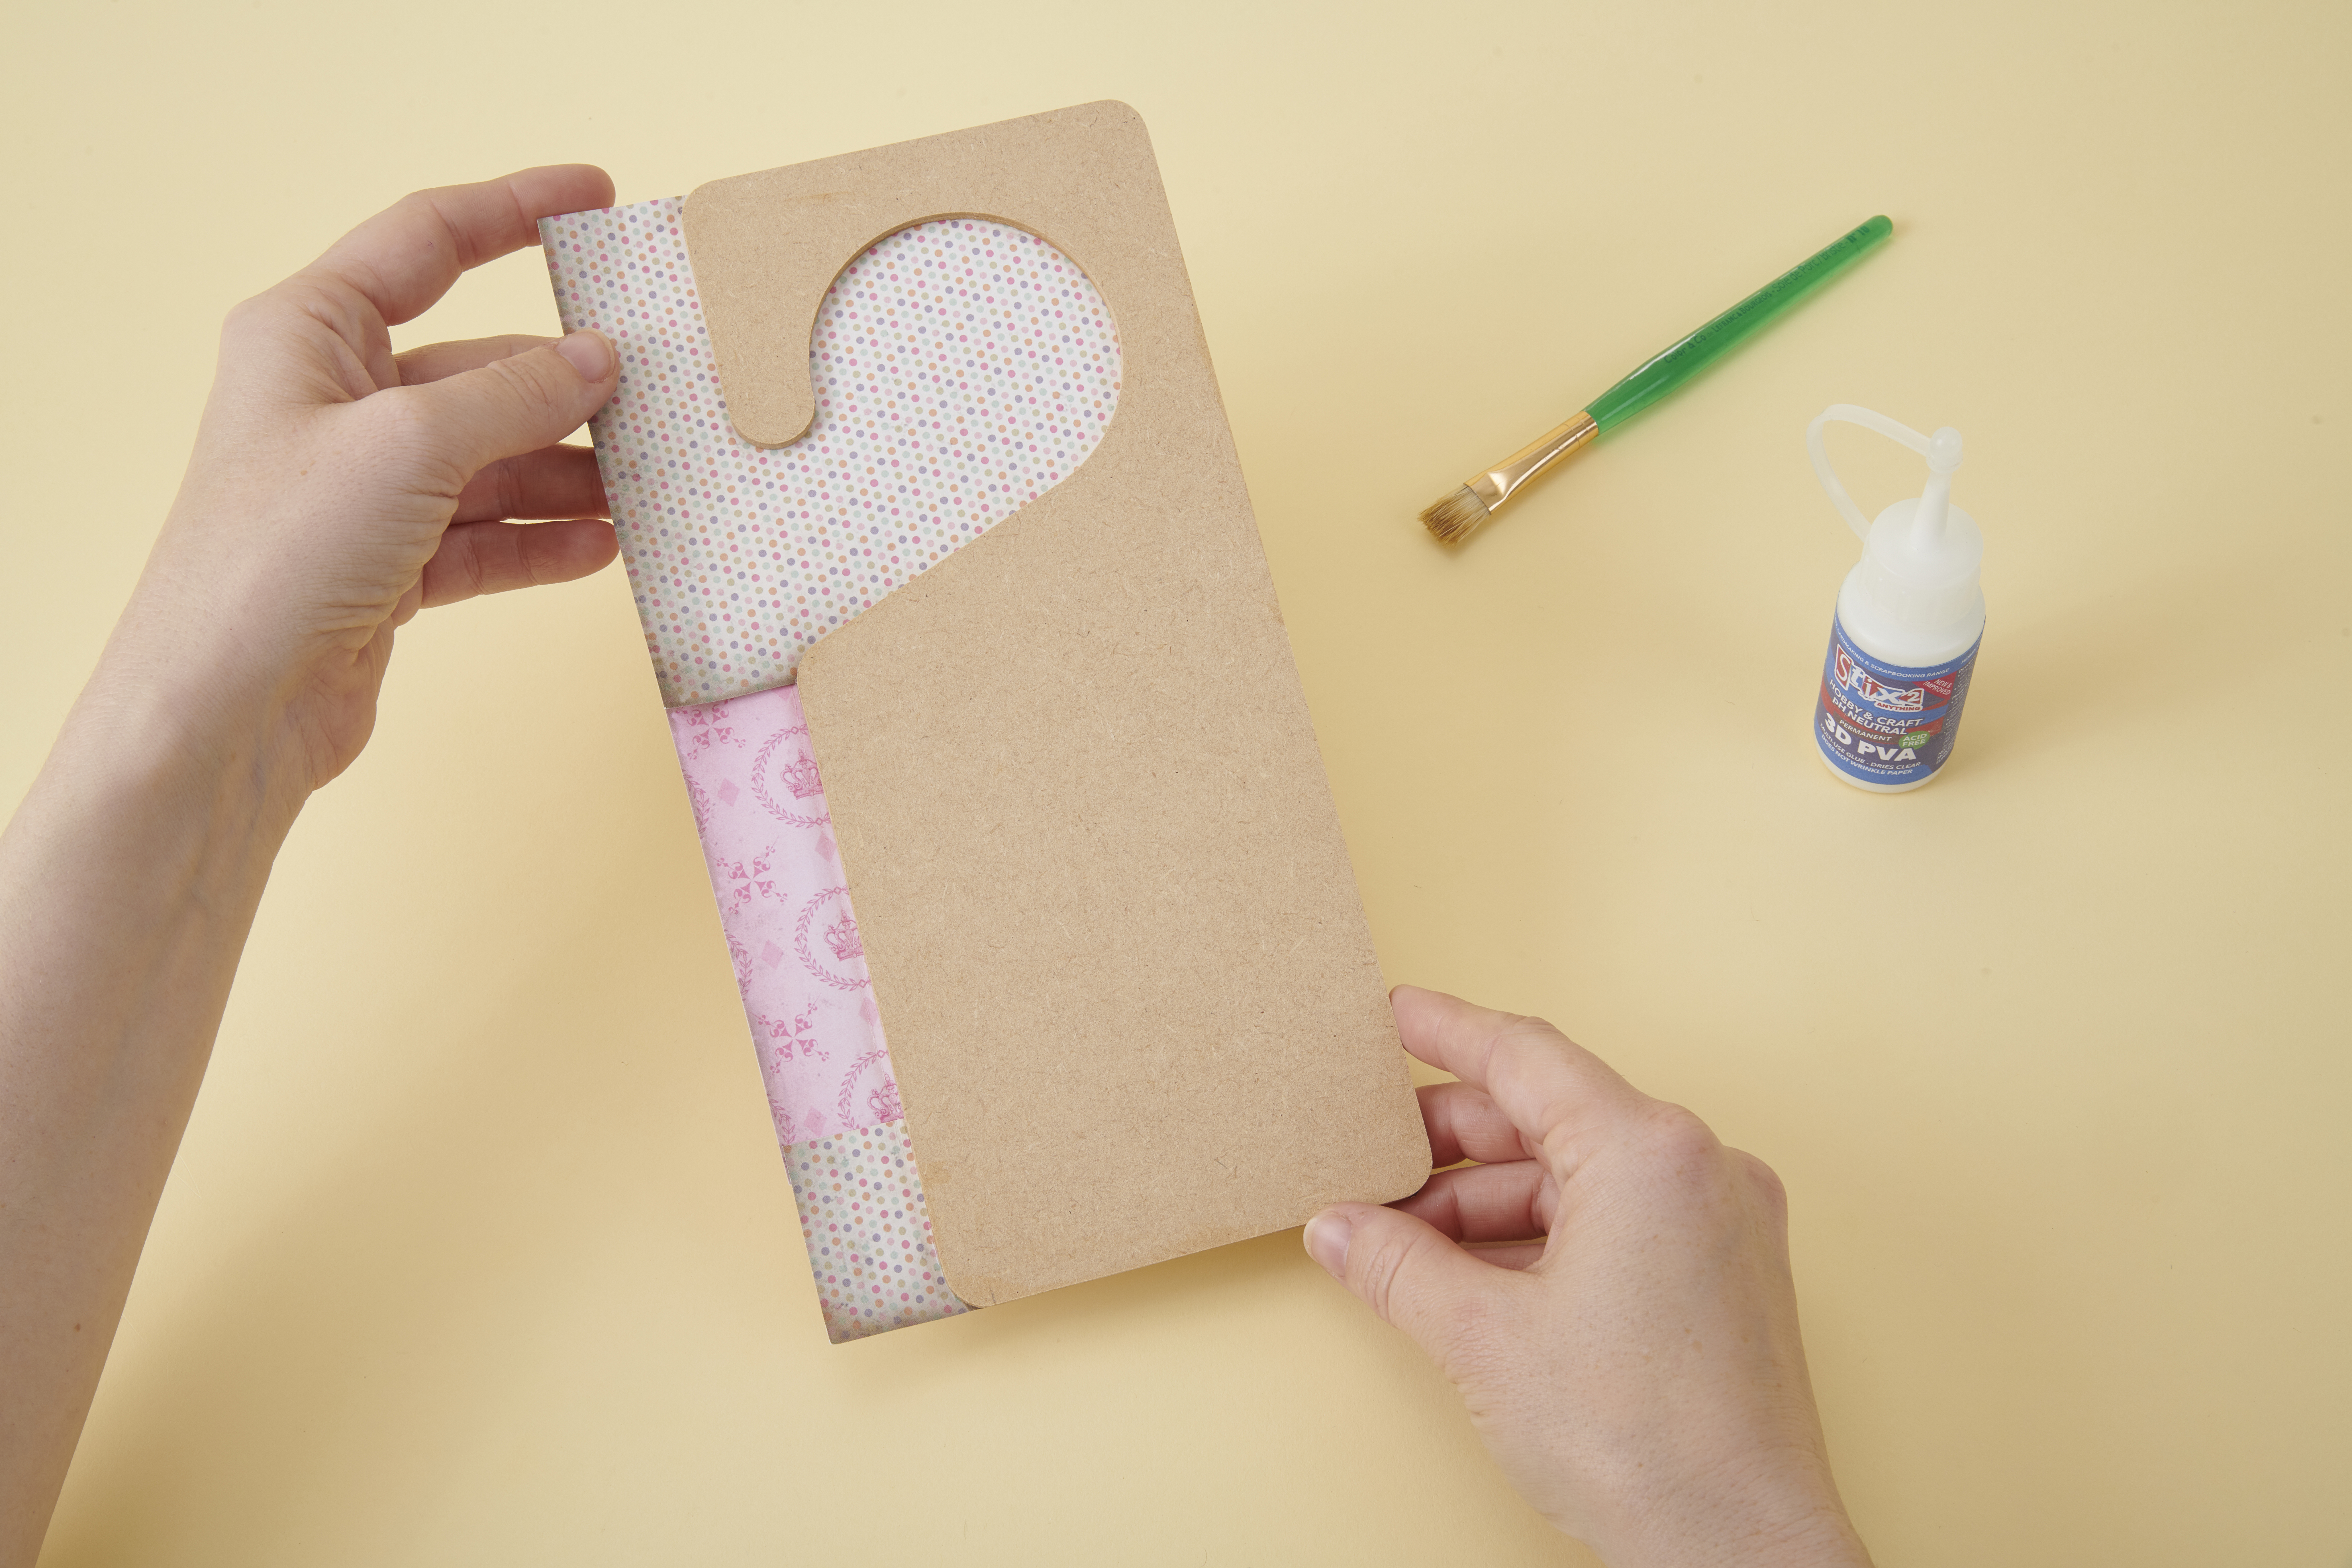
Take your MDF door hanger, and trace the door hanger shape onto different patterned papers and cut these out. Stick the papers to the front of the door hanger using PVA glue. Leave to one side until the glue is completely dry.

DIY door hanger

Step 2

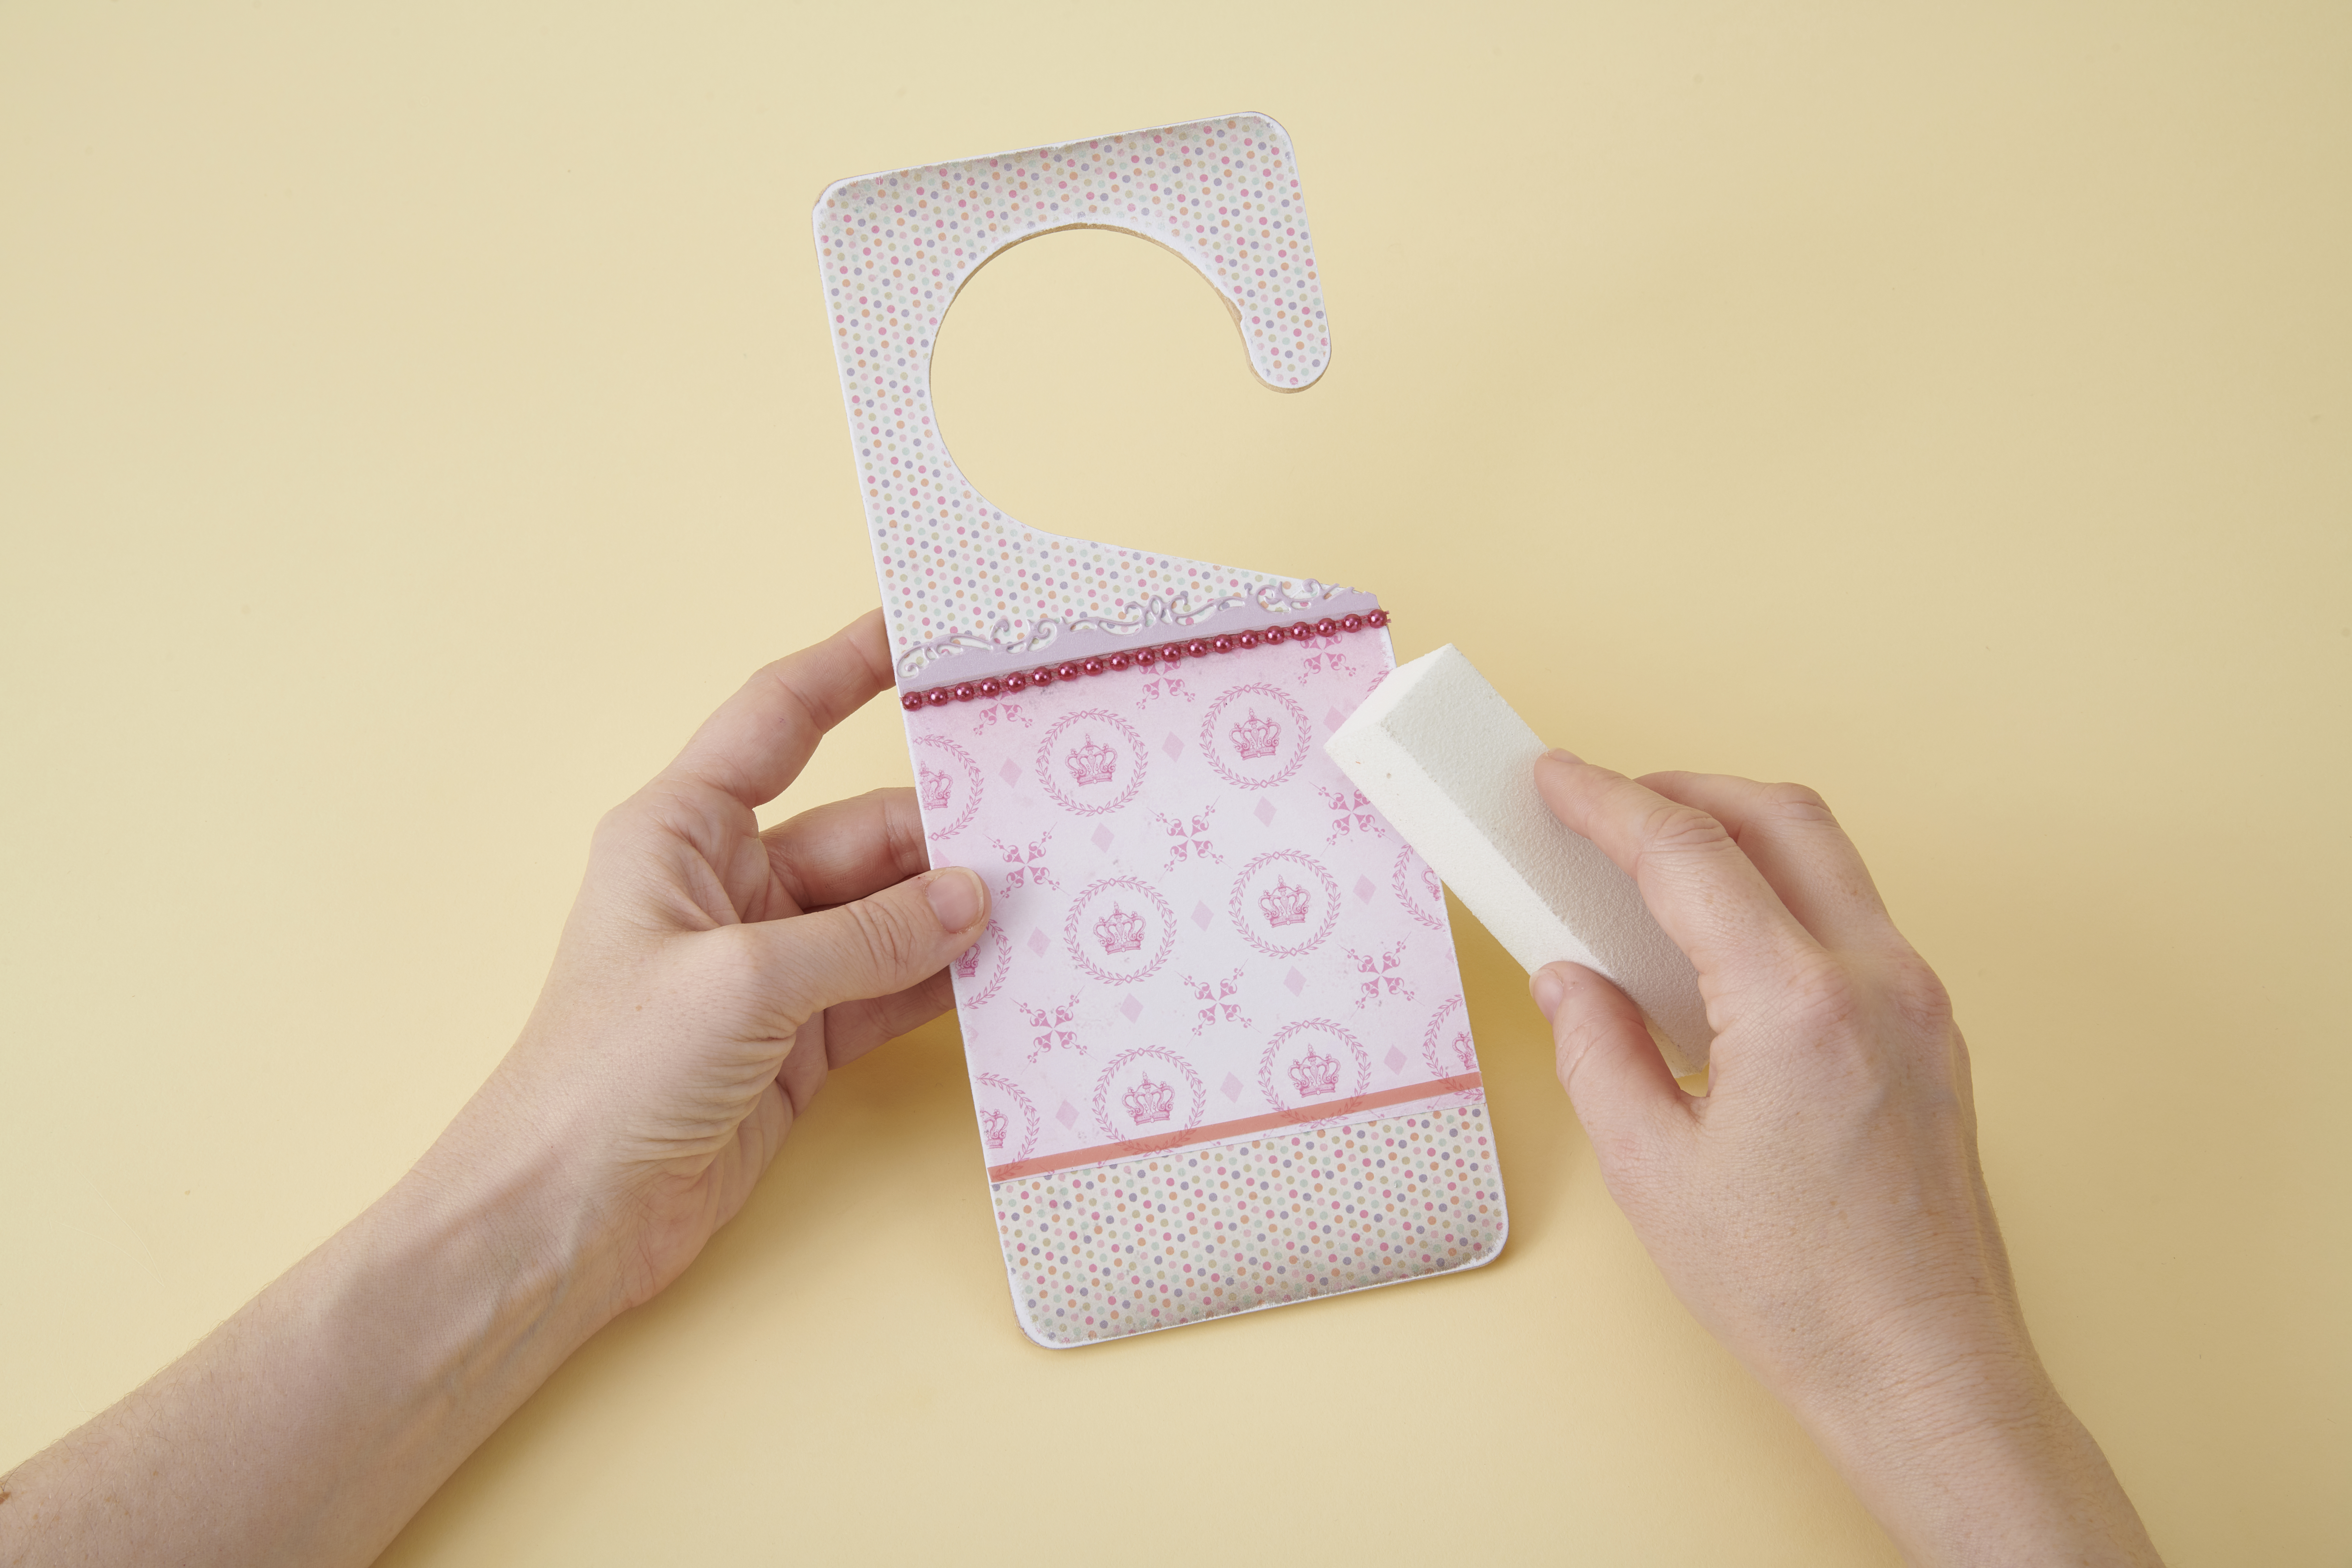
Once the glue is completely dry, trim away any excess paper using a craft knife. Next, smooth the edges of the door hanger using a fine sanding block or emery board for a neat edge.

DIY door hanger

Step 3

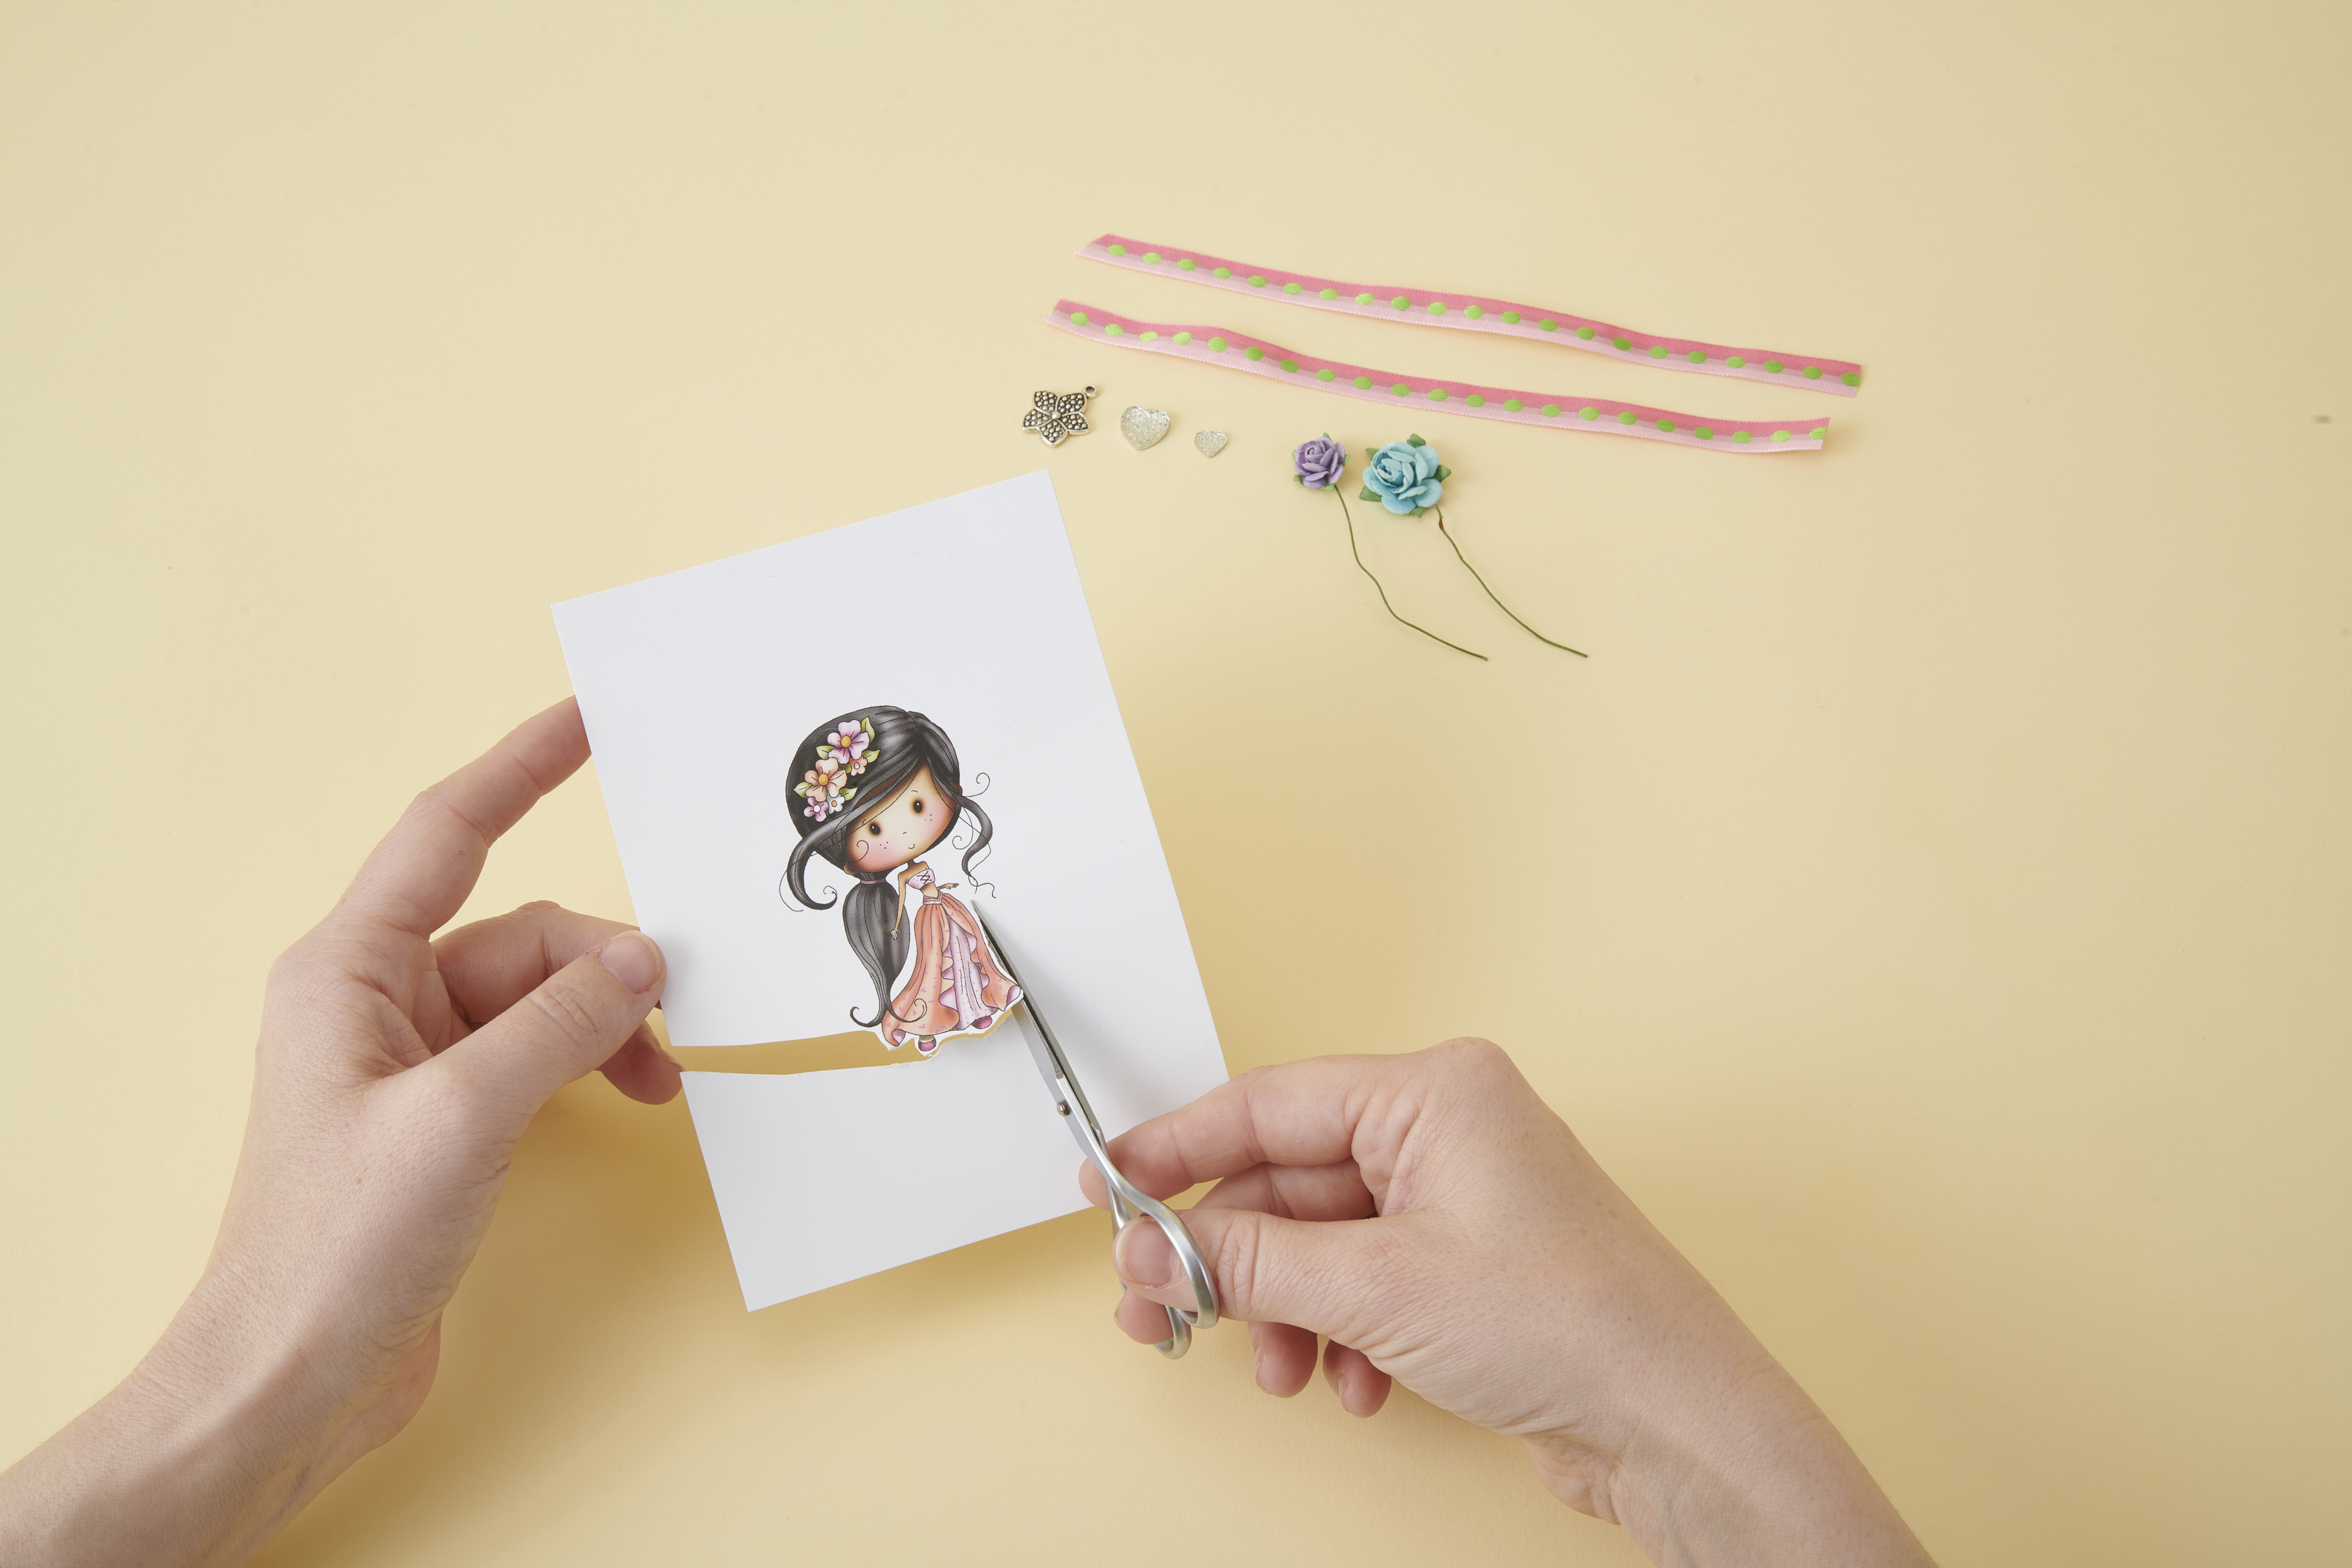
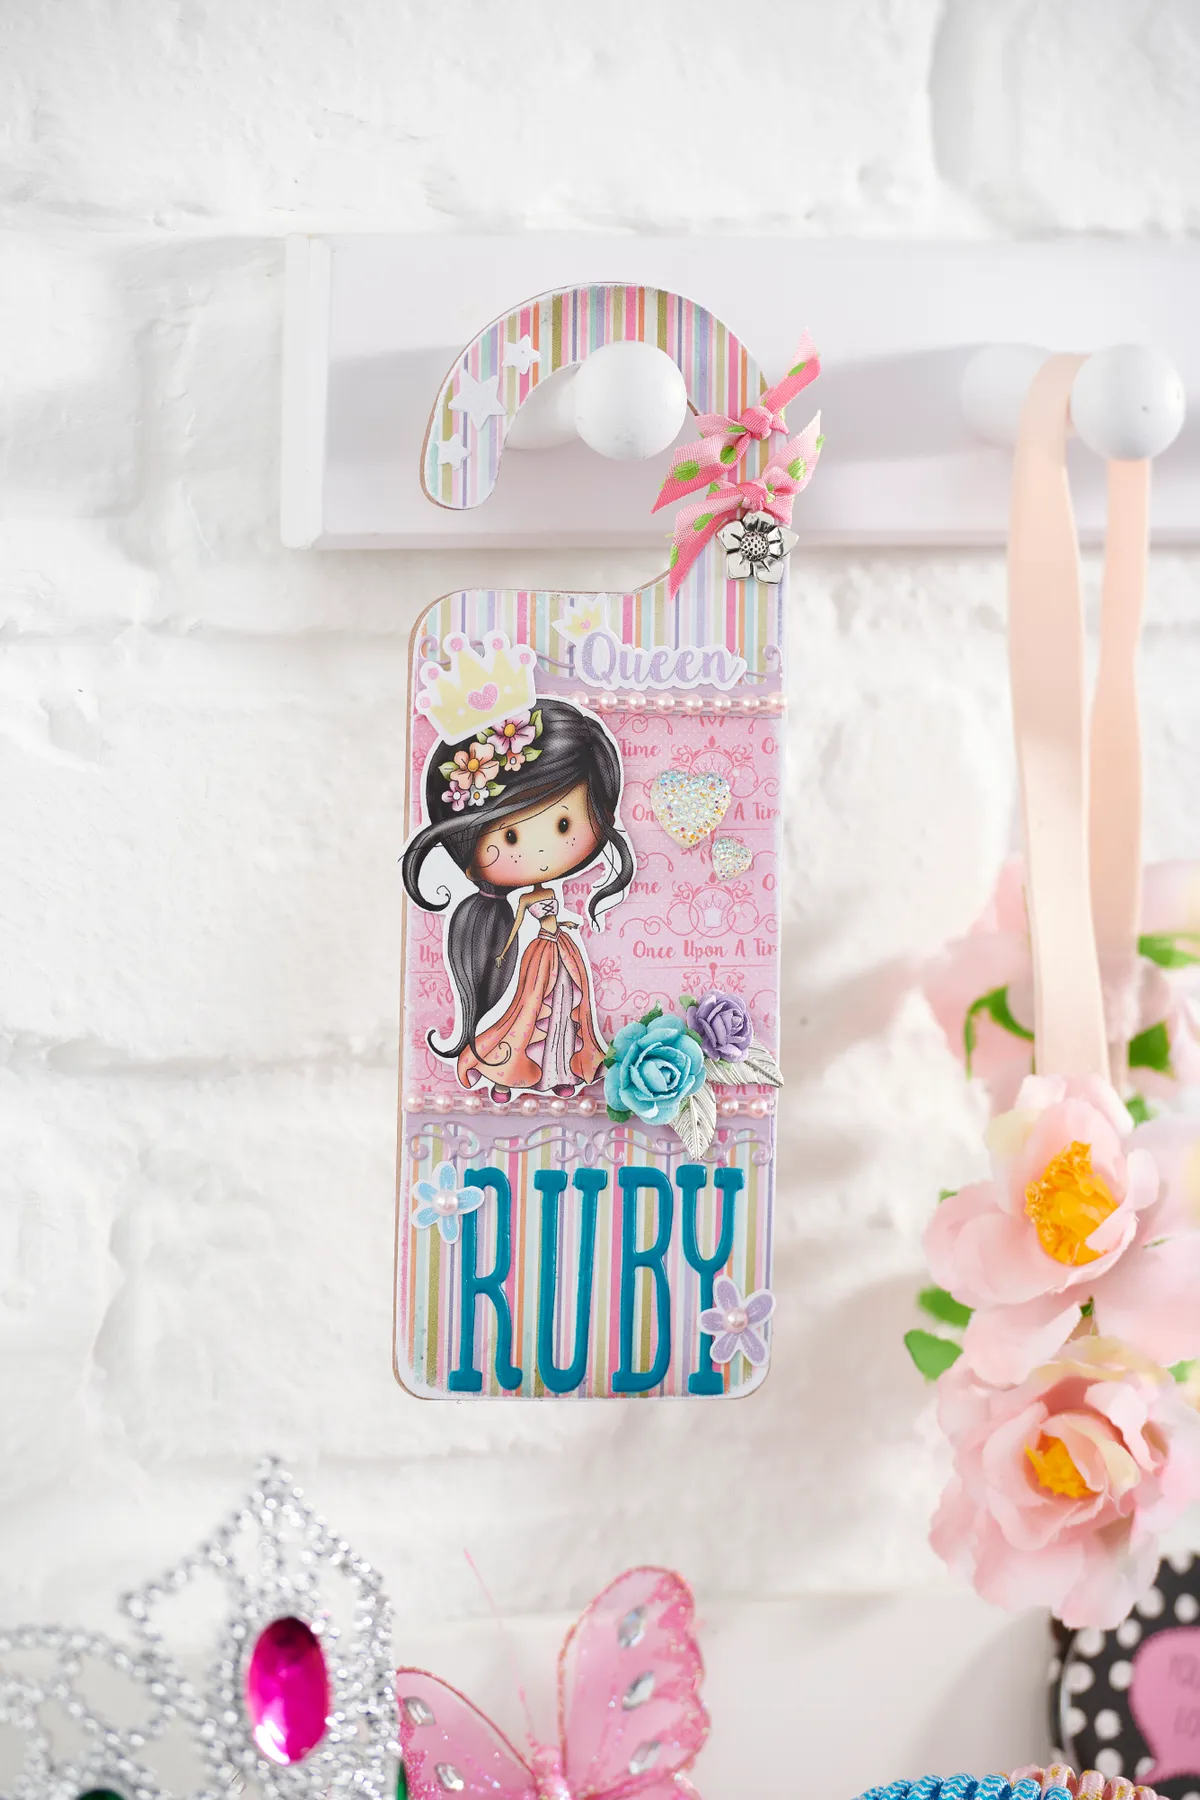
Cut a strip of paper and stick on a line of adhesive gems. Glue this over the join in your papers and you have a nice, neat transition from one paper design to another! Stamp and colour a character then cut out and stick onto your DIY door hanger. We’re using the Winnie Fairytale Faraway Digi Stamp from Polkadoodles! Embellish with whatever you would like! We’re using ribbons, flowers, gems and letter stickers.

DIY door hanger