How to use stencils

Use this on-trend technique to create beautiful backgrounds, personalised artwork, gift wrap and more!

Try 6 issues of any craft magazine from just £9.99

Published: February 11, 2021 at 8:40 am

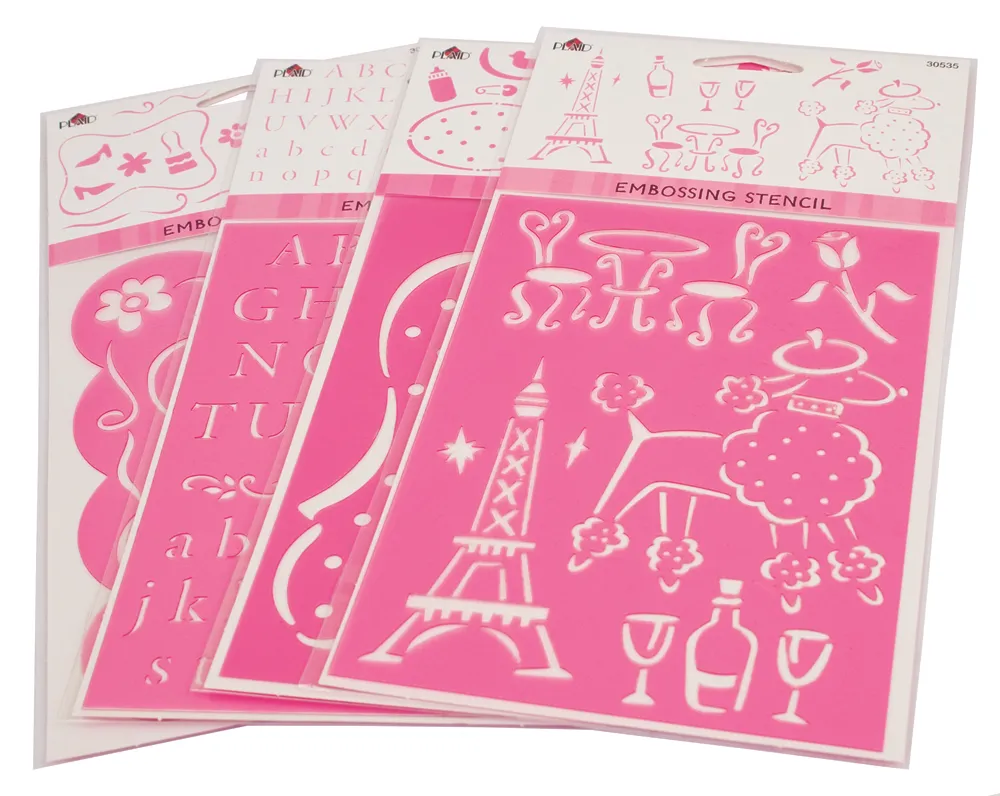
Stencilling is a popular way to add colour and texture to your crafts, and there are a wide variety of stencils available made from both cardboard and plastic. You can use many different media with stencils, including ink pads, acrylic paints and blending chalks – you can even create more textured surfaces with pastes and embossing powders.

Floral stencils and border stencils are particularly good for creating backgrounds. Letter stencils can be used to make a monogram card, great for personalising projects.

Distress inks

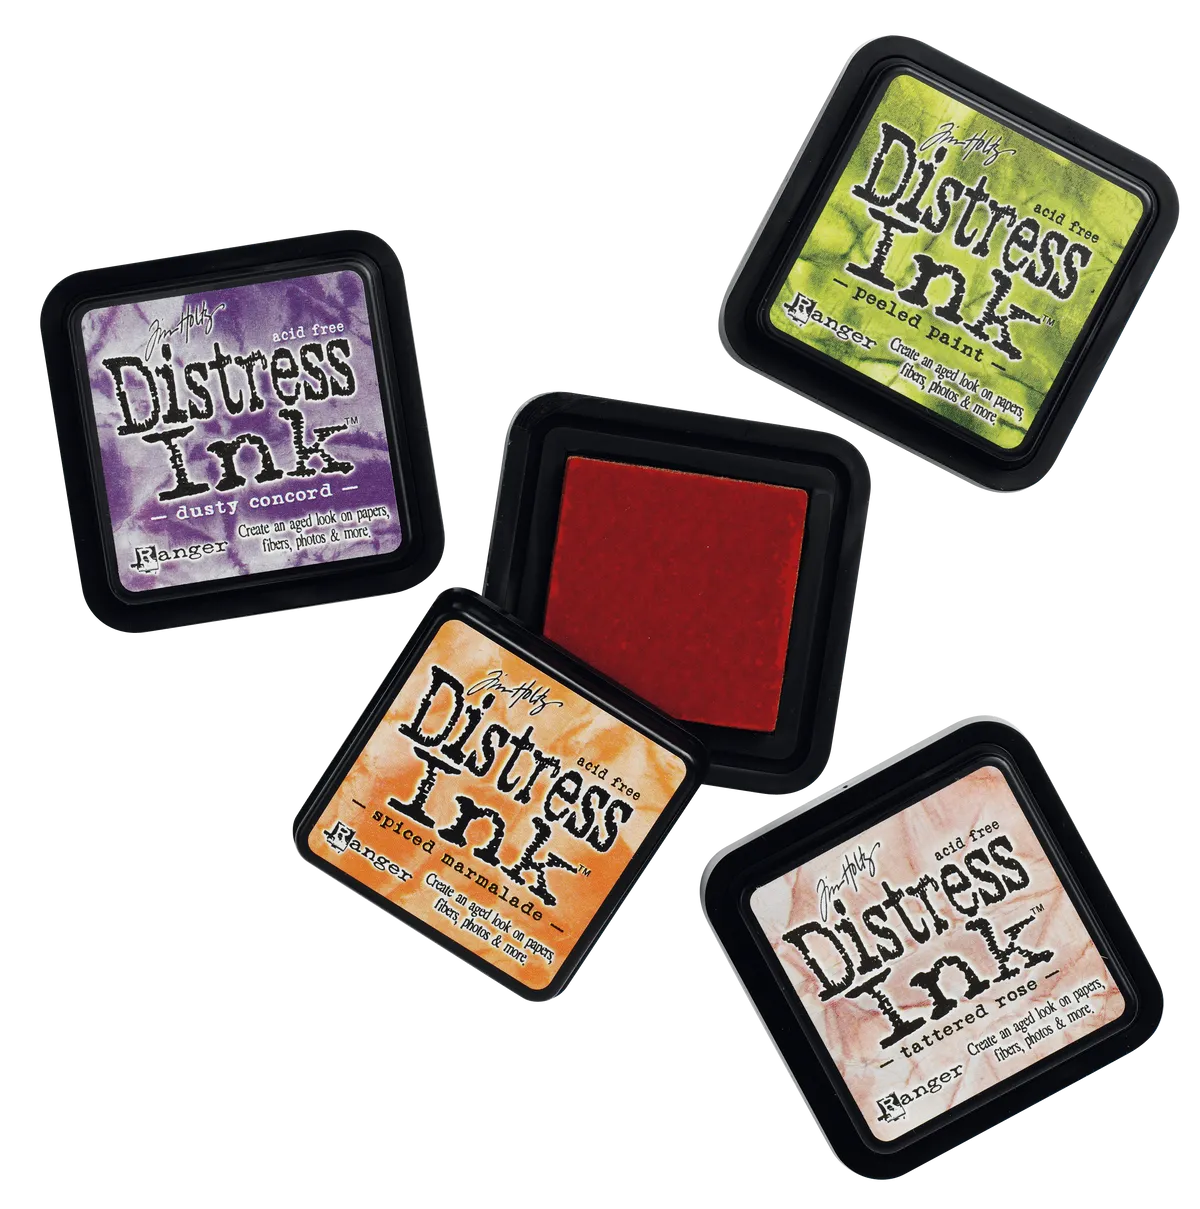
Ink pads are the easiest place to start if you are new to stencilling. We've used Distress Inks, which are perfect for blending and creating subtle tones. You can add interest to your stencilling by applying stamped details to the stencilled area. You can also add embellishments like sequins or gems to enhance a design or pattern. Another technique is to create a drop shadow by slightly moving the stencil and adding another colour, as I’ve done with for monogram card.

Stencils

Stencils at the ready? Let’s get inking! And if you need a reminder on different types of ink, not to worry - we've got you covered. Check out our handy guide to different types of ink.

We love seeing what you make, so don’t forget to share your craft projects with us on Facebook and Twitter, too!

How to use stencils: Make this butterfly card

How to use stencils - card inspiration

You will need:

  • Distress inks
  • Card
  • stencils

Step 1

First – make or buy some stencils! We’re using a butterfly stencil, so go ahead and tape the stencil onto some white card with low-tack masking tape or washi tape. Colour the wings using Tattered Rose Distress Ink and a sponge, making the shading lighter towards the tips to add depth.

How to use stencils – step 1

Step 2

Add Peeled Paint Distress Ink to the body of the butterfly, using a sponge dabber. Stencil a second butterfly underneath the first and dab some Peeled Paint Distress Ink to the body.

How to use stencils – step 2

Step 3

Apply Picked Raspberry Distress Ink to the wings with a sponge, dabbing the excess ink onto scrap paper before applying onto the card. Start nearest the body and blend towards the tips. Repeat for the second butterfly.

How to use stencils – step 3

Step 4

Working on the top butterfly, Ink up a small sentiment stamp with Picked Raspberry Distress Ink and stamp onto the wings several times to create a pattern, then repeat for the bottom butterfly.

How to use stencils – step 4

Step 5

Stamp a sentiment in black and pink. Layer image onto some yellow card; wrap the right side with yellow baker’s twine. Cover a 130mm square white base with some green card; attach image. Add sequins and twine bow.

How to use stencils – step 5

Step 6

And for the matching tag, cut a 55 x 110mm piece of white card, repeat steps 1-4 to stencil the butterflies. Layer onto some yellow and green card, trimming into a tag as you go. Punch a hole in. the top and thread through a length of baker’s twine. Finish by adding some sequins – and there you have it! If you’ve been following this tutorial (and remember you don’t need to use the same stencils or ink colours), you’ll now be an expert in how to use stencils.

How to use stencils – step 6

How to use stencils – project inspiration