Featured image: part of the I Am a Sailor capsule collection, I Am Jacques is a fully-lined classic raincoat design featuring a cosy hood, a hidden zip with handy button placket and two big patched pockets to carry all your essentials – and it’s customisable to three different lengths, too. www.iampatterns.fr
Pick the perfect fabric
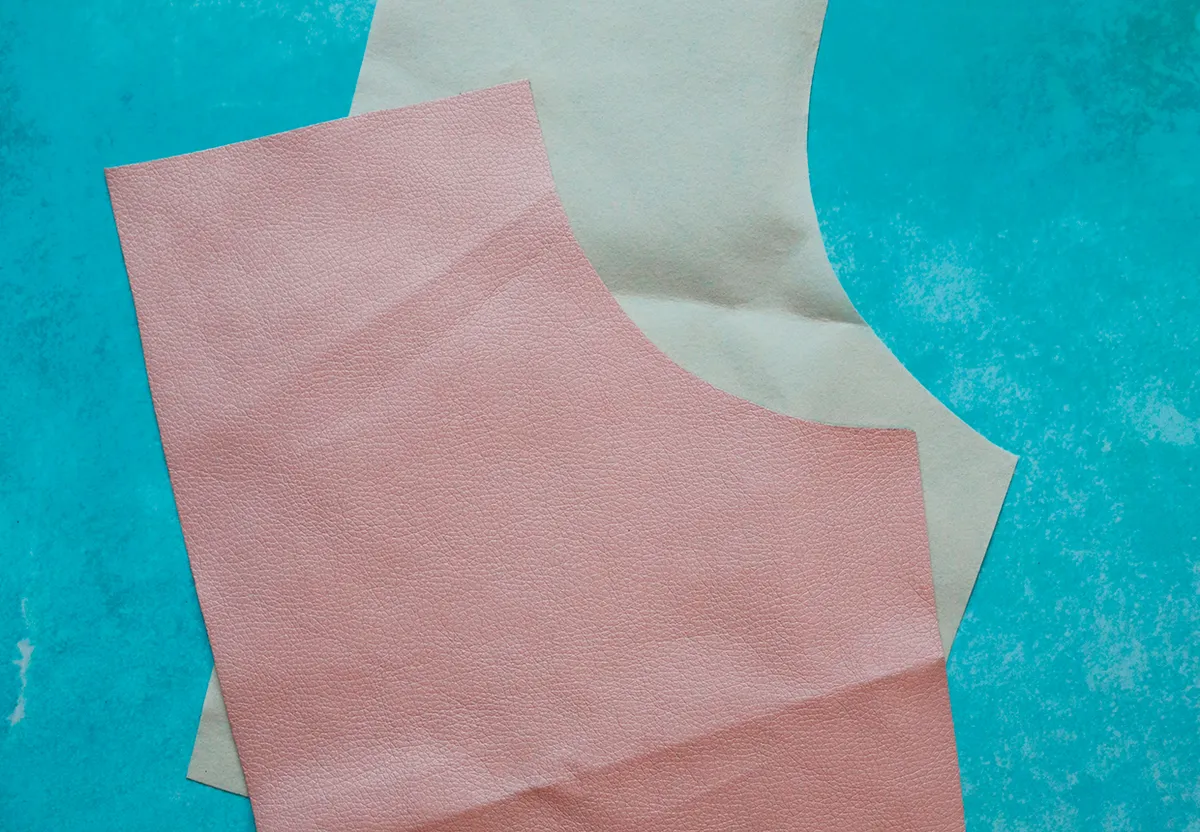
Picking the right material for your project might seem simple enough, but the various types of waterproof fabric available can have very different properties. Some, such as showerproof polyester and Gore-Tex, are thin, lightweight and perfectly suited for garments that need to be packed away easily, like cagoules and ponchos. Others, such as laminated cotton and oilcloth, are much thicker and suited to structured garments, like thick duffel coats and trenches. If you're looking to make a raincoat, mid-weight fabrics, such as softshell or PUL (polyurethane laminate), work well.
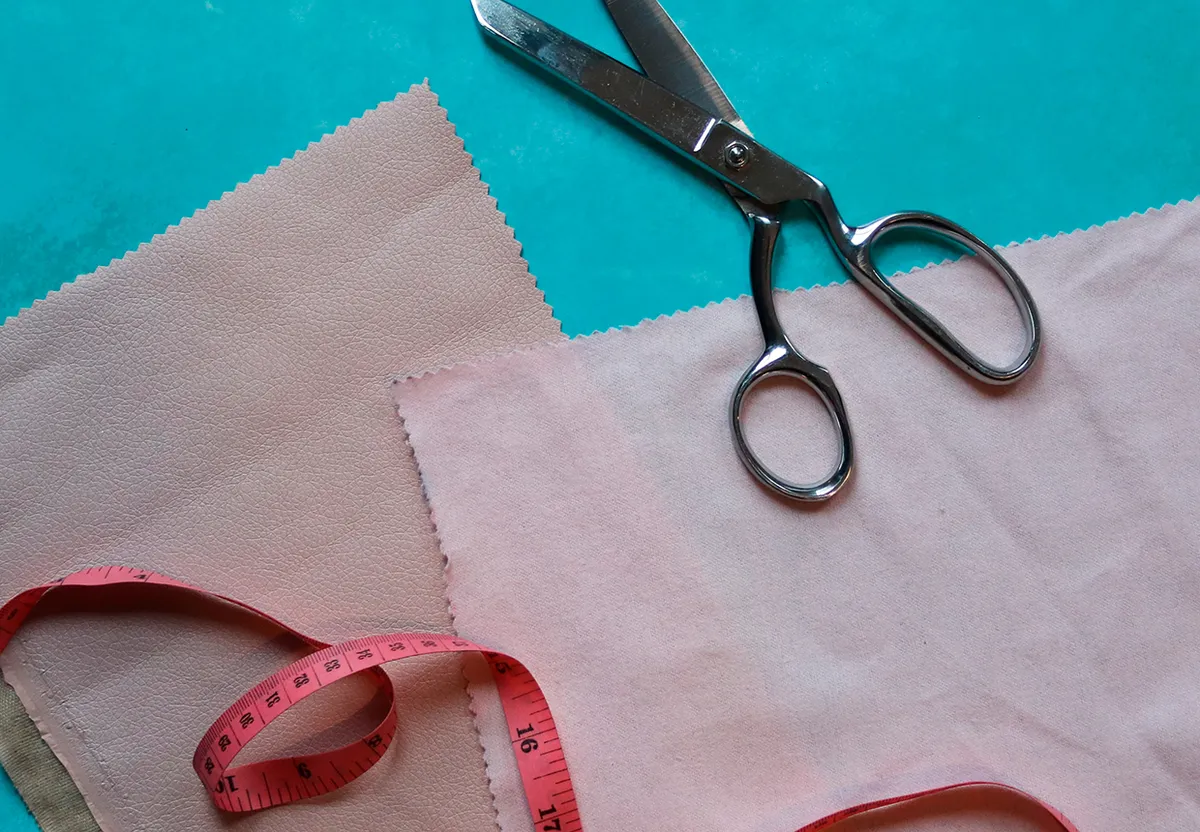
Choose the right lining
Once you’ve got your outer fabric set, you may need to pick a lining. Some projects won’t need one, but others will be partially or fully-lined, and it’s important to choose a material that works for you. Will you be wearing the garment in cold, snowy weather? Pick a cosy fleece that’ll keep you snug. If the garment is to be worn in milder climates, pick a breathable fabric such as low-stretch jersey or cotton lawn.
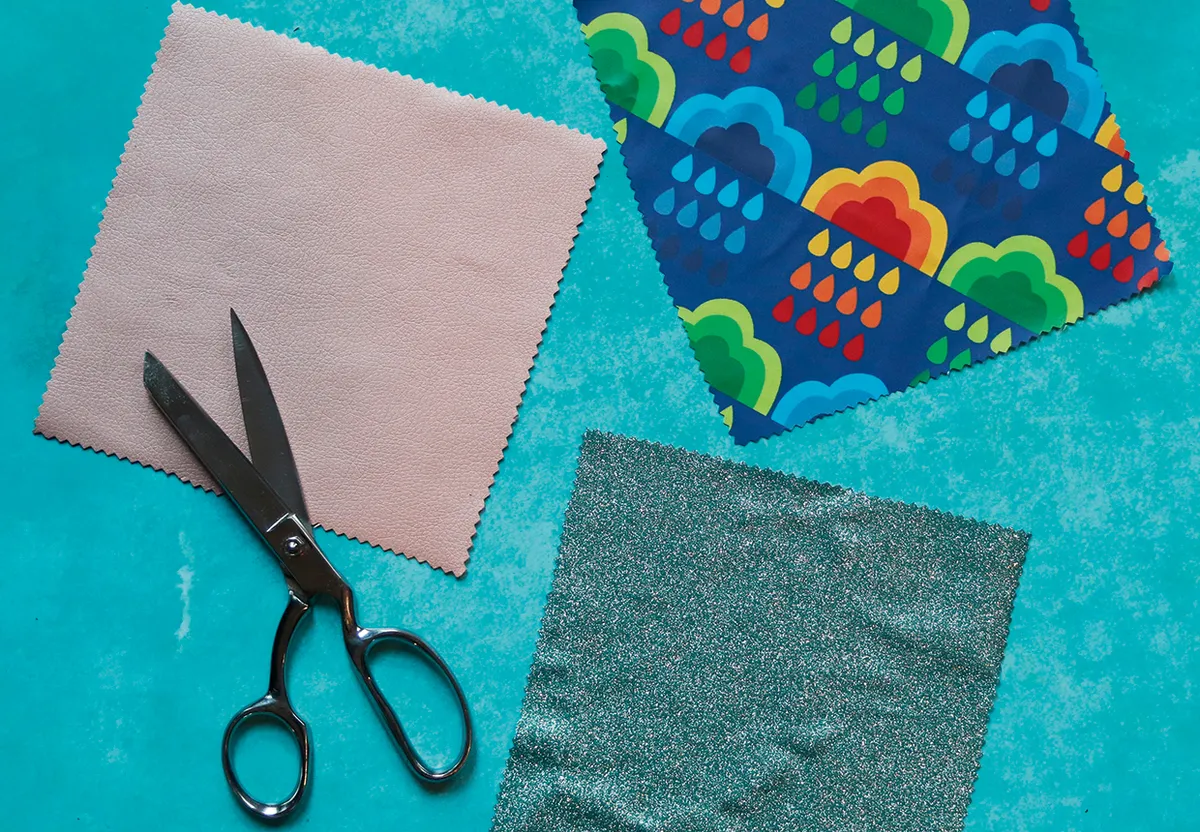
Match your prints
We all like to try and get our fabric prints to match up, and there's such a great range of fun, quirky waterproof fabrics available. Start by picking a print that you like and which will work well with your pattern – check the back of the envelope, as some give tips as to what type of print will work best. Next, be aware of the bias of the fabric and how this will reflect in your finished garment, if your pattern pieces can be cut that way. Finally, make sure you buy enough fabric to allow for wastage – matching prints can lead to a lot of excess, so take note of your cutting layout and experiment by laying your pattern pieces out before committing to cutting.
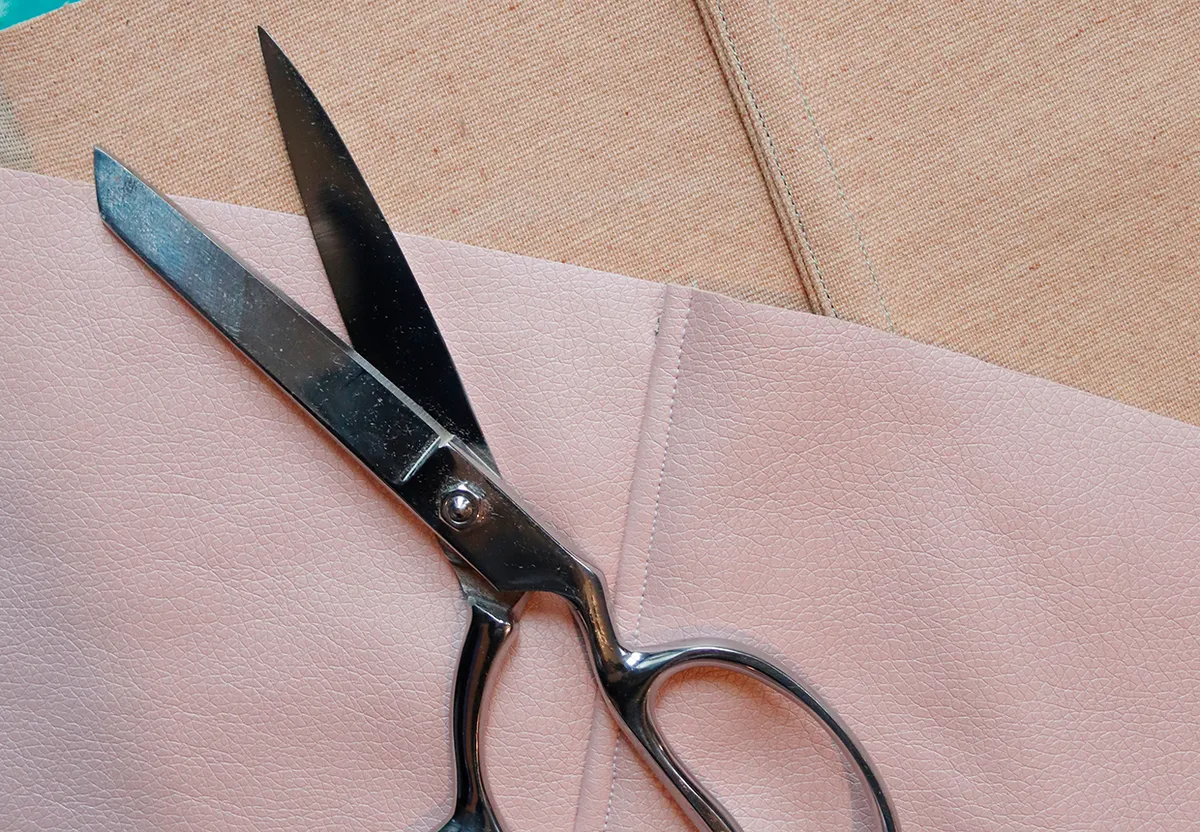
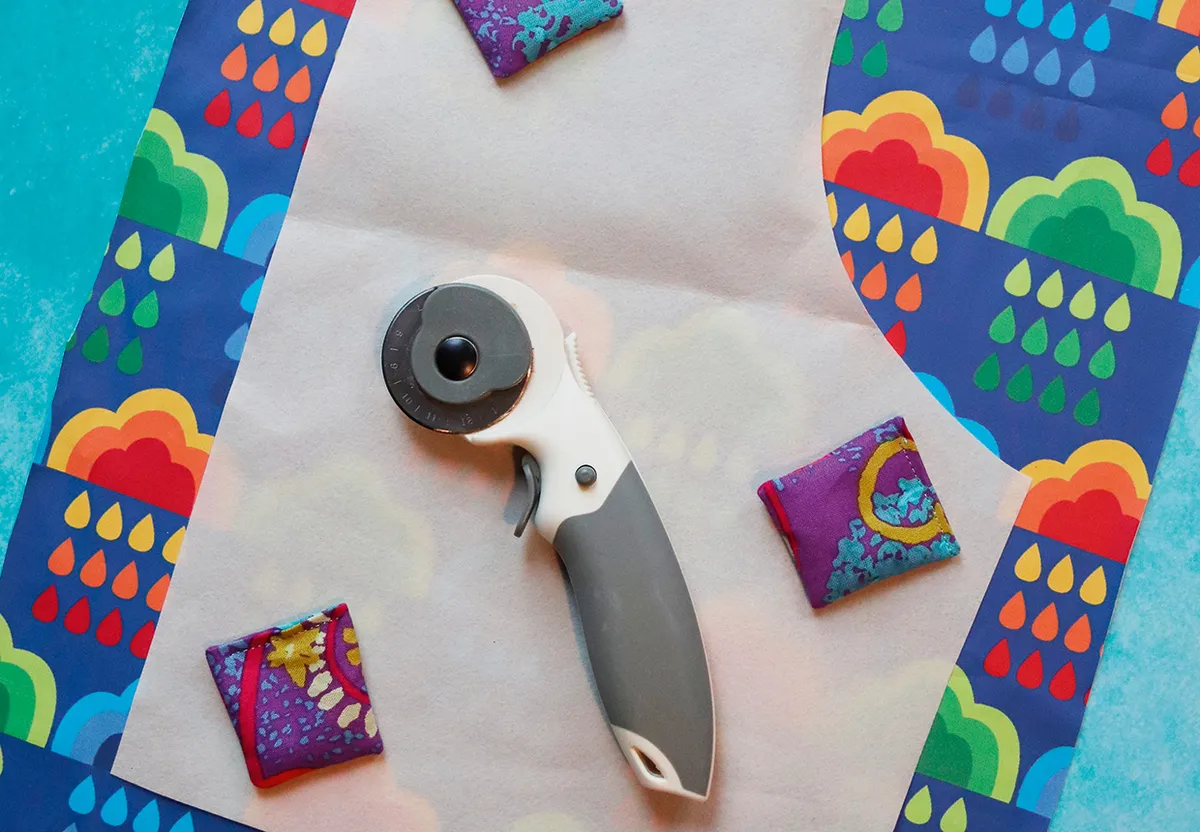
Don't use pins
Never use pins when working with waterproof fabrics – they’ll pierce the surface and leave hundreds of tiny holes behind, and the last thing you want when making something waterproof is lots of little leaks! Instead, use weights to hold your paper patterns in position on the fabric while you cut out your pieces, and opt for handy clips to hold your fabric pieces together as you stitch. To keep the fabric flat when using pattern weights, it’s easier to use a rotary cutter, rather than scissors.
Use woven interfacing
It’s vital to choose the right type of interfacing for your garment. It may seem obvious, but try not to use fusible interfacing for a project that you’ll be making from waterproof material. It’s highly likely that the fabric will melt or warp under the heat of the iron before you even begin stitching – it can be a very costly, not to mention frustrating, mistake to make. Make sure you always try to use woven, sew-in facings instead.
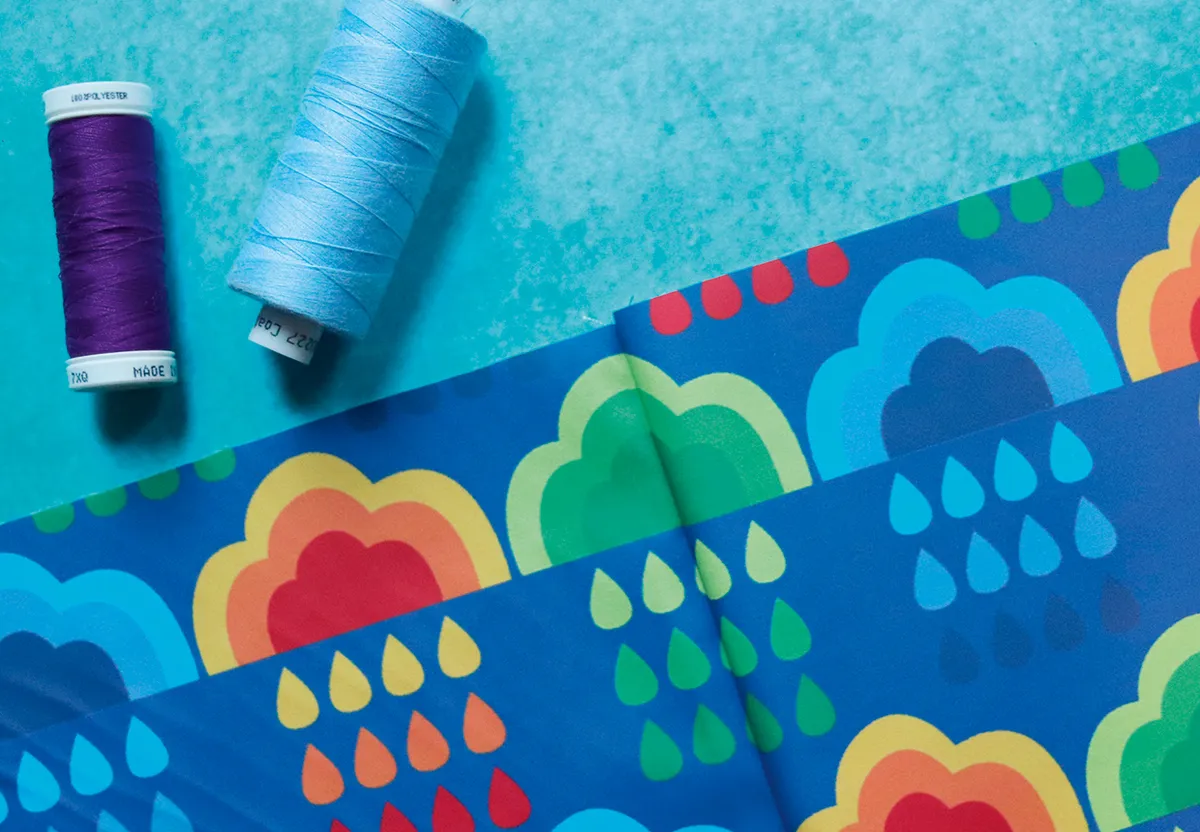
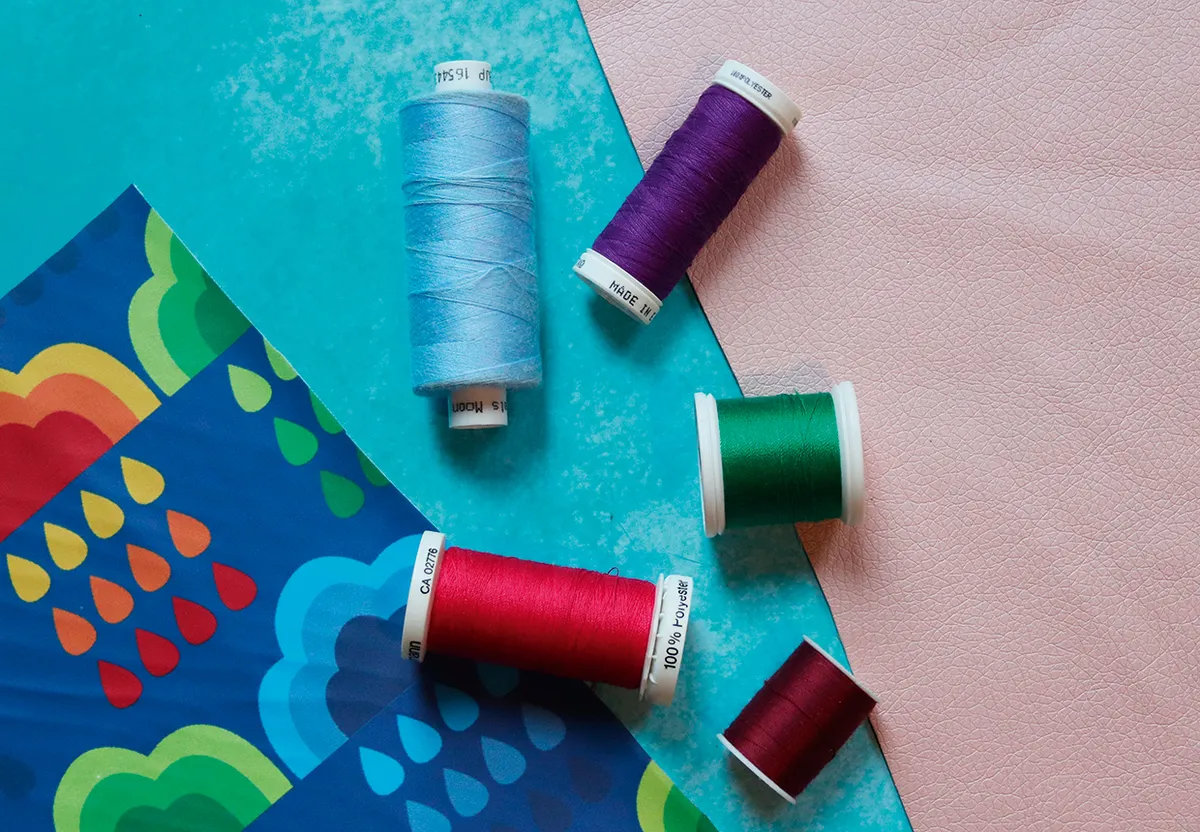
Choose the right needle and thread
Most waterproof fabrics have a tight weave and thus will benefit from the use of brand new, sharp, fine needles – thicker fabrics will also blunt them quicker than normal, so you’ll need to change up frequently. Make sure you stock up on needles before beginning your project – there’s nothing more frustrating than running out halfway through a seam! If possible, choose a thread that is UV-resistant or specifically designed for outdoor use – it’ll last much longer, even in the heaviest of downpours.
Use a longer stitch length
As described above, the fewer holes you can leave in your fabric, the better – and this goes for your seams, too. Set your machine to use a slightly longer straight stitch – 3mm to 4mm should work well as a general rule – and always test your stitches on a scrap of fabric first, to see how they sit.
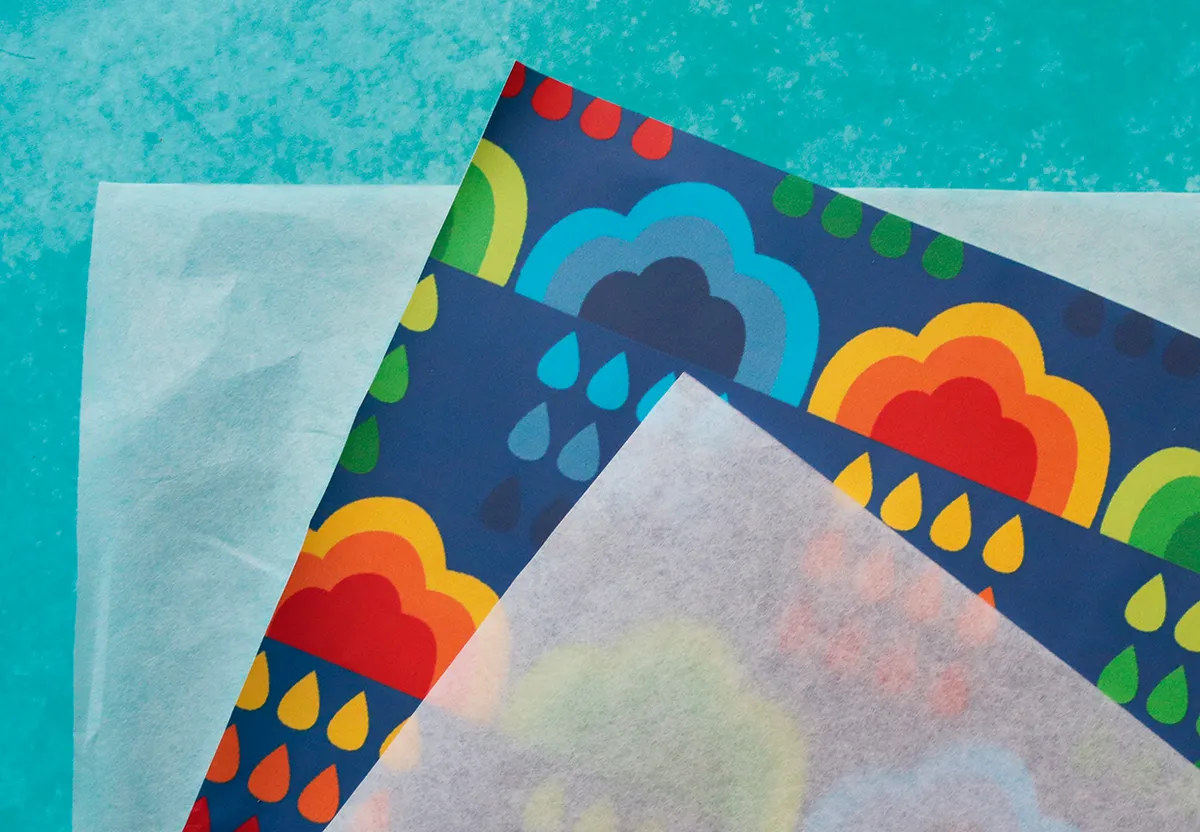
If it sticks, use tissue paper
Sometimes, waterproof fabrics – particularly laminated cottons and oilcloths – can stick and drag in your machine as you stitch. If you’re struggling with this, sandwich your work in-between two thin sheets of tissue paper. This will allow the material to glide through the machine easily, and can be torn away and discarded afterwards. Similarly, if you find that the coating on the fabric makes your needle feel sticky, use a dab of rubbing alcohol to clean it off – just be sure to let it dry fully before you continue working.
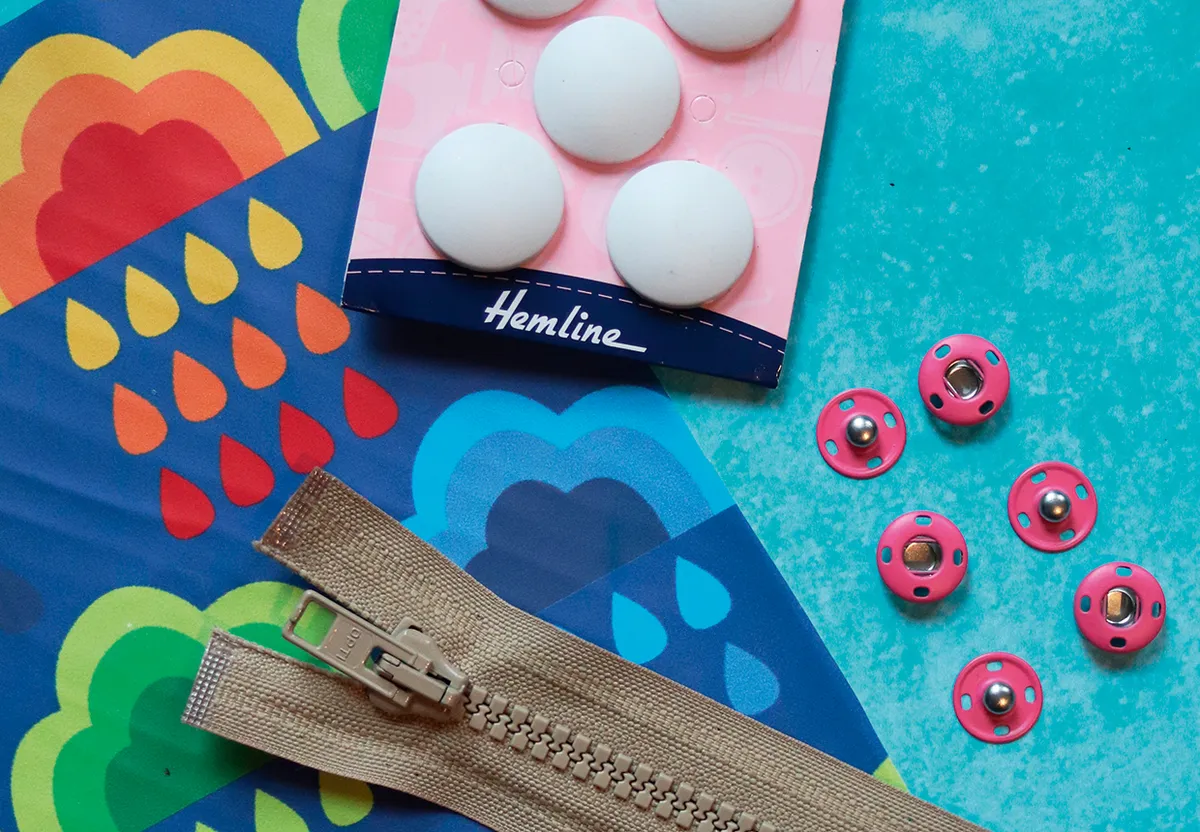
Pick the right fastener
Once you’ve stitched your garment, it’s time to add your fastenings. But which type is best? Many patterns feature various options to choose from, including hidden zips, button plackets, and even toggles. Each one has its own advantages – plackets, for example, add an extra layer of waterproof protection to the front of your jacket to keep the rain at bay.
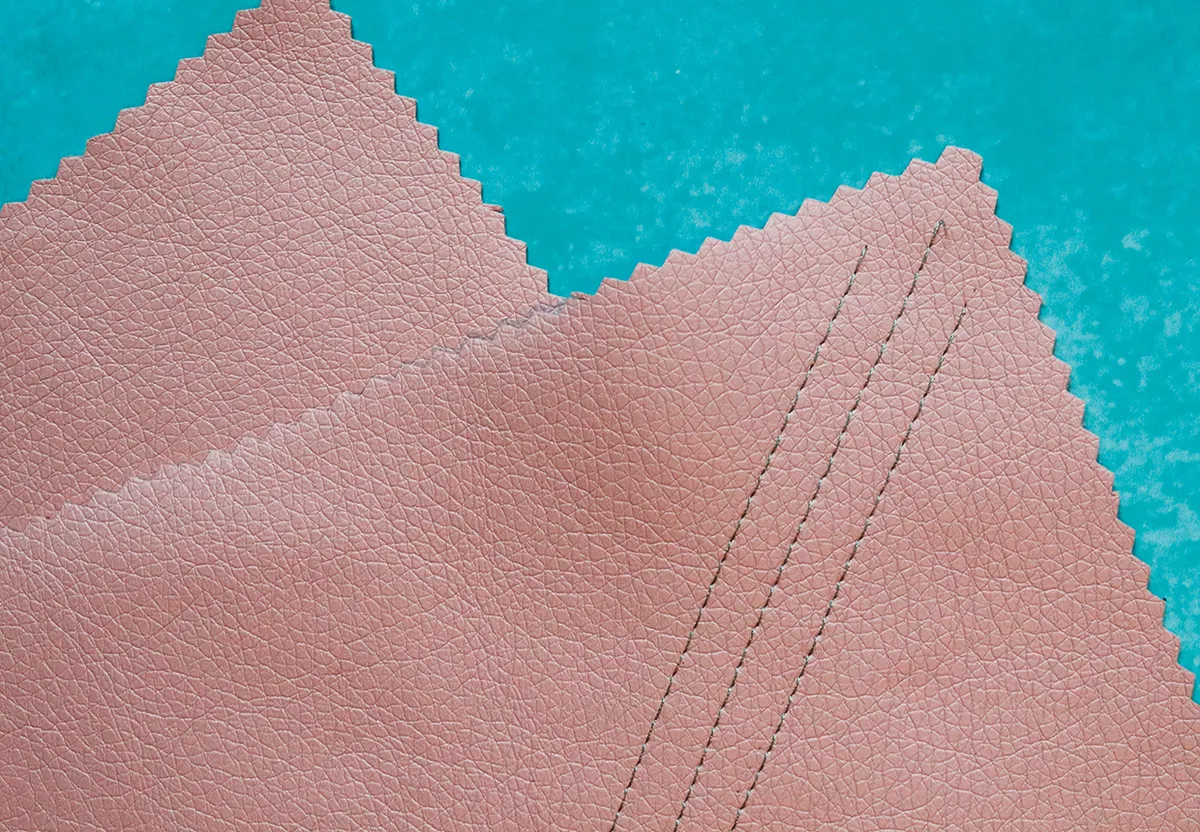
Seal your seams
The final (and most important) step to take when creating a rainy-day garment is to seal the seams to stop water from seeping in. You can do this with a specially-created adhesive, spreading it across the back of the seams with the applicator provided, or alternatively you can use French seams to add an extra level of protection – plus, they look great too!