How to make a fabric banner
Sew yourself a decorative banner to hang anywhere you choose. Don’t stop with a single message – make up your own custom fabric banner for birthdays, anniversaries and general good wishes!
- How to make fabric letters
- How to use a sewing machine step-by-step
- 25 quick and easy fat quarter projects to stitch
We love the motivational message on this DIY fabric banner sewing pattern, but you can easily customise it with your own words. You could simply add a child's name, or a quote from your favourite show or film.
You will need
- Fabric
- Main Fabric: 60x43cm (24x17in)
- Backing and appliqué fabric: 60x65cm (24x26in)
- Lining
- Interlining: 60x43cm (24x17in)
- Fusible web: 32x22cm (13x9in)
- Wooden Dowel: 1.5 x 46cm (1⁄2x18in)
- Cotton tape
Seam allowance
Use a 1.5cm (5⁄8in) seam allowance.
Measurements
Banner measures 50 x 40cm (20x16in).
Free fabric banner sewing pattern

Cutting out
Cut your main fabric into a point to make the banner shape, following the measurements shown in the template here.
Cut the backing fabric to the same shape as the main fabric. The remainder will be used for your appliqué.
Appliqué
Step 1
Trace over the words ‘LET’S MAKE STUFF’ which are available here.
Turn it over to the wrong side (WS) and place your fusible web paper side up on top. Now trace over the letters onto the paper side so you are tracing them in reverse. We spaced the apostrophe apart a little to make it easier to cut out later.
Step 2
Place your traced fusible web paper side up onto the WS of your letters fabric and press gently into place until it is firmly stuck using a dry medium temperature iron (don’t use any steam).

Step 3
Carefully cut out all the letters along your drawn pencil lines. Make sure you cut them accurately so they are a neat shape. Remove the paper backing from the letters then you are ready to stick them in place.
Step 4
Place your main banner fabric right sides (RS) up then place all the letters on top. They should be positioned centrally across the fabric and the top of LET’S should be 15cm (6in) from the top of the fabric. Press carefully into place.

Step 5
Stitch around each letter by machine or hand to hold them firmly in place and for a decorative effect.

Making the banner
Step 1
Cut the interlining into the same shape as the main banner. The interlining is used to give the banner a little more body so it hangs better. You can use a heavy cotton fabric, wadding or fleece fabric.
Step 2
Place the main fabric RS together with the backing fabric and the interlining beneath the two. Stitch together, ensuring you leave a 10cm (4in) gap in the centre of the top for turning.

Step 3
Turn the fabric RS out and press then topstitch all the way round to neaten and close the gap at the top too.

Step 4
Fold the top over by 5cm (2in) to the back. Slip stitch down to make a casing, ensuring you only stitch through the lining. Thread the dowel through then tie cotton tape to either end for hanging the banner.

Your DIY fabric banner is now complete. Hang it up somewhere that will inspire you each and every day!


If you're just as comfortable in a potting shed as you are behind a sewing machine, you might also like our DIY wall hanging sewing pattern.
Celebrate with sewing
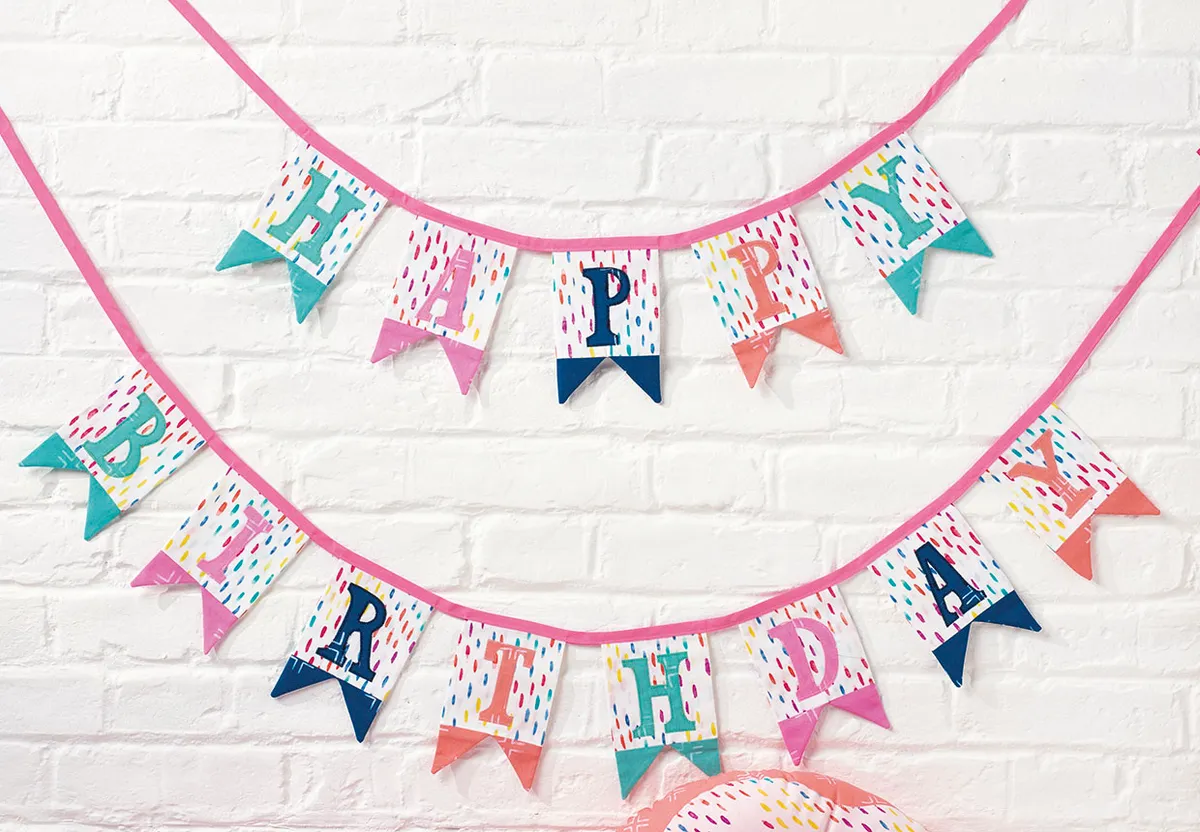
Looking to live by your Let's Make Stuff banner? No problem, we've got the perfect project for you! Use your savvy sewing skills to celebrate a loved ones special day with our fabulous DIY Happy Birthday banner sewing pattern.