
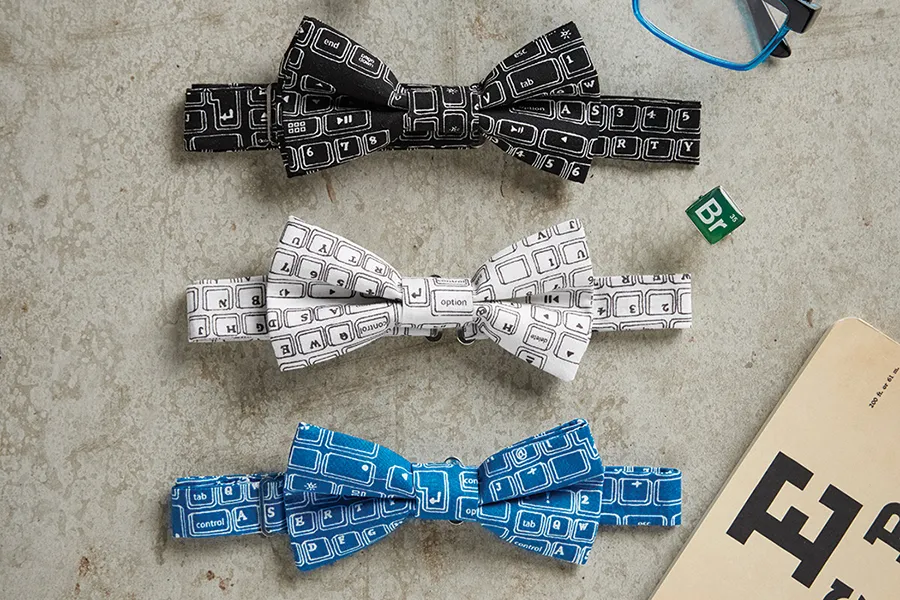
How to sew a bow tie
Everyone deserves to look and feel their best and there's no better way to do that than with our bow tie sewing pattern! We've got two charming bow tie patterns for you to try, our first is an easy-to-sew bow tie that uses clips, and the second one is a classic bow tie that you tie yourself.
- 25 quick and easy fat quarter projects to stitch
- Best sewing machines: An expert guide
- How to sew a hole (big or small) and fix pulled threads
They'd both make an excellent gift for a friend or a family member and you could even add velcro or poppers to make a scaled-down version for a younger child. Whether you like jazzy stripes or a more paired back bow tie, learning how to sew a bow tie is a great way to add unique accessories to your hand-made wardrobe.
Scroll down to learn how to make a bow tie with our two easy sewing tutorials. If you're new to sewing make sure you check out our sewing for beginners guide and our best sewing machines for beginners to get to grips with all the basics.
You will need
- Main fabric - 55x22cm (22x9in)
- Adjustable bow tie hardware clips - 15mm (3/4in) hook, eye and slider
- Matching thread
- Basic sewing kit
Cutting out
Cut out the following pieces of fabric:
- Bow: 13x35cm (51⁄4 x 133⁄4in).
- Central tie: 6x7cm (23⁄8 x 23⁄4in).
- Neck strap: 5x55cm (2 x 217⁄8in).
Notes
Use a 1cm (3⁄8in) seam allowance.
Free bow tie sewing pattern
Making the bow
Step 1
Fold the bow piece of fabric in half lengthways with right sides (RS) together.
Step 2
Sew together all the way around, but leave a gap in the middle of the long edge for turning later.
Step 3
Trim the seams, clip the corners and turn RS out.
Step 4
Slip stitch the turning gap closed.
Step 5

Fold the bow in half so the short ends meet and draw a line 5.5cm (21⁄4in) from the open ends. Pin together and then sew along the line as shown.
Step 6

Press the sewn line open and stitch through the seam and the fabric layers to create a bow shape.
Attaching the central tie
Step 7
Fold the central tie piece in half with RS facing so the short edges meet.
Step 8
Sew together along one short edge and then along the long edge.
Step 9
Trim the seams, clip the corners then turn RS out and press.
Step 10
Pinch the centre of the bow into a crease and wrap the central tie around it, making sure that the folded part of the bow is lying at the front.
Step 11

Sew the tie closed at the back by hand. Make sure you don’t sew through to the bow itself as this needs to be free so that the neck strap can be threaded behind it later.
Adding the neck strap
Step 12
Fold the neck strap in half lengthways with wrong sides (WS) facing and sew together along one short edge and down the long edge.
Step 13
Trim the seams, clip the corners then turn RS out and press.
Step 14
Thread the strap through the central tie at the back of the bow.
Step 15
Feed the sewn neck strap end through the metal eye, fold it over and sew it securely in place.
Step 16
Thread the slider onto the other raw end of the neckstrap.
Step 17
Feed the neckstrap through the hook and back through the centre of the slider in the other direction.
Step 18

Fold the raw end under and sew it down to finish.
Free traditional bow tie pattern

Our next free pattern is a more traditional style of bow tie where you tie it yourself rather than using clips. It's perfect for more formal occasions such as weddings or to give as a gift for Father's day.
You will need
- Fabric, approx 1m
- Templates
- Fusible interfacing
- Measuring tape
- Scissors
- Chalk
- Thread & needle
- Sewing machine
- Iron
- Pins
Note: Avoid thick fabrics or anything with stretch. Cut your pattern on a bias, this gives your bow tie natural stretch. Fusible interfacing will help keep your bow tie’s shape without adding too much bulk. Project by Shauna Alterio & Stephen Loidolt.
Traditional bow tie pattern
Step 1

Print two copies of the template [the pattern includes a seam allowance of 6.4mm (¼”)]. Adjust the overall length so that the distance between the two ‘a’ marks on the bow tie ends equals your neck size.
You can use the two strap template pieces marked ‘a’ and ‘cb’ provided, adding a few centimetres (dividing the additional length equally between the straps) if required. Pin the ‘a’ marks of the straps to the ‘a’ marks of the bow tie ends.
Trace your pattern on the bias and cut out two bow tie pattern pieces.
Step 2

Iron interfacing on the wrong side of two bow tie ends. Pin the ‘cb’ ends of the straps in place [using a 6.4mm (¼”) seam allowance] and sew. Repeat with second bow tie piece.
Step 3

Now pin both bow tie patterns together, wrong sides facing, and sew in place leaving a gap in the strap to turn.
Step 4

Turn and press. Hand sew the small opening closed using a blind stitch and you’re done!
Step 5

Make a version in Liberty print for yourself too and jump into the dance circle wearing your matching party gear.
And you’re done! Two bow tie patterns so you can look dapper every day of the week.
More speedy sewing
Making small speedy projects is a great way to develop your sewing skills, plus you can always give them as sweet handmade gifts too! Check out our list of 40 easy sewing projects you can make fast and find your next must-make project!


