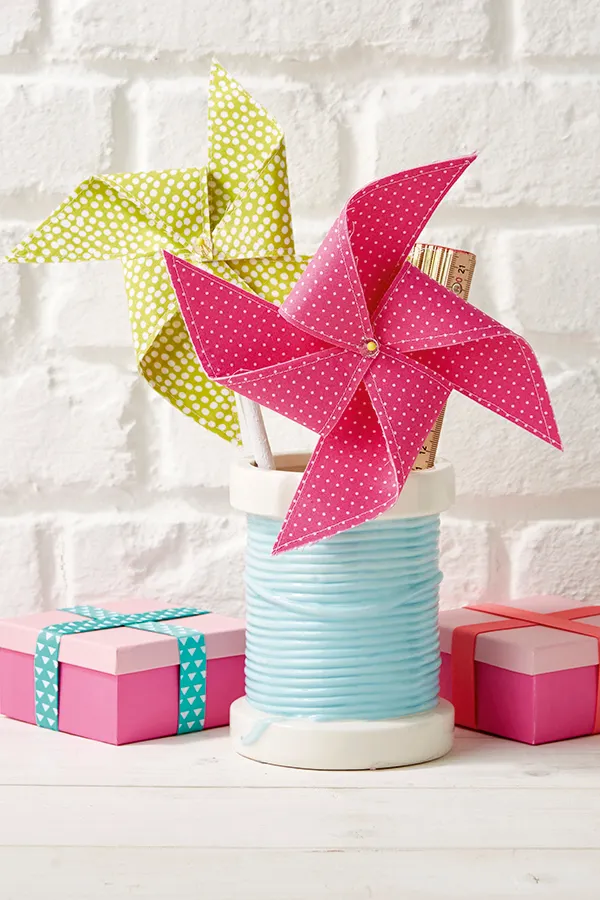
These quick-to-sew DIY pinwheels are a fun toy for kids, and they'll look great displayed in your home too. This project was designed by Sammy Claridge of Samantha Claridge Studio. It's a fat quarter project that's perfect for beginners.
You will need
- Cotton fabric: two or three fat quarters
- Heavy weight interfacing: 25x25cm (10x10in)
- Bondaweb: 50x50cm (20x20in)
- Ball/pearl headed pins
- Beads
- Air erasable marker pen
- Basic sewing kit
All materials available at Samantha Claridge Studio.
Notes
Download our free pinwheels sewing template here.
Pinwheels tutorial
Step one: Download and print out our free pinwheels sewing template, then draw around it twice on to the wrong side (WS) of the fabric for the back and front of the pinwheel.

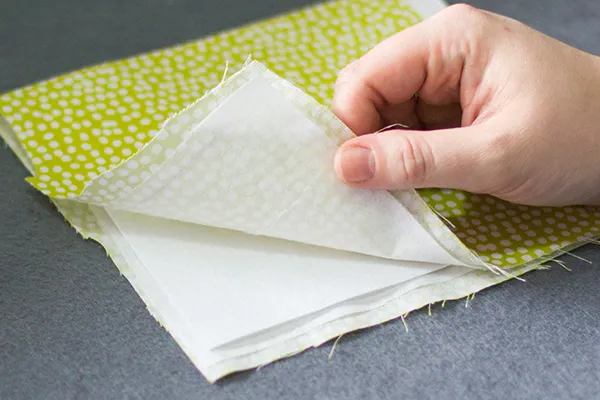
Step two: Iron the bondaweb to the WS of the fabric pieces to cover the drawn lines.
Step three: Roughly cut the interfacing to size and place it between the front and back fabric, right sides facing out and iron the fabric layers together.
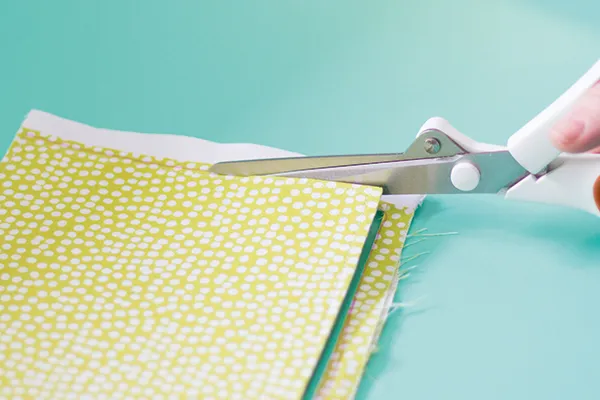
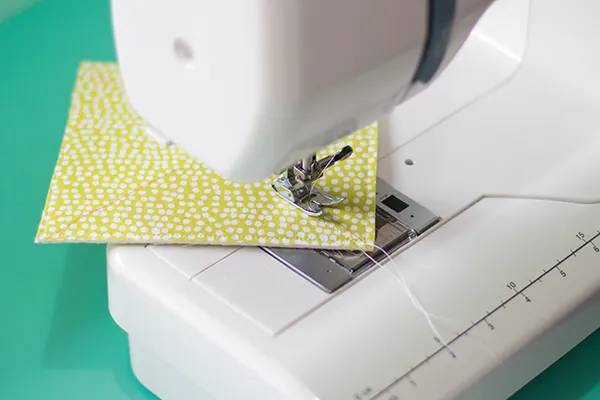
Step four: Sew around the edge of the square along the drawn lines.
Step five: Trim just outside the stitching.
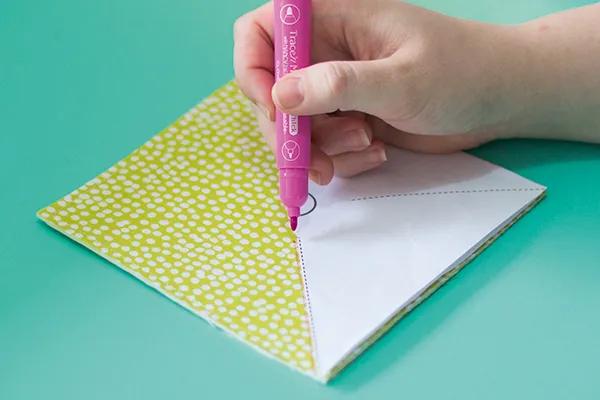
Step six: Mark up the pinwheel with the centre and the diagonal lines from the template.
Step seven: Sew 3mm (1⁄16in) either side of the diagonal lines.
Step eight: Cut in between the stitched lines stopping before you reach the centre.
Step nine: Fold the right hand corner of the front fabric down to the centre and pin in place.
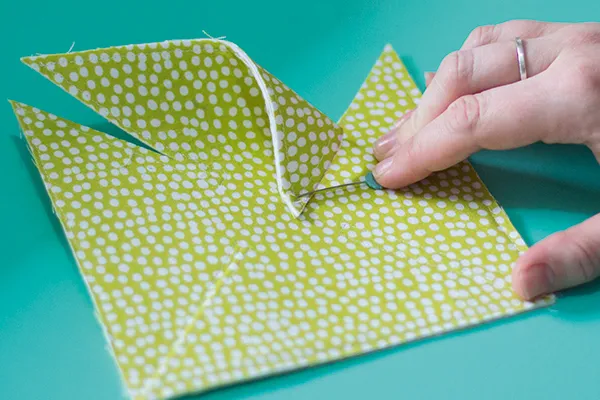
Step ten: Turn the wheel and repeat for the other three corners pinning each to the centre.
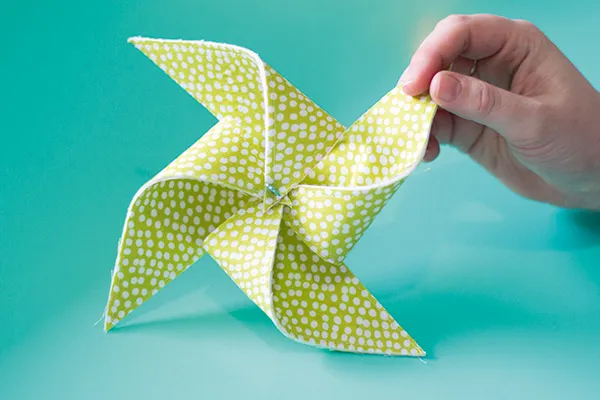
Step eleven: Take a ball headed pin and thread a bead on to it, then thread the wheel in place, making sure you catch each layer.
Step twelve: Add a second bead to the back and gently bend the pin at a right angle.

Step thirteen: Push the pin in to the top of a stick.
Top tip: Use contrast fabrics for the front and back of the pinwheels to create a different look