Today's Quilter pattern corrections
We know how important it is when you make a quilt that you can trust the accuracy of the pattern you're working to! That's why we spend hours scouring the patterns in Today's Quilter magazine to triple check our instructions before we send our magazines to the printers. We're only human so very rarely an error slips through the net – when it does we'll add any pattern updates to this page. So check in with us before you start to sew and if the pattern you are working on has an update, you'll find it here. Hop straight to the project from the links below or scroll down to browse our projects by picture.
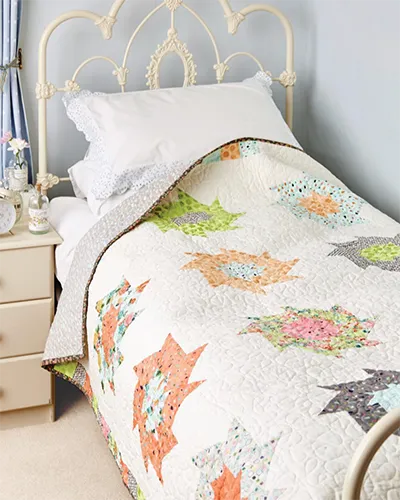
- April Showers quilt, issue 8
- Morning Star Medallion quilt, issue 11
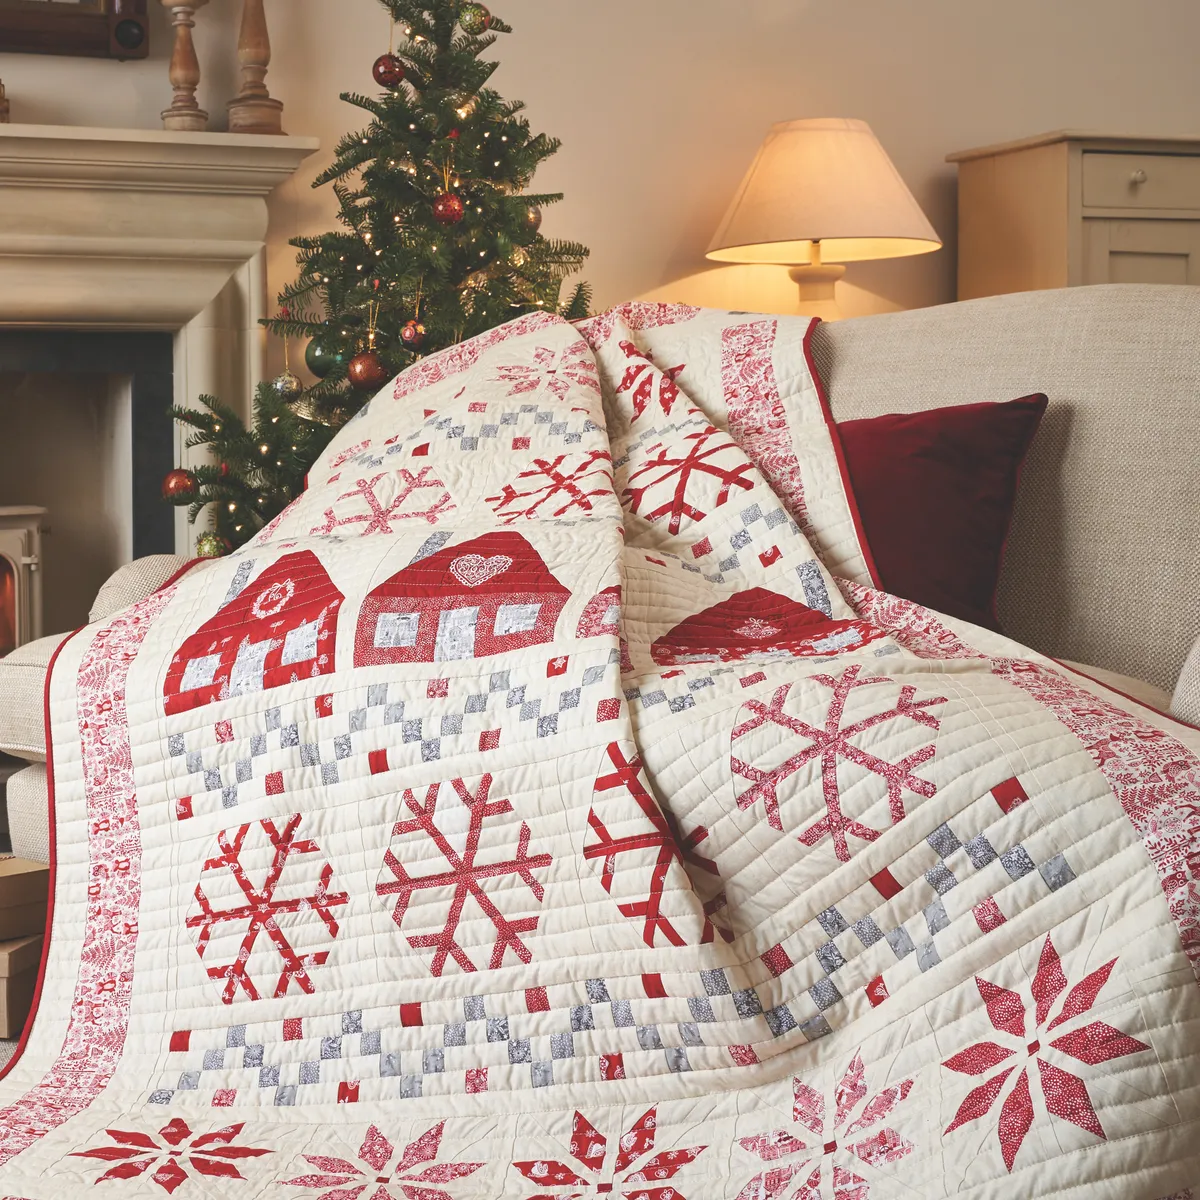
- Blue Barn quilt, issue 14
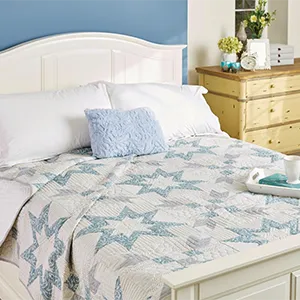
- A walk in the glen quilt, issue 15
- Still waters quilt, issue 21
- Winter's Lane quilt, issue 41
- Hesketh House, issue 47
- Hedgerow adventures, issue 49
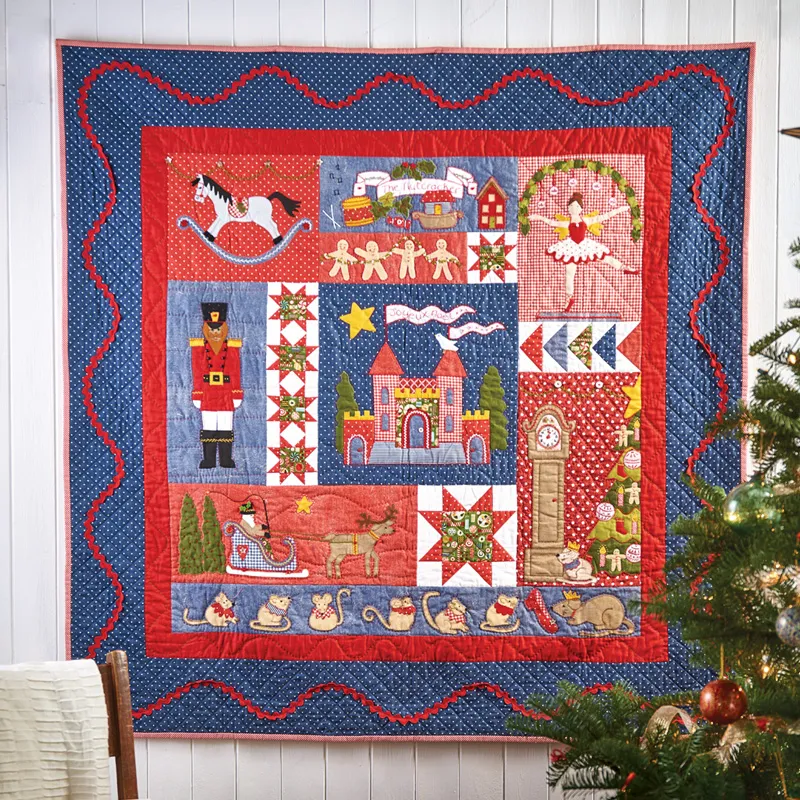
- Nutcracker quilt, issue 54
- True Blue, issue 63
- 2020 ‘Spoondrift’ Block of the Month
- 'Pansy Pots' Block of the Month
- Cashmere Diamonds, issue 71
- River Cabin, issue 74
- Starry Night, Kaffe Fassett Supplement issue 79
- Mill and Stars, issue 80
- Cranberries and Cream, issue 80
- Winter Stars, issue 80
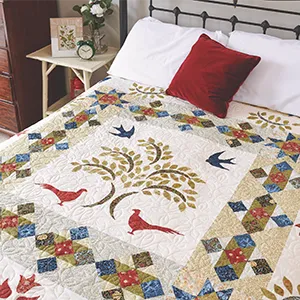
- Tree of Life, issue 97
- Baltimore 12 Days of Christmas Block of the Month
- 2025 Sew Pretty Storage Set, issue 124
- Sampler Quilt Churn Dash block, issue 135
2016
April Showers, Issue 8
There was a formatting issue when sending this pattern to print, and a few of the fractions got lost.
Please email us at todaysquilter@ourmedia.co.uk and we'll send you a corrected PDF.
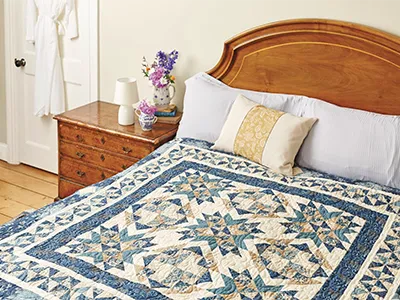
Morning Star Medallion, Issue 11
There is a correction to the cutting out for border 10. The twenty-eight (28) background fabric rectangles cut in the third bullet point should be 2½in x 8½in.
Blue Barn, Issue 14
There is a correction to the Making Border G instructions. In step 31 cut ONE 25½in from each of the eight (8) Blue 4½in x WOF strips.
A Walk in the Glen, Issue 15
There was a typo in the You Will Need section. You need 1½yds of Fabric G.
2017 issues
Still Waters, Issue 21
The block size is stated incorrectly in this pattern and is actually 16in. This also affects the finished size.
2018
Winter’s Lane, Issue 41
A couple of the diagrams were illustrated incorrectly. Download our Winters Lane Quilt Figures Revised here.

2019 issues
Hesketh House quilt, Issue 47
One of the bullet points dropped off step 8 from the Cutting Out Section on page 39. In addition to the bullet points already on the page, you also need to cut ninety-six (96) 2½in squares of background fabric for block 2.

Hedgerow Adventures, Issue 49
- There are a couple of corrections to this pattern. The third bullet point in step 10 is a duplication of the one above. You only need a total of twenty-four (24) 27⁄8in squares.
- Also, the templates were printed the wrong size in the magazine but were corrected for the digital download. Please download the correct templates here:
Todays Quilter issue 49 Free Quilting Templates.
Nutcracker Pattern Collection, issue 54
There is a correction to the templates for Mandy Shaw’s lovely Nutcracker Scene – please download the updated templates here.
It was brought to our attention that some of the templates on the template sheet had been drawn in reverse, and others not. The slipper template was also missing and this has been updated on the digital download. If you are using the template sheet, please carefully refer to the images of the quilt when cutting pieces, and flip the applique templates if required. We’re sorry about this, and hope you enjoy stitching this beautiful project.
Christmas Jumper, issue 54
It was brought to our attention that the 'house doors' listed in Step 5 and Step 28 should read 11/2in x 31/2in, not 11/2in x 41/2in.
2020 issues
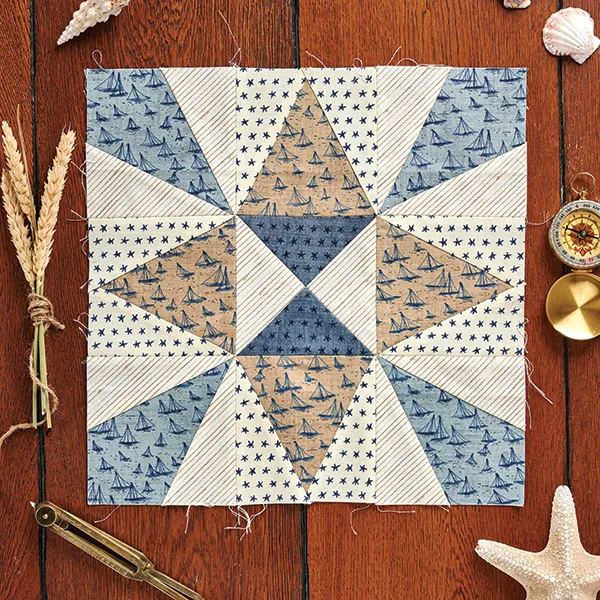
True Blue, issue 63

The assembly diagrams were illustrated with the units rotated incorrectly. Please see below for the corrected block assembly, Fig 8, and quilt centre, Fig 9.

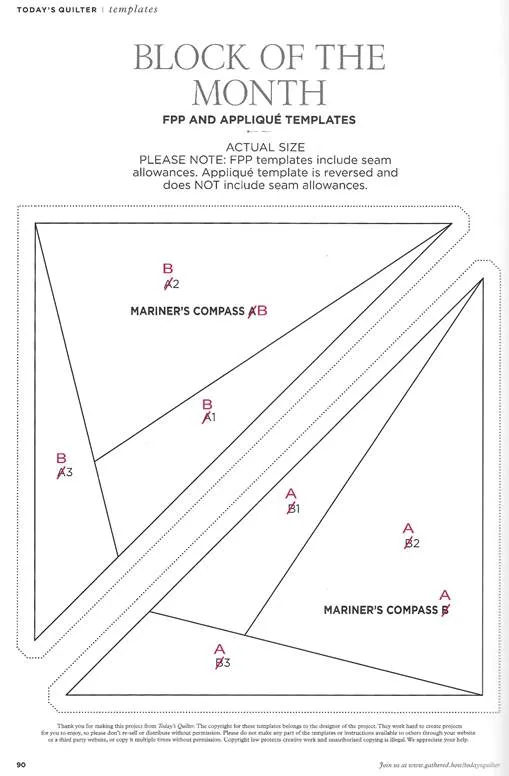
‘Spoondrift’ Block of the Month
‘Spoondrift’ as featured in ‘Today’s Quilter’ has been really enjoyable to design, but a challenge in terms of calculating fabric requirements when we are not that many blocks further ahead than you. We try really hard to get things right but we are sorry to say that we have made a few mistakes along the way.
Month 1 and 2 (issue 55 and 56)
The requirements list ‘Seaweed Sky’ as one of the fabrics, it is in fact ‘Seaweed Ocean’, which is just a little darker in tone. No ‘Seaweed Sky’ is used in the quilt which is reflected in the full requirements list. You can see the blocks we're referring to in our blocks inspired by the sea.
Month 6 (issue 60)
There are three things to be aware of in Month 6:
- The map of the British Isles has been updated to include the Isle of Man, find it here.
- ‘You will need’ - In the ‘You will need’ section Stripe Dark Ocean – 19in x 8in is listed, it should be 19in x 9in as the British Isles block calls for a 9in square to be cut.
- Cutting Out – Step 1
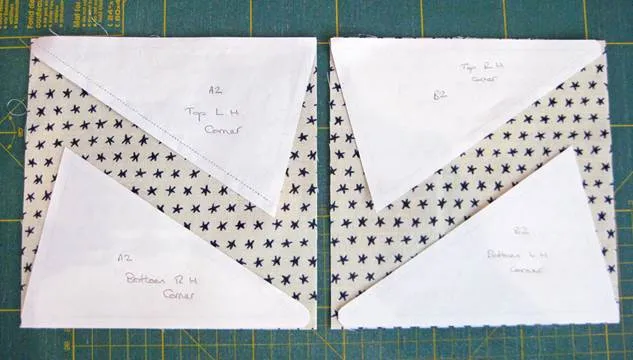
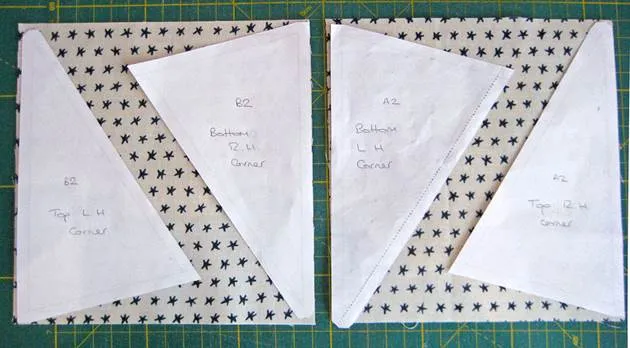
- After cutting the 13in Starfish Pearl square into four 6½in squares, do not cut these on the diagonal, this will result in triangles which are not quite big enough to cover foundation piece A2 and B2.
Instead take the four 6½in squares and position the foundation templates as follows to enable you to get all the fabric pieces required and the directionality of fabrics aligned. Make sure your foundation templates include the seam allowance all around.
As you can see in these photos from Pippa, she has made additional copies of the templates and cut out the sections she is working on. You will need the complete foundation template with all three sections on one piece of paper when stitching the block.
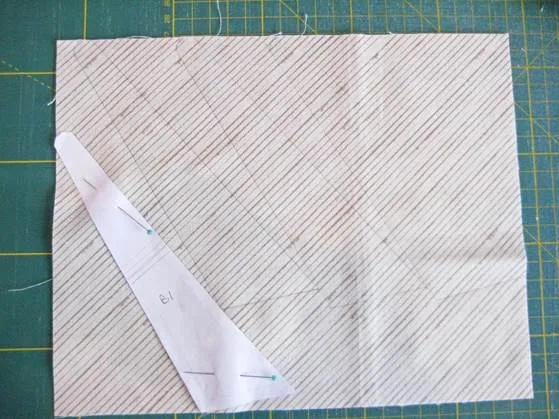
In general, this approach of making extra copies of the foundation templates and cutting out the individual sections with a generous ¼in seam allowance all around, will allow you to play with their position on larger pieces of fabric and get the directionality as you wish before marking and cutting to size. Note, if you cut accurate sections of fabric, it will require more accurate piecing! Here is another example with the striped fabric used on the compass point.
- Foundation Templates. The A and B labelling on the ‘Foundation Templates’ is round the wrong way and will result in fabrics being swapped in your compass points - this is what it looks like when the fabrics are swapped – it doesn’t change the look of the block significantly and would still look great in the final quilt this way! The labels have been updated on the downloadable full size templates, which you can find here.
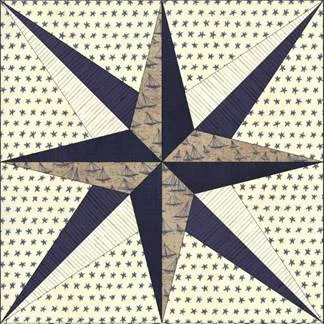
The template labelled A1, A2, A3 should be B1, B2 and B3 and vice versa. To achieve the same fabric position as the photo in the magazine, just re-label your foundation templates as shown below, then follow the piecing instructions.
Some general tips
In addition here are a few general tips to consider as you make your blocks:
- In the first article (Issue 55) a fabric grid with little fabric swatches for the entire ‘Ebb and Flow’ collection was published. The design did not ultimately use all of these, but uses 20 fabrics to piece the blocks and for sashing. The full requirements list can be found here.
- At the start of each month, a section called ‘You will need’ is included. This provides guidance on the amount of fabric you need to make both blocks featured in that month. Do not begin cutting based on this list! Follow the cutting instructions for each block and you will be able to be as thrifty as possible with your fabric, look to use your remnants first.
- The instructions tell you how I made the blocks. As you know, there is more than one way to do everything, so if you know a better way or just prefer to do things your way then feel free.
- Read through all the instructions before cutting. Then plan carefully and consider the orientation of your prints, the appliqué templates and any sections you may wish to fussy cut. If in doubt, practice a little with some scrap fabric first before you go ahead and cut the fabric for your actual block.
- Look after all your scraps, they will most likely come in useful for future blocks! There are some tiny pieces used for appliqué throughout the design.
2021 issues
Issue 70 - Block of the Month – Pansy pots
In step 1, the final two bullet points (for the block border) are wider than they need to be. The correct sizes are as follows:
- Two (2) 10½in x 1½in rectangles.
Two (2) 12½in x 1½in rectangles.
If you have already assembled your blocks with the wider borders, these can easily be trimmed down to size. Just ensure the block is 12½in square (12in once sewn into quilt).

Issue 71 – Cashmere Diamonds
In the 'You will need' section of this project, it states that you need 2yds of Background fabric – this should in fact be 3¼yds.
Issue 74 – River Cabin
In step 2 of this project, it states that you should cut one-hundred-and-sixty-four (164) 2½in x 3½in Fabric B rectangles – this should in fact be 2in x 3½in, as it states correctly in step 6.
Dresden Delight, issue 76
On page 85 of our Templates section, it should read that the templates for this project DO in fact include seam allowances. The Dresden Wedge is 41/2in tall. The templates on this page are all inclusive of seam allowances.
Starry Night, Kaffe Fasset Supplement issue 79
Starry Nights Template A is too long. Our digital templates have been updated to reflect this. The short parallel side should measure to 2¾in and the long parallel side should measure 8¾in.

Cranberries and Cream, issue 80
Missing border fabric amount: you will need 1 1/4 yd.
Step 4 should also read: "Sew end to end and cut into two (2) 62 1/2 in lengths and two (2) 72 1/2 in lengths."
Mill and Stars, issue 80
Step 2 should say: "Cut two-hundred-and-fifty-six (256) template B and two-hundred-and-fifty-six (256) template BR, Five-hundred-and-twelve (512) pieces in total from assorted fabrics..." and therefore the first bullet point should say "Cut thirty-two (32) 3 5/8 in x WOF strips. Template B/BR will fit..."
Winter Stars, issue 81
We are sorry to inform you that the templates printed in the magazine for this project are inaccurate, however you can find the correct templates here.
2023 issues
Tree of Life, issue 97
You will need – Light-blue prints Seven (7) fat quarters
Step 2 – second bullet
Thirty-four (34) 21/2in x WOFW strips, subcut:
- Six (6) strips into forty-eight (48) 21/2in squares.
- Twenty (20) strips into twenty (20) 121/2in.
- Eight (8) strips into eight (8) 101/2in and eight (8) 81/2in lengths.

Baltimore 12 Days of Christmas Block of the Month, Issues 121 and 122
Please note, in Issues 121 and 122, we released the short top border templates with the partridge in the centre of the border. Unfortunately, our layout had the upper row of twenty-two (22) red scallops/semicircles in line with the lower row of twenty-two (22) red scallops/semicircles. This is not correct. The upper row should only have twenty-one (21) red scallops/semicircles. The scallops/semicircles should also be placed off-centre. This allows for the additional scallops/semicircles when joining the quilt together. The correct templates are in our templates section. Click here to find Issue 121 and here to find Issue 122.

2025 issues
Sew Pretty Storage Set, issue 124
There was an error in the 'You will need' list for the Sew Pretty bag. You will need a 25in heavy-duty zipper (not a 15in heavy-duty zipper).

Sampler Quilt supplement, issue 135
There was an error in Churn Dash block instructions on pages 12-13 relating to squares A and E.
Step 1: From the blue fabric, cut two (2) 4 7/8in A squares (HSTs) (not 2 7/8in).
Step 3: From the cream BKG fabric, cut two (2) 4 7/8in E squares (HSTs) (not 2 7/8in).