Hold on to sunny summer memories with Caroline South’s pebble magnet keepsakes.
Turn your fridge into a thing of beauty with these DIY pebble magnets. If you’ve got a sketch book filled with doodles, this clever technique can be used to make those mini illustrations into monochrome artwork. Or, if sketching isn’t your forte, just search online for royalty-free images to use instead.
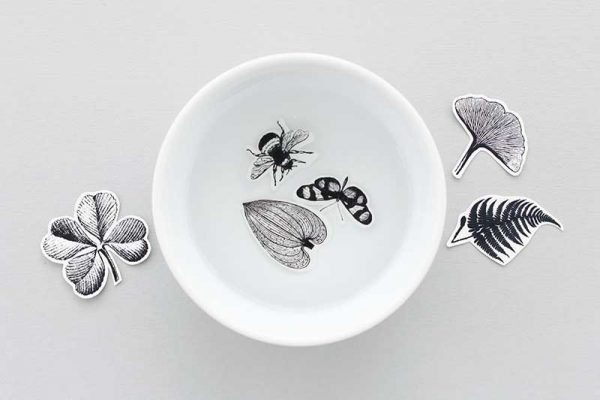
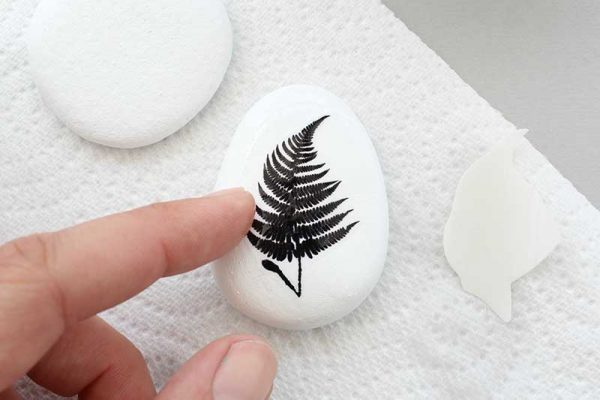
You can source image transfer paper from most craft stores, but follow the manufacturer’s instructions to make sure you insert your paper into the printer correctly and use the right substance to apply the decal to the pebble – we used Lazertran Inkjet Waterslide paper, which only works with pure turpentine. You’ll also get the best results with flat pebbles, as the transfer paper can easily stick to the surface. If you don’t live near a beach, you can pick up a small bag from your local garden centre and start on your pebble crafts journey.
For more summer crafts check out these projects
You will need
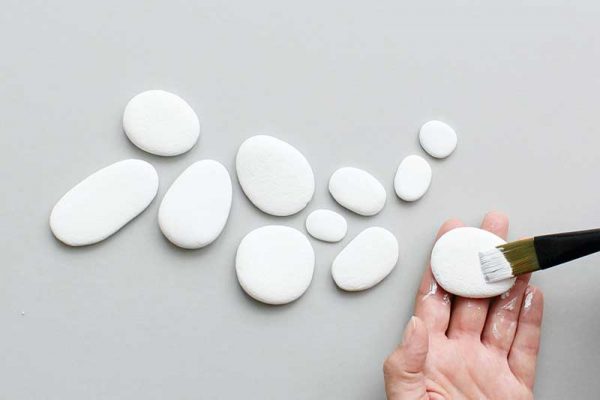
- Smooth flat pebbles
- White acrylic paint
- Paintbrush
- Image transfer paper
- Vintage clip art images
- Pure turpentine
- Clear matt varnish
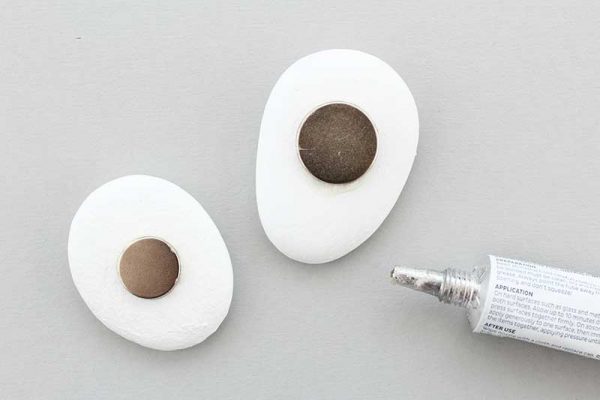
- Magnets
- All purpose glue
- Scissors


