Making a jam pot cover
Embroidering the design
Step one
Download and print out the free jam pot cover template
Step two
Place the linen centrally on top of the strawberry motif and trace over it in pencil.
Step three
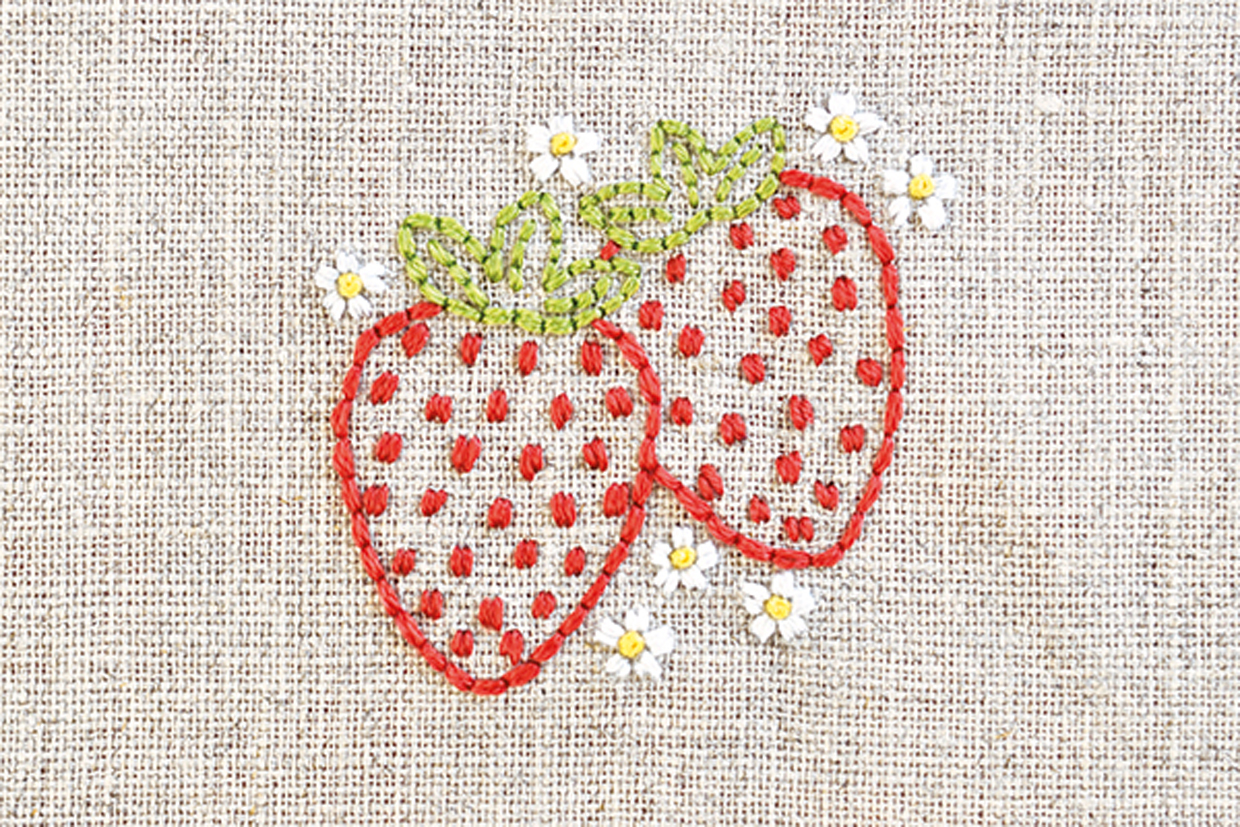
Embroider the design on the linen using three strands of stranded cotton.
Step four
Use back stitch for the outlines, seed stitch to fill in the strawberry and the blossom petals, and French knots for working the blossom centres.
Making the cover
Step one
Draw a 20cm (8in) diameter circle onto a piece of paper and cut it out.
Step two
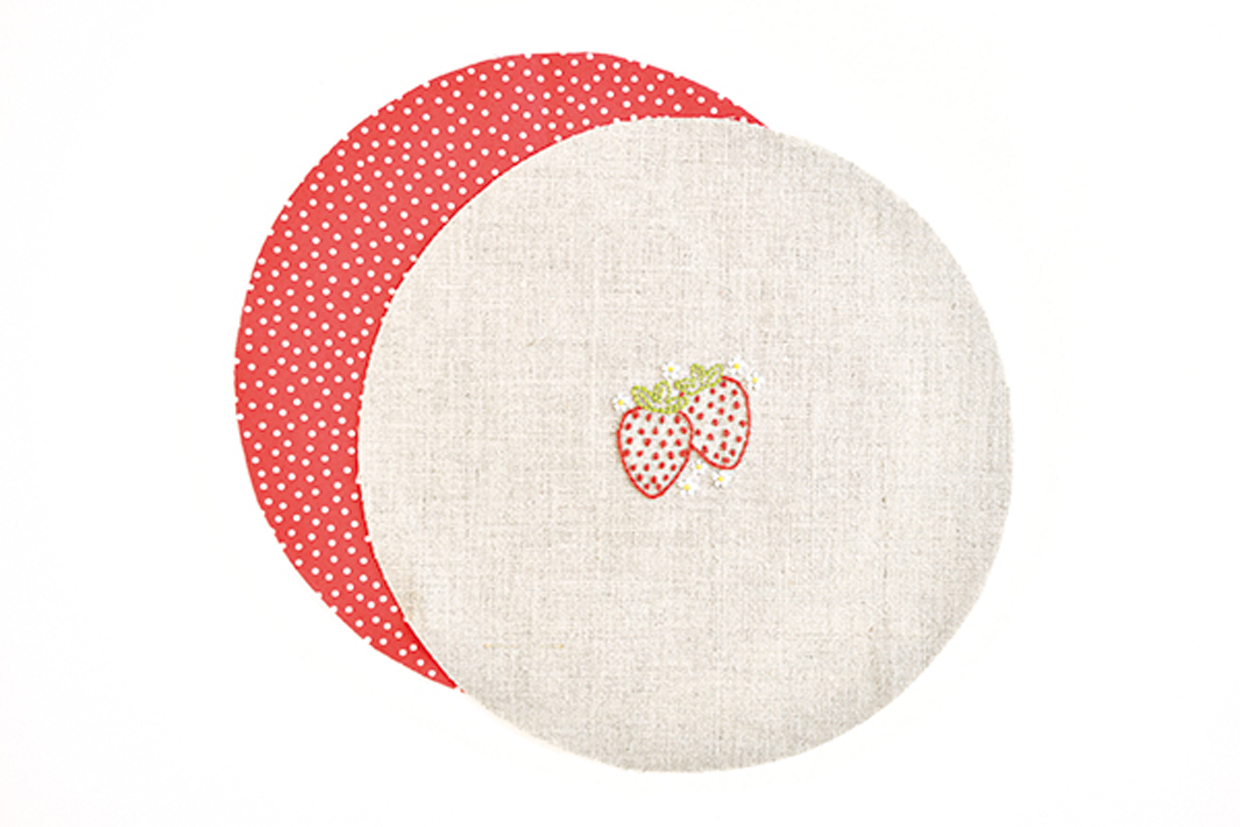
Place this centrally on top of the embroidered linen and cut out.
Step three
Cut the contrast fabric using the circle template.
Step four
Pin the two circles right sides (RS) facing and sew together around the edge, leaving a 5cm (2in) turning gap.
Step five
Turn the circle RS out then fold the edges of the turning gap to the inside, keeping the curve of the circle, and press.
Step six
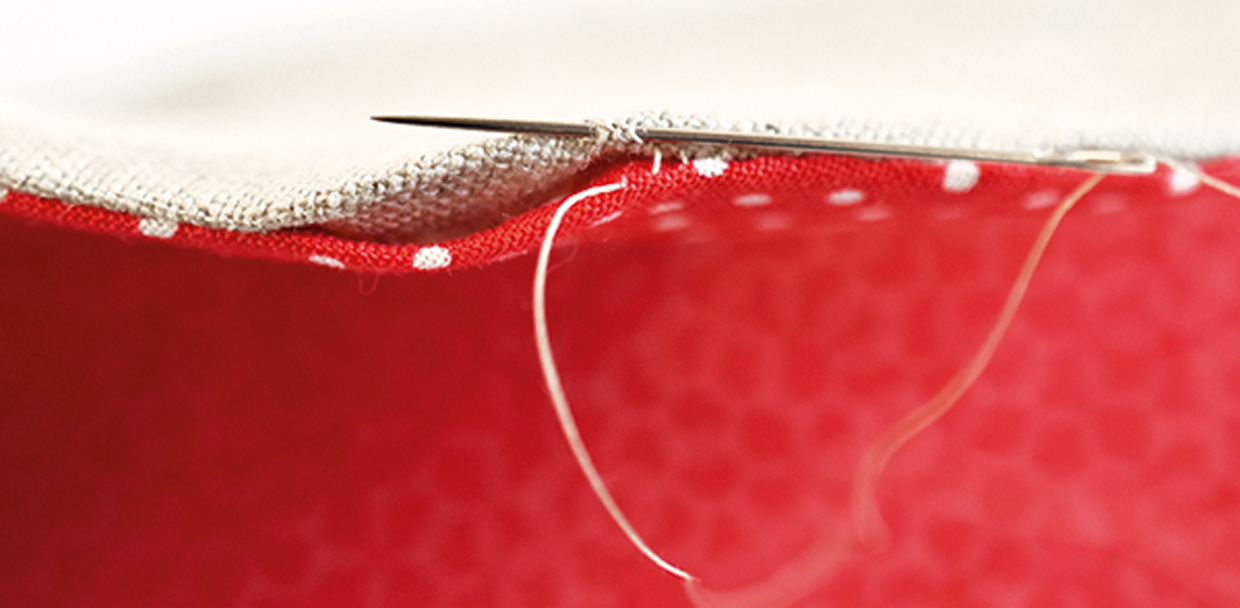
Slipstitch the opening closed with matching sewing thread.
Step seven
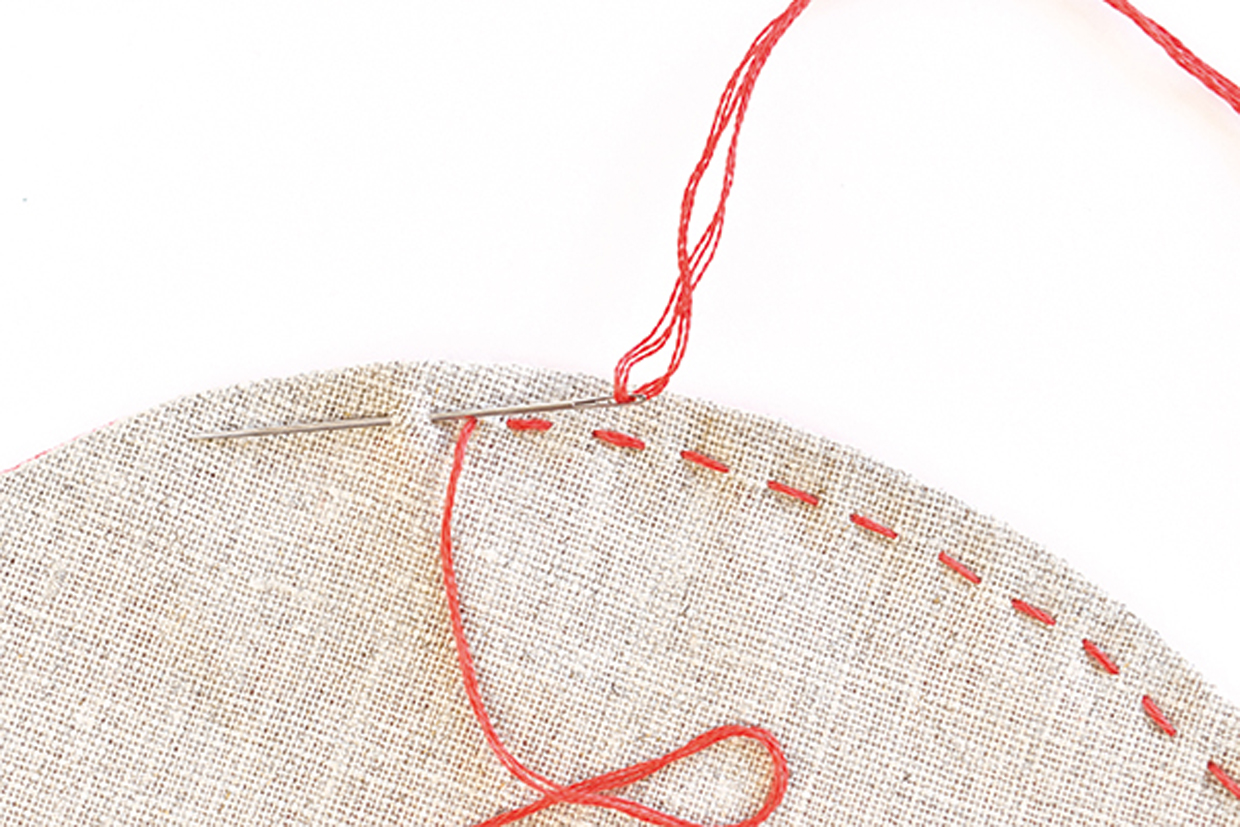
To decorate the edges, work a running stitch all the way around the edge using three strands of red stranded cotton. Step eight Work this 5mm (1/4in) from the edge and keep the stitches all the same length.
Making the tie
Step one
From the remainder of the contrast fabric cut a strip 2.5x60cm (1x24in) for the tie.
Step two
Turn the short edges under by 5mm (1/4in) to the wrong side (WS) and press.
Step three
Press the strip in half lengthwise and open out. Fold the long edges over to the WS so they meet at the centre crease and press.
Step four
Fold in half lengthways again and press to enclose all the raw edges.

Step five
Sew together down the length to hold the strip closed and neaten.
Step six
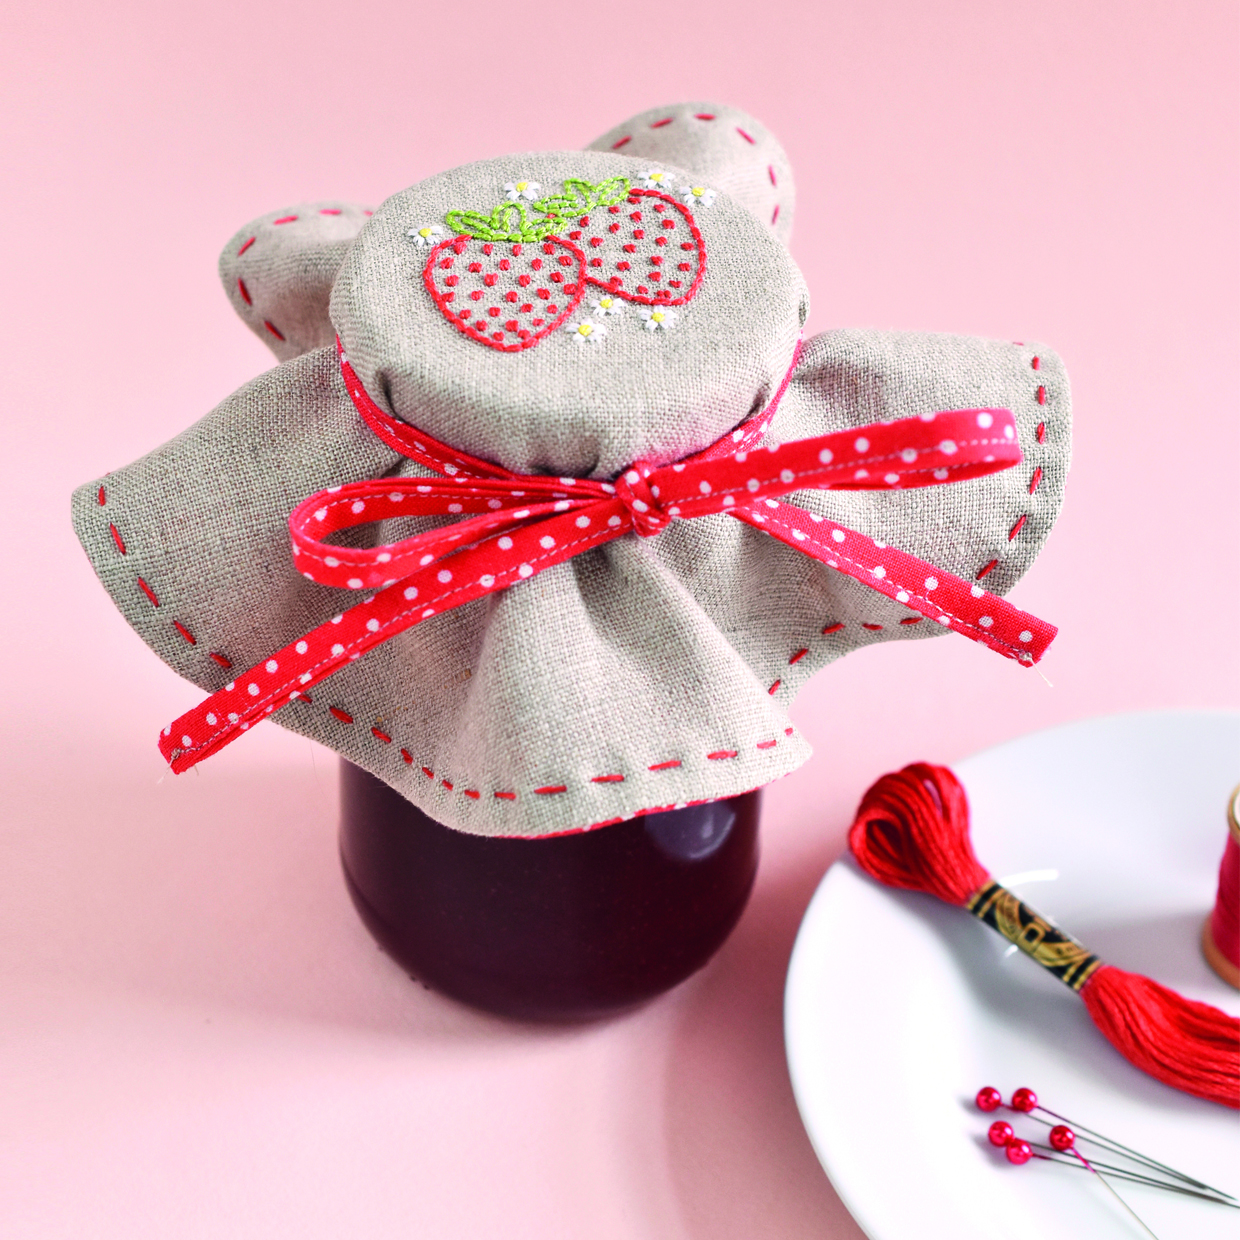
Place the embroidered cover on a jam jar and tie the strip around it into a bow.
