How to upcycle jam jars into storage pots

Transform old jars into cool storage containers that friends and family will love - and they're ideal for organising back-to-school supplies!

Try our magazines – get 6 issues from just £9.99!

Published: July 28, 2021 at 6:28 am

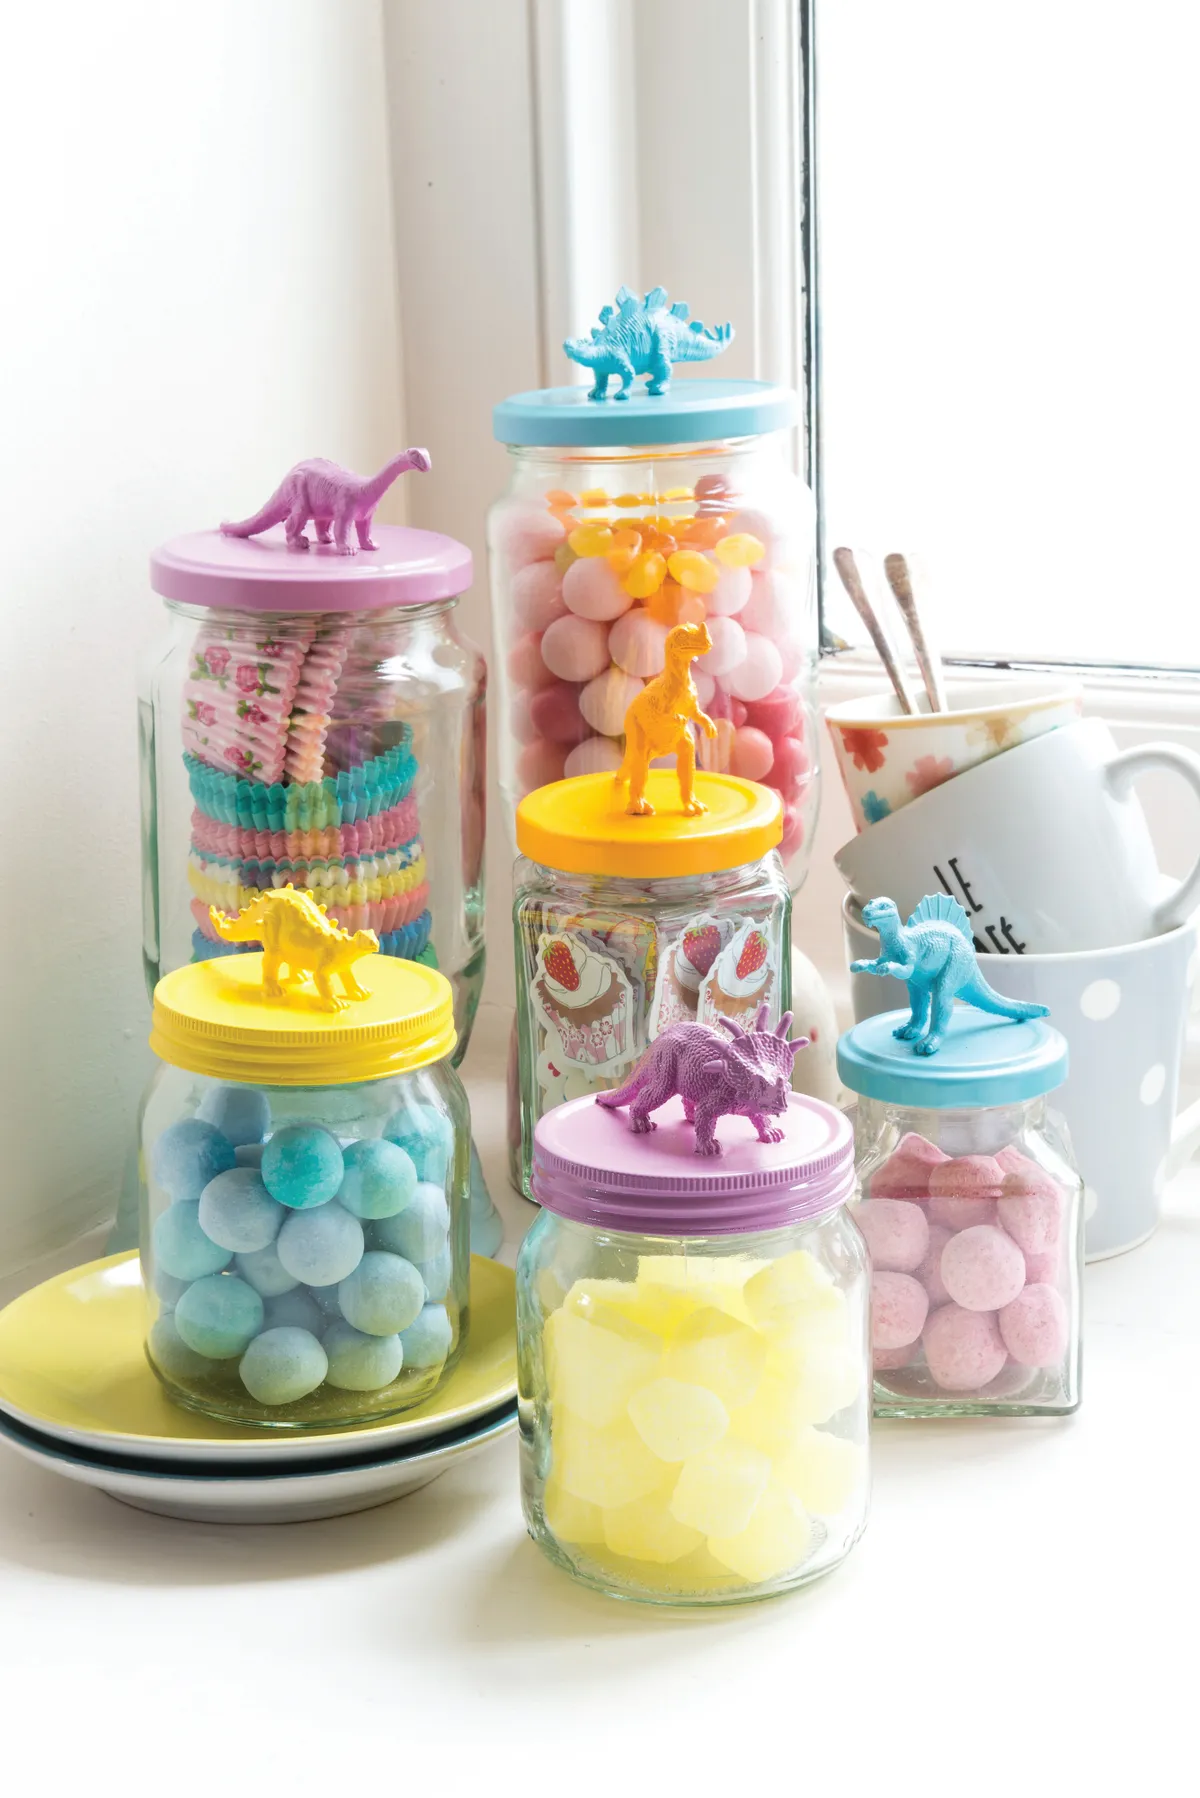
Jars are such a versatile upcycling project. Not only are they plentiful and low-cost, but with very little effort something plain can look really fantastic. These jars took just a couple of hours to rustle up and their designer-esque look means you can make a cool profit too – animal-lid jars are so on-trend right now! It’s best to spray-paint the lids outside or in a well-ventilated area, and use a box to protect furnishings from overspray. Make sure you leave them to dry completely before selling as the paint is non-toxic when dry. Is it too early to think about stocking fillers for Christmas? Here's a top tip: If you're selling your upcycled jam jars, fill your jars with buttons and ribbons before photographing them for your online shop!

Check out our other upcycling projects for more inspiration, we love this upcycled corkboard, or how about this teddy made from an old t-shirt? Sea glass is extremely popular at the moment, and it’s easy to see why – all those beautiful colours eroded by water to make smooth translucent pebbles. If you love sea glass as much as we do – check out our round-up of the best sea glass projects.

We love seeing what you make, so don’t forget to share your upcycling or craft projects with us on Instagram, Facebook or Twitter, too!

Upcycled jam jars

You will need:

  • jam jars
  • Plastic dinosaurs
  • Dry enamel (Plasti-Kote Fast Dry Enamel 100ml Aerosol in Buttercup Yellow, Lavender, Sky Blue and Sunshine Yellow)
  • Surface primer (Rust-oleum surface primer)
  • Glue (Strong glue like Evo Stik)
  • Cardboard box
  • Pencil
  • Sandpaper

Step 1

First – choose some jars you want to upcycle. If you can, select jars where both the lid and glass are undamaged. Wash the glass jars and lids in warm soapy water and dry thoroughly.

Step 2

Next, position the plastic animal where you want it to sit on the lid, and mark the spot with a pencil.

Step 3

Sand the feet of the animal and apply a small amount of glue. Stick where the pencil marks have been made on the lid and leave to dry, being careful not to move the animal while the glue is still wet. Sanding the dinosaurs’ feet allows the glue to stick better, and it will be more secure. 

Step 4

Use an old box to contain any overspray – place the lid inside and spray with a coat of primer. Leave to dry, then repeat to give a second coat. Spray outside if you can, or in a well-ventilated area.

Step 5

Once the primer is dry, lightly spray the lid in the colour of your choice. Leave to dry, then repeat two or three times until you are happy with the finished effect.

Upcycled jam jars


We hope you’ve enjoyed this quick and easy tutorial on how to upcycle jam jars. If you like organising, why not make this seed storage box or check out our upcycling projects for more brilliant inspiration.