A complete guide to finger knitting
Who needs needles when you have your fingers – or even your arms? Needle-free knitting is perfect for when airport security confiscates your needles or when you don’t have space for long sticks. In this guide, we show you the best needle-free option: finger knitting.
We’ll cover everything you need to know: casting on, the finger knitting process, taking breaks, and casting off. You can even join in the round or pick up stitches, just like regular knitting. Here, we focus on the basics, so you can create a headband, skinny scarf, belt, bracelet, necklace, or simple scrunchie.
Finger knitting is safe, fun, and perfect for kids – and the best part? Besides yarn, you need absolutely no equipment. Read on to master this brilliant technique!
What is finger knitting?
Finger knitting creates a woven knit by looping yarn over your fingers, much like regular knitting. Instead of needles, each finger holds a stitch, and you wrap yarn around your fingers, slipping stitches off in rows. You can use one to four stitches, one on each finger, while the thumb isn’t used as a needle but helps secure the yarn when casting on.
What do you need for finger knitting?
For finger knitting, you’ll need chunky yarn or cord, though the exact size depends on your fingers. Super chunky yarn works best (see our yarn weight conversion chart), but lighter yarns can be plaited first or turned into a cord using a French knitting dolly – perfect for kids. Crochet i-cord, soft macramé cord, thick string, or even thin rope can also work well for finger-knitting projects.
Here are some buys we recommend for finger knitting for kids and for adults as you expand into this hobby.
Cygnet seriously chunky prints acrylic yarn
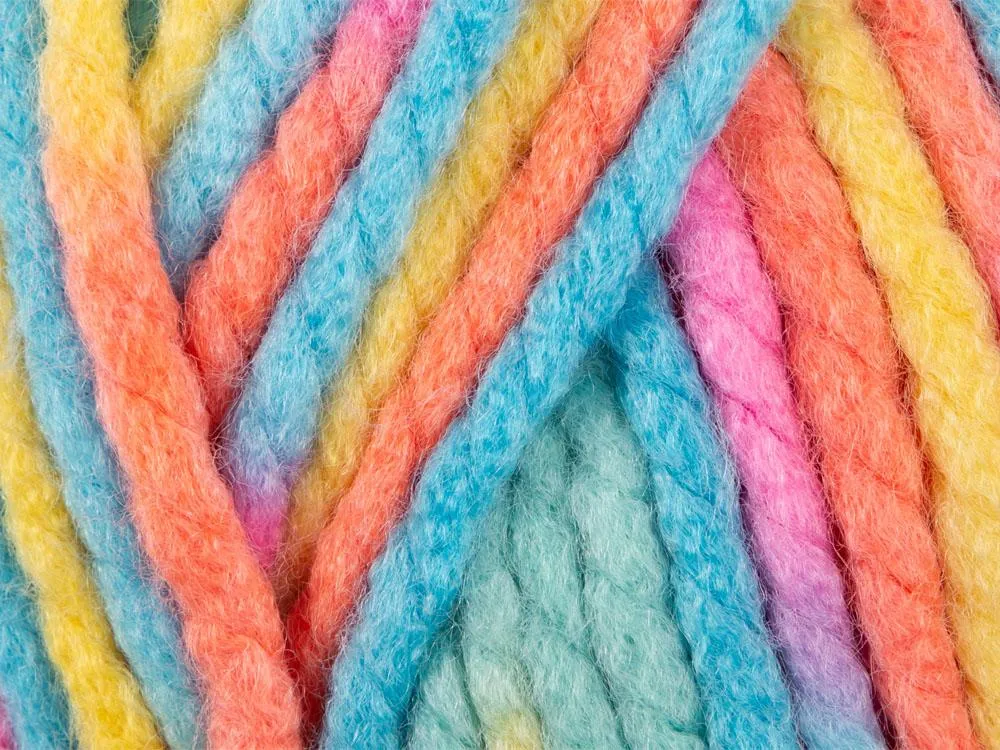
You gotta love a rainbow, and this super-chunky acrylic yarn from Cygnet comes in 7 different colour ways – and 6 of them are rainbow! Ideal for finger knitting for kids.
Lion Off the Hook super-chunky polyester yarn
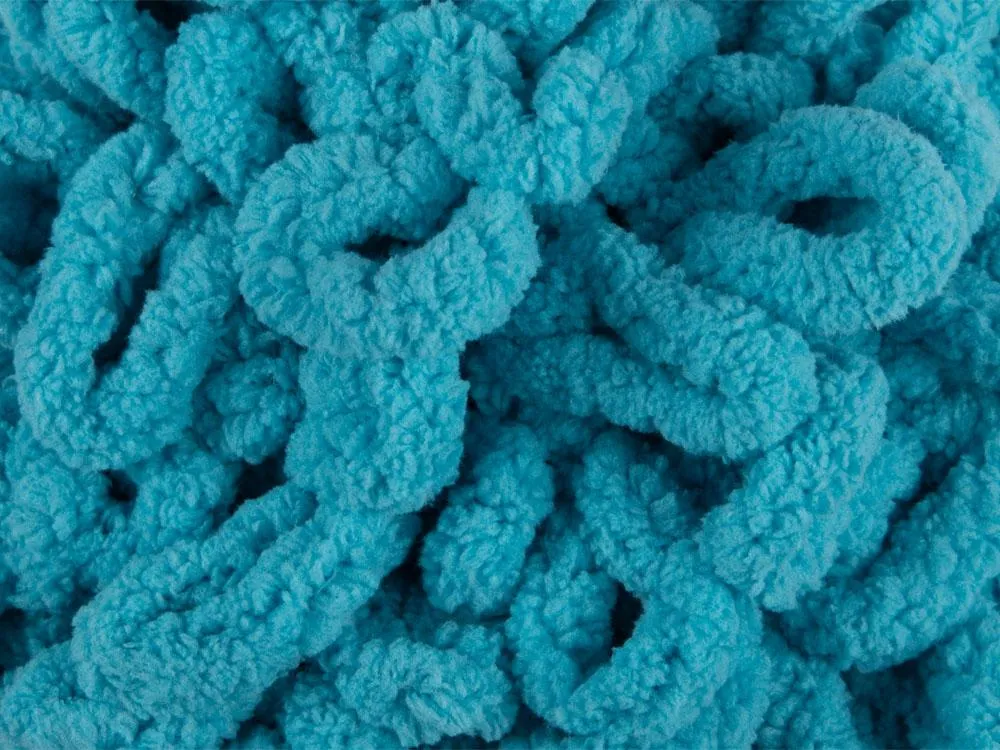
Chenille yarns have such a pleasingly tactile quality; they are a good option for finger knitting, especially if you can find them in a super-chunky yarn weight like this top option from Lion. It comes in 19 different colour options, five of which are variegated, which can add extra fun to projects for finger knitting for kids.
How to end finger knitting
When your finger knitting reaches the desired length, it’s time to finish. Complete your last row, leaving a single loop on each finger. Slip the loop from your first finger onto your middle finger, then take the bottom loop on your index finger and slip it over the top loop and off your finger. To see this in action, check out our How to Finger Knit video at 4:19.
How to do finger knitting
Watch our video guide to learn how to do finger knitting. If you prefer a written walkthrough with photos, we’ve included that below as well. This guide is suitable for both kids and adults, making finger knitting a fun hobby to share with little ones.
How to finger knit step-by-step
You will need:
- super chunky yarn
- Craft cord
Total time:
Master the basics in just half an hour
Step 1

Hold one end of your chunky yarn securely under your thumb. Wrap the yarn around your four fingers, going in front and behind them alternately, beginning by going behind your index finger. When you take the thread in front of your little finger, wrap it around your little finger so it then goes behind it, before coming in front of your ring finger to go back the other way. When you get back to your first finger, you will have a loop of yarn on each finger.
Step 2

Do the same thing again, taking the yarn behind your index finger and in front of your middle finger as in step one,
Step 3

Take the yarn in front of and behind alternate fingers, looping around the little finger to the back as before, until you have two loops on each finger. Now you are ready for finger knitting!
Step 4

Starting at your little finger, ease the bottom loop of yarn up over the top one, then ease it off over the top of your finger. You’ll be left with just one loop on your finger. You have knitted your first finger knitting stitch!
Step 5

Repeat on your ring finger, easing the bottom loop of yarn up over the top one, then ease it off over the top of your finger
Step 6

Repeat this process working along your fingers from the little finger to the first finger until you are left with just one loop of yarn on each finger. You have completed your first row of finger knitting!
Step 7

Now we need to add more loops so that we can make our second row of finger knitting. Take the yarn in front of and behind alternate fingers, looping around the little finger to the back as before, until you have two loops on each finger. Then you can slip the bottom loops over the top loops, as in steps 4-6, to knit your row. Repeat the process of winding on more loops of yarn and then finger knitting each row, and you’ll see your finger knitting start to grow on the back of your hand.
Step 8

If you want to take a break from finger knitting, just slip pens or pencils into the holes to make sure you don’t drop any stitches, then slip your fingers back in when you are ready to start finger knitting again.
Step 9

When your finger knitting is as long as you want it to be, you need to know how to end finger knitting! Finish making a finger knitting row, and then don’t loop any extra yarn onto your fingers, so you have a single loop on each finger. Slip the loop from your first finger onto your middle finger, then take the bottom loop on your index finger and slip it over the top loop and off your finger.
Step 10

Repeat along each finger, slipping the thread loop from the finger before, then slipping the lower loop over the top one and off the finger. You’ll be left with a single loop on your little finger. Thread your working yarn through the loop and pull right to secure your finger knitting.
Knitting without the needles!
Finger knitting is a fun, simple, and equipment-free way to create handmade accessories. It's perfect for kids, beginners, or anyone looking for a relaxing craft.
More knitting ideas
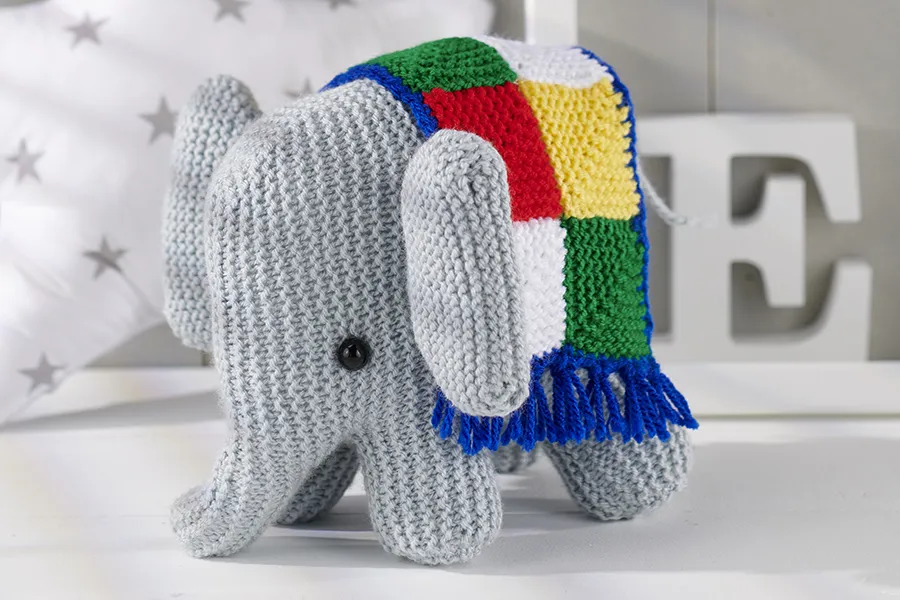
We hope you have enjoyed this finger knitting guide. We have plenty more knitting projects and tutorials for you to enjoy, as well as brilliant options for kids' crafts, too. Try our free elephant knitting pattern for more knits you can try with the kids.