How to knit brioche stitch
If you’ve been active in the online knitting community in recent years, you can’t have failed to notice that brioche stitch, and particularly two-colour brioche, has been taking knitters by storm! So what is all the fuss about, and how can you get going with this technique?
- Rib stitch beginner's guide plus 24 stitch patterns to try!
- Knitting needle sizes and conversion chart
- Knit perfect colourwork with our Fair Isle knitting tips
Brioche stitch creates a fabric that is particularly soft, squishy and bouncy. When worked in two colours, the projects you create will be reversible, and when combined with clever shaping, patterns can be geometric and highly eye-catching.
Interestingly, brioche stitch doesn’t appear to have its origins in a specific country or region, but appears to have been known in many northern European countries without ever becoming particularly well-established.
In this guide we will cover:

Part 1: Mastering the basics
The first section of this two-part masterclass will cover the basics of two-colour brioche stitch, including casting on and the basic brioche abbreviations.
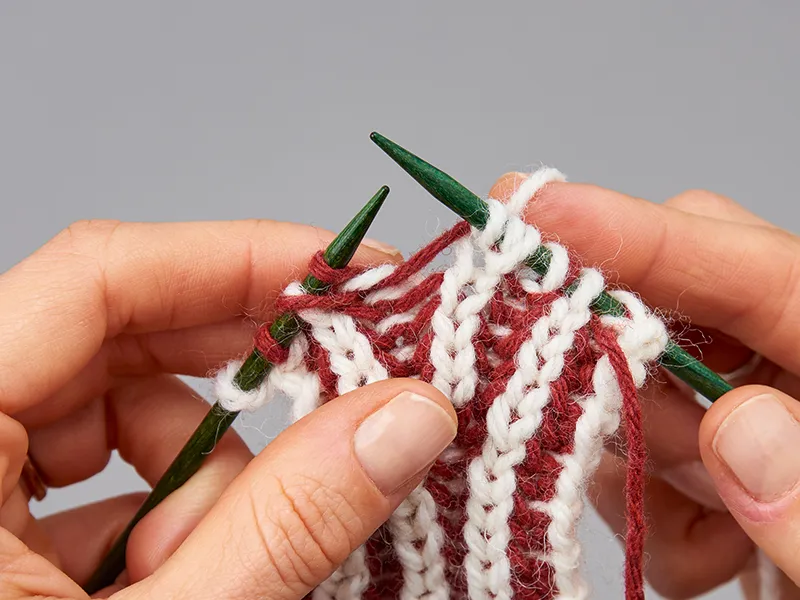
To create the thickness of brioche fabric, each row of knitting is worked twice – once with each yarn. As the fabric is reversible, the two sides aren’t strictly RS and WS, but it helps to designate one side as the RS of the fabric – the RS is the side where you can see the main colour (MC) knit stitch columns.
You will therefore work a RS MC row, followed by a RS contrast colour (CC) row, then a WS MC row followed by a WS CC row. These 4 rows worked are counted as 2 rows of knitting and if you count the knit stitches up a column on the RS, there will be 2 knit stitches visible for each 4 rows worked. As each row needs to be worked twice, you will need to work on either circular or double-pointed needles at all times.
Casting on
Brioche stitch requires a cast-on edge that will enable the fabric to retain its inherent stretchiness, or in some cases will help to stabilise that elasticity (in this situation an i-cord cast-on can be used). The two-colour Italian cast-on method creates an almost invisible edge and is worked as follows.
Start by tying together the ends of your two colours of yarn.
Step 1
Hold the knot on top of the needle, using your right hand, with your two yarns separated by the thumb (CC) and index finger (MC) of your left hand

Step 2
Take the tip of the needle over the yarn on your thumb, then underneath it, coming up again between the two yarns.

Step 3
Take the needle tip over the yarn on your index finger, and down behind it.

Step 4
This will catch the index finger yarn on the needle

Step 5
Bring the needle tip under the thumb yarn and then over it, so that it returns to its original start position
Steps 2-5 create one knit stitch using the MC yarn.

Step 6
Take the needle tip over the index finger yarn, round and underneath it, and continue round so that the tip goes beneath the thumb yarn too.

Step 7
As you go up in front of the thumb yarn, you will pick up the thumb yarn.

Step 8
Tug down on both yarns to complete the purl stitch.
Steps 6-8 create a purl stitch in the CC yarn.

Step 9
Repeat steps 2-8 until you have 1 fewer stitches than you need (don’t count the knotted ‘stitch’ since this will be dropped off your needle when you work the first row). Work steps 2-5 once more.

Step 10
Holding the yarns in place, drop the final stitch off the needle...

Step 11
...and use the MC yarn to make a half hitch on the needle instead.

Step 12
This will keep the cast-on from unravelling on your needles.

Part 2: How to work a brioche stitch set-up row
Now we’ll continue our exploration of brioche by showing you how to work the set up row before you get started on your main brioche stitching.
Although you may be keen to start on your brioche stitching after casting on, you’ll need to work a set-up row first. This is because none of the stitches have the yarnovers required for brioche stitching. Here’s how to do it.
Set-up row 1 WS MC
Step 13
Purl the first stitch.

Step 14
Sl1yo – this means that you slip the next stitch purlwise and at the same time work a yarnover. The slipped stitch and the yarnover count as one stitch and will be worked together on the next row. Purl 1 stitch.

Step 15
Repeat this step to the end of the row. Don’t turn your knitting, but instead slide the stitches back to the other end of your needle.

Row 1 WS CC
Use CC throughout.
Step 16
Slip the first stitch.

Step 17
*Brk1 (brioche knit 1) – this means knit together the next stitch along with the yarnover that is covering it. This is sometimes called a ‘bark’.
Sl1yo – as this is the knit row, you need first to bring your yarn between the needles to the front of the work, then slip the next stitch purlwise and take yarn to the back ready to knit the next stitch. The slipped stitch and the yarnover count as one stitch and will be worked together on the next row.
Repeat from *Brk1 to the last 2 stitches, then work Sl1yo once more.

Step 18
Drop the CC yearn at the back of your work and slip the final stitch. Turn work ready for a RS row.

Row 2 RS MC
Step 19
Use MC throughout. Knit the first stitch.

Step 20
*Sl1yo – as this is the knit row, you need to first bring your yarn between the needles to the front of the work, then slip the next stitch purlwise and take yarn to the back ready to knit the next stitch. Brk1 – Briche knit 1 as before, then repeat from *Sl1yo to the last 2 stitches, then work Brk1 once more.

Step 21
Knit 1 stitch. Do not turn your knitting, but slide the stitches back to the other end of your needle.

Row 2 RS CC
Use CC throughout.
Step 22
Slip the first stitch.

Step 23
*Brp1 (brioche purl 1) – this means purl together the next stitch along with the yarnover that is covering it. This is sometimes called a ‘burp’!
Sl1yo – this means that you slip the next stitch purlwise and at the same time work a yarn over.
Repeat from *Brp1 to last 2 sts, then work Sl1yo once more.

Step 24
Drop the CC yarn at the front of your work and slip the final stitch. Turn work ready for a WS row.

Row 3 WS MC
Use MC throughout.
Step 25
Purl the first stitch.

Step 26
*Sl1yo – this means that you slip the next stitch purlwise and at the same time work a yarnover.
Brp1 – Brioche purl 1 as before, then repeat from *Sl1yo and then work Brp1 once more.

Step 27
Purl 1 stitch. Do not turn your knitting, but instead slide the stitches back to the other end of your needle.

Row 3 WS CC
Use CC throughout, work as Row 1 WS CC. Continue to work rows 2 and 3 until the desired length is achieved, ending with a pair of WS rows.
Part 3: casting off in two colours
In the last part of our guide to two-colour brioche stitch, find out how to cast off our work.
So far we’ve covered casting on in two-colour brioche stitch, and working the fabric. Here, we finish off our exploration of brioche by showing you how to cast off in two colours.
Casting off
To create an edge that exactly matches the two-colour Italian cast-on edge featured last issue, work a Kitchener Stitch Cast-Off (also known as the Italian Cast-Off).
First, thread a length of yarn four times the width of the piece of knitting to be casted off onto a tapestry needle.
With RS facing (and before working either of the RS rows), work as follows:
Step 1
Pass the tapestry needle purlwise through the first stitch and pull through, leaving the stitch on needle.

Step 2
Going behind the first stitch, pass the tapestry needle from front to back between the first and second stitches....

Step 3
...and then go knitwise into the second stitch (first purl stitch), shown here from the back. Pull through, leaving the stitch on the needle.

Step 4
Pass the tapestry needle knitwise through the first stitch and drop this stitch, then…

Step 5
...go purlwise into the third stitch (these are both knit stitches), going through both the stitch and its yarnover. Pull through, leaving the third stitch on the needle.

Step 6
Pass the tapestry needle purlwise through the first stitch on the needle and drop this stitch, then remaining behind the second stitch, pass the tapestry needle between the second and third stitches...

Step 7
...and go knitwise through the third stitch...

Step 8
...and its yarnover (both the first and third stitches are purl stitches), shown here from the back. Pull the yarn through, leaving the third stitch on the needle.

Step 9
Pass the tapestry needle knitwise through first stitch and its yarnover and drop this stitch...

Step 10
...then go purlwise into the third stitch going through both the stitch and its yarnover. Pull through, leaving the third stitch on the needle.

Repeat steps 6 to 10 to last the 5 sts, then work steps 6-8 once more. 3 sts remain.
Step 11
Pass the tapestry needle knitwise through the first stitch and its yarnover...

Step 12
...and drop this stitch...

Step 13
... then go purlwise through final stitch. Pull yarn through, leaving the final stitch on the needle.

Step 14
Pass the tapestry needle purlwise through the first stitch and drop this stitch...

Step 15
...then go knitwise through the final stitch, dropping this stitch.

Step 16
To finish, weave in ends down the purl columns of the same colour.


Advance your brioche knitting skills
So you've already mastered the basics of brioche and can brk and brp with the best of them? Head to our Advanced Brioche Knitting masterclass and Jen Arnall-Culliford will show you how to add more interest and variety to your brioche knitting, by explaining simple increases and decreases.