Upcycle old jars with our 6 free cross stitch patterns
Give your old jars an upgrade with our six free cross-stitch patterns! Kilner jars are cheap to buy from supermarkets and kitchen shops, and the rustic look they offer has been popular for a while now. Buy the preserve jars with the two-part lids and remove the centre section to create a handy frame for your work.
Then download our free cross stitch designs and follow our tutorial to create these adorable cross-stitched lids. We promise this upcycling DIY will bring joy to organising and tidying your craft stash.


Cross stitch your pets!
Browse our cross stitch cats or give these cross stitch dog patterns a go.
Cross stitch lids: free patterns
You will need:
- 10 x 10cm (4 x 4in) piece of 14-count white Aida
- Anchor multicolour stranded cotton in Rainbow (shade 1335)
- Size 24 tapestry needle
- Kilner jar
- Wadding
- Iron-on interfacing
Here's a top tip: if using multicolour thread, separate the strands first, then reassemble them all in the same direction.
Size:
- 6 x 6cm (2⅓ x 2⅓in)
Download the free cross stitch lid charts
Download our six free cross stitch lid patterns

How to cross stitch jar lids
Step 1
Choose the pattern you want to stitch from our free patterns of cross stitch jar lids.
Thread the needle with two strands of stranded cotton. Do not use the loop method to start; instead, use two strands laid side by side.
Step 2
Begin stitching in the centre of the cross stitch jar lids pattern and the centre of the fabric. Work all the cross stitches first, completing each one individually.
Step 3
After all the cross stitch has been completed, add the backstitch, eyelets and Rhodes stitch, also using two strands of cotton. If you have never worked with eyelets or Rhodes stitch before, then follow the numbered diagrams on the PDF download of the cross stitch jar lids.
Step 4
When you’ve finished stitching, iron a piece of interfacing to the back of the stitched piece to strengthen it.
Draw a circle onto the wrong side of your work, making sure that it is 2cm (¾in) larger than the lid all the way around. Double-check to make sure that the design is centred in the circle.
Step 5
Cut a piece of wadding the same size as the lid of the jar. Lay the wadding on top of the removable part of the lid and then the stitched design over the top of the wadding.
Work a row of running stitches near the edge of the stitched piece and then draw up the thread so that the stitched fabric is gathered over the lid. Finish by lacing the work to hold it in place.

Give your storage a refresh with cross stitch
Display a selection of jars in different sizes and fill them with ribbon, buttons, hair clips and bobbles, sweets and small toys for an attractive display and to demonstrate their multitude of uses. You'll want to store everything and anything in your new cross stitch jars!
Discover more pretty cross stitch patterns
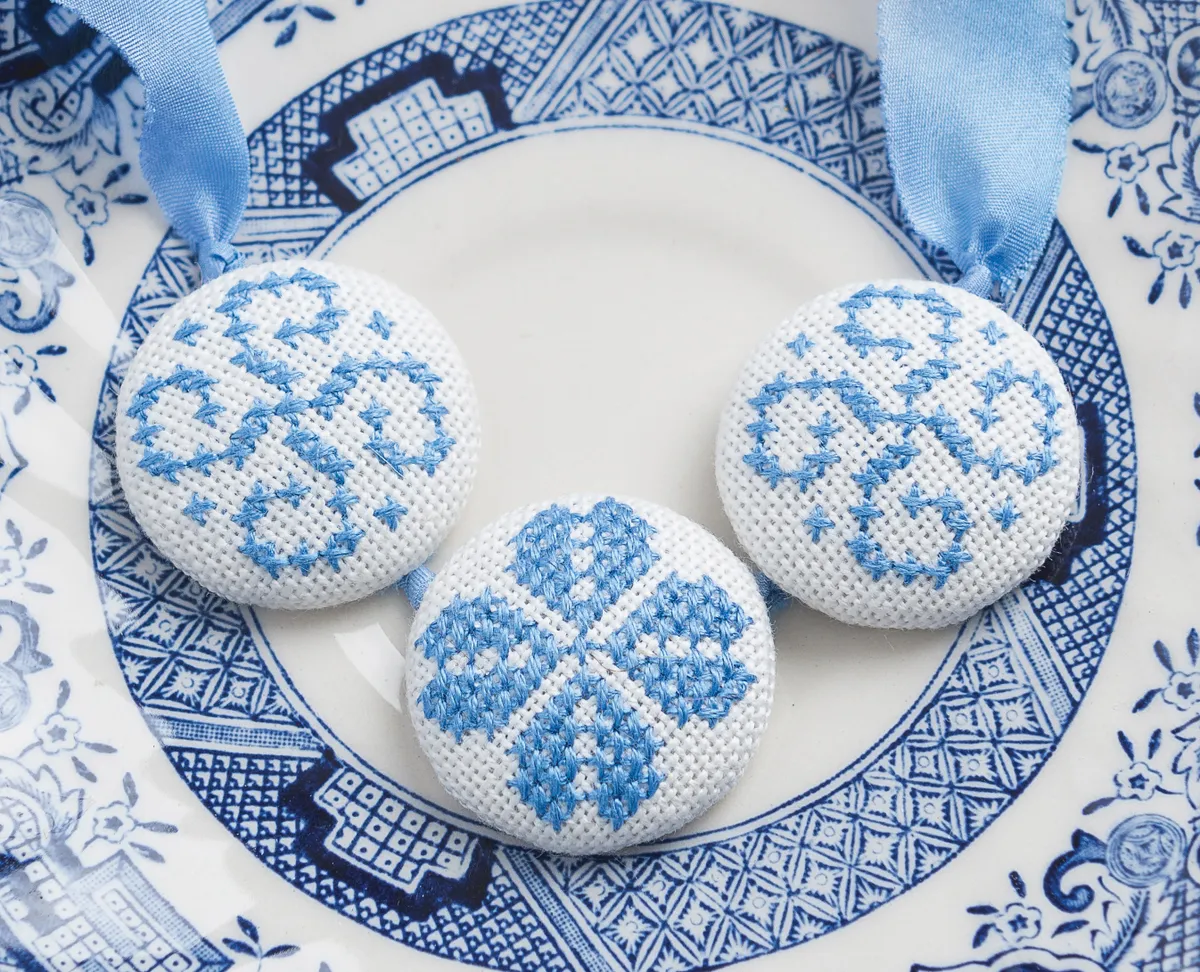
We hope you’ve enjoyed these cross stitch jar lids. We have plenty of other beautiful cross stitch patterns, including our cross stitch necklace pattern.