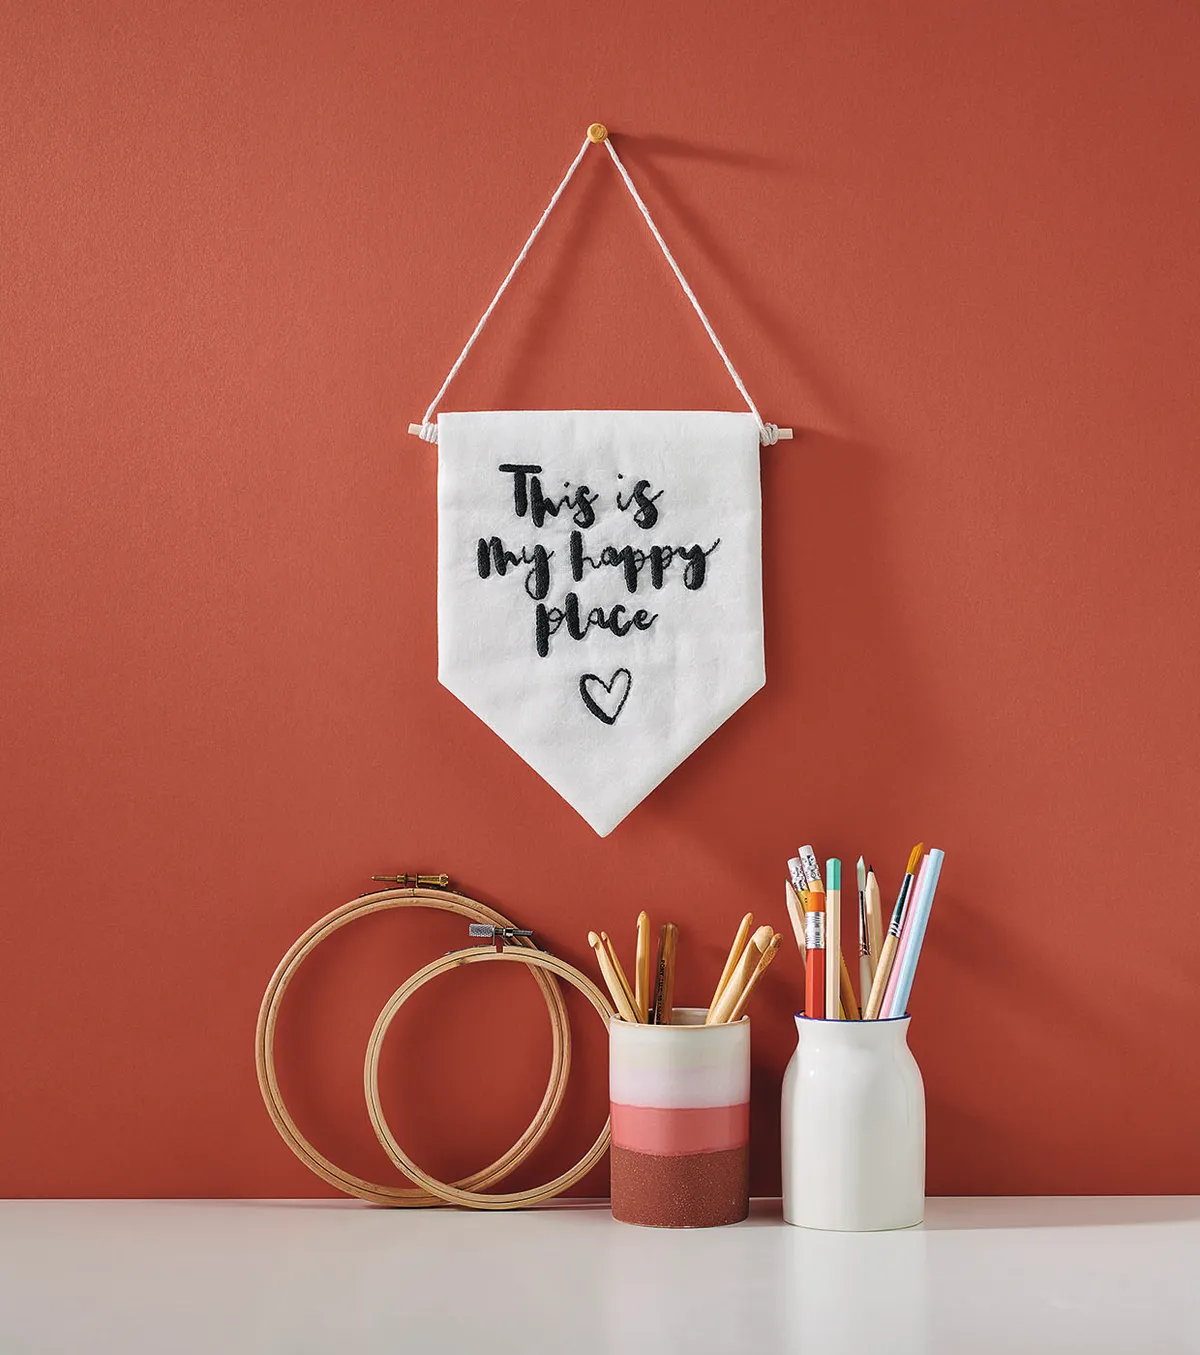
Happy embroidery letters banner
Stitching embroidery letters by hand lets you create embroidery with all the beauty of brush lettering, and that's just what you'll find in this Happy Place embroidered banner design by Becki Clark. Becki is a passionate brush lettering artist and tutor, so it is no surprise that her design features stitching embroidery letters by hand to where your needle takes the place of the brush pen.
Here we'll guide you through the steps you need to create this banner, starting with stitching the embroidery letters by hand, following the guidelines in our embroidery letters template and our step-by-step guide. This design was originally published in Love Embroidery issue 1.
Download the embroidery letters template
Click to download the embroidery letters template. The download contains three different choices of phrases for the embroidery letters and some simple decorative motifs.
Embroidery letters banner materials
- Cotton fabric: 40x55cm white
- Stranded cotton: 1 skein of charcoal
- Iron-on interfacing or wadding: 33x19cm (optional)
- Rod for hanging: 20cm long
- Cord or twine for hanging
- Matching sewing thread
- Basic embroidery kit
Embroidery letters banner stitches
The embroidery letters banner uses Backstitch, French Knot, Satin Stitch and Stem Stitch embroidery stitches. These are all quite straightforward, and we have full instructions explaining these embroidery stitches. Find out how to Backstitch, or visit our how to do French knots guide. See our article on how to do Satin stitch and our how to do Stem stitch walkthrough. You'll find plenty of other advice for starting out with embroidery in our embroidery for beginners article.
Step 1
Cut the cotton fabric into the following pieces before you begin the embroidery:
Banner front: 40x30cm Banner back: 35x21cm
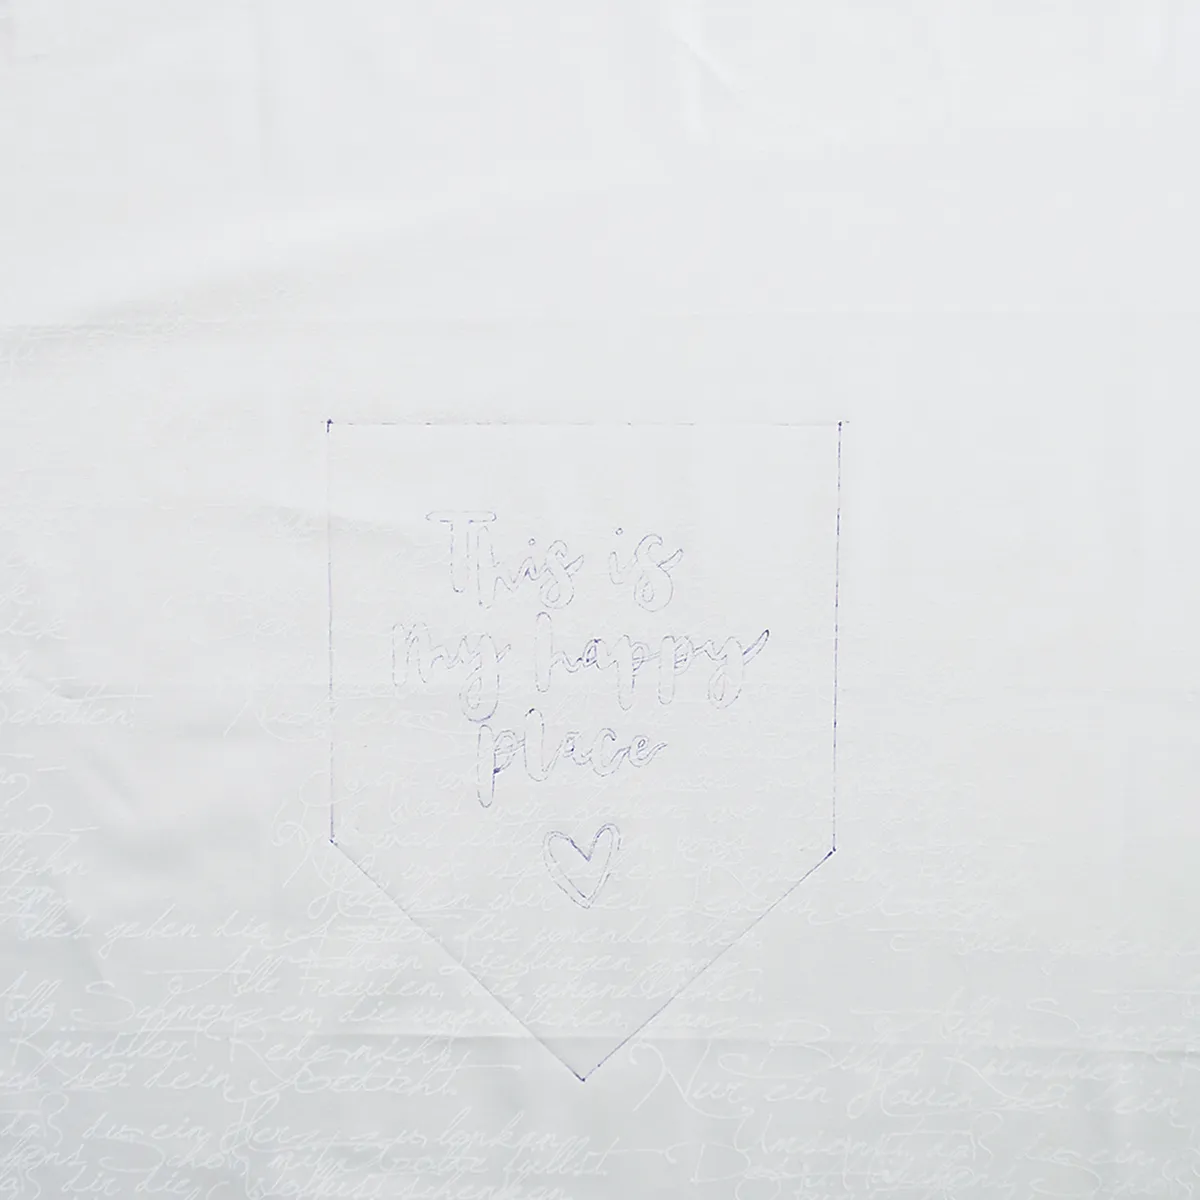
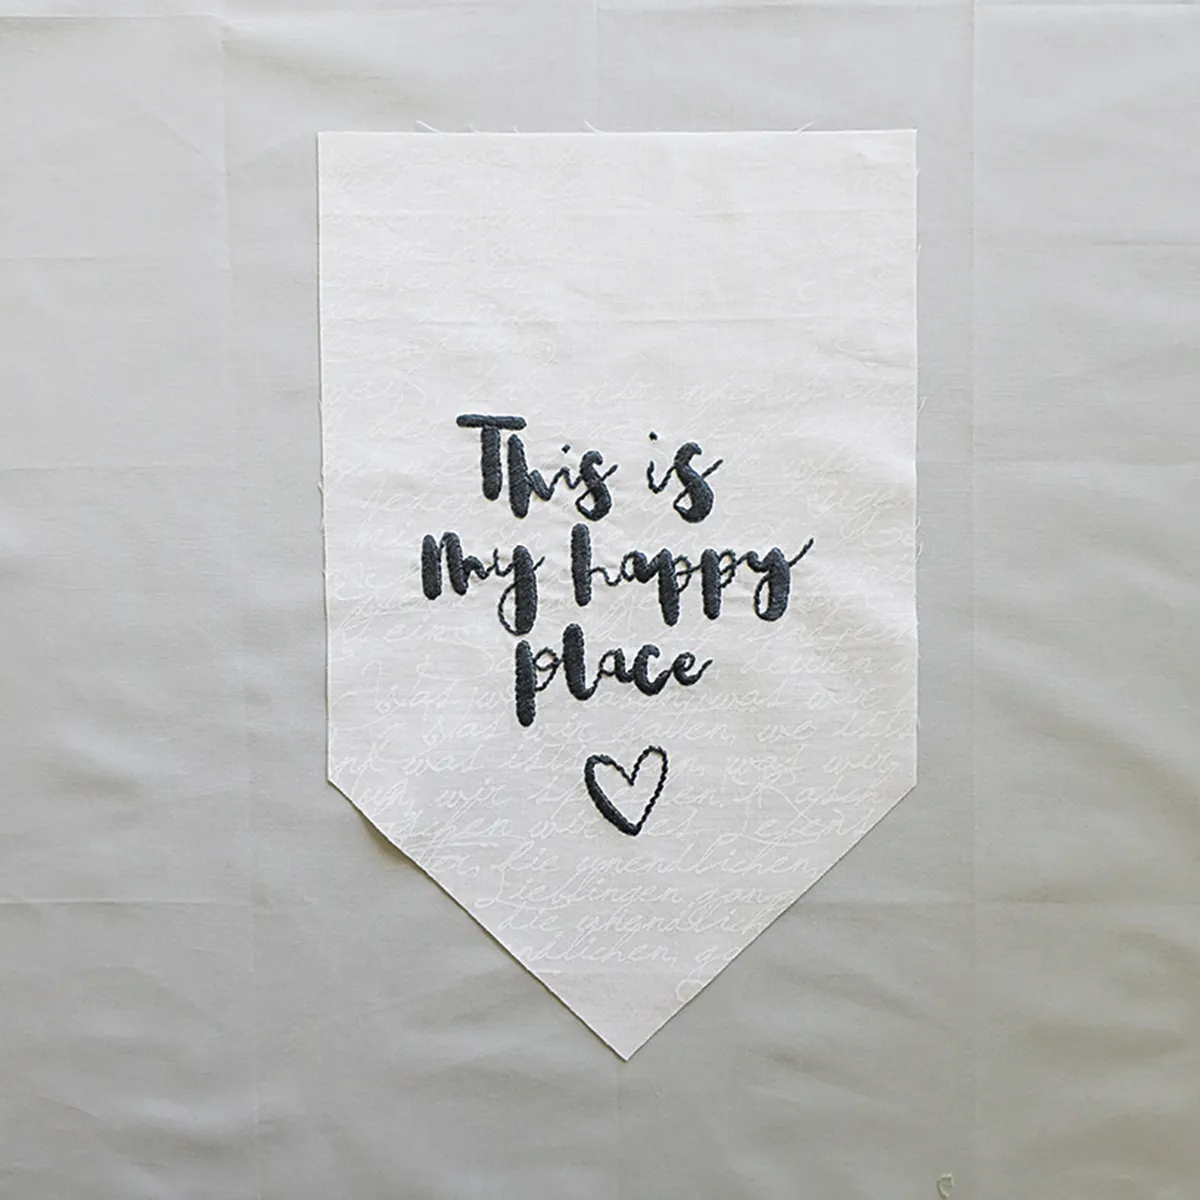
Place the banner front RS up centrally on the embroidery letters template. Using your preferred transfer method, trace around the outline of the banner, then the embroidery letters.
Step 2
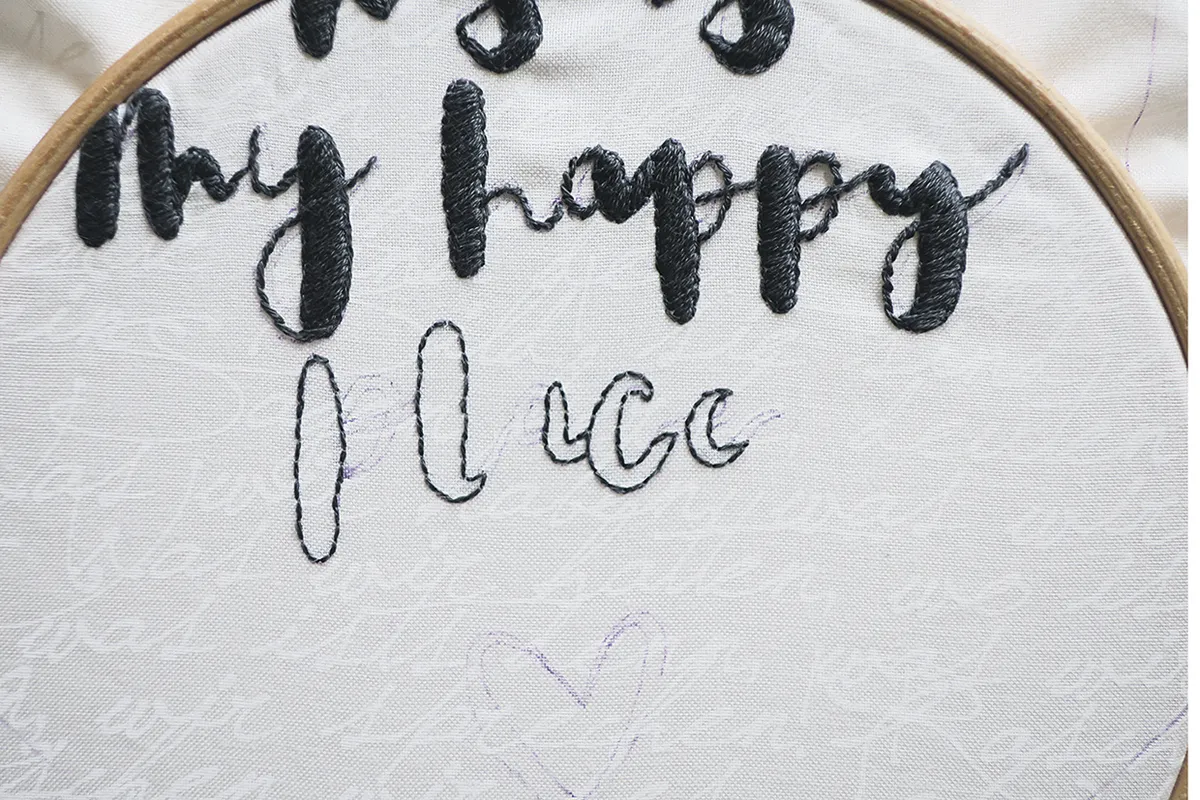
Mount your fabric into an embroidery hoop, gently pulling the fabric taut. The whole design is worked in charcoal-stranded cotton. Outline the wider parts of each of the embroidery letters in Backstitch using two strands.
Step 3

Fill in these outlined sections of the embroidery letters in Satin Stitch using four strands.
Step 4
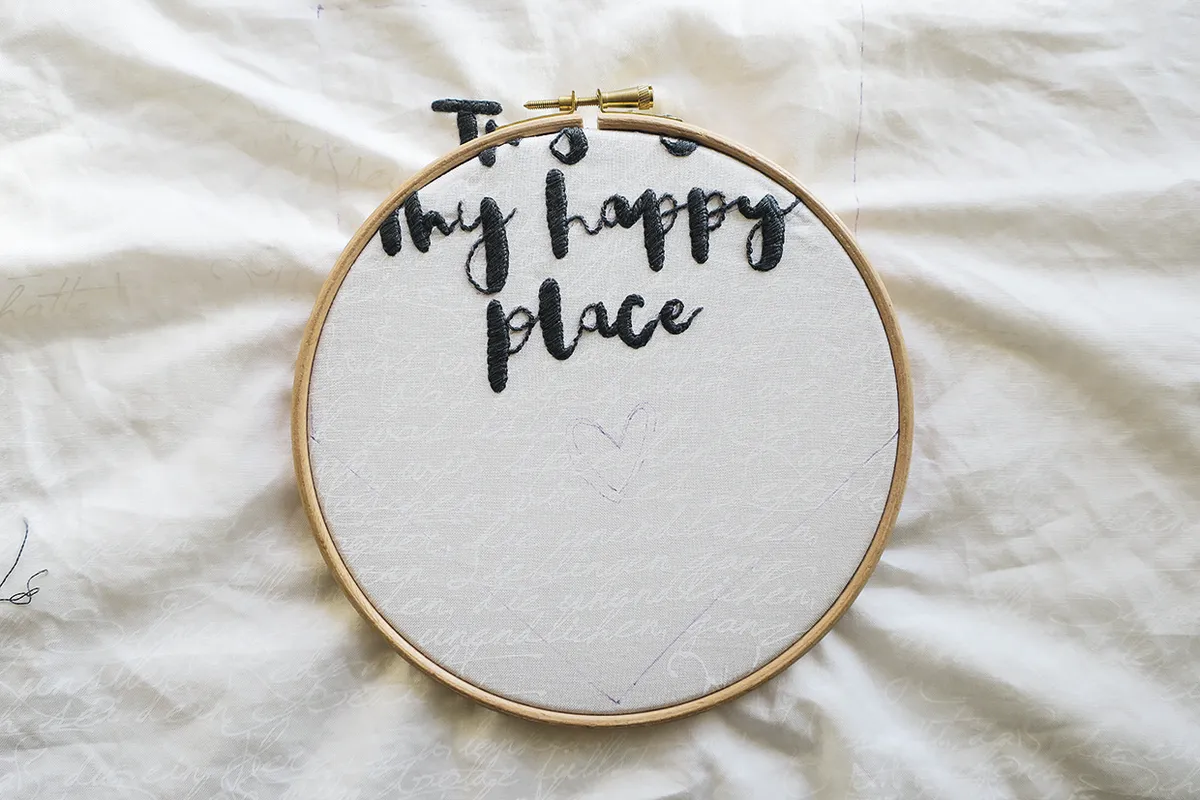
Then embroider the narrower parts of the embroidery letters by hand in Stem Stitch using four strands. Work the dot on the ‘i’ as a French Knot using two strands.
Step 5
Once all the embroidery is finished, cut out the banner shape 1cm outside the outer drawn lines down both sides and along the bottom pointed edges. Cut the fabric 6cm above the top outer line to allow for the hanging rod casing and seam allowance.
Step 6
Place this RS together with the banner back fabric and cut around it. If you want to give the banner a little more body, press interfacing or wadding onto the WS of the cut-out banner front.
Place the banner front RS together with the banner back, then stitch together all around, leaving a 6cm gap in the centre of the top for turning. Clip the corners and points.
Turn RS out, folding the turning gap fabric edges to the inside. Press, then Slip Stitch the opening closed.
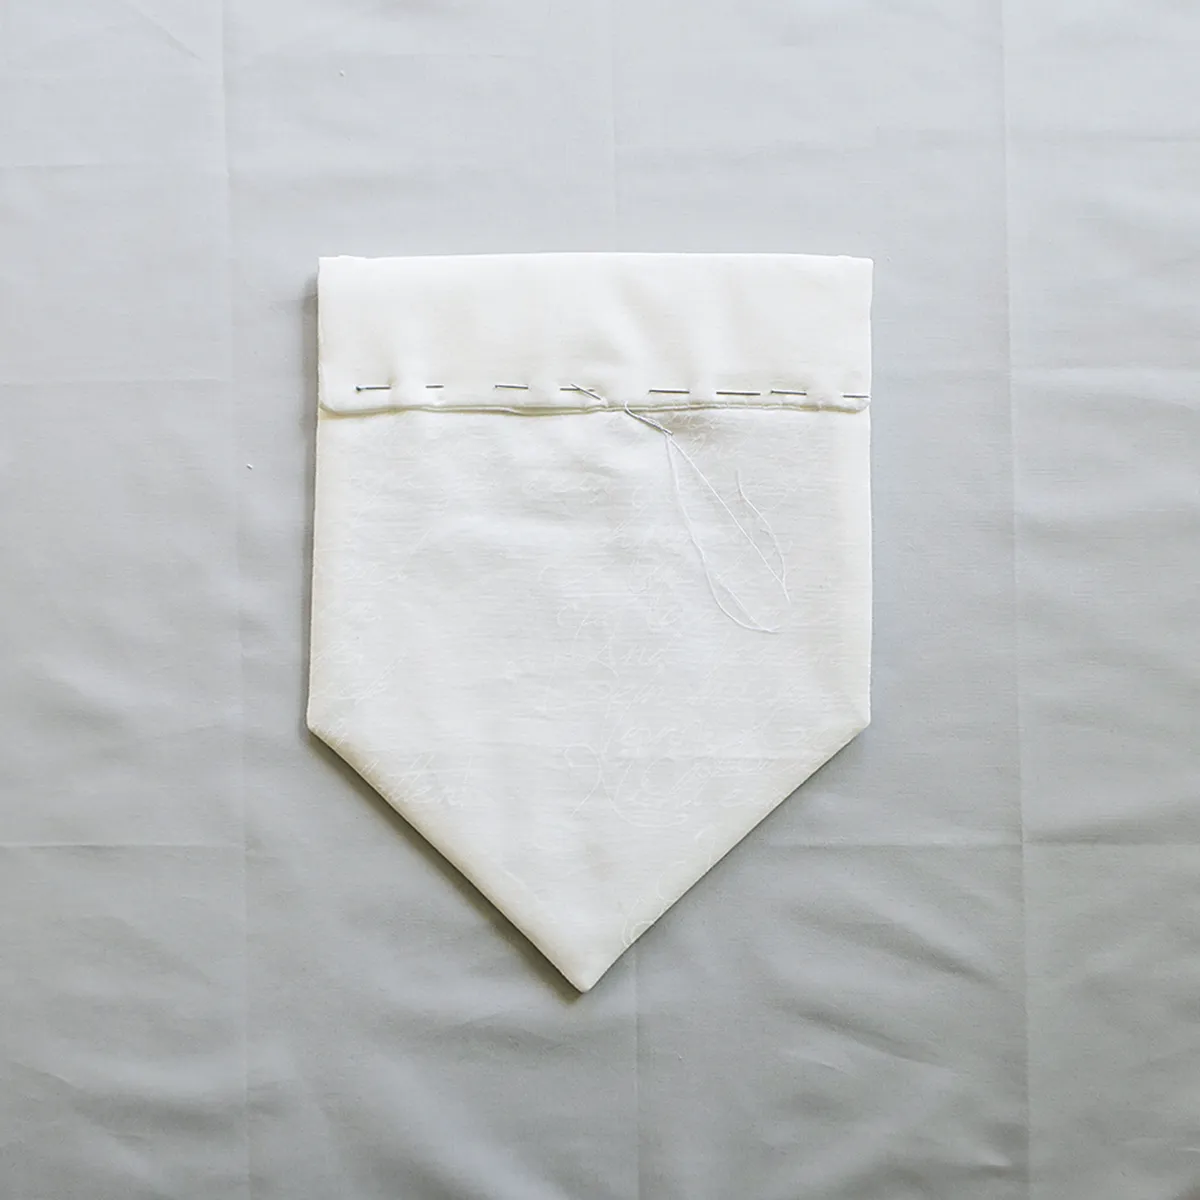
Fold the top over by 5cm to the back and Slip Stitch down to make a casing, ensuring you only stitch through the lining.
Thread the dowel through the casing, then tie cord to either end for hanging.
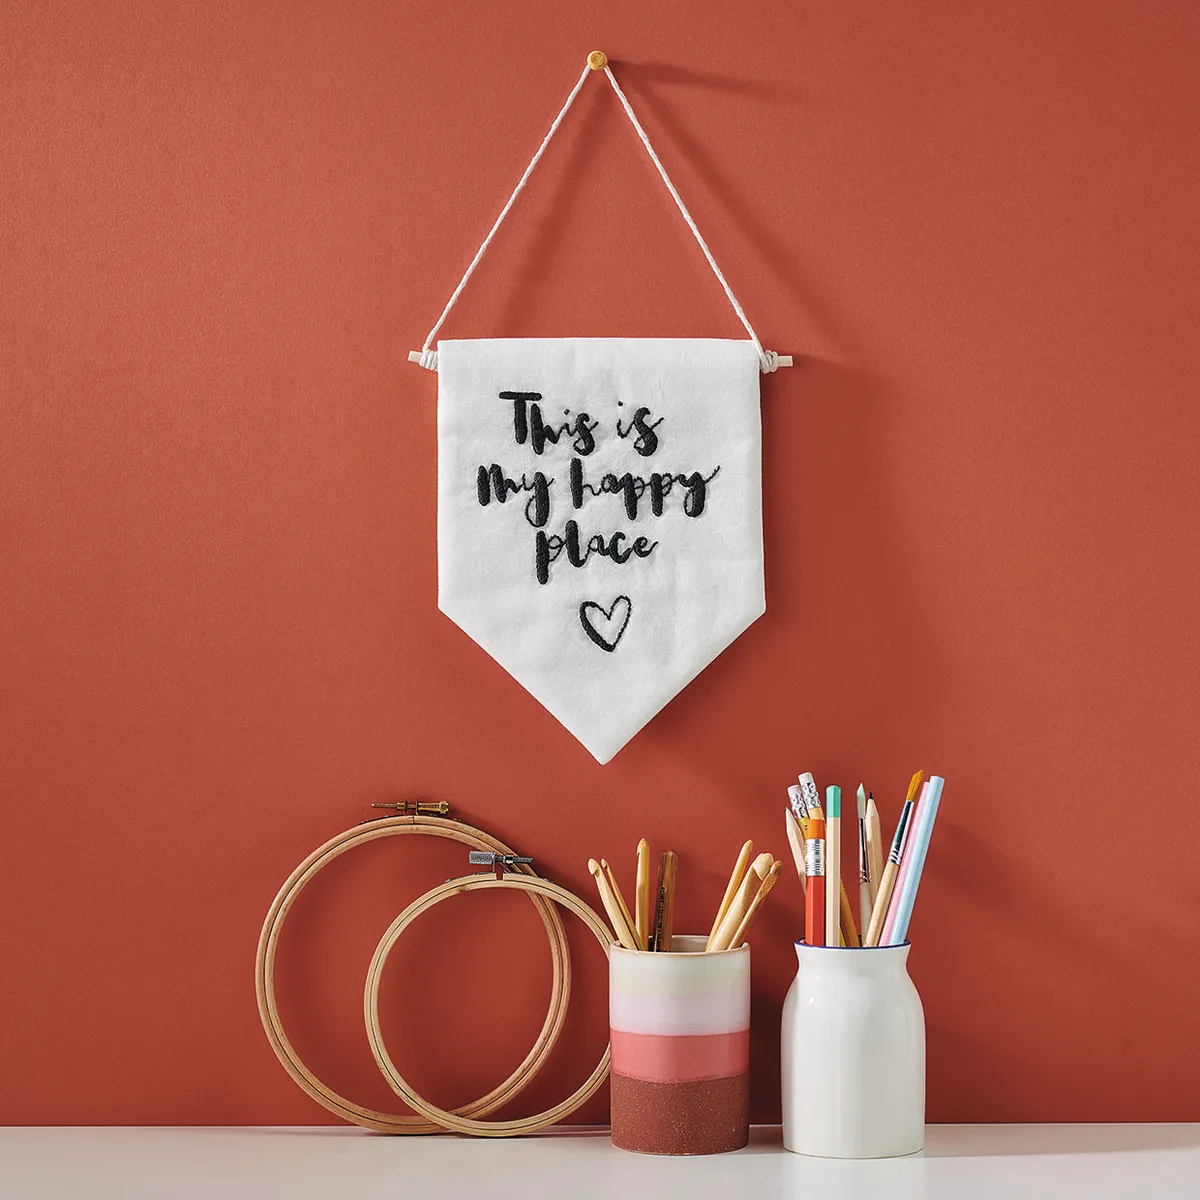
A cheerful finish for your projects
Creating a happy embroidery letters banner is a fun, simple way to add a personalised, colourful touch to any space.
Handmade nature-inspired designs
Bring more life to your embroidery with this modern botanical pattern perfect for brightening your space.