How to do a French knot
It's easy to learn how to do a French knot, and this is such a handy stitch to have in your repertoire! Use French knots individually for tiny details or in groups for a different look.
Persevere if you find them tricky to start with – we promise it's worth the practice to master this beautiful embroidery stitch. A good tip is to pull through gently at the final stage.
We'll walk you through the process of how to make French knots in the guide.
To practise this much-loved embroidery stitch, read on for our video guide to how to do French knots, plus a step-by-step walkthrough, then try out your new skills with our three project ideas that let you practice how to do a French knot in embroidery.
We have a stunning blossom tree design from Nicki Franklin for you to try, which was originally published in Love Embroidery magazine issue 1, or try out our Make a Wish hoop and French knot scarf designed by Mollie Johanson for Simply Sewing magazine.
How to make French knots
Step 1
Thread a sharp embroidery needle with a knotted thread. Hold the needle with one hand, and wrap the thread once around the needle.

Step 2
Take the needle partially down through the fabric, next to your starting point. Keep the thread taut as you slide the knot down the needle to rest on the surface of the fabric.

Step 3
Pull the needle through the fabric completely to create a loop. As the loop tightens, it will complete your first French knot.

Step 4
When working clusters of French knots, work a central knot first and then work a series of other knots around it. Keep the French knots close together to create a tight cluster.

Now toy know how to do French knots, do you want some project ideas for using your new French knots embroidery skills? We have three great ideas for you
How to make a French knot embroidery tree

This stunning blossom tree design from Nicki Franklin was originally published in Love Embroidery magazine issue 1.
The French knot is a fantastic stitch to have in your armoury. They can be a little tricky at first, but once you’ve mastered the French knot, you will find them quick and fun to do.
They’re perfect for the leaves or blossom of a tree, and give a painterly effect when you use several toning colours. French knots work well clustered together for berries and flowers, including hydrangeas, hyacinths and foxgloves, but are also effectively used to represent snow, fur or curly hair. This project uses an abundance of French knots to represent cherry blossoms in spring.
French knot embroidery tree materials
- Linen fabric 30x30cm, white
- Stranded cotton 1 skein each of brown, pale pink, medium pink, dark pink
- HB pencil or erasable pen
- Embroidery hoop 13cm diameter
- Basic embroidery kit
- How to make a French knot embroidery tree template
Step 1

Transfer the design from the template onto your linen with a light pencil or erasable pen using your preferred method. For more information on how to do this, check out our embroidery for beginners article.
Step 2

Work the outline of the tree in Split stitch using two strands of brown. Keep the branches very skinny as they taper outwards for a natural look. See our How to do Split stitch article for detailed instructions on working this stitch.
Step 3

Fill the outline with columns of Split Stitch, keeping the stitches neat and close together.
Step 4

When you have filled in the tree trunk and branches, make a few French Knots using three strands of dark pink close to the branches around the entire tree. Keep these darker knots quite spaced out; they are just to add depth to the design.
Thread your needle with two strands of medium pink and one strand of dark pink thread to make a variegated French Knot. Cluster these around the dark pink knots, again close to the branches. Add some knots on top of the branches and, similarly, keep some areas free of stitches. Try to work the knots in clusters.
Step 5

Fill in the canopy with lots of French Knots using three strands of medium pink. Group French Knots close to each other for a lovely texture and colour blending.
Step 6

How to make a French knot embroidery hoop
Download our free Make a Wish Embroidery Pattern to embroider your own hoop art using French knots and simple backstitch for a quick and easy project to help you master how to make French knots.

Template design by LouiseDay, stitching & instructions by Zoe Patching
How to make a French knot embroidery scarf
Stitch French knots on sheer fabric to make a summer scarf. Refashion a plain scarf with a scattering of French Knots for a pretty way to put this stitch into practice! The white and neon green combination in our example below is a current favourite of ours.
The great thing is you can stitch one to match any outfit! Be patient, though, French knots can take time to master… but once you master the magic, you’ll never look back.
Download our free scarf embroidery Templates
Choose a lightweight scarf to begin with. We backed our scarf with a similar light fabric to protect the embroidery.

Congratulations – you've mastered French knots!
After trying these three fabulous projects, you'll definitely have the hang of the French knot.
If you liked our guide to French knots, we have more free embroidery patterns just like this one!
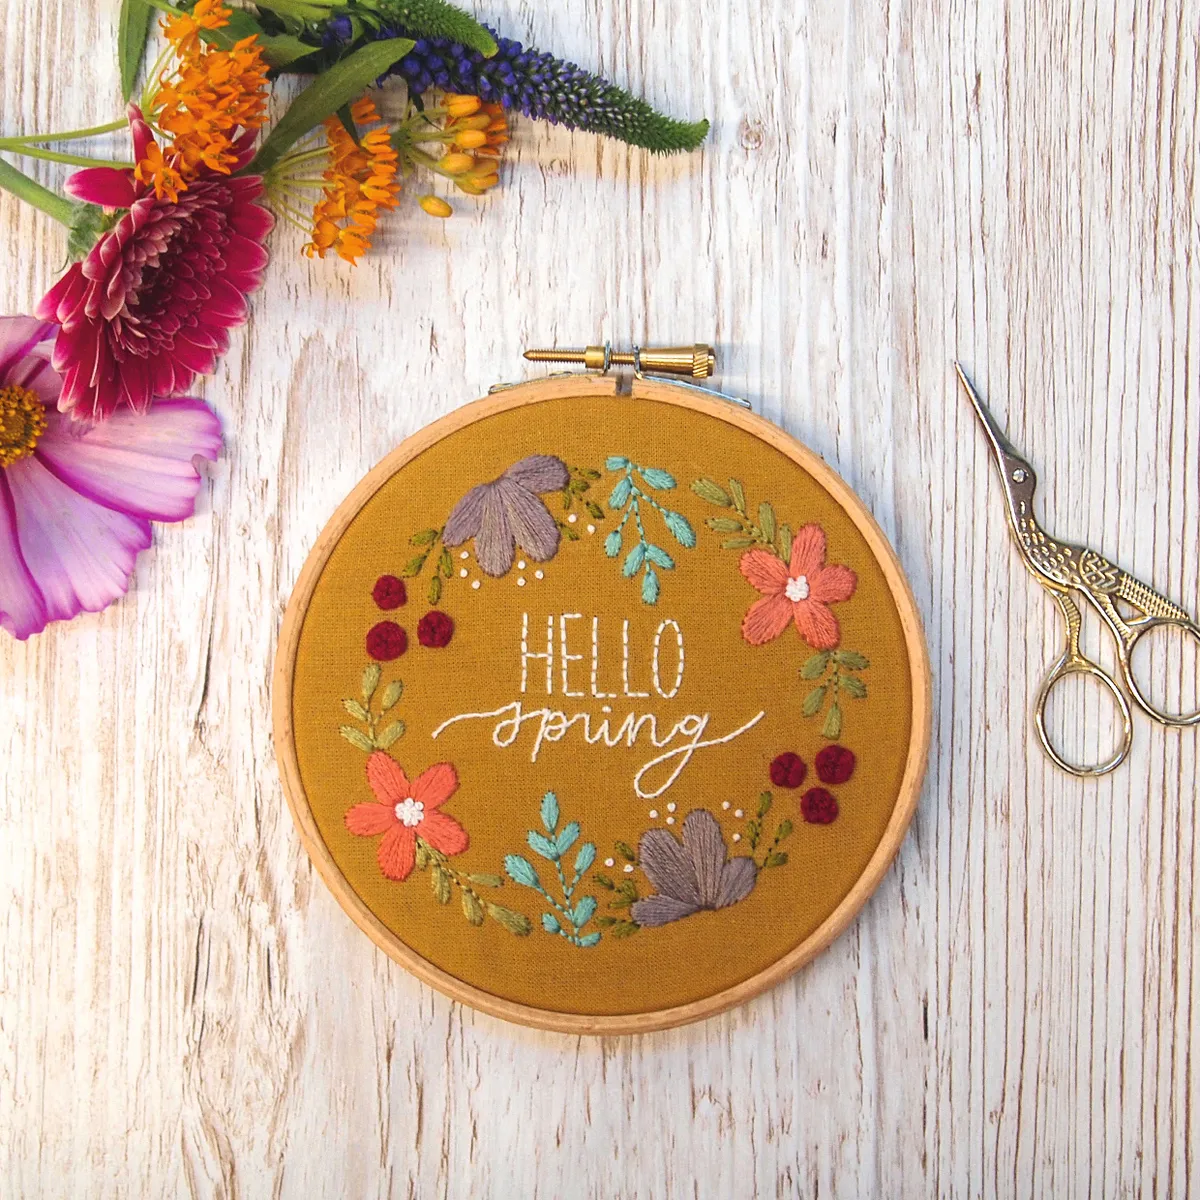
Get stitching for spring
Looking for a beautiful seasonal project to make this spring? Try our Spring embroidery hoop and welcome the new season.