
Kick start your Christmas prep with these easy snow globe Christmas cards. Grab your favourite Christmas supplies and get crafting! If you don't have all the stamp and die sets, we have plenty of free printables for you to use instead.
And if you’re in need of some stash-boosting papers to get making, then check out our patterned paper collection which is full of designer papers, and all free to download. We even have some snow globe patterned papers for you to download, no need to use stamps and ink!
Snow globe Christmas cards are easy to make, and a length of ribbon or twine tied around the front of the card makes for an ideal finishing touch. If you create a shape that you like, why not trace around it and make your own template for use later?
3D snow globe Christmas card
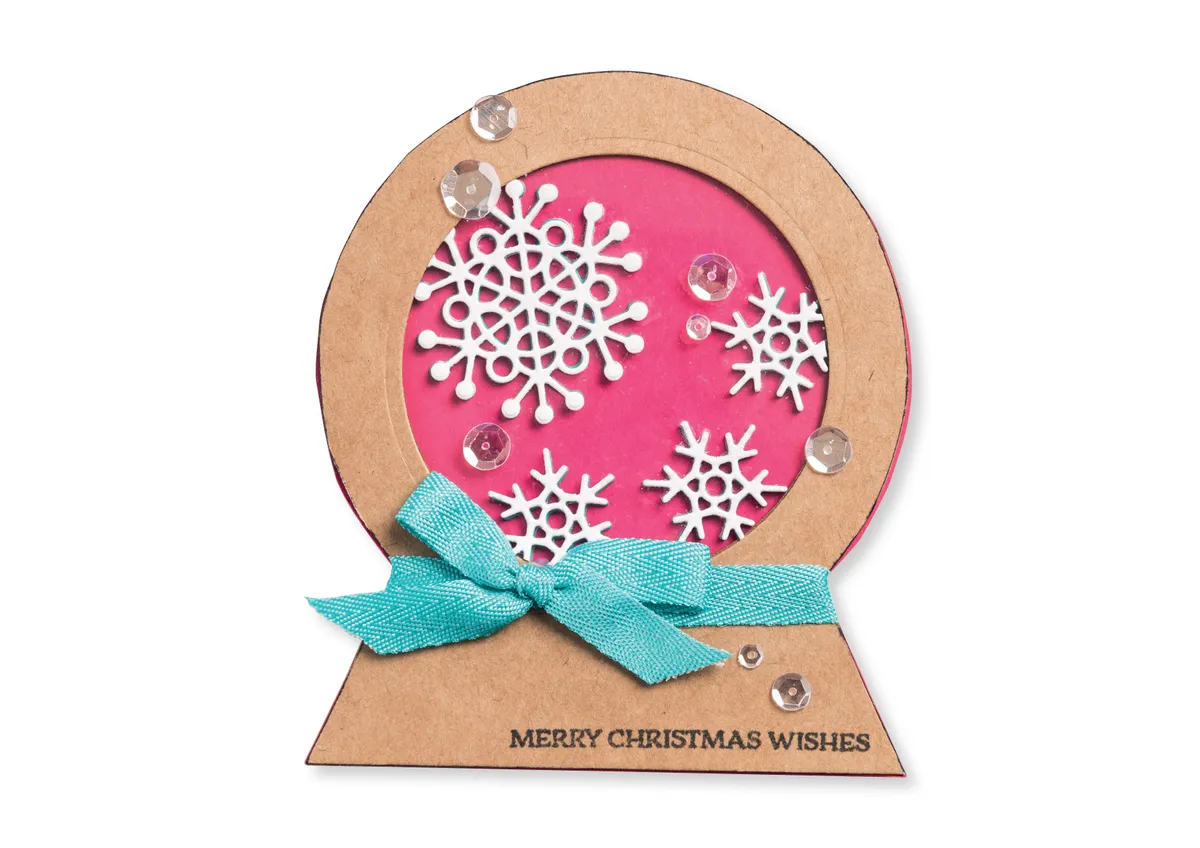
- Using the template, cut out the snow globe with a centre hole from Kraft card twice. Cut one solid snow globe from Kraft card and one from bright pink card.
- Glue the two snow globe frames together and sandwich a layer of acetate between. Glue the two solid snow globes together and score along the top edge.
- Die-cut two large snowflakes from white card and one from teal coloured card. Die-cut some snowflakes and glue together to create thicker, three-dimensional snowflakes. Attach these to the inside of the base (on top of the pink card). Close the card and add the remaining snowflakes on top of the acetate, trimming the edges. Add a ribbon, sentiment and clear sequins to finish.
Shaker snow globe Christmas card
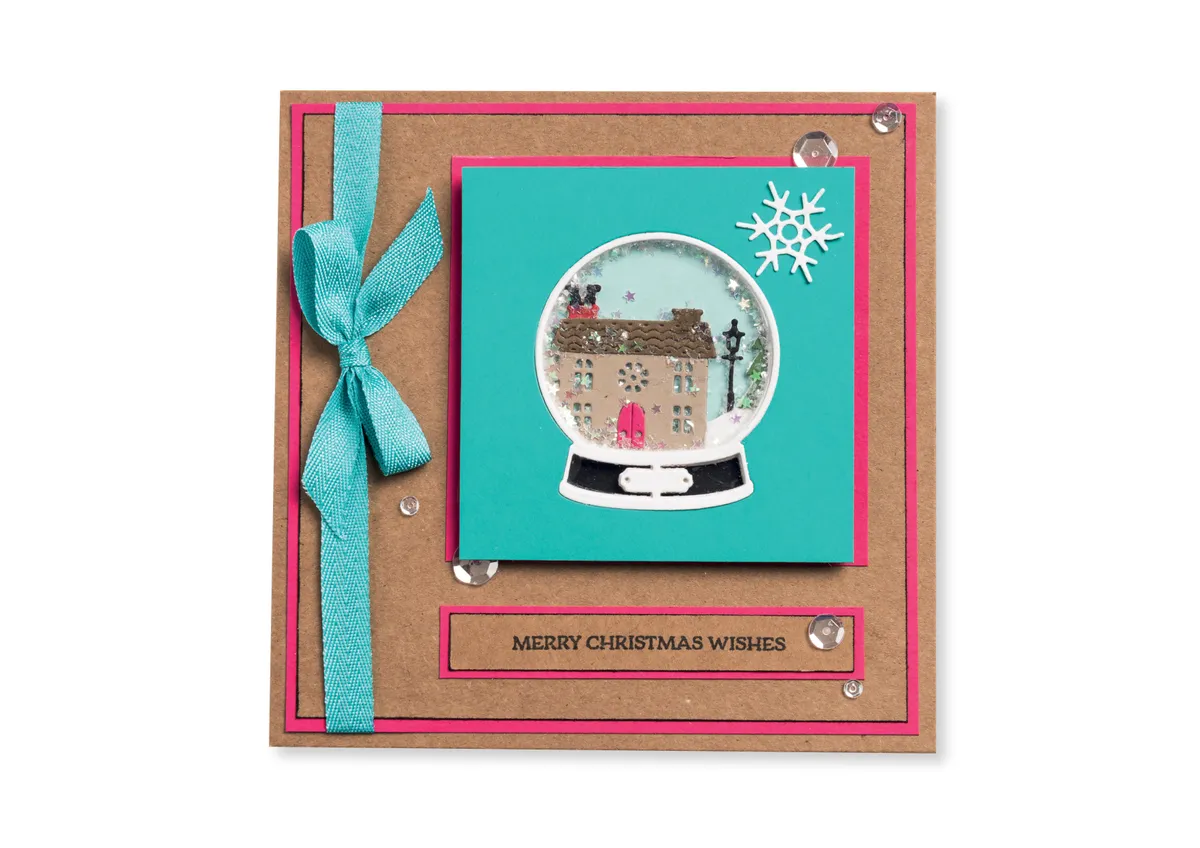
- Die-cut the snow globe outline from white card 10 times. Die-cut the house from white, red, light brown, mid-brown, pink, green and black card.
- Trim the coloured elements and attach to the white card layer, as shown. Layer four snow globe outlines together, add the house layer, and add another four outline layers.
- Die-cut an aperture from a 90mm square of teal card, using the snow globe outline die. Add acetate behind the aperture. Add two outlines to the top of the acetate and the layered house behind the acetate. Add snow and star glitter and secure with blue card. Add black card behind the snow globe base.
- Layer onto bright pink card. Attach to a 140mm square of Kraft card and layer onto pink card. Wrap panel with ribbon, add a sentiment and attach to a 155mm square Kraft base card. Finish with clear sequins and a snowflake die-cut.
Simple snow globe Christmas card
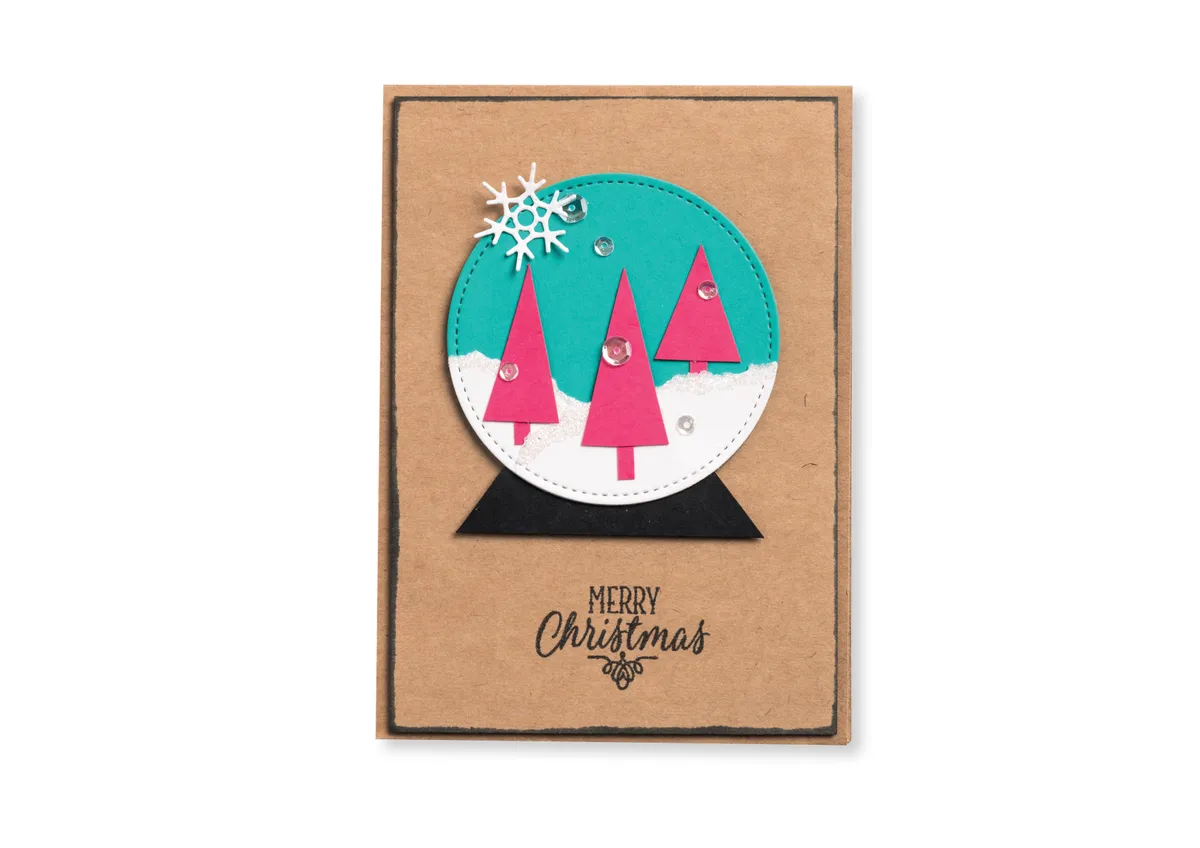
- Die-cut a 75mm stitched edge circle from teal and white card. Tear two pieces of the white circle and add fine glitter along the torn edge. Attach to the bottom of the teal circle. Cut three trees from bright pink card and add to the circle.
- Attach a triangle of black card, to the reverse, and add to 100x140mm piece of Kraft card with sticky fixers
- Stamp a sentiment under the snow globe in black ink. Drag the edges of the panel through a dark grey ink pad and attach to a 105 x 145mm Kraft base card with sticky fixers. To finish, add sequins and a white snowflake.
Snowman snow globe card I
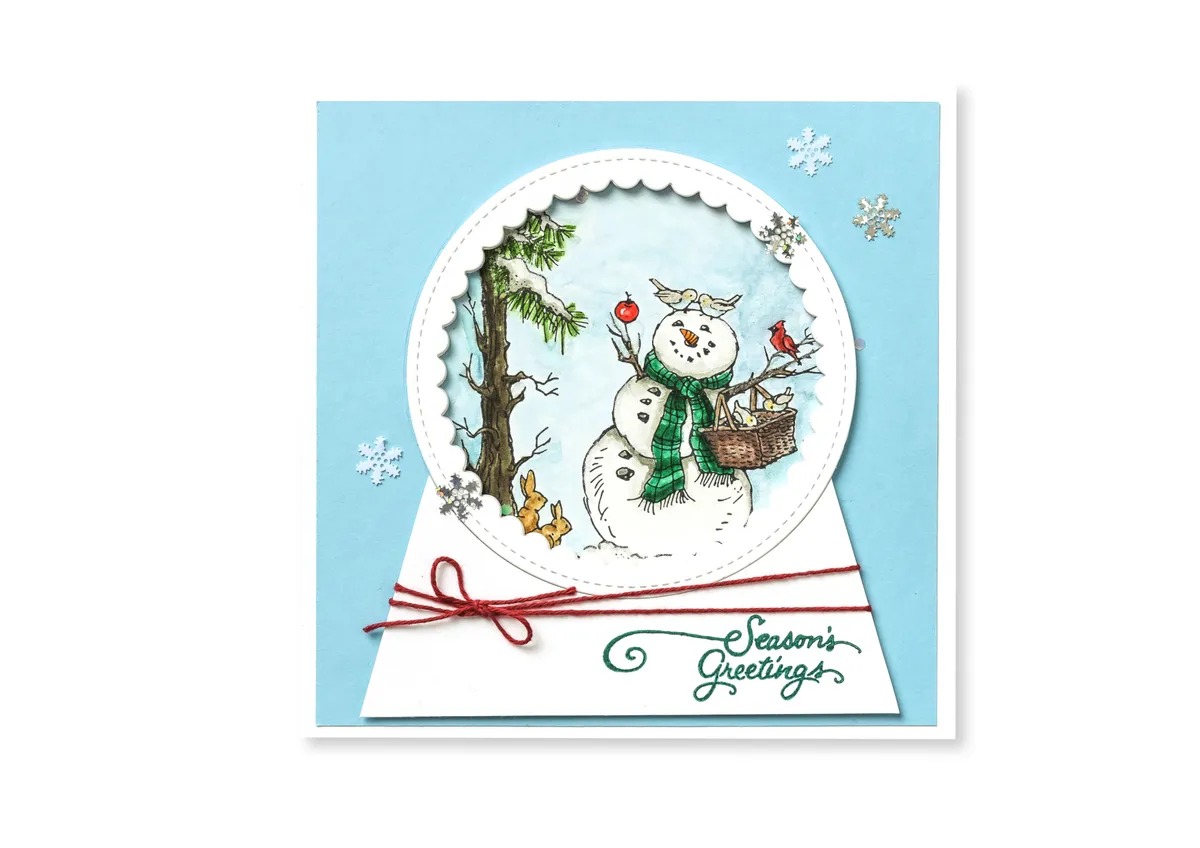
- Stamp the snowman and tree using StazOn ink. Colour the images with watercolour pens.
- Layer together six 100mm scalloped circles to create a frame. Attach the coloured image to the reverse.
- Die-cut the edge of a circle from white card, trim to make a snowglobe base. Stamp a sentiment onto the base and wrap with twine. Attach the base and snow globe onto a 138mm square of blue card.
- Attach the panel to a 145mm square base. Add snowflakes and glitter, to finish
Snowman snow globe card II
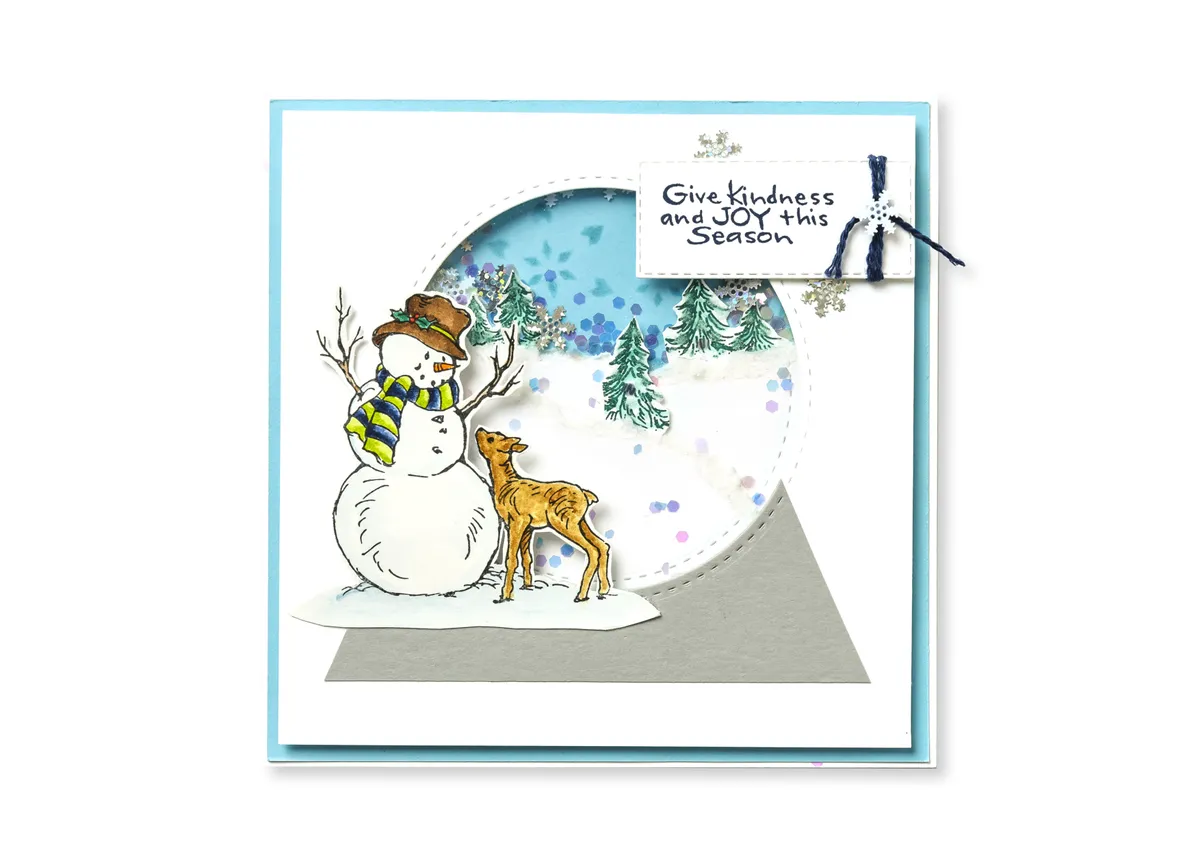
- Tear away the top third of a stitched circle. Layer torn card on top and add glitter to the torn edges. Stamp and fussy cut trees and attach to the snowdrifts. Attach the scene to a 144mm square of blue card.
- Die-cut an 85mm circle aperture into a 138mm square of card. Add acetate to the reverse. Add foam tape around the aperture, sprinkle sequins onto the acetate and attach to the panel from step 1.
- Die-cut the edge of a stitched circle from grey card, trim to make a snow globe base and attach below the shaker panel.
- Stamp, colour and fussy cut a snowman and deer and attach to the top of the base. Wrap twine around a stamped sentiment and attach to the base. Add a snowflake charm, to finish.
Snowman snow globe card III

- Stamp trees across a 130mm circle using green inks. Create snowdrifts using glitter glue. Attach to the reverse of a 130mm white circle frame.
- Die-cut a 130mm circle frame from grey and white card. Attach acetate to the reverse of the grey frame, then layer onto the white frame.
- Attach the two circle frames together with a folded strip of card to create the base.
- Cut out four grey snow globe bases and trim to 35mm high. Layer one base onto another and attach to the reverse of the card front. Repeat for the back of the base.
- Stamp a sentiment onto vellum. Attach to the base. Add a stamped tree, twine and charms to the base.

