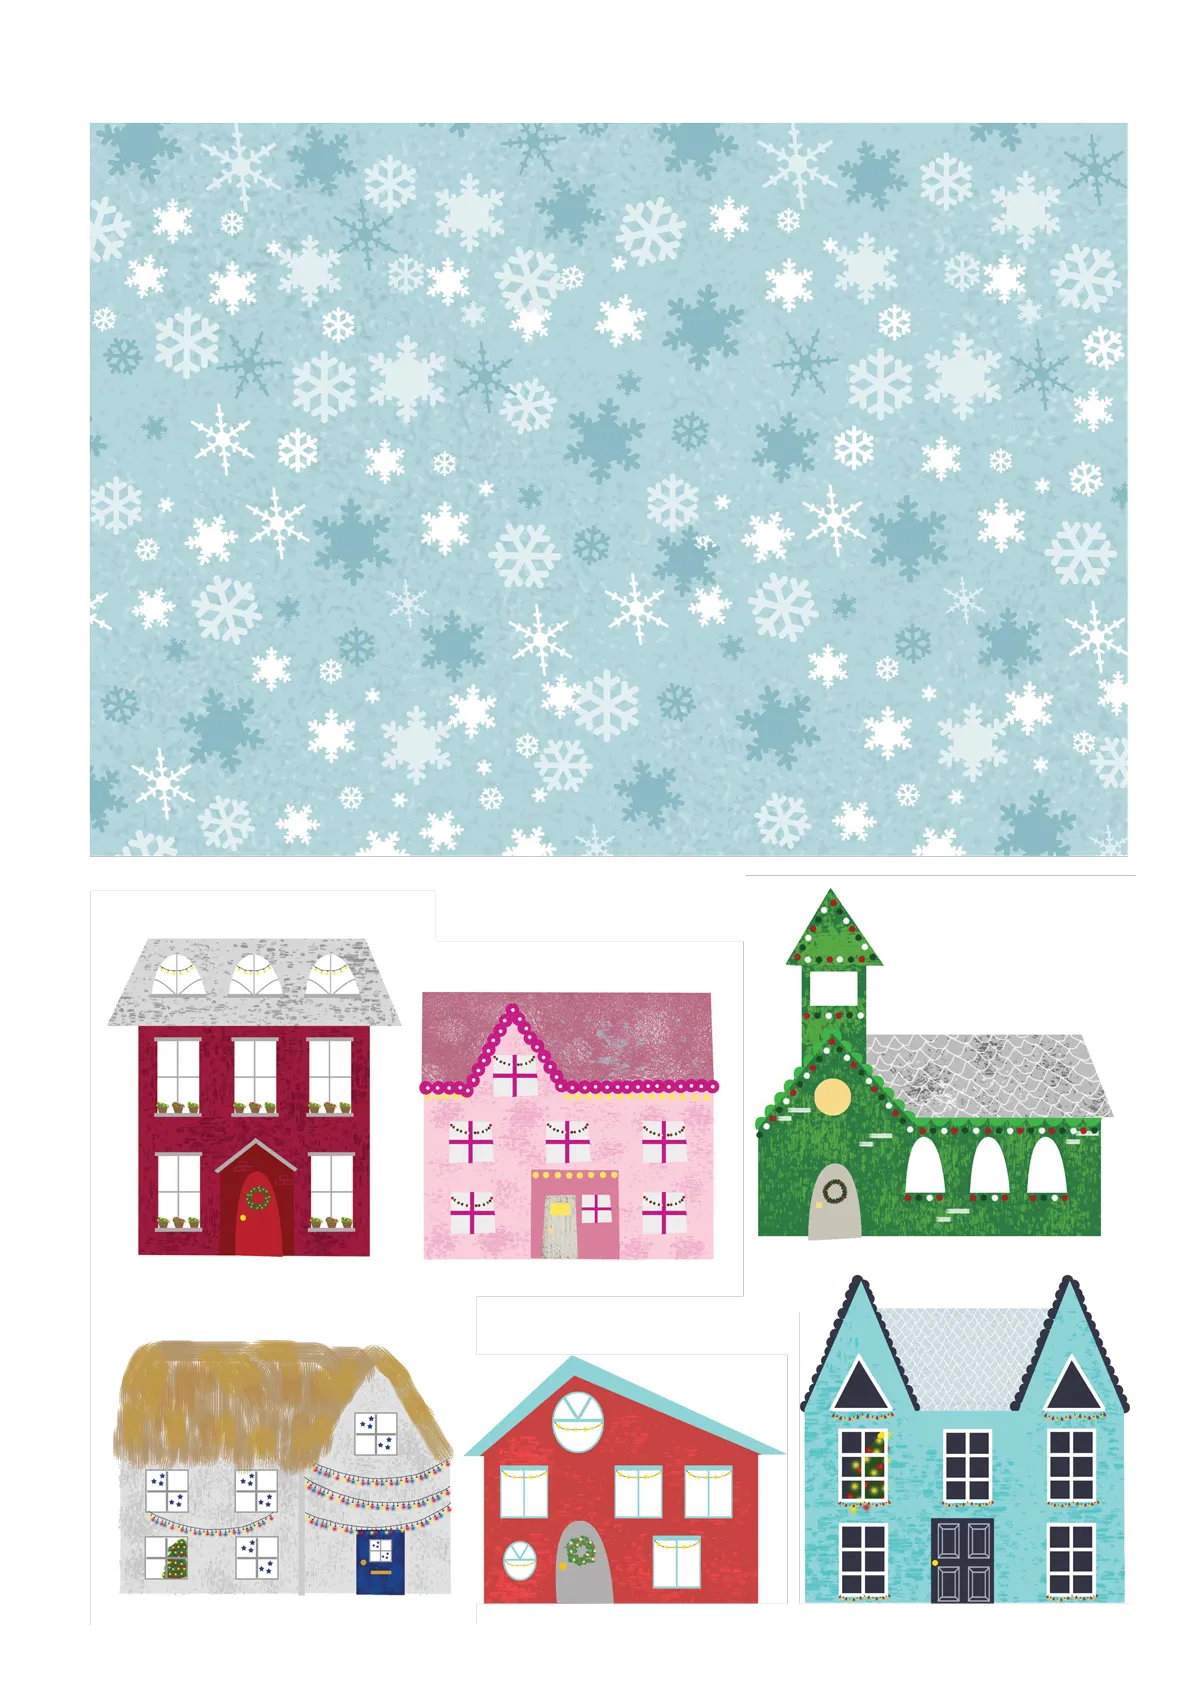
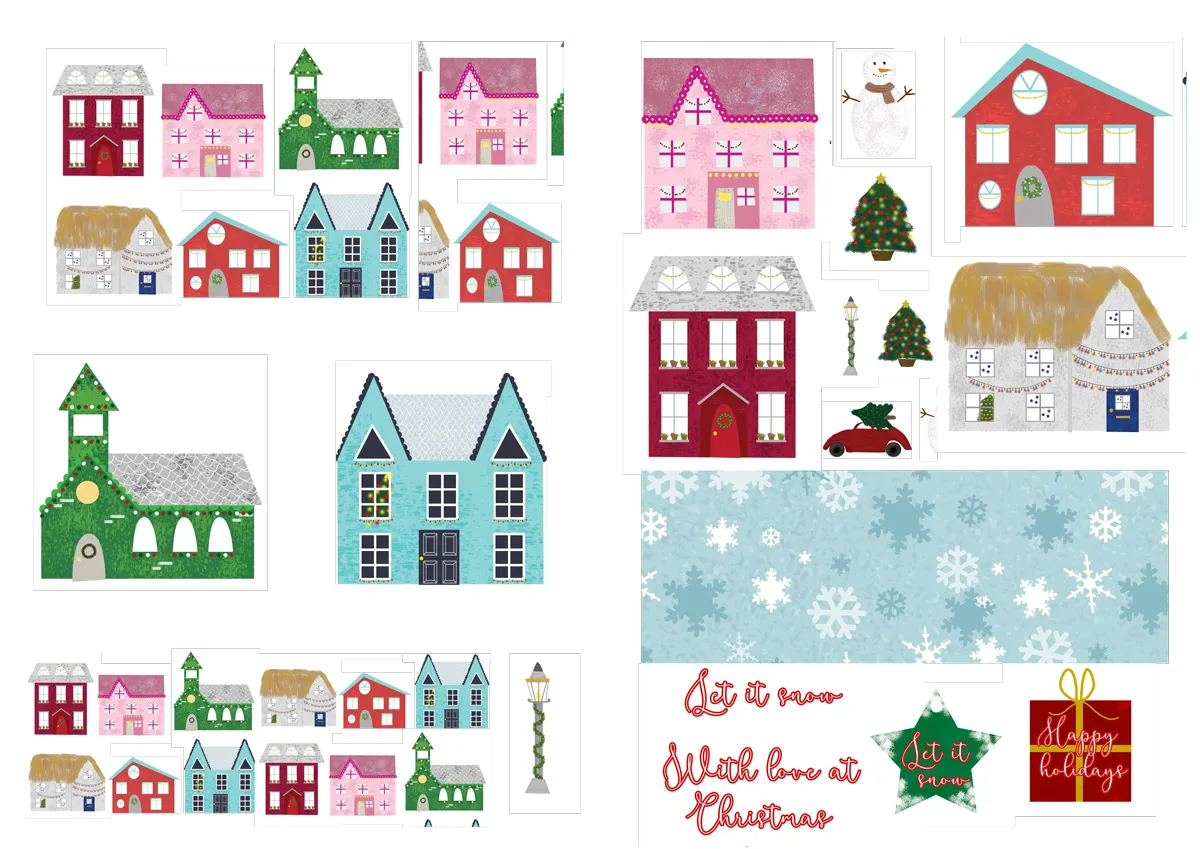
Craft the cheeriest of villages in the snow with these merry printables from Papercraft Inspirations. These free papers are easy to use, simply print out and start arranging the separate elements to create your own snow scene. These printables were illustrated by Becki Clark, and the cards designed by Nicole Haupka.
To create a sense of perspective on your cards, try layering different sized houses, starting with larger houses in front and the smaller ones in the back. Adding the Christmas trees are a nice way to complete your scenes. Why not add some glitter to the trees and make them sparkle!
As well as giving you these lovely freebies, also in this article, we show you how to make a never-ending card. But if you want to jump straight to the freebies, scroll to the bottom of this post to download your free snow scene paper collection.
We have lots more printable and free patterned papers available for download, so be sure to bookmark the page and keep checking back as we update the page regularly. Don’t forget to share your cards on Facebook or post them on Instagram, we love to see what you make!
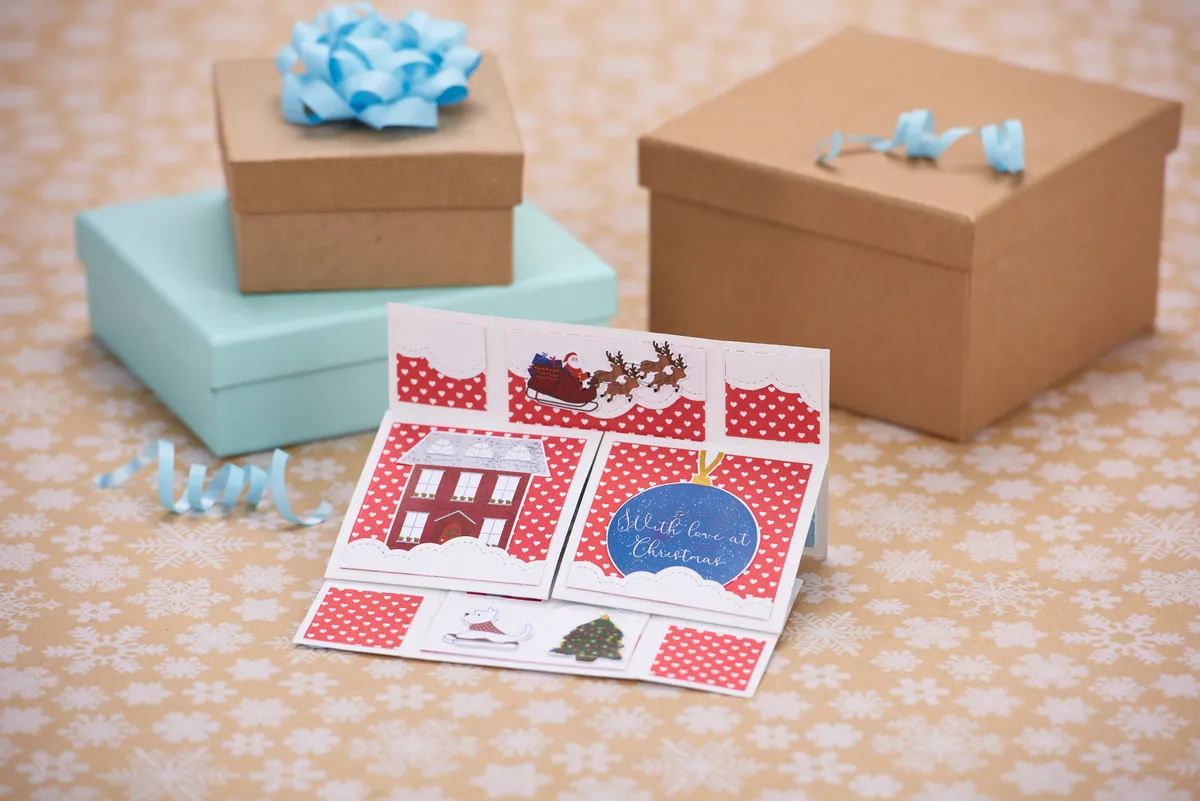
How to make a never-ending card
We love cards that have interactive elements. This is called a never-ending card. You can keep folding a never-ending card and the scene will keep changing! Never-ending cards are very satisfying to play with, and are great if you want to hide photographs on one of the panels! Just remember to keep your embellishments flat, as the panels need to fold over each other.
You Will Need
- Free snow scene printables
- White card
- Adhesive
- Scoreboard and bone folder
- Square nesting dies (optional)
- Cloud dies (optional)
Step 1

Cut four 7.5x15cm pieces of white card. Score horizontally at 3.5cm from both ends. Turn the pieces of card 90 degrees then score vertically at the centre point to the horizontal score line.
Step 2
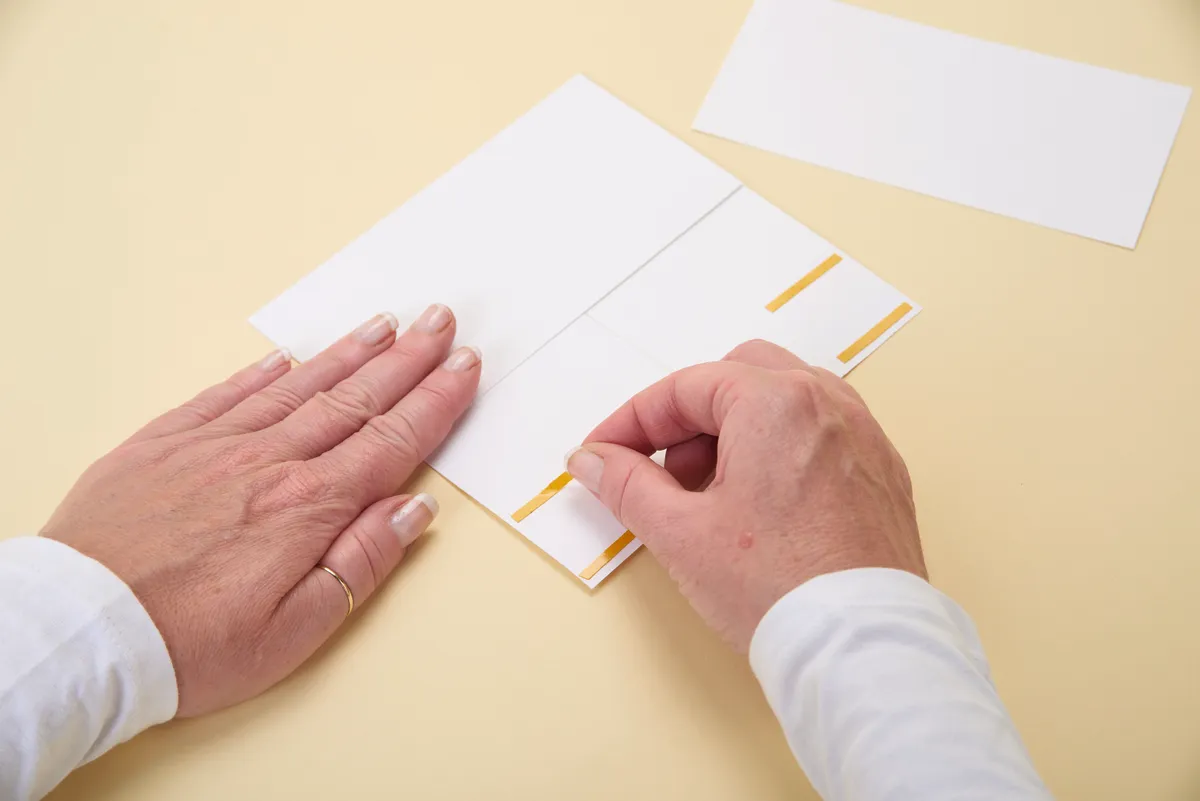
Use the card pieces to make a layered square – one layer with score lines at the sides, one with score lines at the top and bottom. Secure with double-sided tape in each corner of the square.
Step 3
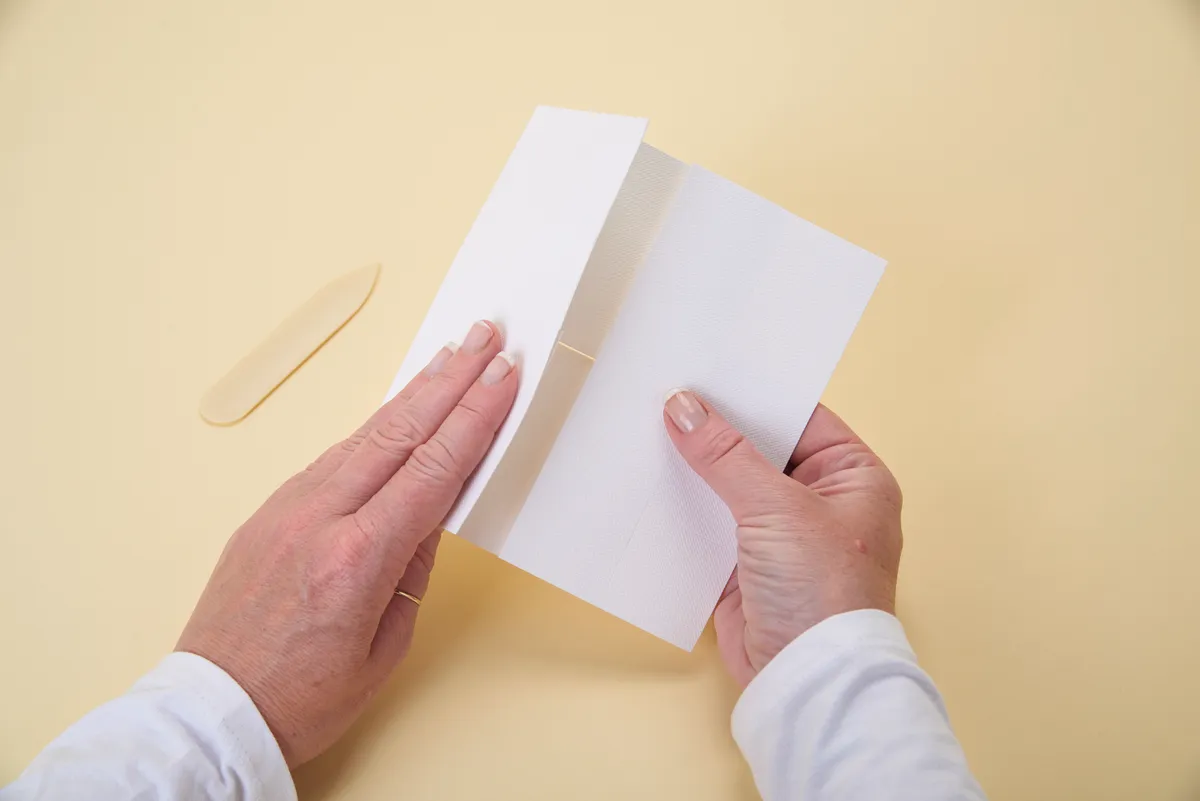
Open the card by bending back the two front panels. Use a bone folder (or another hard object like a ruler) to flatten the score lines. Repeat this process as you open out the card panels two more times.
Step 4
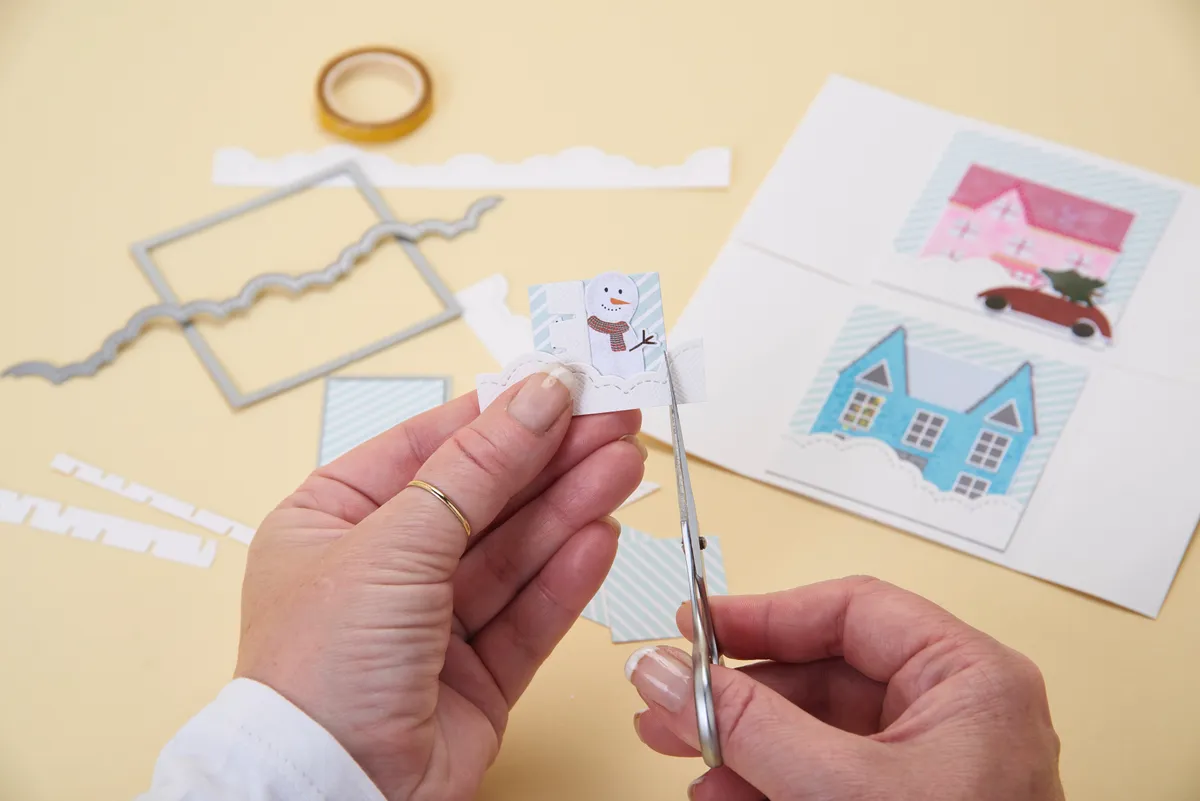
Turn the card so the scored panels are at the sides. Cut squares of stripy paper to fit each panel and embellish with cut-out printables plus die-cut birch trees and cloud borders. Affix onto the card.
Step 5
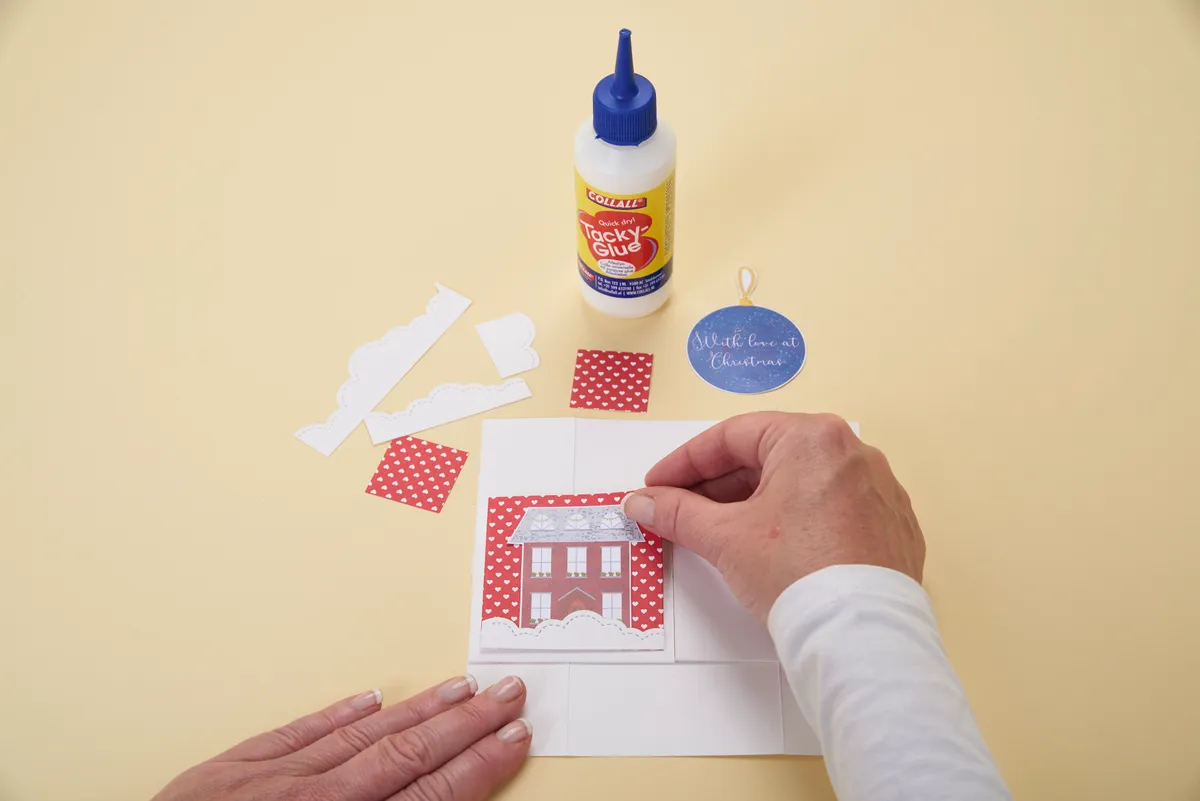
Flip over the front panels, to reveal the blank section inside. Cut squares in red patterned paper, to fit each corner panel and the two central panels. Embellish the panels.
Step 6
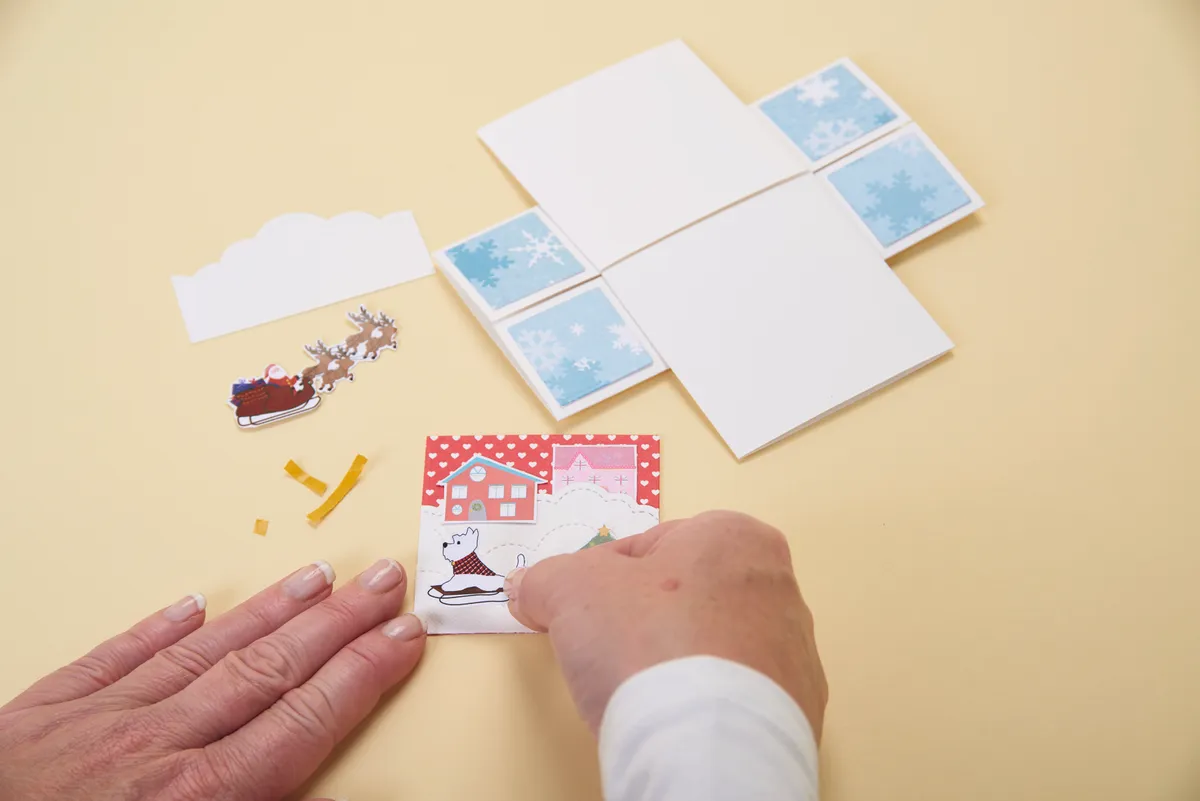
Fold back the side sections. Adhere snowflake paper onto the side panels. Add a village scene to one red paper square, and Santa’s sleigh to another, then adhere to the central card panels.
Step 7

Flip over the front panels of the card. Cut four rectangles from snowflake paper and affix to the top and bottom panels. Add a snowman and sentiment to squares of stripy paper then affix. As all the card faces are decorated, simply write your greeting onto a sentiment tag and affix! Watch a neverending card in action and check out our video tutorial for an easy guide:
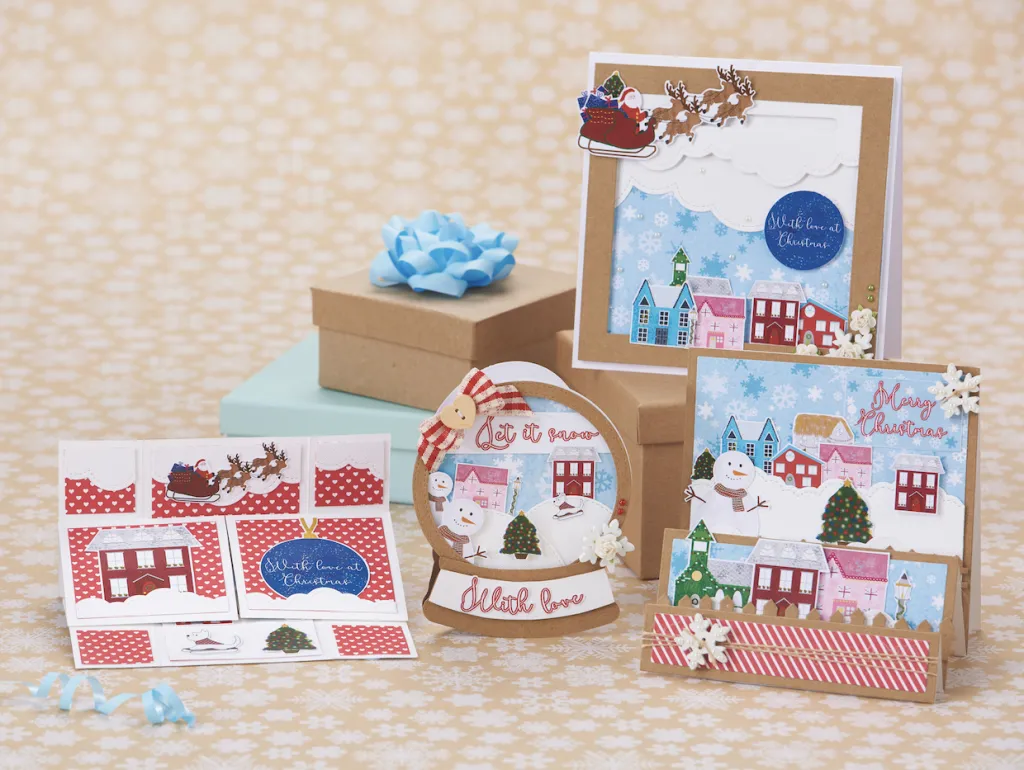
Try these snow scene Christmas cards
Merry Stepper card
These cute Christmas village-scene printables are perfect for creating extra dimension on stepper cards!
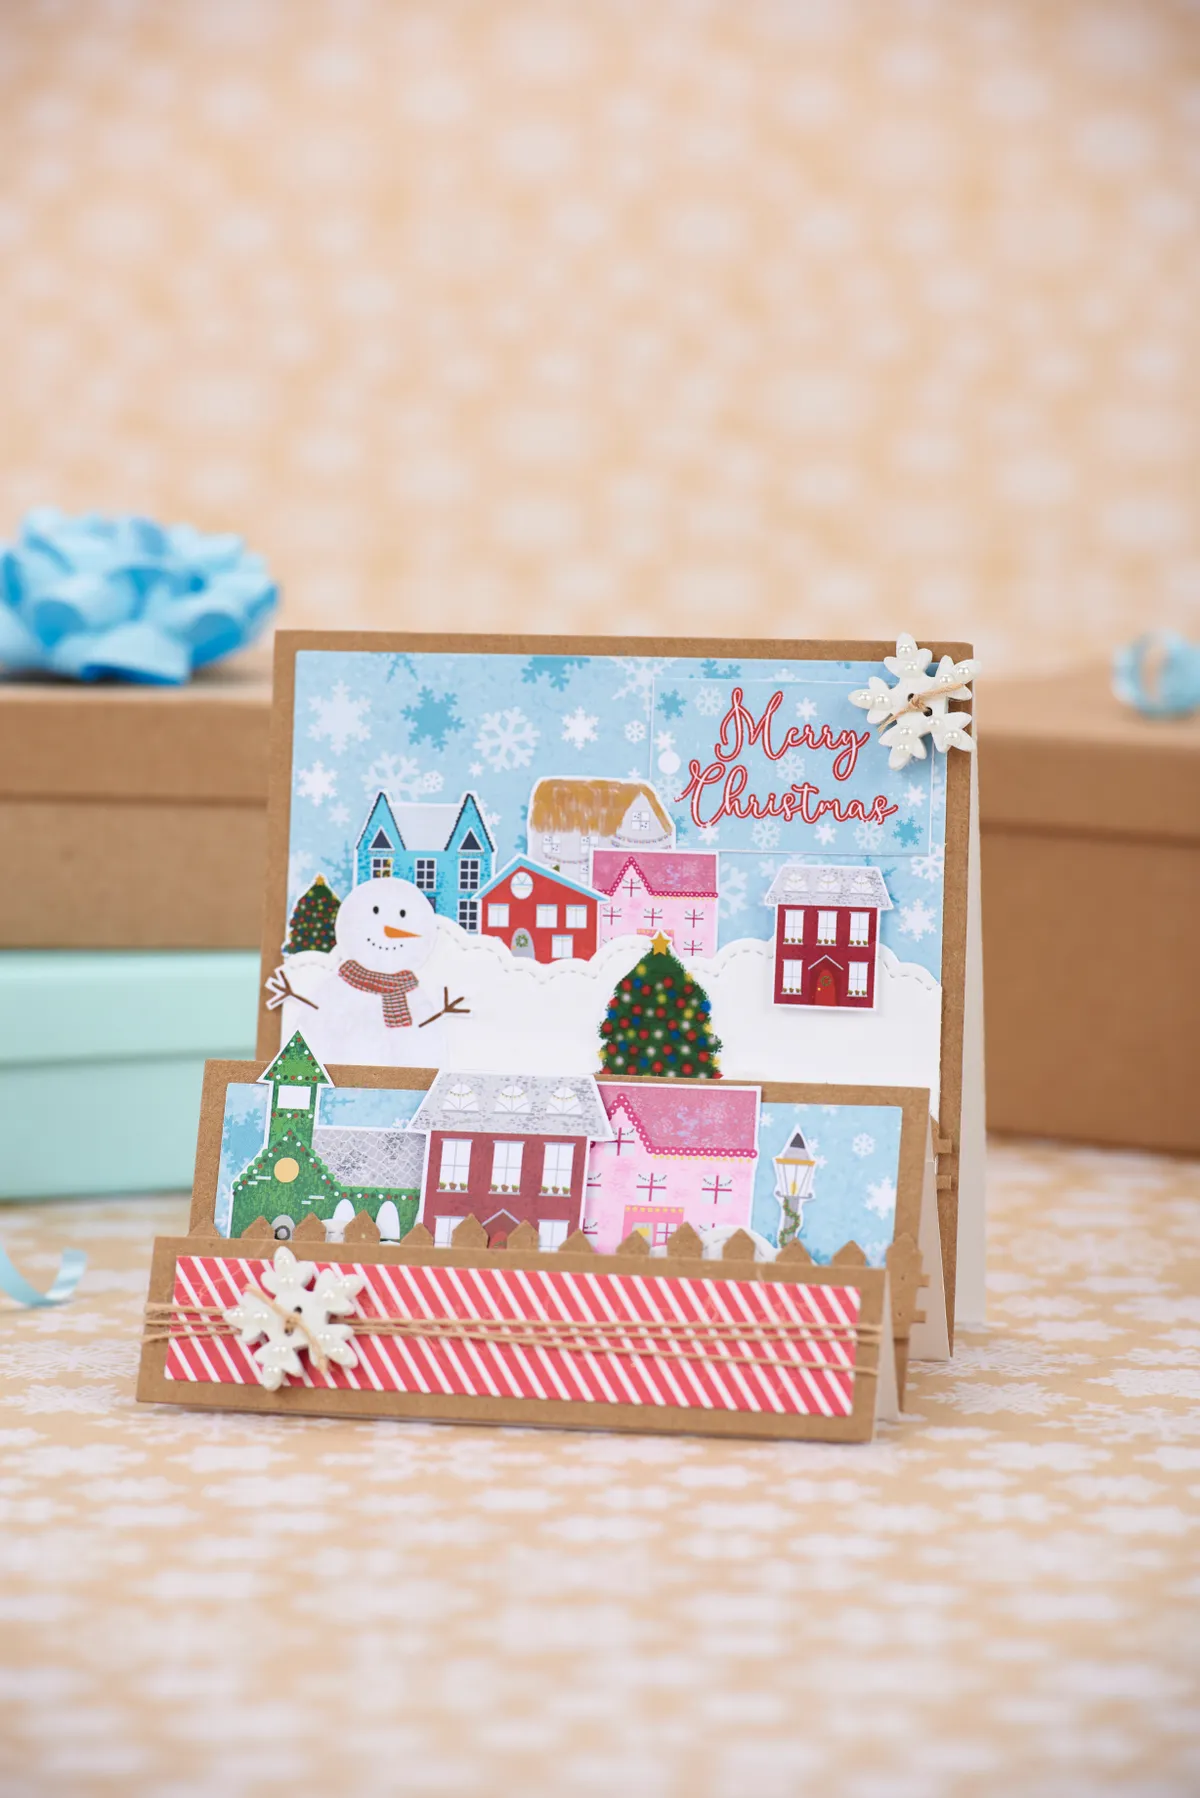
- Cut white card to 28.5x13cm, score and fold at 13cm and 26cm. Trim a second piece of card measuring 18x13cm. Score and fold at 6cm, 12cm and 15cm. Join the second piece to the first at the 26cm fold line.
- Trim a 2x12cm strip of striped paper and mat onto a 3x13cm strip of kraft card. Wrap twine around then add a snowflake and pearls. Attach sticky foam pads onto the reverse and affix to the front stepper panel.
- Cut a 5x12cm piece of snowflake paper and mat onto 6x13cm piece of kraft card. Add houses and a lamppost, then use a white Cloud Border as snow at the bottom of the scene. Mount a die-cut fence onto sticky foam pads and adhere to the scene.
- Cut a 12x12cm piece of snowflake paper and mount onto a 13x13cm piece of kraft card. Then add your scene using printables, Cloud Borders, a fence and sentiment.
White Christmas snow globe card

Use circle dies to make a snow-globe-shaped card as well as some snowy hills for the aperture scene! Finish the card with cut-out printables.
Santa slider card
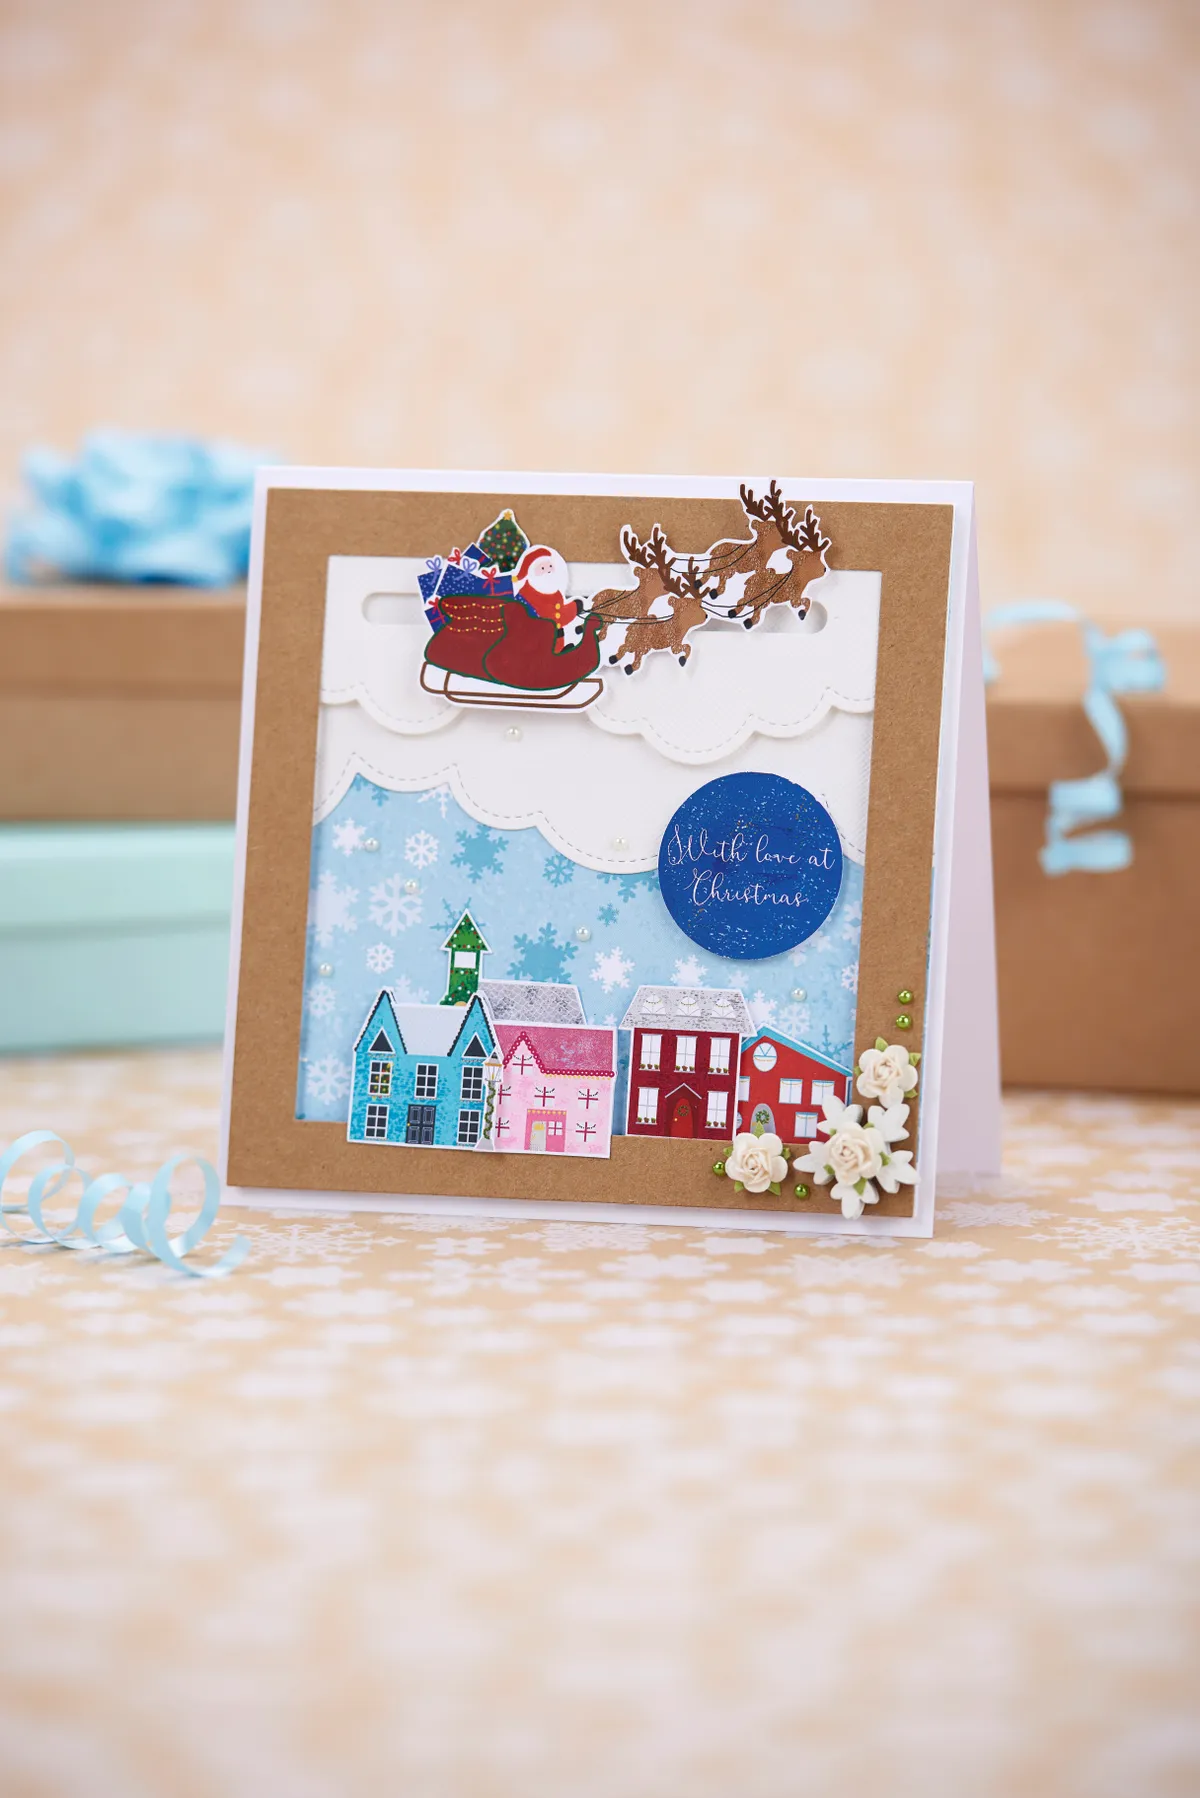
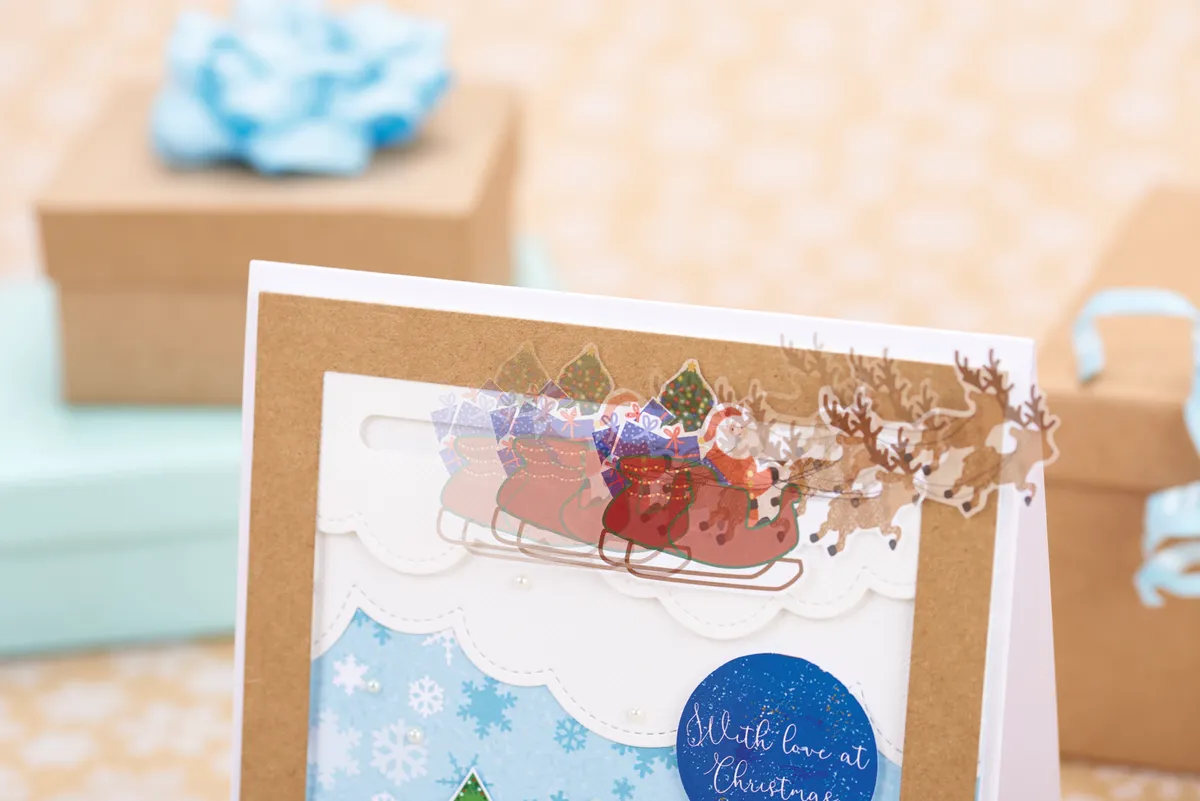
Make your card interactive with this fun, sliding element. Use adhesive pearls, or liquid pearls, to add dimensional falling snow, too!
Download your free snow scene printables:
To download each printable sheet, click on the link below the image and it will open in a new window. You can then save/download the sheet. There are a total of three printable sheets to download to complete this card project.