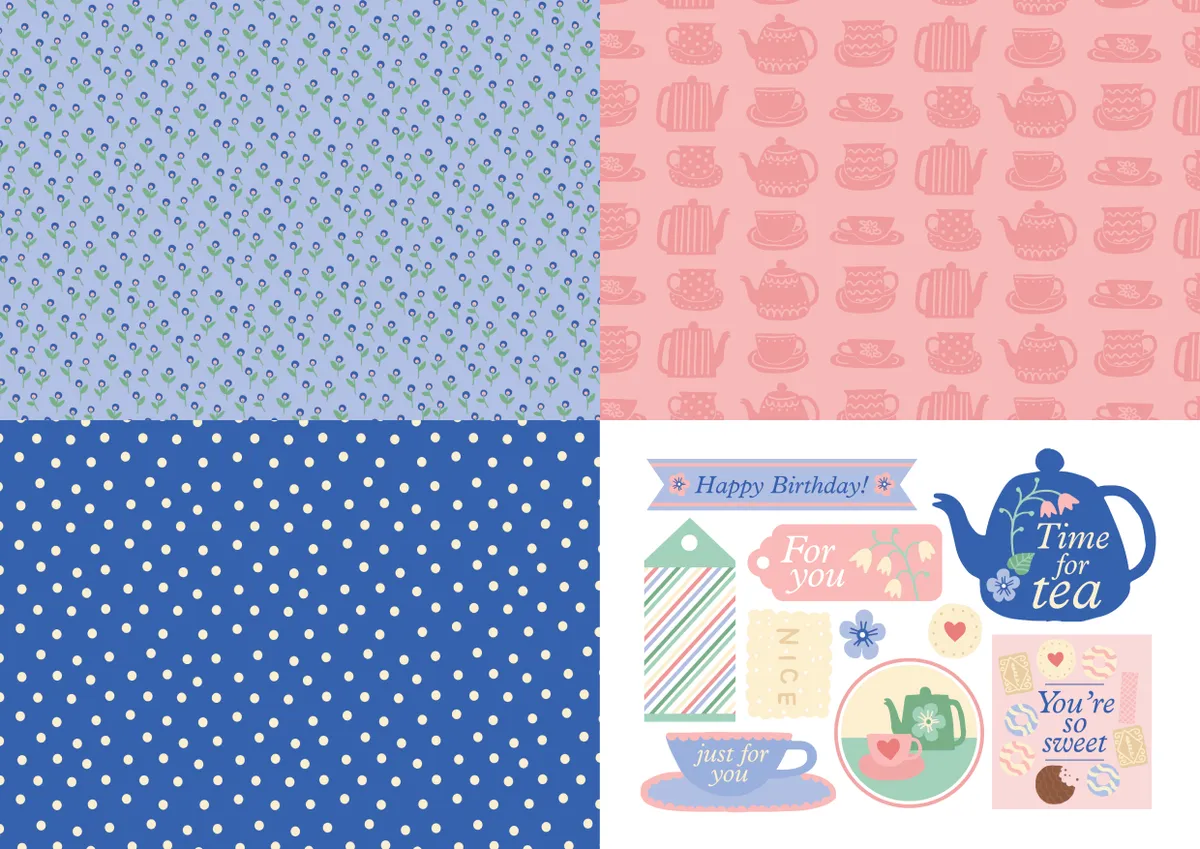
These teatime patterned papers designed by illustrator Matilda Smith, are bursting with biscuit, teacup and pretty floral details for you to craft an afternoon tea-themed card or two!
Featuring lots of traditional biscuits, including custard creams, chocolate digestives and party rings, these patterned papers are sure to satisfy your crafting sweet tooth! The collection also comes with a sheet of complementary sentiment toppers and tea-themed images to trim and add to your designs.

Want more free patterned paper? Take a look at our ever-growing collection of free patterned papers, there are lots to choose from and there are lots of different themes. We love these gardening themed papers, also illustrated by Matilda! For more general card making, let us show you how to make cards. We love seeing what you make with our free printable papers, so don’t forget to share your cards and papercraft projects with us on Facebook and Twitter, too!
Try these easy Birthday cards
Time for Tea
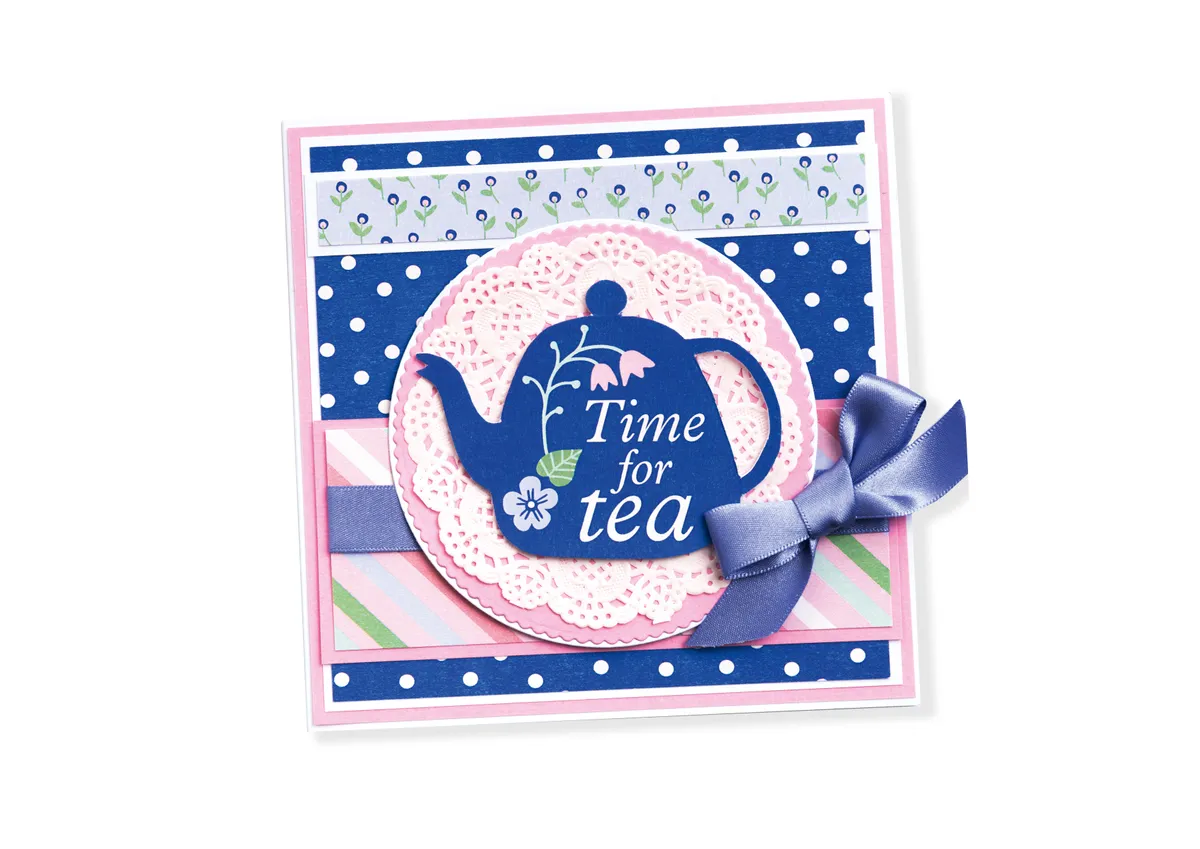
- Layer a 125mm square of blue dotty paper onto white, then pink card, leaving a thin border around the outside. Attach to a 140mm square white base card.
- Wrap some ribbon around a 125 x 50mm piece of stripy paper, then layer onto pink card. Attach to the base, approximately 15mm from the bottom.
- Layer a 125 x 15mm piece of floral paper onto white card and attach to the base, 15mm from the top.
- Attach a doily to the centre of a pink die-cut scalloped circle, then layer onto a white circle. Fussy cut the teapot topper and attach to the doily. Add a bow, to finish.
Happy Birthday
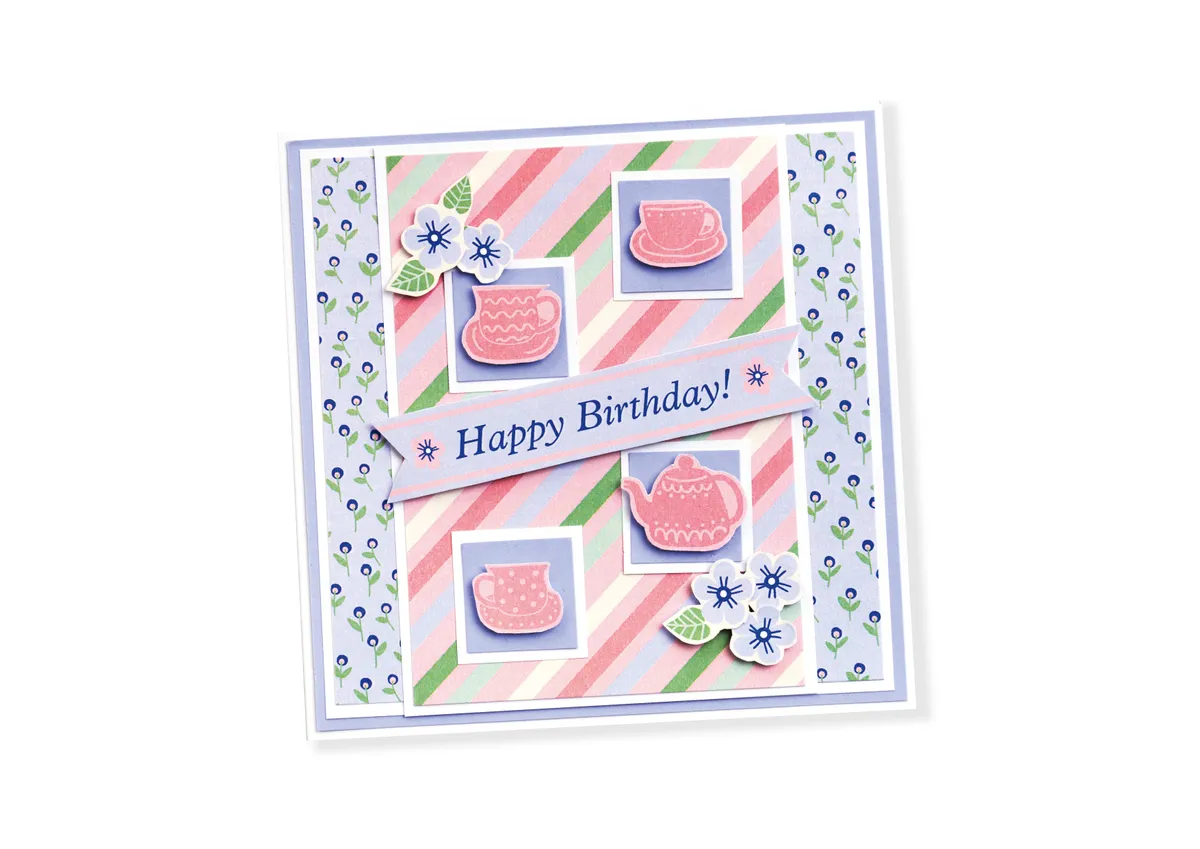
- Layer a 125mm square of lilac floral paper onto white card, then attach to a 135mm square of lilac card. Add to a 140mm square white base card.
- Cut a 90 x 125mm piece of stripy paper, layer onto white card, then attach to the base.
- Cut four 25mm square pieces of lilac card and layer onto white card. Fussy cut three cups and a teapot and attach to the squares. Attach to the base card, as shown.
- Attach the sentiment banner diagonally to the centre of the base card. Embellish the top left and bottom right corners of the stripy panel with flowers fussy cut from patterned paper.
For You
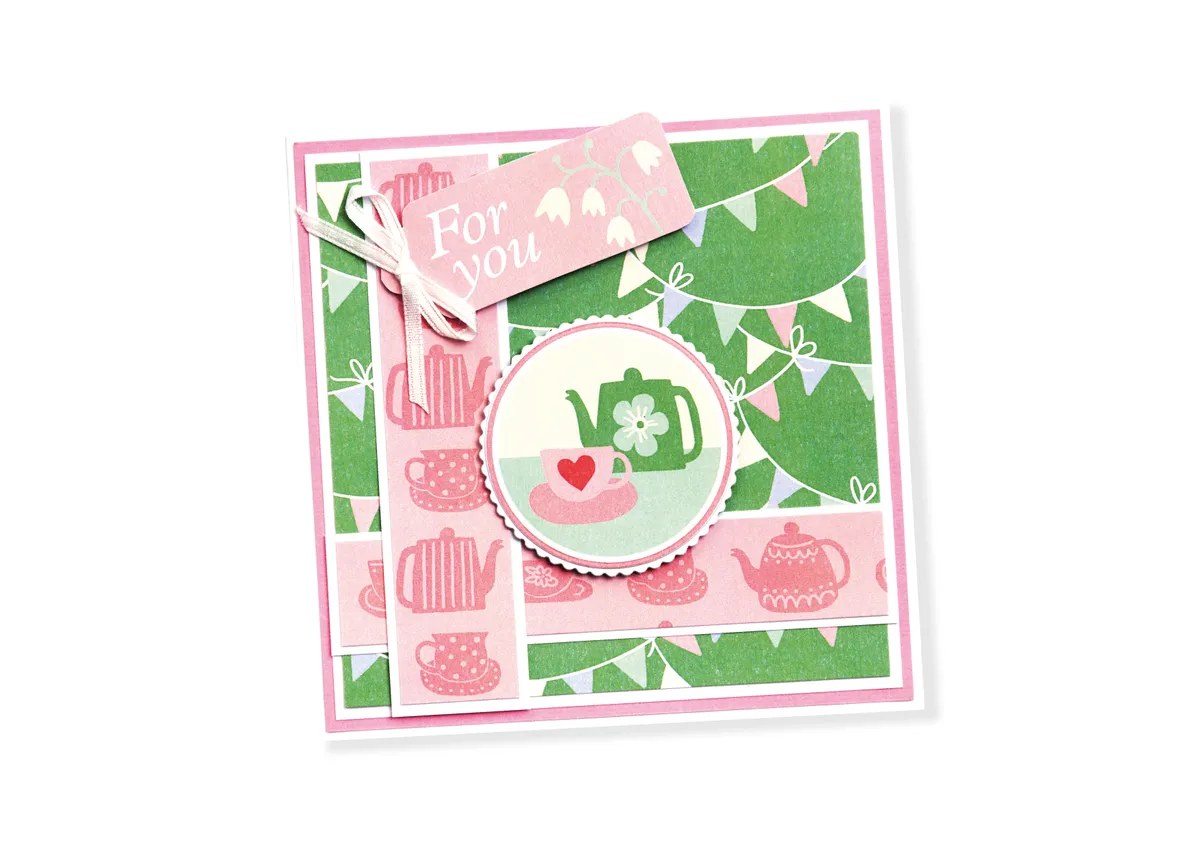
- Layer a 125mm square of bunting paper onto white, then pink card. Attach to a 140mm square white base card.
- Cut a 125 x 25mm piece of pink teapots paper, layer onto white card, then attach across the base card, 20mm up from the bottom. Cut a 27 x 125mm piece of pink teapots paper, layer onto white card and attach to the base card 20mm from the left edge.
- Layer the circular teapot and cup topper onto a pink die-cut circle, then a white die-cut scalloped circle and add to the base using sticky fixers.
- Use sticky fixers to attach the ‘For you’ sentiment tag to the top left-hand corner of the base at an angle. Add a bow to finish.
You're So Sweet
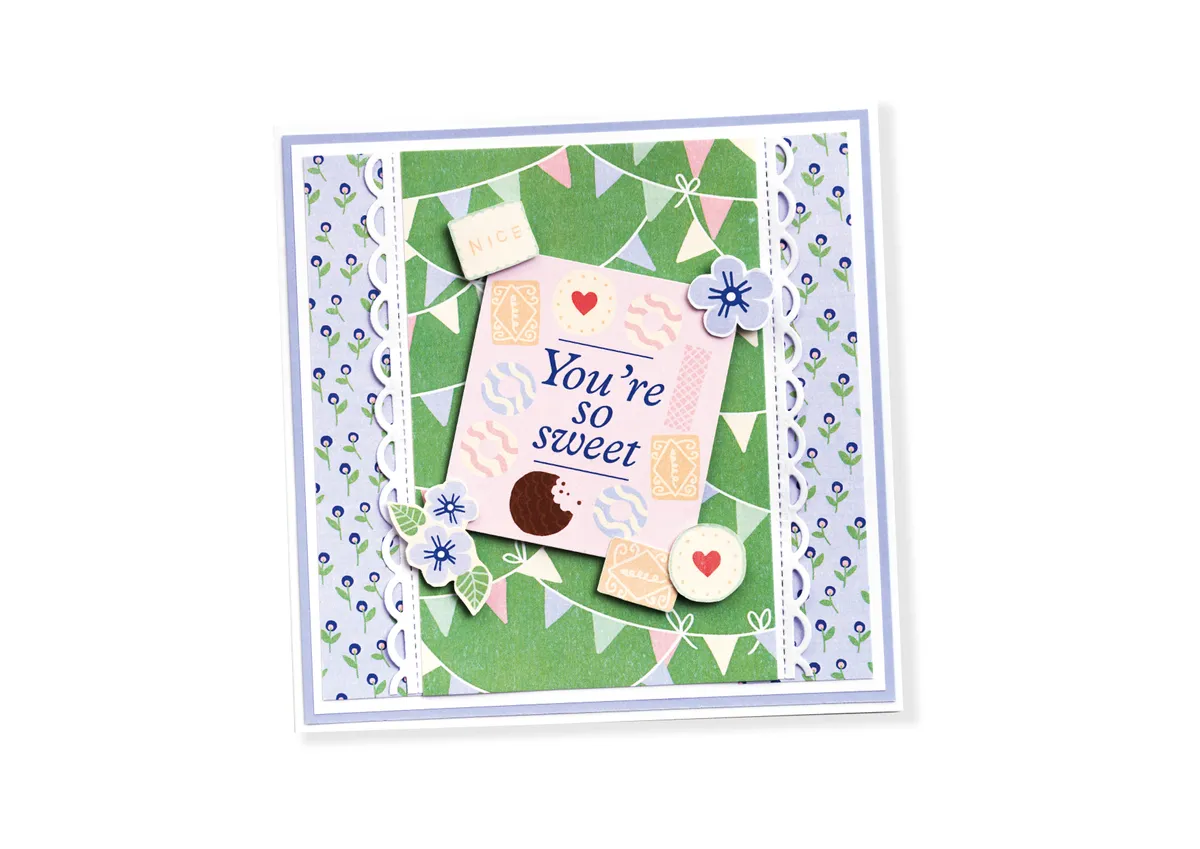
- Layer a 125mm square of lilac floral paper onto white, then lilac card. Attach to a 140mm square white base card.
- Cut a 100 x 125mm piece of white card and die-cut scallop edges down the sides. Attach an 80 x 125mm piece of bunting paper to the centre, then add to the centre of the base.
- Cut out the sentiment topper and use sticky fixers to attach it to the centre of the bunting paper at an angle.
- Cut out three biscuits and attach one to the top left-hand corner of the sentiment and the other two to the bottom right-hand corner. Cut out the flower topper and attach it to the top right-hand corner. Fussy cut two flowers from patterned paper and attach to the remaining corner.
Just for You
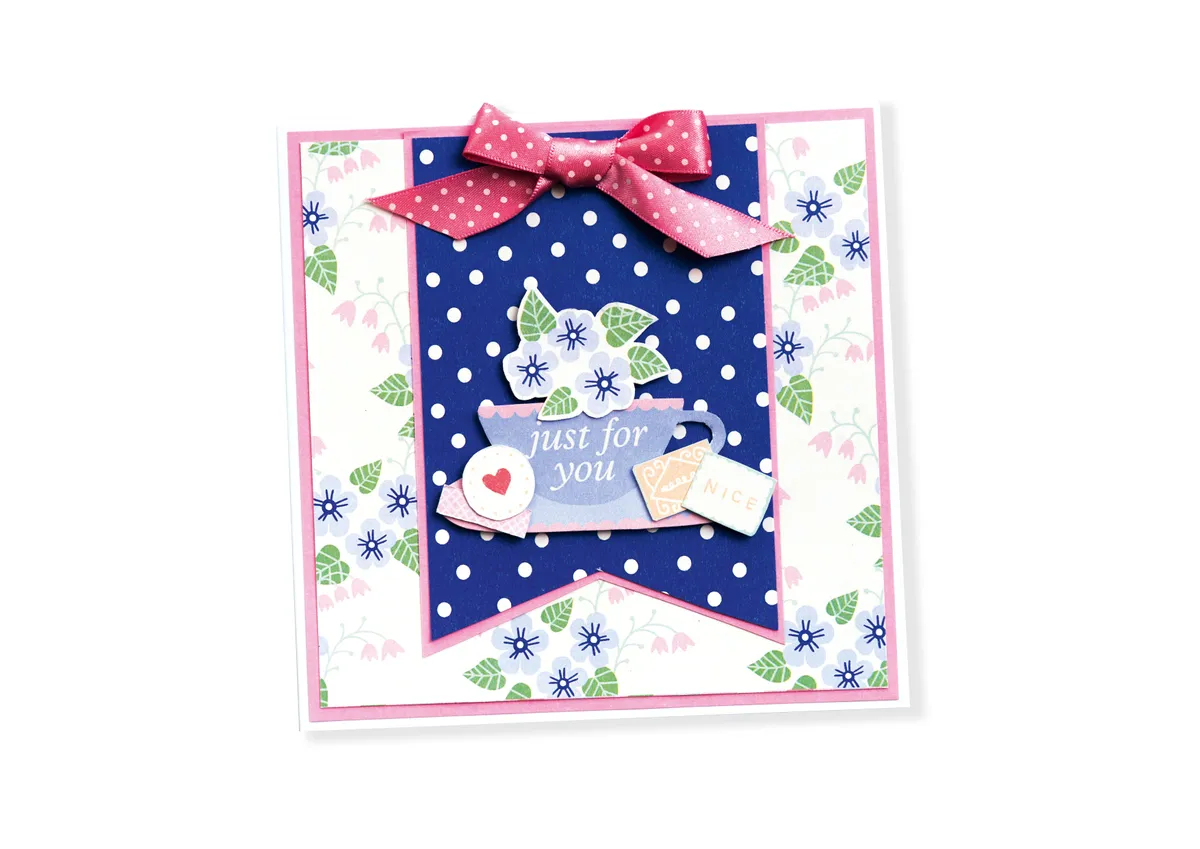
- Layer a 130mm square of floral paper onto pink card. Attach to a 140mm square white base card.
- Cut an 80 x 120mm piece of blue dots paper and trim the bottom edge into a pennant shape. Layer onto pink card, then attach to the top edge of the base card, positioned in the centre.
- Use sticky fixers to attach the teacup sentiment topper to the centre of the base card. Fussy cut a group of three flowers from patterned paper and attach to the dotted panel, just above the teacup using sticky fixers.
- Fussy cut four biscuits from patterned paper and attach two either side of the teacup. Cut a length of pink dotty ribbon and tie in a bow. Attach to the top of the dotty panel, to finish.
Nice!
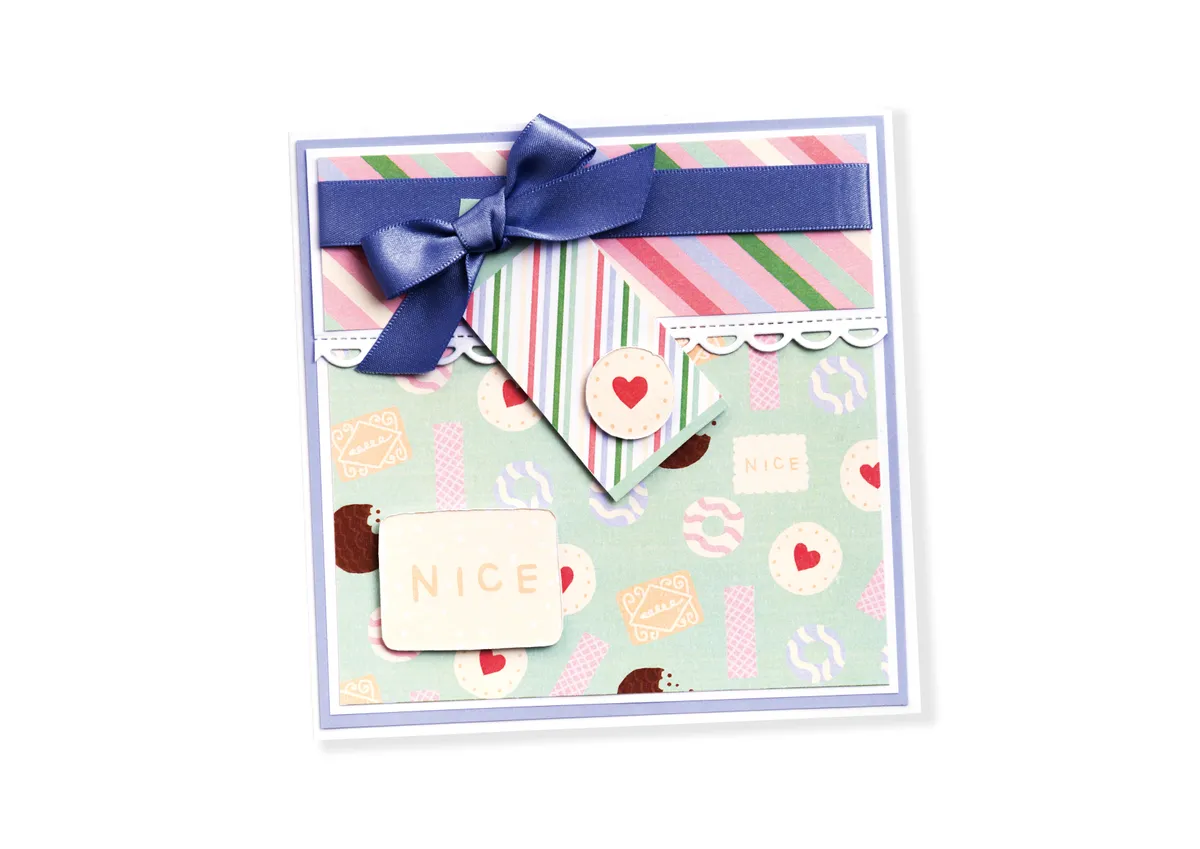
- Cut a 125mm square of biscuits paper and layer onto white, then lilac card. Attach to a 140mm square white base card.
- Cut a 125 x 50mm piece of white card and die-cut a scalloped border across the bottom. Wrap a ribbon around a 125 x 40mm piece of stripy paper and secure on the reverse. Add to the white panel. Attach the panel across the top of the base card.
- Cut out the stripy tag and attach near the top left corner of the base card at an angle. Add a ribbon bow.
- Fussy cut the biscuit topper and attach to the tag on the base card using sticky fixers. Cut out the ‘NICE’ biscuit and attach near the bottom left-hand corner of the base card using sticky fixers.
Download your free teatime treat patterned papers:
To download the paper collection, click on the link below the image and it will open in a new window. You can then save/download the sheet. There is one PDF to download, which contains seven sheets of patterned papers and one topper sheet.