How to use Tim Holtz Distress Crayons

Follow our step-by-step tutorial on how to use Tim Holtz Distress Crayons to create a beautiful mixed media project!

Try 6 issues of any craft magazine from just £9.99

Published: March 10, 2021 at 7:13 am

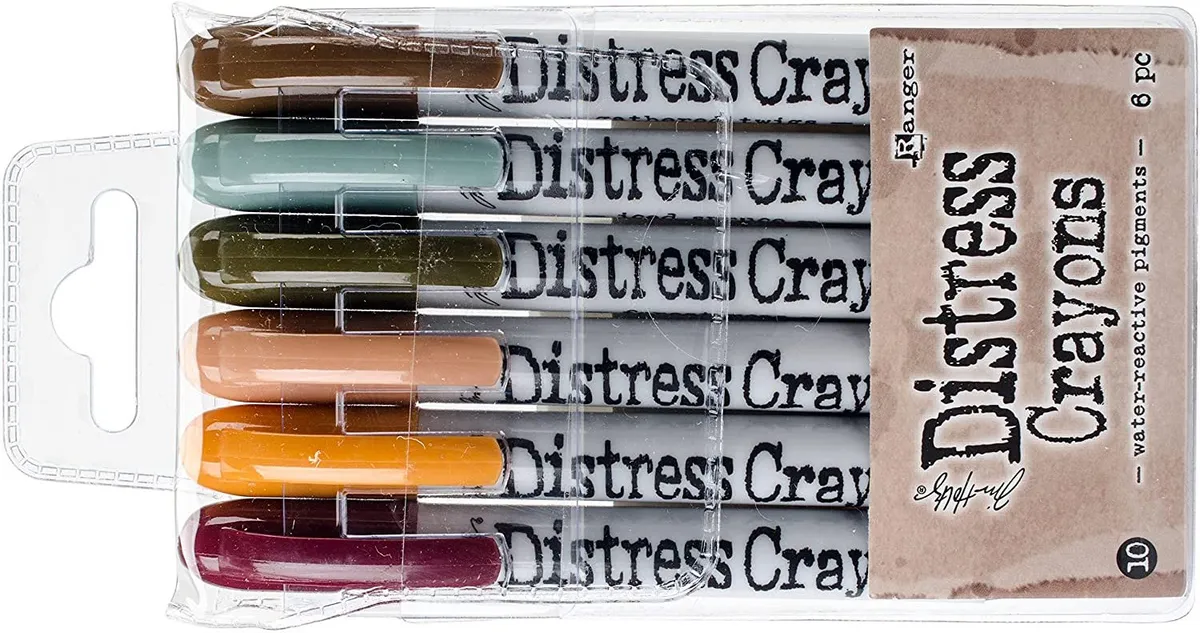
Distress Crayons are a useful addition to the toolbox of a mixed media artist. Launched by Tim Holtz as part of his 2016 range with Ranger, they are available in a wide range of different colours and coordinate with the existing palette of much-loved Distress Inks.

The heat-resistant crayons have been formulated to achieve vibrant colouring effects on porous surfaces for mixed media. The smooth water-reactive pigments are ideal for creating brilliant backgrounds, watercolour, smudge effects, texture and more!

Tim Holtz Distress Crayons

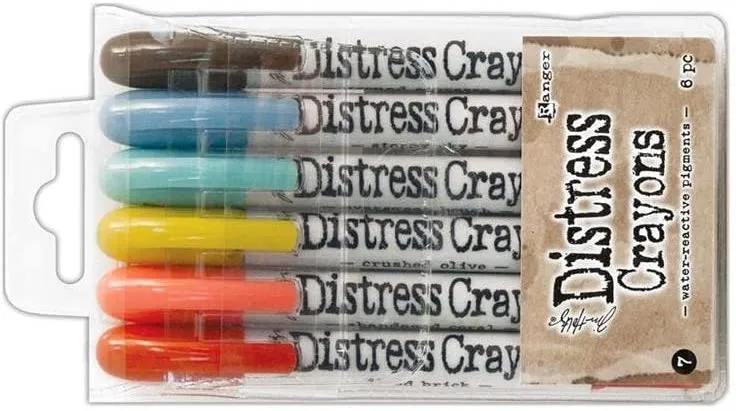
The soft and creamy pigment is contained within a lipstick-style pen with a twisting mechanism for easy application. Take your Distress Crayons and colour directly onto your surface, and then either blend with a damp paintbrush or smudge using your fingertip. Try applying the Distress Crayons through a stencil for a textural effect similar to embossing paste. The crayons can also be layered with Distress Inks or Stains for even more creative possibilities.

Tim Holtz Distress Crayons

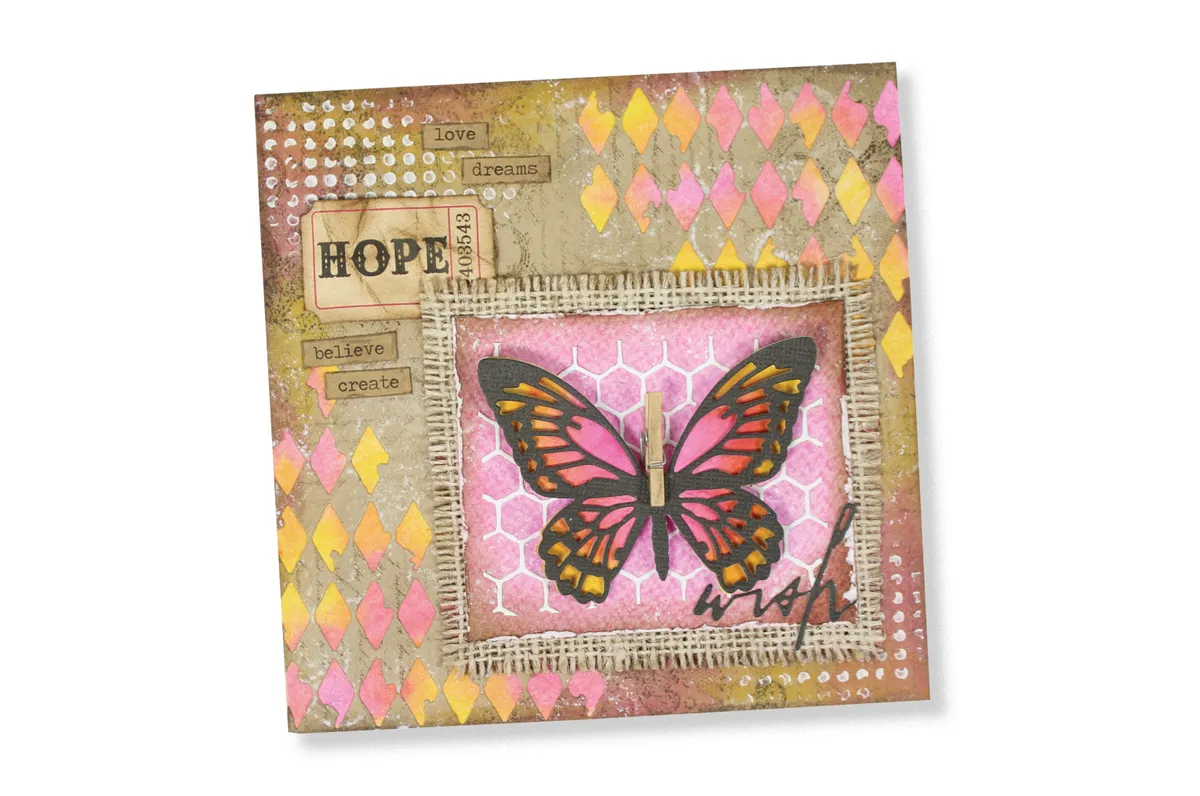
Simone Clay has created this gorgeous multi-media project for us, and here are Simone's top tips for using Distress Crayons:

  • Distress Crayons can be applied directly onto any colour of card. Try applying and smudging them with your finger onto black card for a beautiful night sky effect.
  • If you use Distress Crayons through a stencil to add texture, be sure to allow the image to dry, or the crayon will smudge. As the crayons are heat-resistant, you can use a heat tool to speed up the drying time.
  • Once dry, you can apply Distress Ink over textured crayon using a blending tool. The dried crayon will resist the ink in the same way that a heat embossed image would.
  • Prepare your surface with gesso, then apply the Distress Crayons on top and blend with your fingertip. Place a stencil over the coloured surface and wipe through the stencil with a baby wipe. The baby wipe will remove the crayon for a reverse effect!
  • If you are using one Distress Crayon on top of another, wipe the tip of the crayon with a paper towel once you have finished, so that you don’t contaminate the colours.

Like this project? Check out our Art section for more exciting projects like this one, we love these DIY painted plant pots! Or how about learning how to paint a watercolour cactus, or create your own monochrome artwork? Have you used Distress Crayons? Show us your artwork on Facebook or post them on Instagram, we love to see what you make!

How to use Tim Holtz Distress Crayons

You will need:

  • Tim Holtz Distress Crayons
  • White card blank
  • Kraft card
  • Watercolour card
  • stencils (or make your own)
  • Acrylic paint (white)
  • Ephemera (or make your own)
  • Stamps

Step 1

Choose two colours of Distress Crayons, we’re using Picked Raspberry and Fossilized Amber, and apply directly onto the bottom left and top right corners of the front of some white card. Blend by rubbing the crayon into the surface with your fingertip.

How to use Tim Holtz Distress Crayons – step 1

Step 2

Take a piece of kraft card, and stamp on some images. We’re using a brown ink with a lace and script stamp set, so the effect is quite subtle. Apply the same colours of Distress Crayons from step 1 to the bottom right and top left corners of the kraft panel, and blend with your fingertip.

How to use Tim Holtz Distress Crayons – step 2

Step 3

To add interest, apply a darker Distress Crayon around the edges of the kraft card – we’re using Walnut Stain for this as it’s quite close to the colour of the kraft card. Apply some of this Distress Crayon directly to your fingertip and smudge over different areas of the Kraft panel, then continue applying the crayon to the panel until you have achieved an aged look.

How to use Tim Holtz Distress Crayons – step 3

Step 4

Hand-cut using a craft knife, or die-cut some shapes in the top right and bottom left corners of the Kraft panel. We’ve gone for a harlequin pattern, but you can use whatever dies you have to hand. Foliage and flowers would also look great!

Next, grab a stencil! We’re using a small dot’s stencil to complement the geometric shapes from the diamonds, but if you don’t have one – how about making your own? Place your stencil in the top left corner, and scribble over it with another colour of Distress Crayon – we’re using Picket Fence Distress Crayon here. Rub the Distress Crayon through the stencil using your fingertip them repeat in the bottom right corner.

How to use Tim Holtz Distress Crayons – step 4

Step 5

Add small dabs of white acrylic paint to the top right and bottom left corners of the Kraft panel using a dry paintbrush to create highlights and add to the aged look. Leave to dry then attach the Kraft panel to the base so that the coloured areas are visible through the die-cut shapes in the harlequin (diamond) pattern.

How to use Tim Holtz Distress Crayons – step 5

Step 6

Colour a 90 x 75mm piece of watercolour card with Distress Crayons, we’ve gone for Picked Raspberry again to coordinate. Paint over the crayon with a wet paintbrush to smooth and swirl the pigment together. Using the same colour that you used to age the edges of the kraft card (we used Walnut Stain), colour around the edges to add depth and interest. If you have some hessian, it looks nice to layer this panel on top of some hessian. To create the honeycomb effect, we have die-cut some chicken wire from some white card, however, why not draw on the honeycomb pattern with a white gel pen or white acrylic paint? Or how about adding some random white swirls instead?

How to use Tim Holtz Distress Crayons – step 6

Step 7

Draw and cut, or die-cut a solid butterfly from white card and a detailed butterfly from black card. Colour the white butterfly using your choice of Distress Crayons – we’re using Picked Raspberry and Fossilized Amber Distress Crayons again. Attach the detailed butterfly over the top of the solid, colourful butterfly and attach to your card. We’ve used a mini peg to attach our butterfly, which adds to the rustic look of the project!

How to use Tim Holtz Distress Crayons – step 7

Step 8

Grab some ephemera and crinkle it up to age it. Apply Distress Crayon (again we’re using Walnut Stain) directly to your fingertips and work into the paper. Then apply the Distress Crayon around the edges of the ephemera, before adding to the base. If you don’t have any pre-made ephemera, how about writing your own sentiment? It doesn’t have to be too perfect – remember, we’re distressing it!

How to use Tim Holtz Distress Crayons – step 8