DIY painted plant pots

Save your old tin cans and use them to make these vibrant DIY painted plant pots designed by Jemma Bursnell

Try our magazines – get 6 issues from just £9.99!

Published: January 31, 2021 at 8:38 am

Welcome in a glorious riot of colour and pattern with Jemma Bursnell’s painted pots. These bright and brilliant planters are not only a great way to recycle old tins and use up tester pots of paint, but they provide the perfect canvas to show off your creativity.

Go wild with colours that clash or show off your favourite shades as you experiment with patterns. This fun project is a brilliant way to upcycle old tin cans and give them a creative new look.

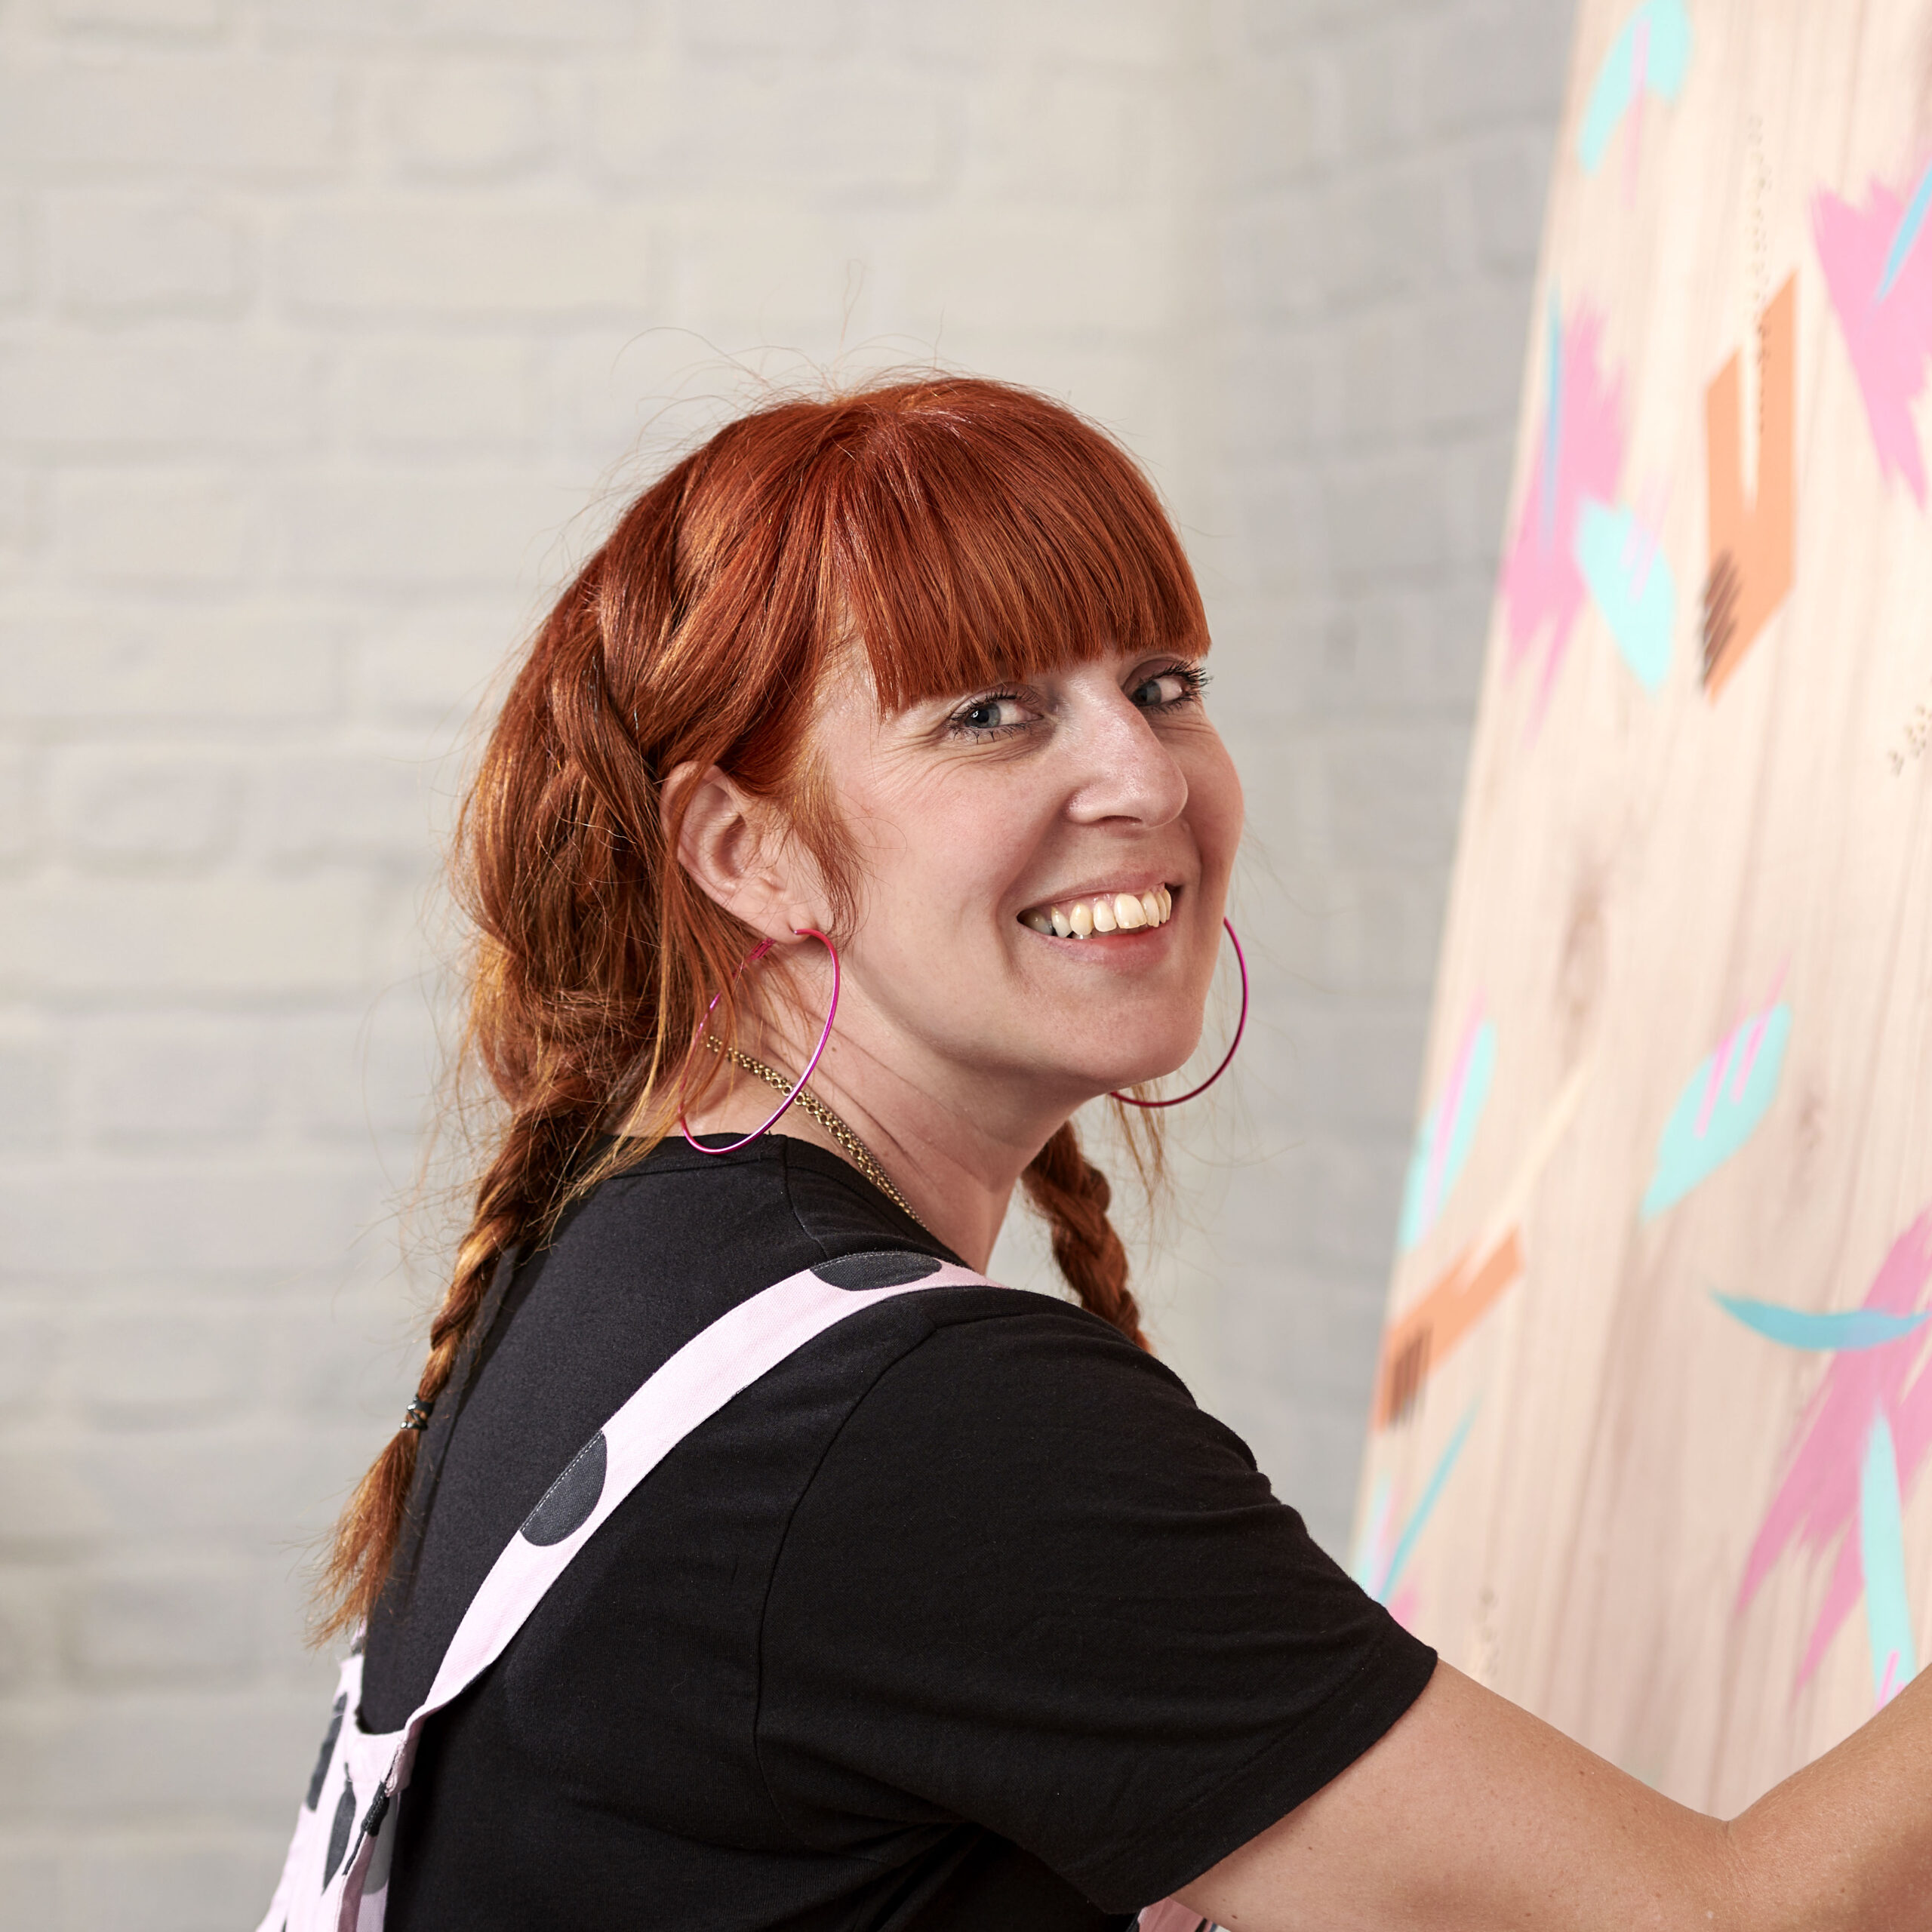
Jemma Bursnell shares her work as @emotionalwaterfallart on Instagram, where she's known for her love of pattern and colour. Head over to her account for more inspiration!

Looking for more ways to get creative with acrylic paints? Check out our acrylic painting guide to help you get started. If you're looking for watercolour painting ideas, you could have a go at painting a watercolour cactus or try your hand at monochrome painting for beginners.

Read on to learn how to make your own painted plant pots and find out how to make a macrame pot holder.

You will need:

  • Matte emulsion tester pots
  • Acrylic paints
  • Paint brushes
  • Canvas varnish
  • Uni Posca paint pens
  • Masking tape
  • Tins of various sizes
  • Three strand cotton rope

How to paint your plant pots

Step 1

Rinse out and dry your tins so that you have a nice clean surface to paint on. Paint on a layer of matte emulsion, combining colours in stripes or panels, for instance, or just use one shade. Let the paint dry. You can create clean lines on your tin using masking tape – simply place the tape where you want any lines to go, paint over the edges and peel the tape away when the paint is dry.

DIY painted plant pots step one

Step 2

Now for the fun bit! Create your patterns and designs over the top of the base colour using acrylic paint, adding in extra details with Posca pens if you wish. You can copy some of the patterns on Jemma’s plant pots below, or have a go at creating your own unique designs.

DIY painted plant pots step two

Step 3

Fill the planters with your plants of your choice and display with pride! For hanging pots, read on for instructions on how to create your very own macramé pot holder.

How to make a macrame plant pot holder

Step 1

Hang your painted pots in traditional style with just string and simple knots. To begin, cut eight lengths of cotton rope to approximately 125cm each and knot together at one end.

How to make a macrame plant pot hanger step one

Step 2

Place the base of the tin over the knot as shown, and use tape to stick down two strands at a time.

How to make a macrame plant pot hanger step two

Step 3

Tie knots mid-way down the tin between one half of each pair of adjacent strands.

How to make a macrame plant pot hanger step three

Step 4

Tie a neat knot higher up the tin, between one half of each adjacent pair.

How to make a macrame plant pot hanger step four

Step 5

To create a hanging loop, tie the string together in a loop at the top. Cut off any excess rope.

How to make a macrame plant pot hanger step five

You’re done! Enjoy your beautiful painted plant pots. Looking for more macrame craft projects to make? Have a go at this beginner macrame wall hanging, find out how to make a macrame Christmas star, or make your own macrame necklace.


DIY painted plant pots