How to paint a watercolour cactus
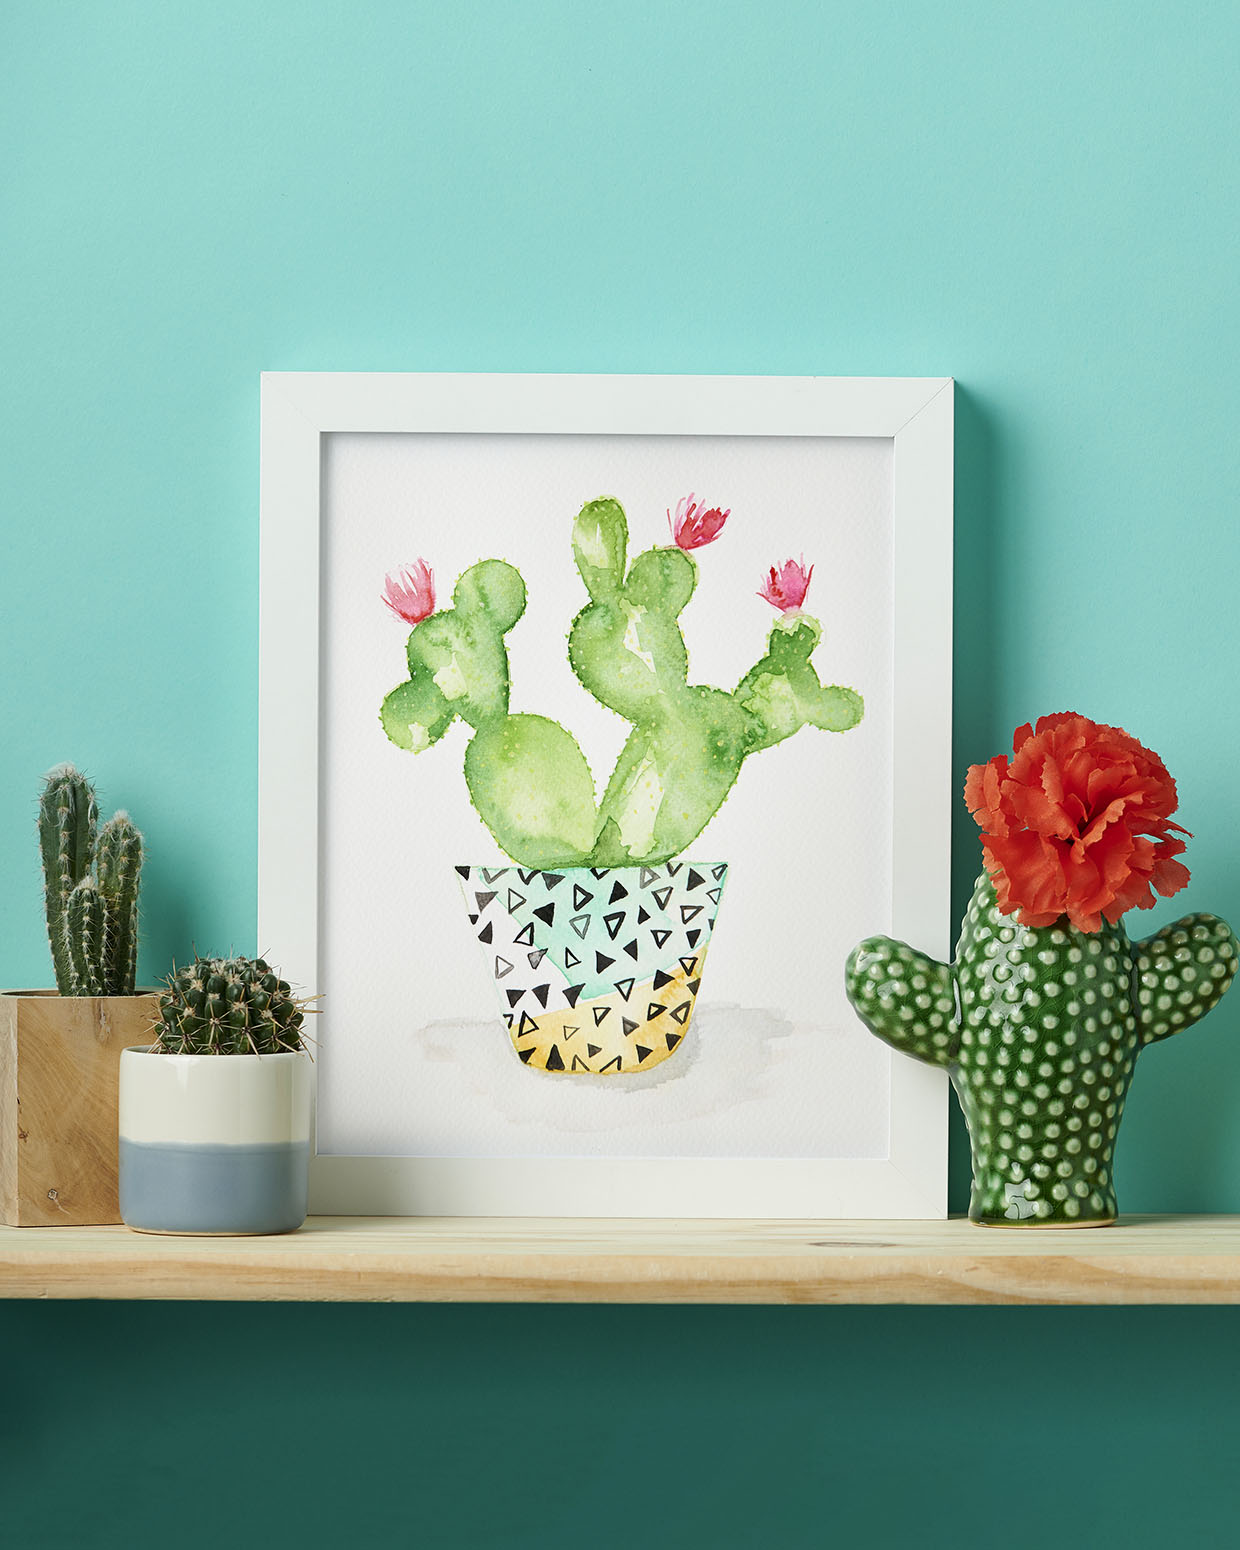
Add a splash of colour to your home by learning how to paint a watercolour cactus to hang on your wall!

Published:
With their quirky shapes and vivid greens, cacti are an excellent plant to paint in watercolour – a medium that allows you to build up colour and really bring things to life, layer by layer. This project also makes way for plenty of creative freedom with a pot that positively zings!
This is a great way to learn basic watercolour skills and make a beautiful work of art in the process.
Top tips: Coax paint to areas by using more water, or stop it running by drying the area with a piece of kitchen towel. Leave a few patches of white in your painting for added depth. We’ve used a white Posca pen to add highlights to the watercolour cactus, but you could also use white gouache paint to get the same look.
Before you get started, take a look at our best watercolour paints guide to see our pick of the top paint sets out there.
Looking for more watercolour projects? Check out our article on monochrome painting for beginners. If you’re new to painting, you might also enjoy our acrylic painting guide and beginner’s guide to gouache to help you get to grips with the basics. We’ve also put together lots of easy watercolour painting ideas, fall painting ideas and art journal ideas to inspire you.
You Will Need
- Pencil
- Green pencil crayon
- Watercolour paper
- Brushes, various sizes
- Watercolour paints
- Uni Posca paint pen
- Kitchen paper
Total time:
Step 1
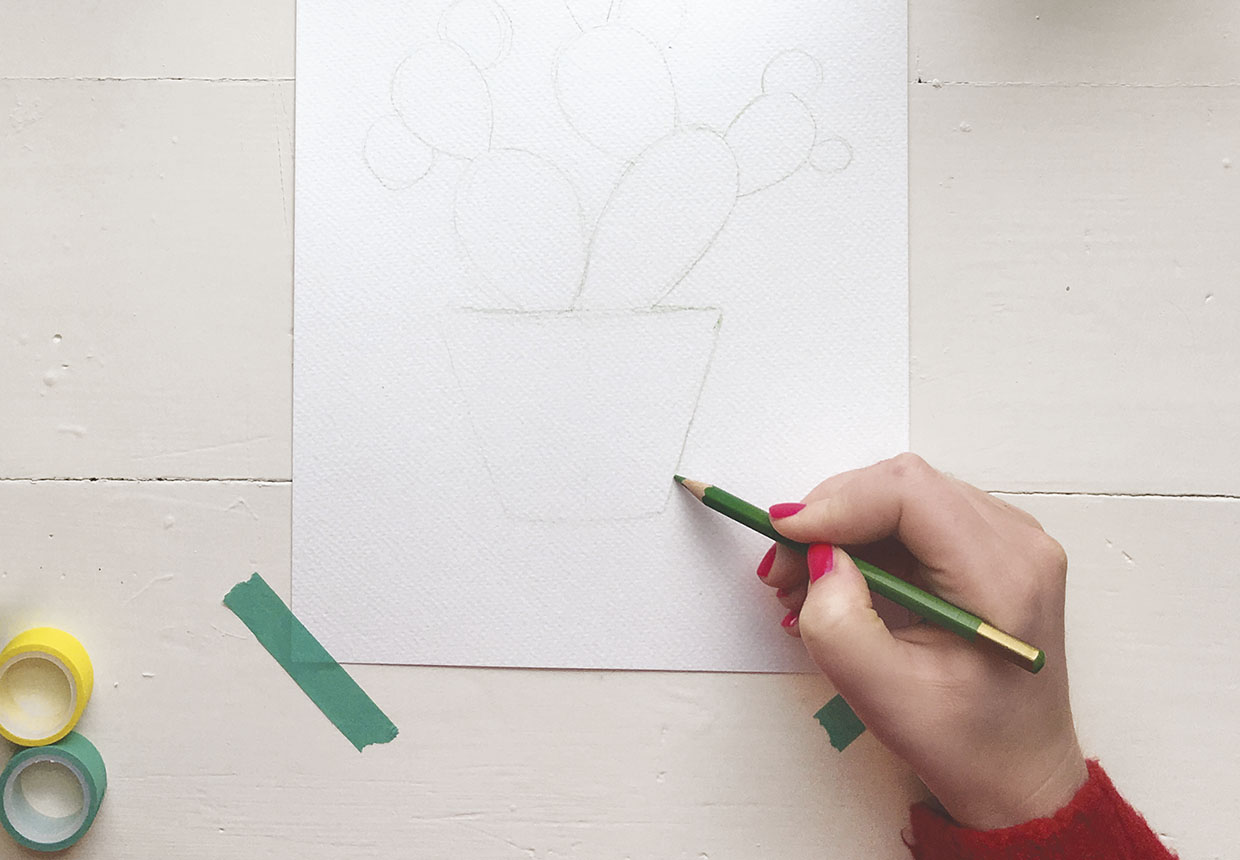
Using a pencil, sketch out the rough shape of your cactus on the watercolour paper, then outline lightly with green pencil crayon.

Step 2
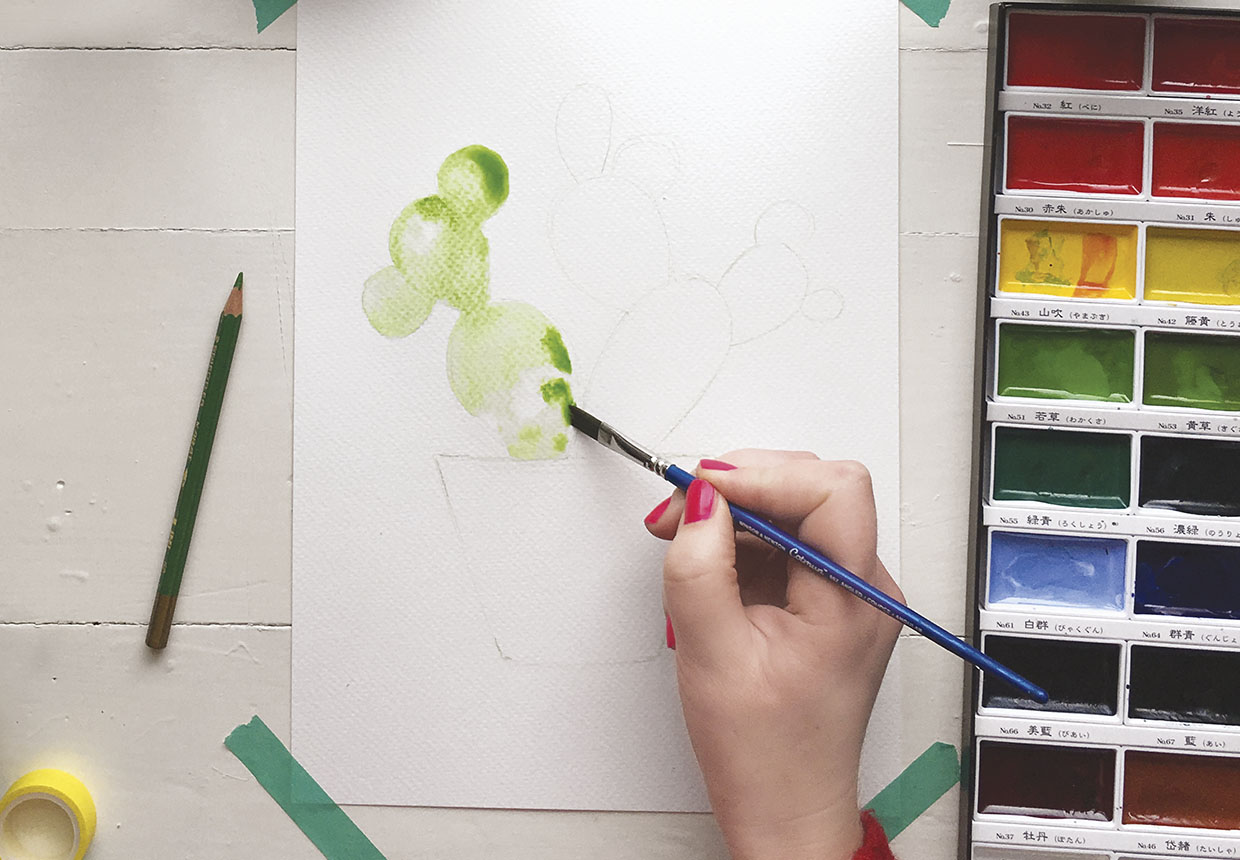
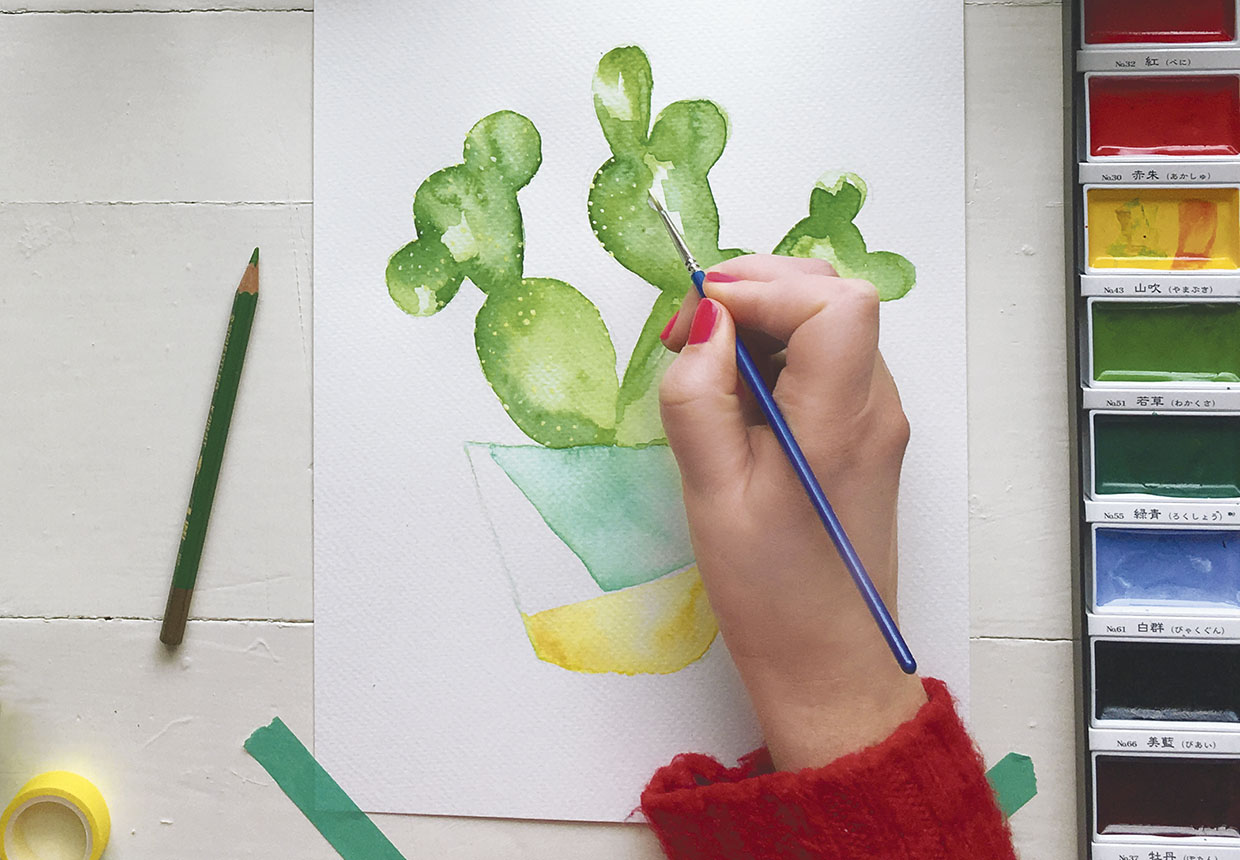
Using a large brush and starting with one section of the cactus, wet the paper inside the shape. (Make sure you have some kitchen towel at the ready to mop up any excess water!)

Step 3
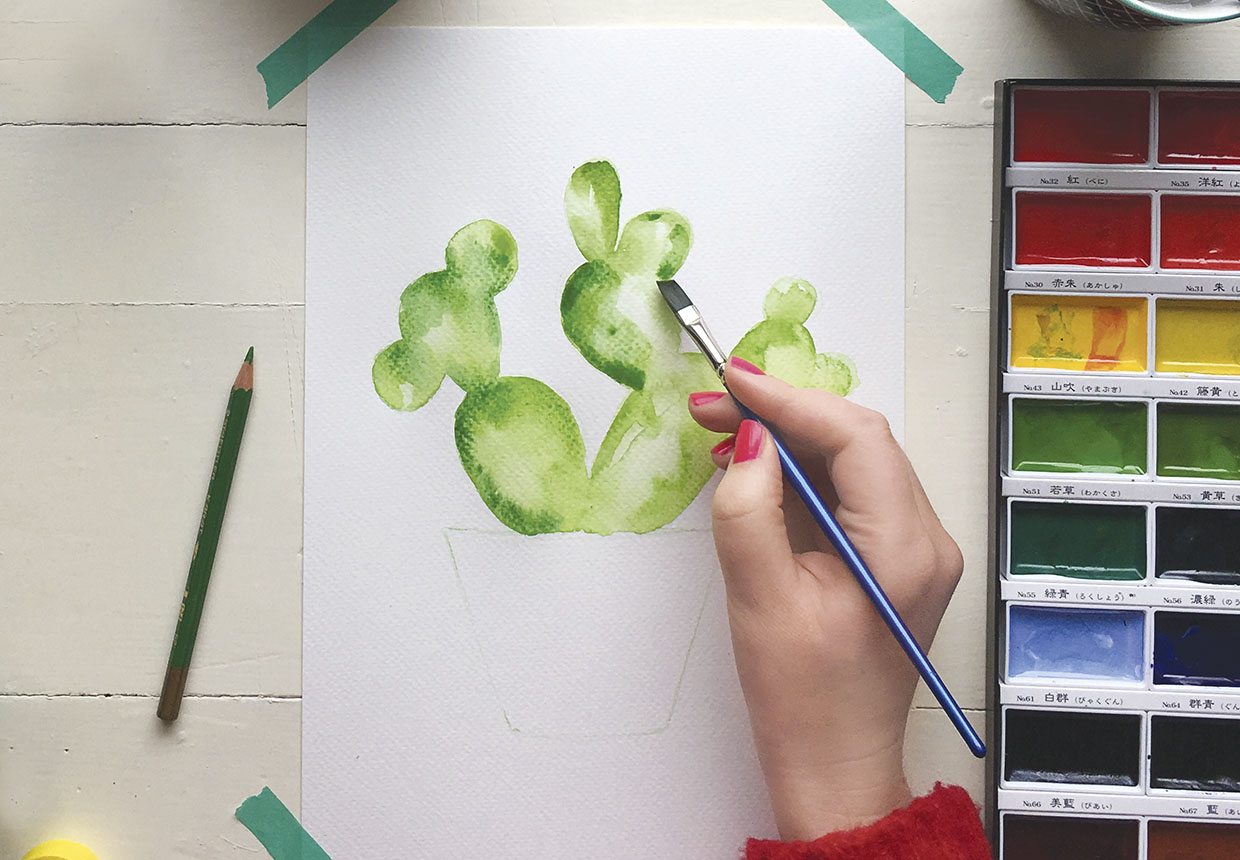
Mix a light green and load your brush, then allow it to flood into the wet area. Repeat steps 2 and 3 until your cactus is completely green.

Step 4
Mix a deeper green, and with a wet brush add it to the relevant areas, allowing the colour to bloom and bleed as it wants.

Step 5
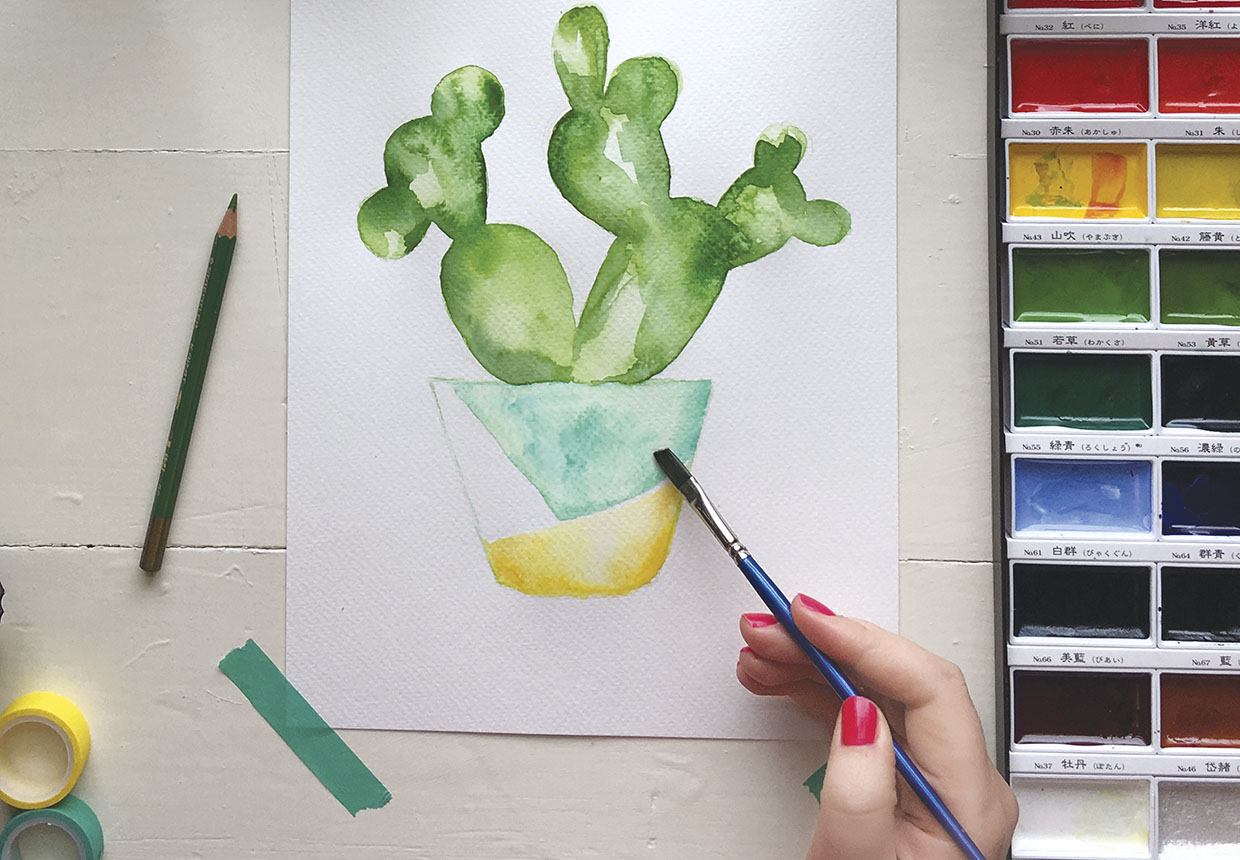
Using the technique in the previous steps, paint in your pot.

Step 6
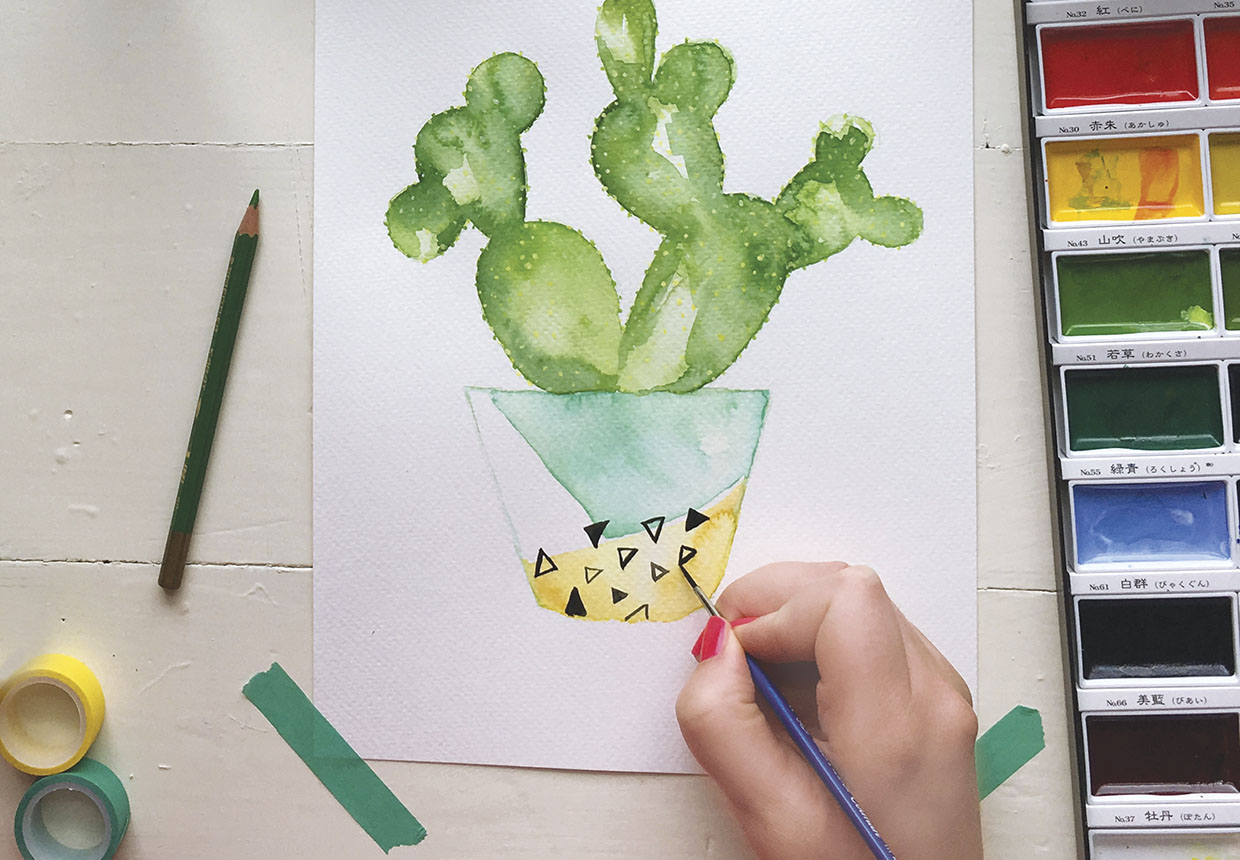
Once the cactus is dry, use a thicker mix of watercolour (or a Posca pen) to add yellow dots to your cactus. Once these are done, add a little green to the mix to paint dots around the outside of your cactus for a bobbly look.

Step 7
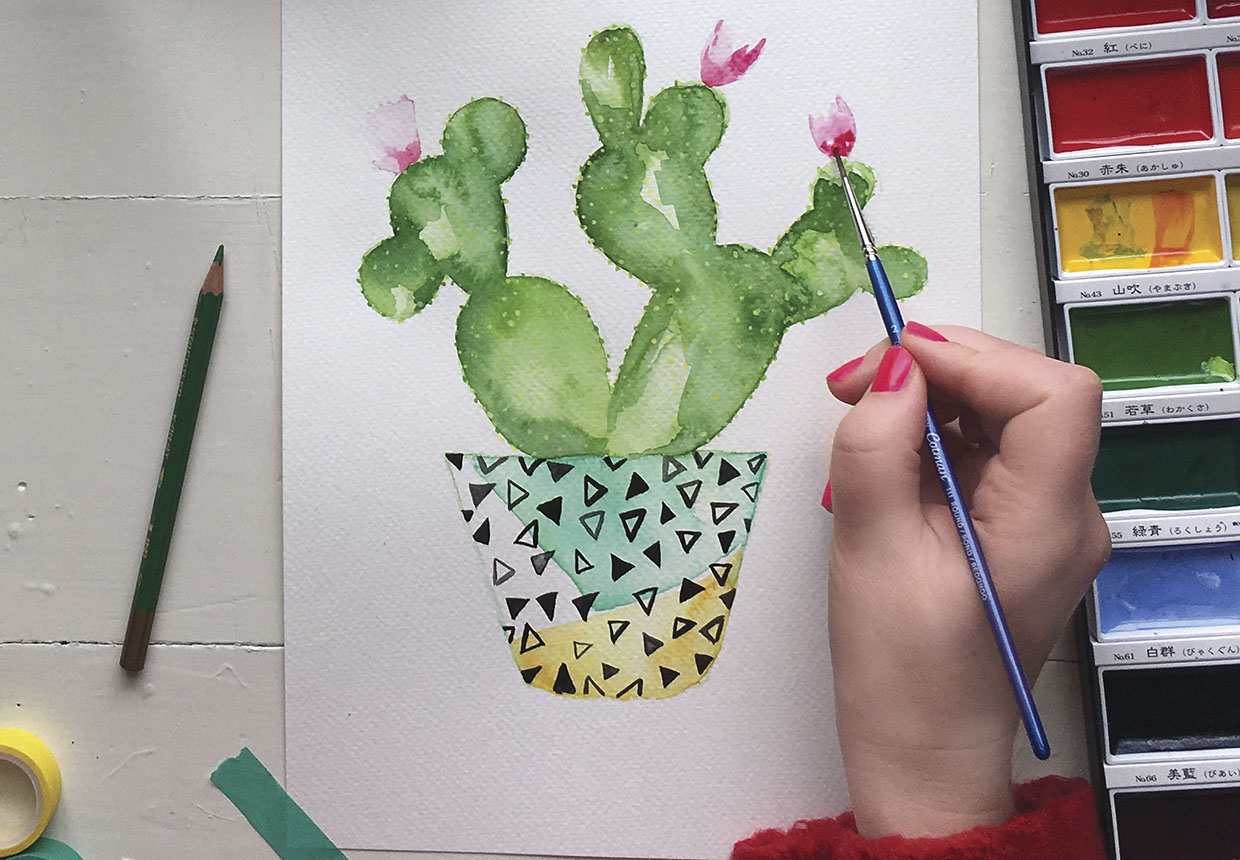
Mix a strong black and, with a fine brush, paint triangles on the pot. Add a few corners to the edges of the pot to give the sense of a continuous pattern.

Step 8
Add in the flowers with paler pink paint first, then paint in rough petal shapes with a darker pink or red over the top.

Step 9
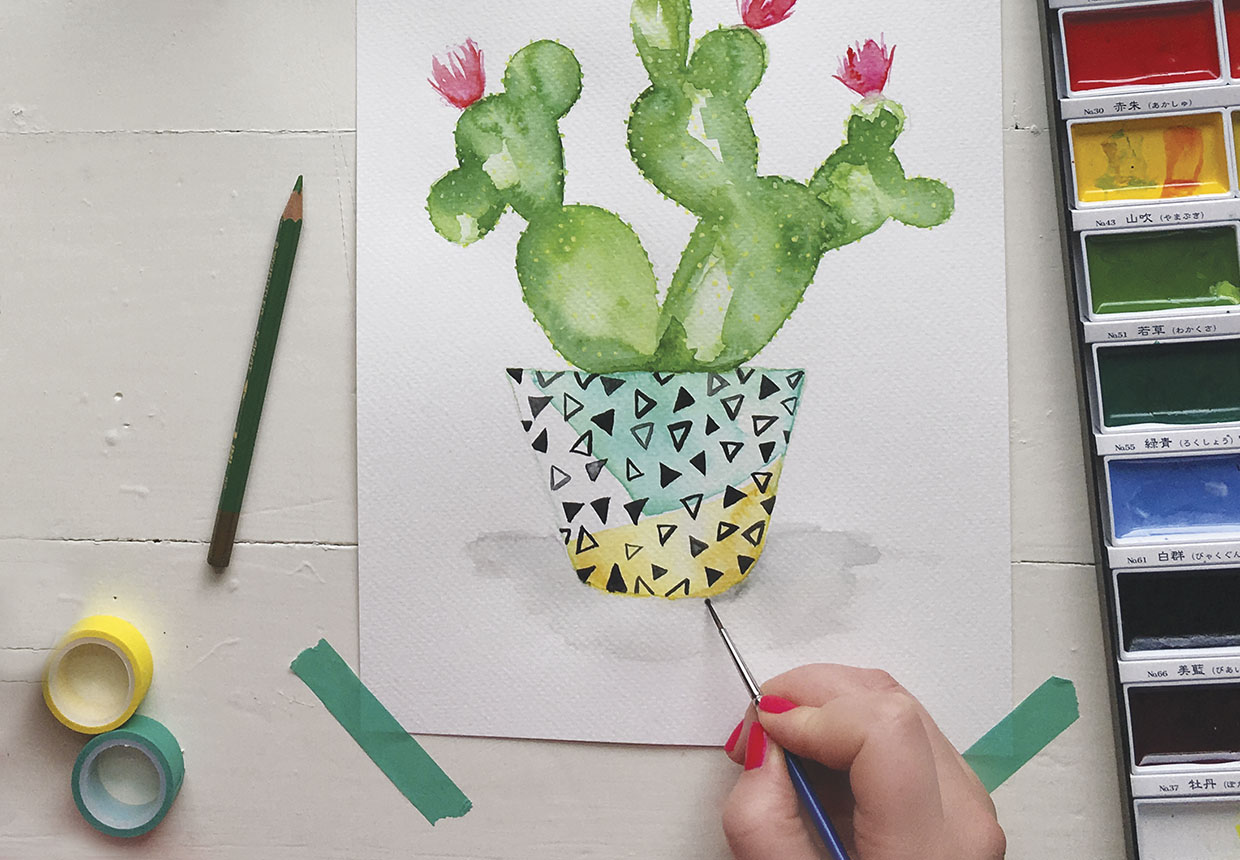
Use a watered down wash of pale grey to add a shadow. Add a thin line of darker grey directly beneath one side of the pot’s base, for a more intense shadow.

You’ve finished your cactus! Find a space on a wall and display it with pride.