Pencils are usually the first medium that an aspiring artist tries and they are incredibly versatile. Once you've learned some basic pencil drawing techniques, you'll be amazed how much your drawing improves!
Pencil drawings can range from light outlines to works so detailed that they're nearly impossible to distinguish from a photo. They can be rough and ready in style or incredibly neat and precise – it's all down to your individual style and that's something you'll develop as you become a more confident artist.
A pencil sketch is usually the starting point for any work of art, so getting to grips with pencil drawing techniques will help you to improve your overall artistic skills – even if you don't want to use it as your main medium. It's a great way to learn proportion, depth of field and other essential techniques.
It's also incredibly portable – you can put a pencil and a small sketchbook in your bag when you're going on a day out or setting off on your travels. You'll be ready to draw whenever you feel creative.
If you're just starting out, it's a good idea to keep an artist's journal to keep track of your ideas and practice your drawing techniques. You can annotate your sketches with little notes so you don't forget your ideas when you want to develop a drawing into a larger work of art.
In this beginner's guide to pencil drawing techniques, we'll cover the materials you need to get started, some basic pencil drawing techniques and some ideas to help you explore this wonderful medium. Read on to learn more…
Wonderful resources
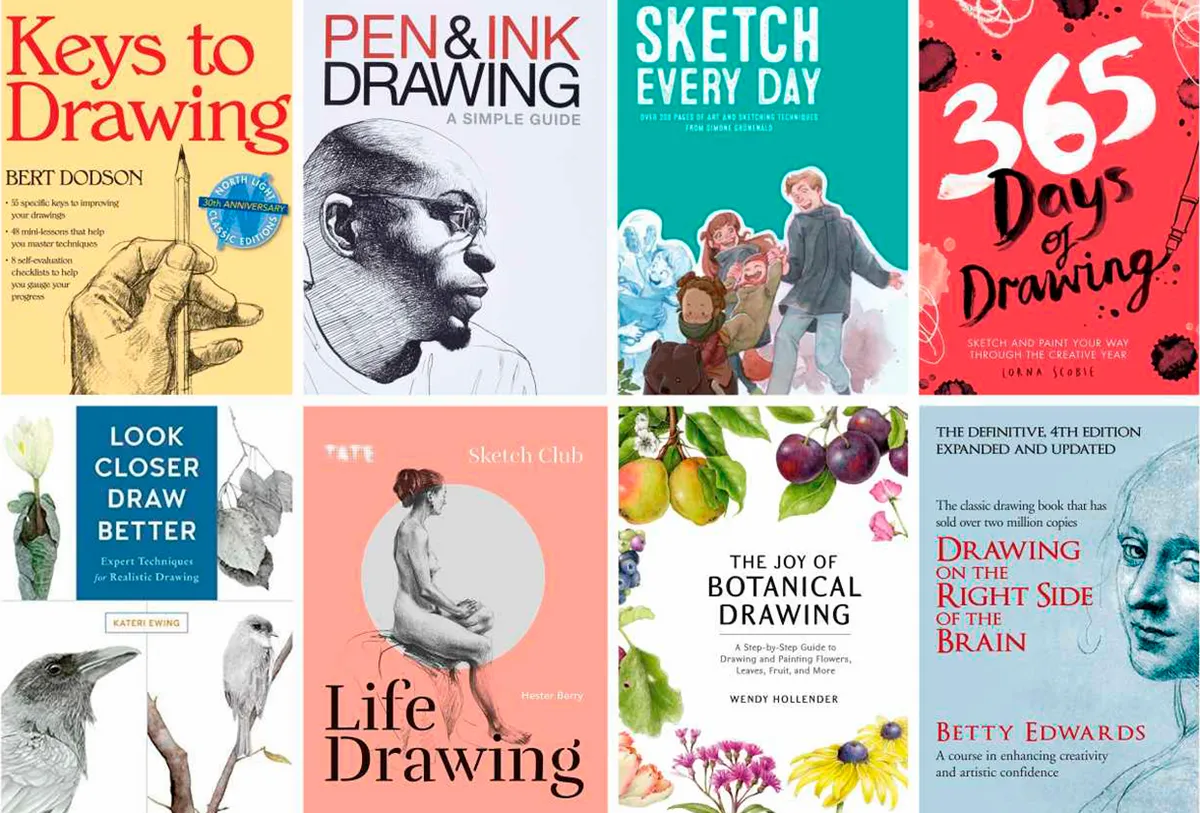
If you want to improve your skills, take a look at our pick of the best drawing books before you begin.
Pencil drawing supplies for beginners
The basics
When you start drawing, there are three things you'll need: paper, pencils and an eraser. All of these things are available quite cheaply and you don't need to spend a lot of money to have a go at pencil drawing.
However, if you want to develop your skills further then it's worth investing in some good quality supplies so that you get the most out of your new hobby.
Drawing pencil sets

To start with, you'll need to buy a set of pencils. Drawing pencils sets usually vary in consistency: some pencils will be very soft and blendable, while others will have firmer tips which are better for fine lines and light sketching.
A pencil with H marked on the side will be firm, while a B will be softer. The number added to the letter indicates how hard or soft a pencil will be when you draw with it: a 6B will be a lot softer than a 2B. A HB pencil is right in the middle – it's the kind of pencil that you will have used at school.
When choosing a set, begin with a selection that includes both H and B pencils. If you develop a liking for soft B pencils then you can get pencil sets that only include B's. You might even progress to using pure graphite pencils as you begin to find your own drawing style. If you're looking for good quality pencils to buy, Derwent and Faber Castell are both good brands to look out for.
You can find lots of recommendations in our best drawing pencils guide or our best mechanical pencils for drawing guide.
If you're in a hurry, try these great pencil sets we've found to suit a range of budgets:
- Buy the Drawing Pencil set (6 pencils) from Cass Art (£4.95)
- Buy the Derwent Professional Graphic Medium pencil set (pack of 12) from WHSmiths (£16.99)
- Buy Derwent Graphic 9B-H pencil set (pack of 12) from Amazon (£17.12)
- Buy Professional 2B Woodless Graphic pencils (set of 6) from Amazon (£8.99)
If you want to draw in colour, check out our guide to the best colouring pencils.
Artists' paper
A basic paper pad is fine for sketching, but if you want to work on your shading then we'd recommend getting an artists' pad with thicker paper. If you're planning to do other kinds of artwork, then you should look for a multimedia pad which will be suitable for painting and drawing.
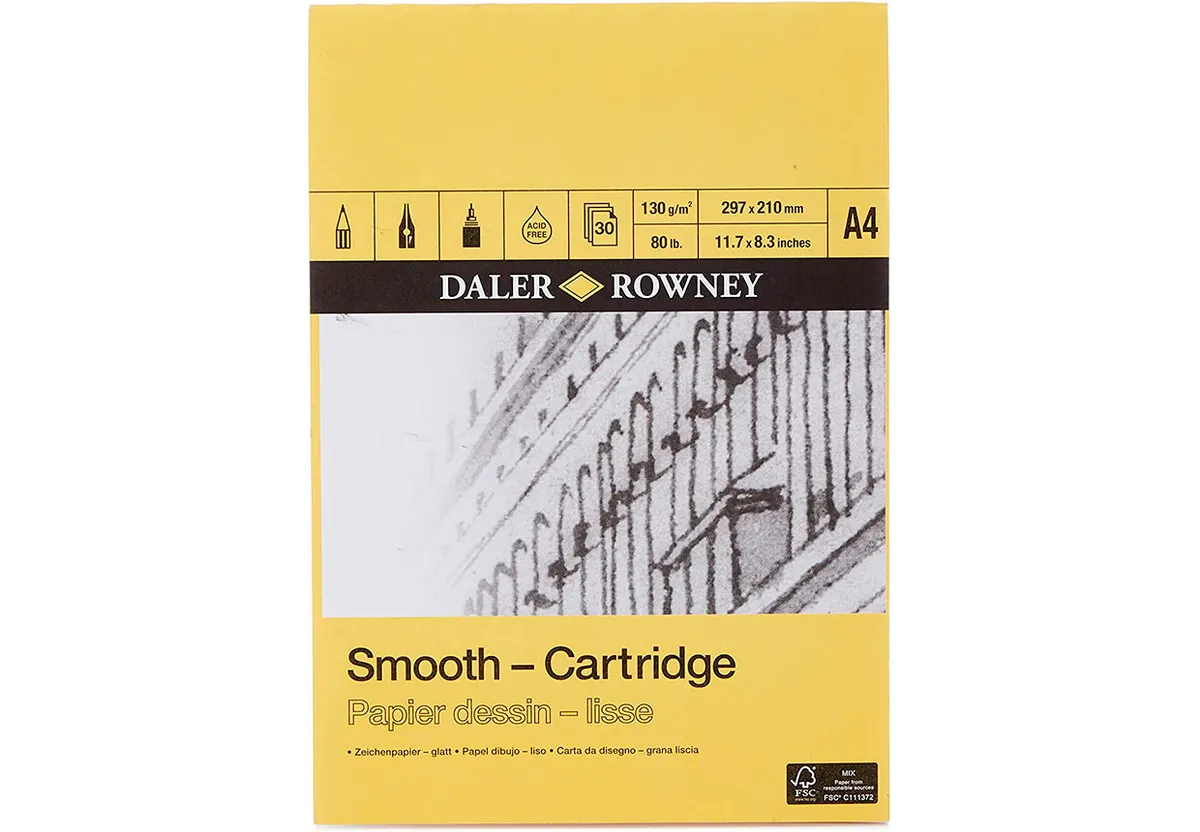
Cartridge paper is particularly good for pencil work: it's thick and has a smooth surface which makes it ideal for drawing. As you develop your drawing technique, you might find that you prefer to draw on a coarser surface such as watercolour paper. There's no right or wrong choice, it's all a matter of your personal preference.
If you like to sketch on the go, then opt for a small journal-style pad that can easily fit into a bag or pocket. A little sketchbook like a Moleskine is perfect for this.
Here are some paper pads that you could try:
- Buy the Cass Art Cartridge Paper Pad (25 sheets) from Cass Art (£2.95)
- Buy Daler Rowney Cartridge Paper Pad (30 sheets) from Amazon (£5.66)
- Buy the Faber Castell Art & Graphic Sketch Pad (A3, 40 sheets) from Amazon (£9.99)
- Buy the Moleskine Soft Cover Plain Notebook from Waterstones (£13.99)
Alternatively, take a look at our pick of the best sketchbooks.
Putty rubbers
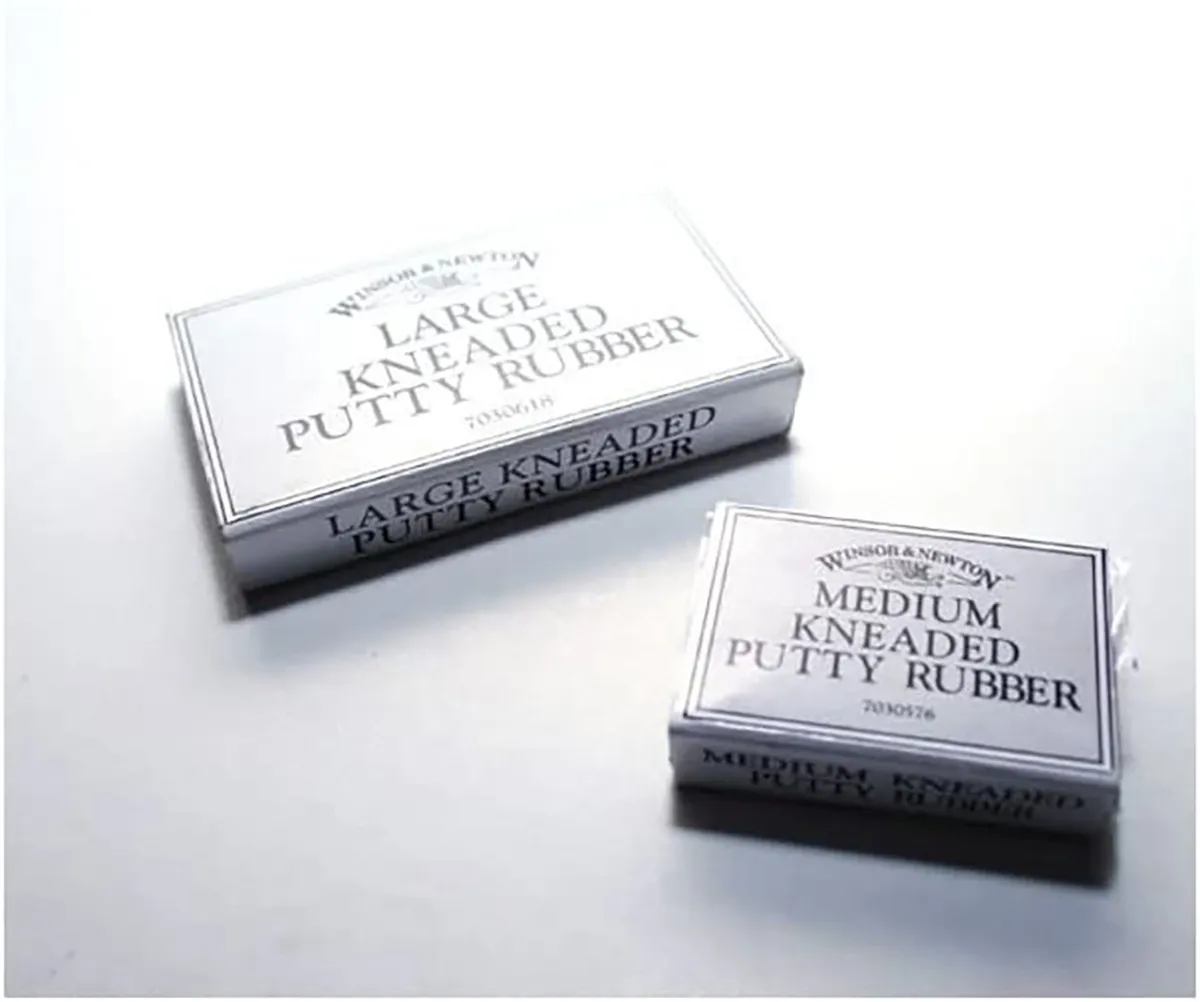
A rubber or an eraser is also essential. Basic erasers are not great for pencil drawing: they tend to smudge your work and you can often see a shadow of the old line on the paper, which won't come out no matter how much you rub it. But you don't have to put up with a bad rubber, there is an alternative: the putty rubber.
Putty rubbers are soft, mouldable erasers which will revolutionise your pencil drawing technique. They remove unwanted pencil lines and smudges very effectively and won't leave any unwanted marks on the paper. You can use them creatively when you're drawing too: warm the putty rubber a little in your hands then shape a corner into a point. You can then use the putty rubber to create highlights on your pencil drawing! This is a great technique to use when you want to subtly lighten an area of your drawing or to tidy up the edges of a picture.
Once you've started using a putty rubber, you'll never go back to using an ordinary eraser again. Putty rubbers are fairly cheap too, usually costing around £2. If you return it to its box after use, you'll find that it lasts a really long time. Don't worry if your putty rubber looks a little grubby – it'll still work and won't smudge your drawing.
Perhaps you'd like painting?
Looking for more art techniques to try? You might enjoy our acrylic painting guide, watercolour painting for beginners guide, or beginner's guide to gouache.
Pencil drawing techniques
Once you've got your equipment ready, it's time to try some basic pencil drawing techniques. We'll start with shading and mark making. You'll need to use harder pencils for outlines and highlights and softer pencils for details and shadows.
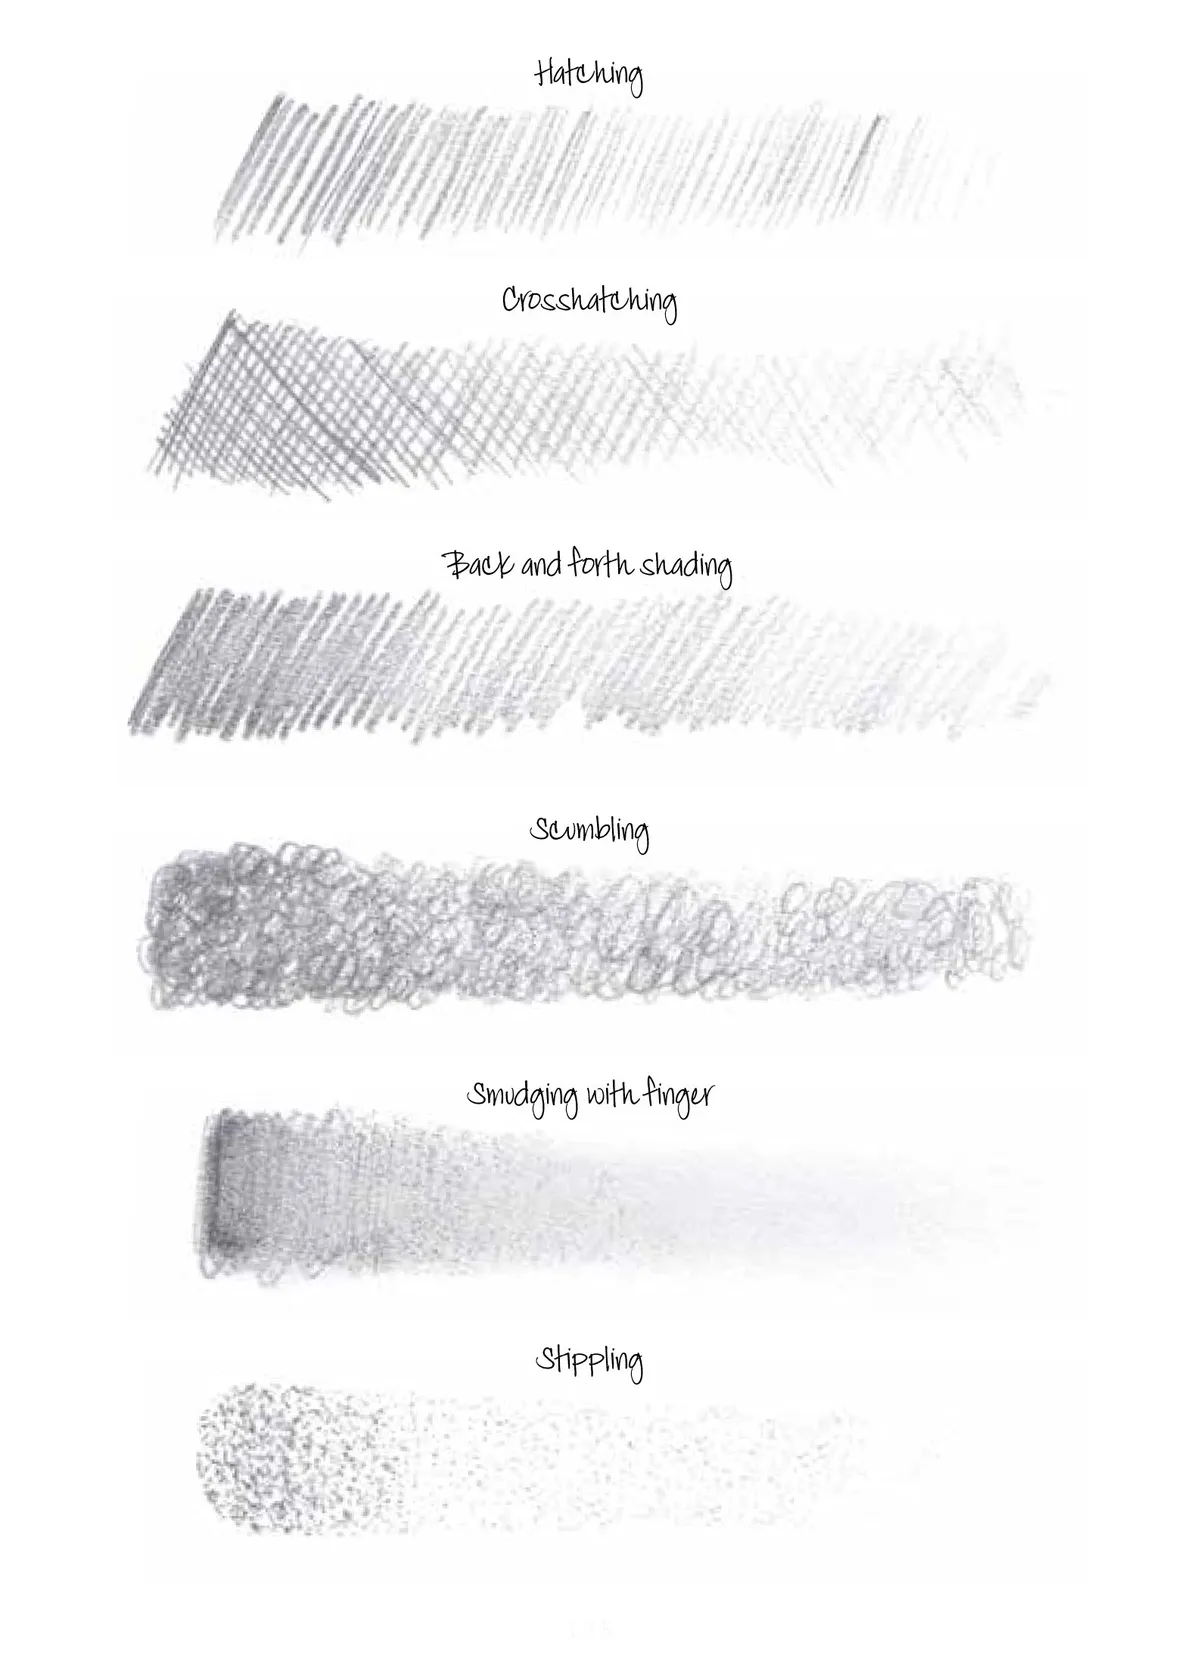
Hatching
Add some texture to your drawing with the hatching technique. Hatching is when you move your pencil in one direction to create a series of fine lines – it's the top image on the graphic above.
Crosshatching
Crosshatching can create a textured, almost fabric-like effect on your drawing. You can combine hatching and crosshatching with great effect! Try drawing a simple object using this fun technique and see if you like the results.
Back and forth shading
This is the shading technique that most of us use instinctively without even having to think about it. Practice keeping your shading at the same angle to get a more smooth effect or shade in different directions to create a dark shaded area.
Scumbling
Get scribbling and recreate this interesting scumbling effect! Use your pencil to make small loops and fill a section of your drawing with this interesting texture. This is a good technique to try if you're just doodling away absent-mindedly and don't want to concentrate too much on what you're drawing.
Smudging with a finger
Softer pencils can be blended using your fingertip – just rub your finger over your shading to smudge the pencil lines a little. Make sure you clean your finger afterwards to avoid getting fingerprints on your drawing.
If you want to keep your hands clean, you can also use a tool called a Paper Stump to smudge your drawing. Stumps are made of rice paper, so when they start to look dirty you can file it using a sandpaper block.
Stippling
Stippling can be used to create a dotted effect on your drawings. To create darker tones, simply draw lots of dots close together. Use this on a small area of a drawing to add interest or experiment and create a completely stippled piece.
Looking for more artistic inspiration?
Check out our guides to Grayson's Art Club and The Great Pottery Throwdown.
Practise your drawing technique
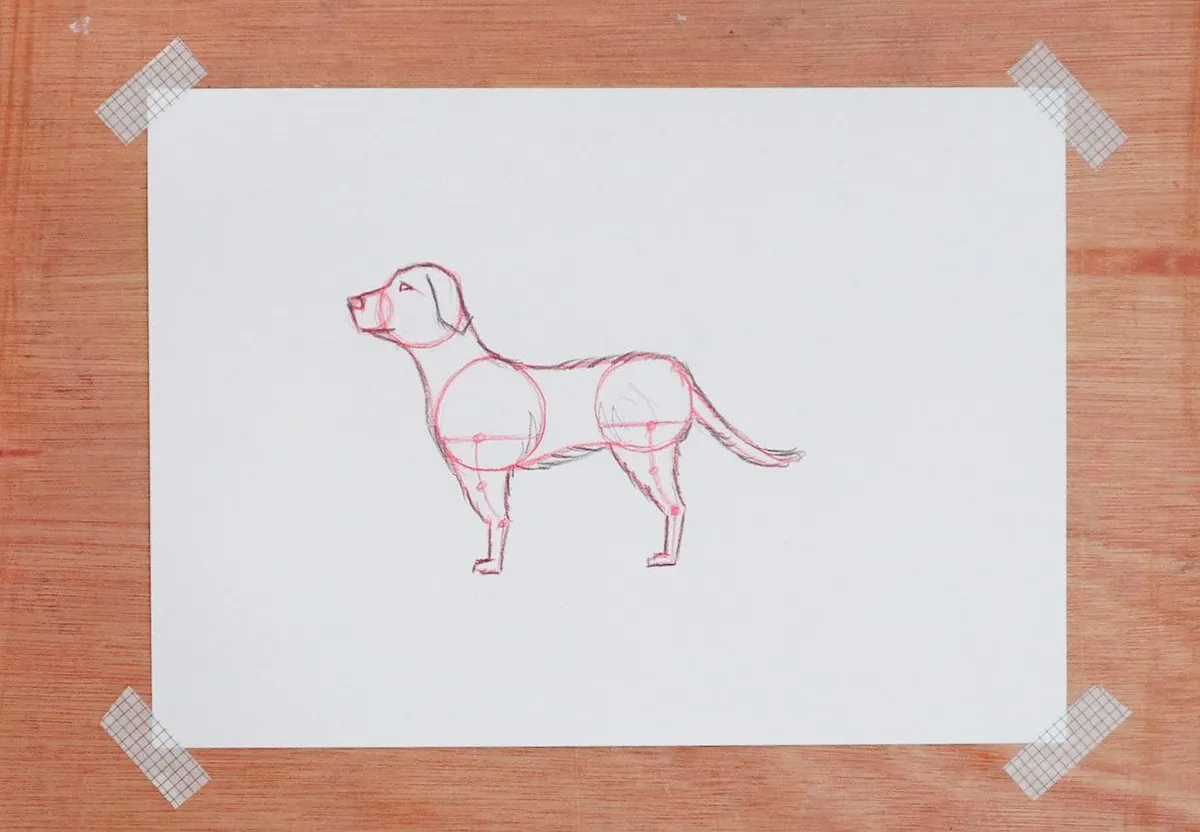
Now that you've practiced making marks using your pencil, you can have a go at drawing this bird. It may seem a little daunting at first and if you want you can cheat by printing the bird and tracing the outline (we won't judge you!).

If you want to have a go at drawing the bird freehand, then try to break the image down into shapes in your mind. For example, draw a light circle for the position of the head and a larger one to form the top of the bird's body. This will help you to get it in proportion.
It's a good idea to step back from your picture now and again and compare what you've drawn to the image to check that you have the outline right. Spend some time getting the outline right before you add any other details – it'll pay off because your finished drawing will look more proportional and balanced.
Another good way to make sure that your sketch is right is to look at parts of the drawing in relation to other sections. For example, how far down the bird's head is the eye? How far out does the bird's beak extend? Where do the bird's wings begin and end?
When you're drawing the bird, make a note of which areas are darkest. This will help you to build up your shading and make the bird pop out of the page! As a general rule, you should start with the lighter areas of the bird and gradually build up the colour once you're happy with the outline you've drawn. This makes it much easier to correct your mistakes if you happen to go wrong.
You might find that the pencil smudges if your hand rubs over the drawing. If this is something that keeps happening then put a scrap of paper under your hand as you draw. You can also clean up the paper when you've finished by using your trusty putty rubber.
- Lightly sketch the outline of the bird using an HB pencil, then use the techniques you've just learned to shade in, with softer leads for the darker areas, and harder leads to add detail.
- Use scumbling to build up a depth of tone on the bird's head.
- Overlap hatching to create a feathery look on the wings.
- To create lighter feathers smudge some 3B pencil shading, then add detail with a 4H pencil.
- Use an eraser to make any highlights and lighter areas pop.
Animal inspiration
Looking for more drawing projects for beginners? Try our how to draw a dog or how to draw a cat easy step by step tutorials
Go beyond your favourite drawing techniques
Many artists go through phases of enjoying particular drawing techniques, but experimenting with different techniques will help you to develop your skills and give you confidence with different subjects. You can also combine techniques, such as using back and forth shading to get your shadows and light looking correct first, and then go over with cross hatching or stippling for a more stylised result.
Master light and shadow
Shading can bring your drawings to life and transform a flat picture into a realistic work of art. Find out everything you need to know in our complete guide to shading techniques on Gathered.