Step 1

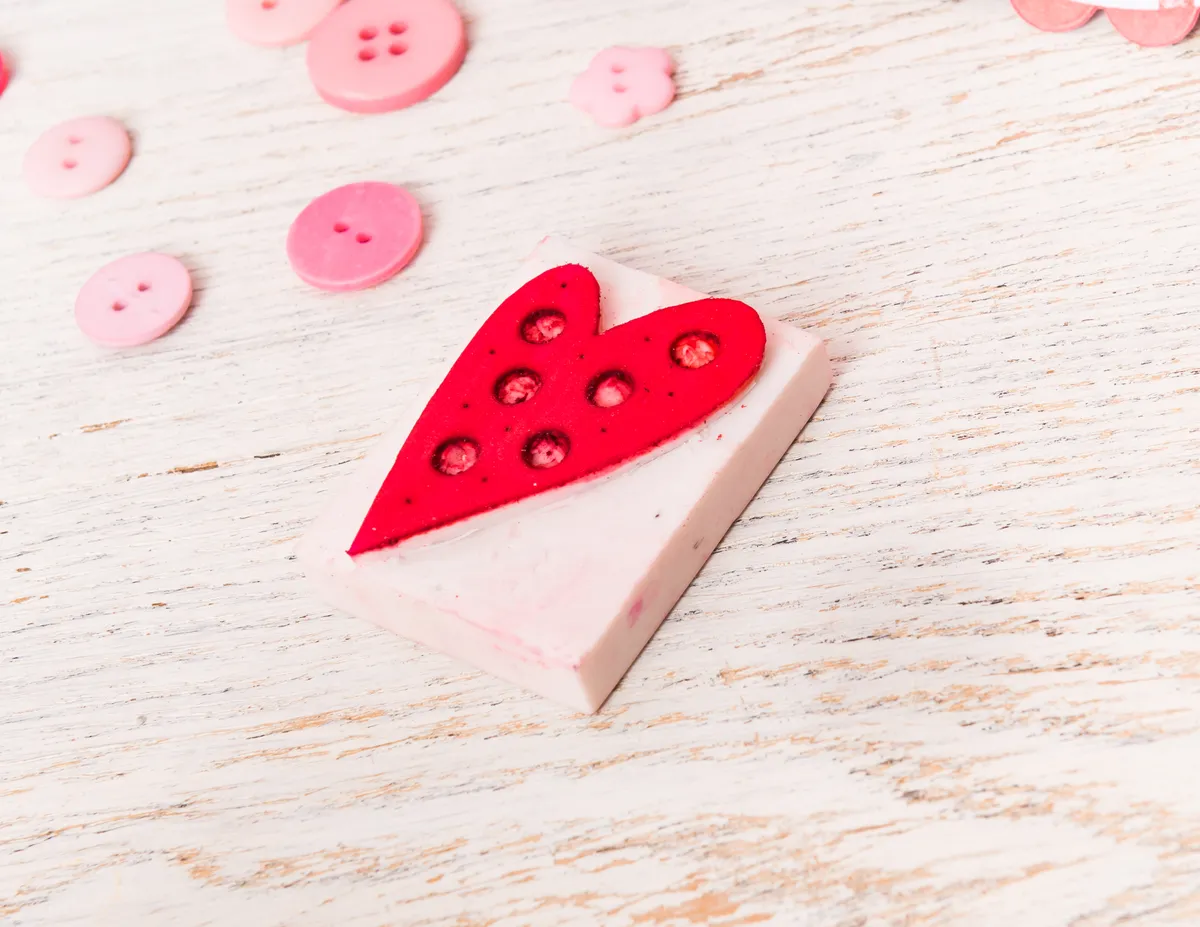
The first step to making your own rubber stamp – grab a good old fashioned pencil eraser. If you know you’re going to make a lot, you can buy a box fairly cheaply on Amazon or in other stationery stores. Draw your design onto a pencil eraser. Cut around the shape, about 2mm deep. Cut into the side of eraser about 2mm down towards outline of the heart. Carefully remove excess rubber.
Step 2

Punch circles into the heart shape if you like. Use a sharp craft knife to carefully remove the rubber to make round holes. Remove scraps of the eraser. Pierce with a pricking tool to make tiny dots between holes for added texture. If you don’t have a hole punch, cut slits vertically or horizontally across the heart shape to create an alternative pattern.
Step 3

Use an ink pad or Pro Marker pen to ink up your stamp and stamp onto a 100 x 80mm piece of white card. Repeat two or three times. Repeat in pink and red ink to cover the card.
Step 4

Trim the hearts panel to 88 x 68mm and edge with red ink. Dab face down onto clear VersaMark ink and heat emboss with clear powder. Repeat twice to build up a smooth, shiny layer.
Step 5

Draw a heart on the end of a pencil eraser. Carefully cut away the excess rubber. Stamp heart shapes randomly in pink and red in a 20mm border around a 140mm square of white card.
Step 6

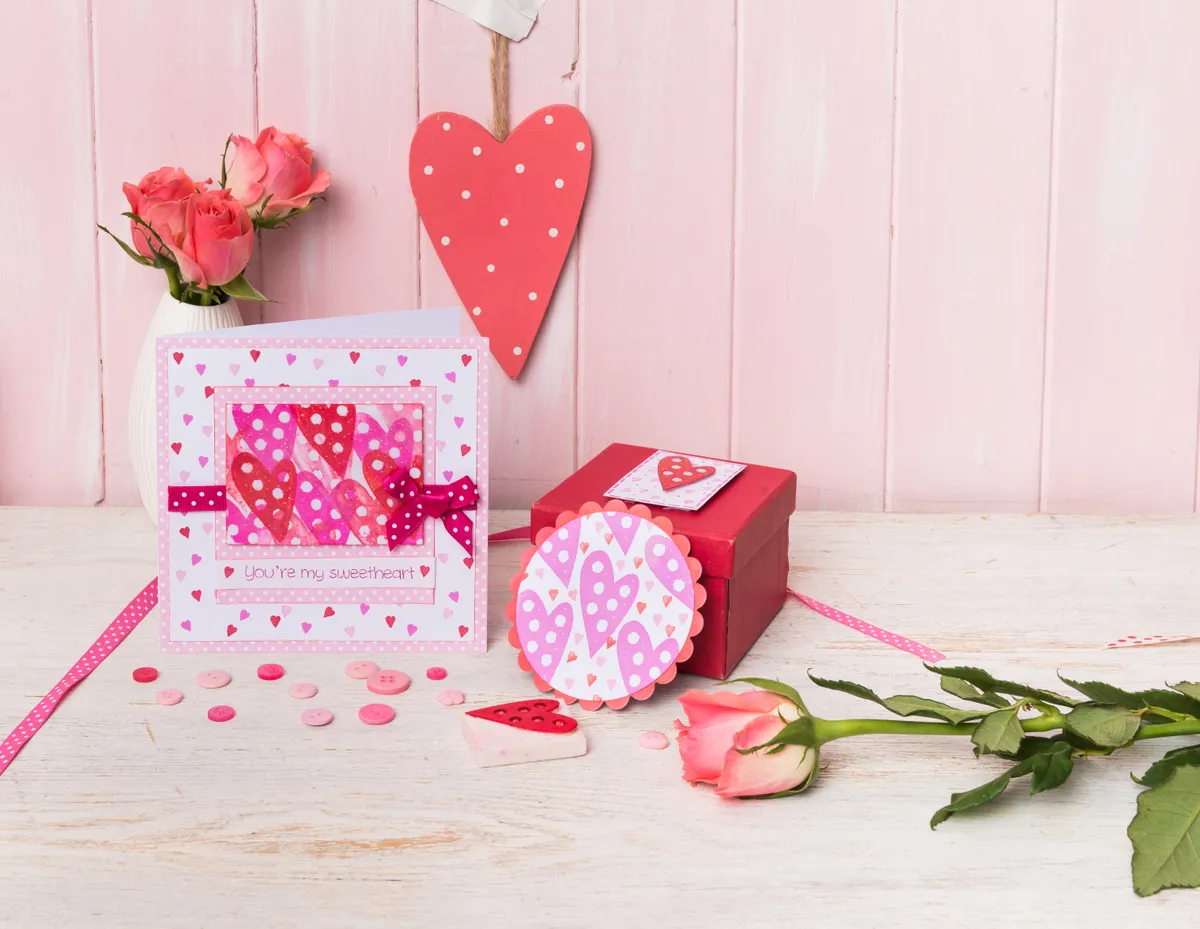
Dab edges with red ink and layer a 100mm square of pink dotted paper onto small hearts panel. Wrap with ribbon. Add a greeting strip and attach embossed heart panel. Stick onto base. Add a bow.
Step 7

For the toppers, stamp large heart several times in deep pink onto an 80mm circle die-cut from white card. Stamp small pink and red hearts in between. Layer circle onto scalloped circle die-cut from red card.
Step 8

Stamp heart and heat emboss with clear powder. Cut a thin bar on a small pencil-top pencil eraser and stamp a border around the edge of a 50 x 70mm piece of white card. Stamp small hearts and draw on red dots. Attach heart with sticky fixers.


How to make a rubber stamp - cupcake
Step 1

The v-tool helps to remove large areas from the rubber which will not be required in the finished stamp. If you can’t find one, you can use a craft knife instead, but a v-tool makes it easier.
Step 2

Use a pencil to draw the outline of your design. Keep the design as simple as possible.
Step 3

Trace your drawing onto tracing paper. We find it easier if you use a soft pencil, like a good 2B (or softer) pencil.
Step 4

Place the tracing paper with the pencil mark side directly over the part of the eraser where you wish to carve the stamp. Using your thumb, scratch/rub over the lines to transfer the design. If it helps, use the end of a bone folder or ruler to really press hard and transfer the design.
Step 5

The pattern is now transferred to the eraser. Note that the image will be mirrored, which is important if you are using letters or numbering in your design, or if your image needs to appear a particular way around.
Step 6

Using a permanent marker, outline the pencil marks. This will help prevent the pencil marks from smudging and create a thicker guideline for carving.
Step 7

Using a craft knife, start carving from the outline. Keep the blade at a 30-degree angle, with the sharp edge pointing away from the line you are carving. Try not to cut too deep, or you'll weaken the structural integrity of the stamp.
Step 8

Working on the same line, re-insert the blade about 3mm away from the line and out at a 30-degree angle again. You are effectively creating a v-groove next to the line. Repeat for all the marked lines. Be extra careful with the areas where the lines are close together, as you don't want to cut too deep and end up cutting away the other marked lines. This is why the graphics should be kept simple, at least while you're getting used to the craft.
Step 9

Using the v-tool, you can remove chunks of the eraser quickly between the lines.
Cut away the excess eraser around the main stamp, as the excess area might get stained with ink by accident and create unintentional blotches when stamping. Use the v-tool / craft knife to cut the edges off at an angle, to tidy up the stamp.
Step 10
Finally, apply some ink using an ink pad to test your stamp!
Step 11

Test stamping will help you identify areas that need to be removed or refined further. Keep your cuts shallow and only remove small bits at a time. Keep checking until you get the perfect stamp. One final note to make, if you are creating a stamp that has no specific left or right orientation, you can skip the first couple of steps and draw directly onto the eraser. If you have words or lettering in your stamp you will need to use the tracing paper method to ensure you have the mirror image for stamping.