Step 1

When selecting the yarn colours for your yarn lampshade, it’s best to use three – a couple of bolder colours that complement each other and a third neutral shade to offset them. We’re using aran weight yarn, but you can use a different yarn weight. But keep the yarn weight consistent for all 3 colours. To find out about different yarn weights, see our yarn weight conversion chart.
Step 2

Place one lampshade on top of the other, as shown, and using a pencil and the main image as a guide, mark out sections for each stripe of colour. They don’t have to all be the same width.
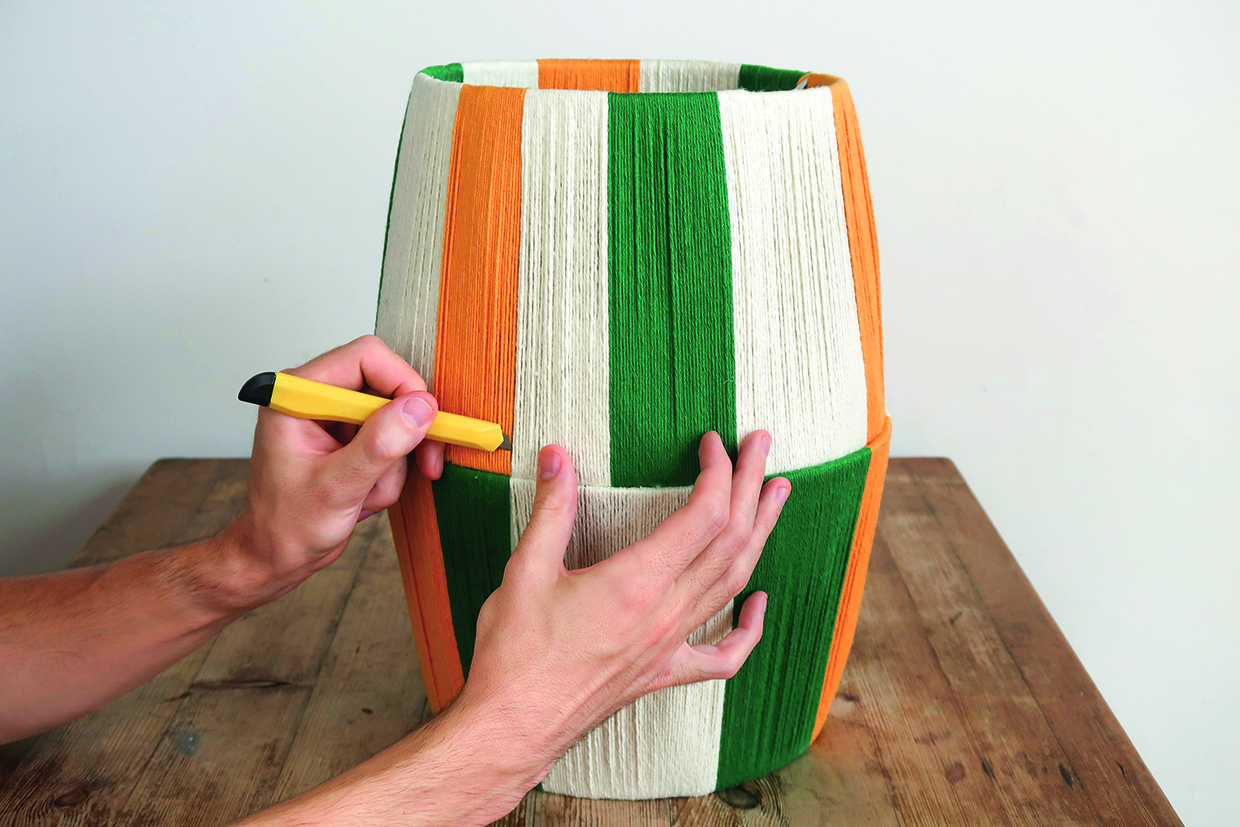
Step 3

Using a pencil, write the initial of each yarn colour on the sections you want to wrap with it on both of the lampshades.Make a statement lampshade by mixing the colours up sp they do not match on the different halves.
Step 4

Secure the end of the yarn for the first section in place using masking tape, leaving some excess yarn to tie off later.
Step 5

Wrap the first marked section by passing the yarn up through the lamp and around the outside. You may need to push the strands together as you go to keep them tidy. When you get to the end of the section, tie on the next yarn colour on the inside of the lamp using a double knot, as shown.
Step 6

Use an eraser to remove the pencil marks as you go to avoid them showing through when the lamp is switched on.
Step 7

Continue to wind the yarn around and up through the lamp to wrap each section, as in Step 5, until the whole lamp is covered. The lengths of yarn should sit side by side and not overlap each other. You may find it helpful to hold the lampshade between your knees, passing the ball of yarn through from one hand to the other to speed up the wrapping process.
Step 8

When you get to the end, remove the masking tape from the first strand of yarn and tie it to the end of the last strand of yarn.
Step 9

Use scissors to trim off any long tails from where you’ve knotted the yarns on the inside of the lamp.
Step 10

Repeat Steps 4-9 with the second lampshade – you may want to evaluate the colour distribution now you’ve completed one.
Step 11
Once you’ve wrapped the second lamp, stack it on top of the first one, as shown. Next, use a craft knife to carefully cut a small slit into four sides of each lamp where they sit together, just above the wire frame.
Step 12

Pass a small piece of florist’s wire through each of the slits and pull it tightly, then twist the ends together on the inside to secure both lampshades together. To finish off, push the yarn over the wire to disguise it.