Celebrate a bride-to-be with a DIY sash
Make your own bride-to-be sash with our handy guide and impress your main pal! With pretty calligraphy embroidered letters stitched onto pale pink fabric, it’s the perfect way to celebrate before they say ‘I do’.
You’ll only use two simple stitches in this project, Backstitch and Satin Stitch, both of which we have guides available below if you need some help.
In order to create the sash, you’ll need to use a sewing machine (if you have the patience, it can also be done by hand).
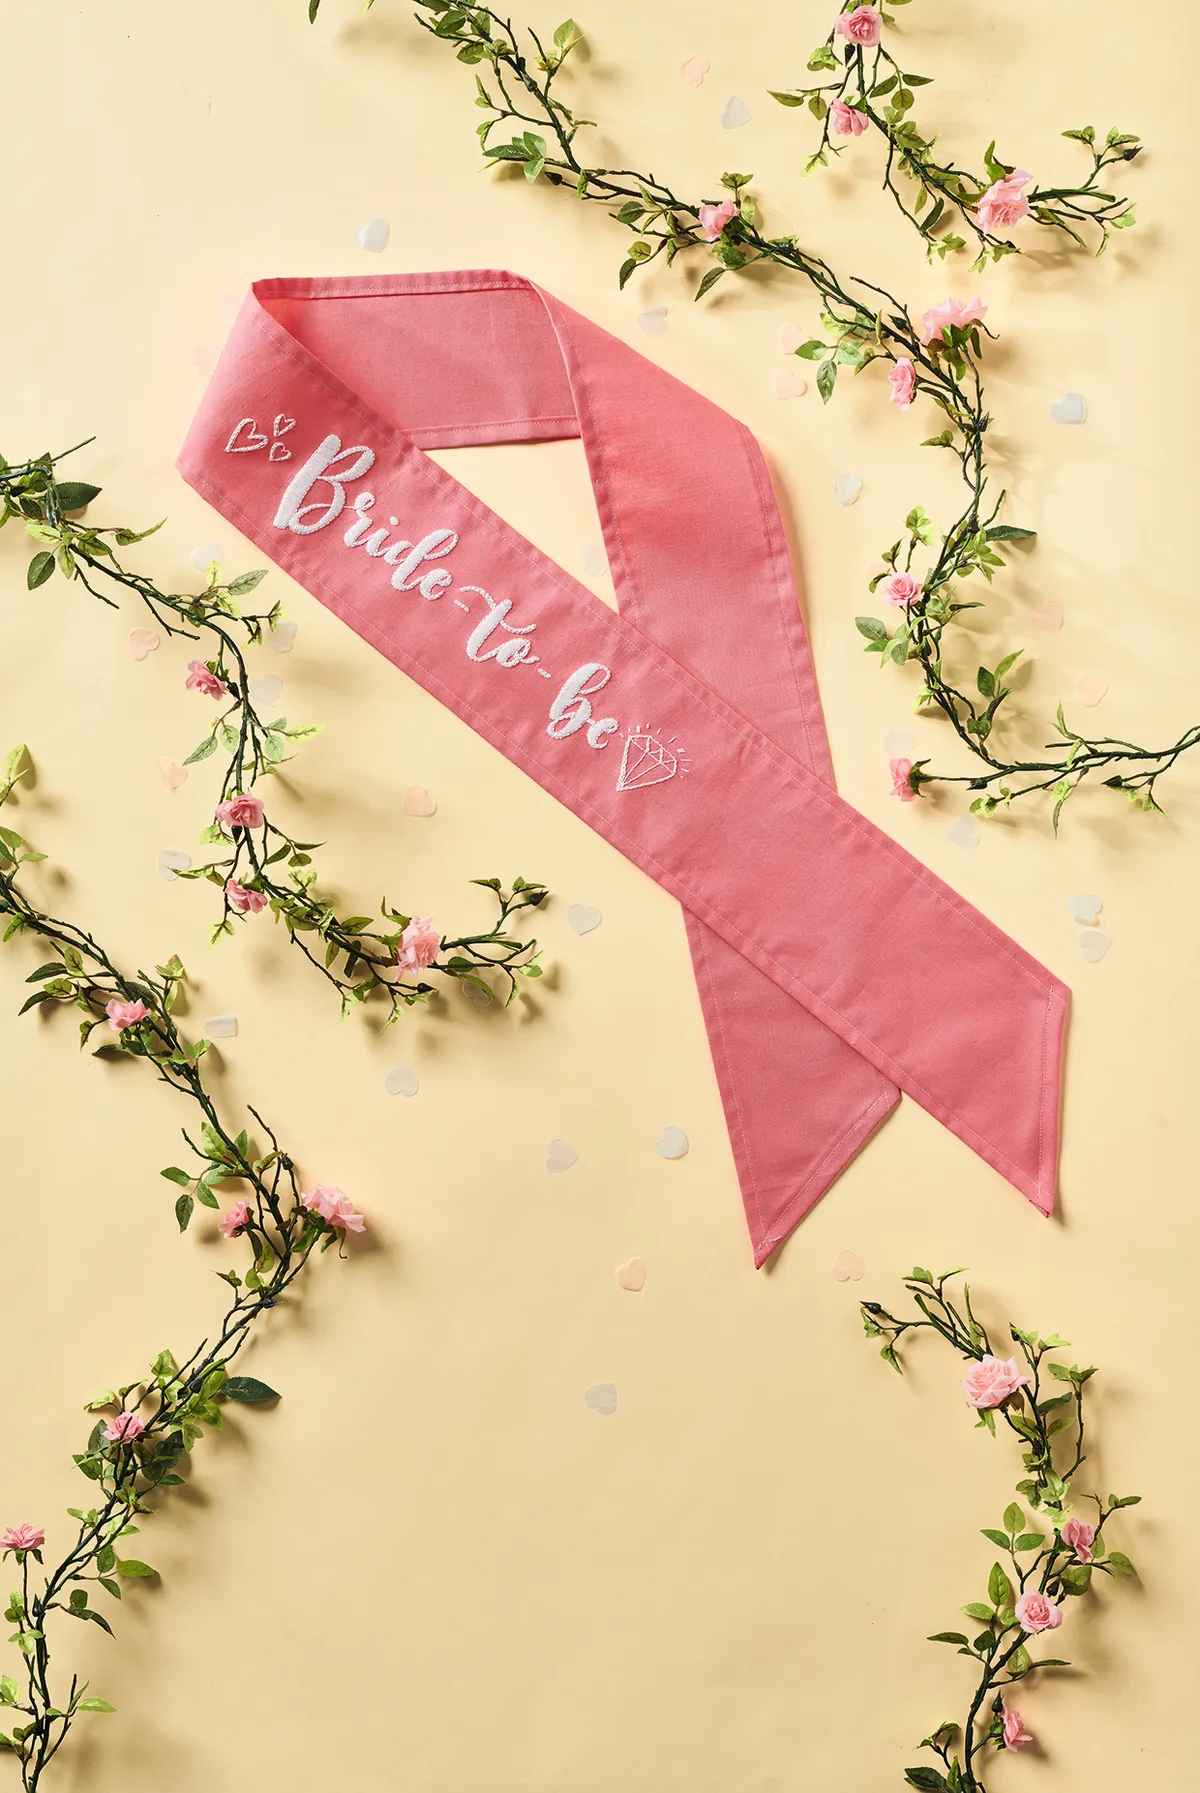
As pictured, the sash features the words ‘Bride-to-be’, but we’ve included a template for ‘Maid of Honour’ and ‘Bridesmaid’, so you can design your sash to suit. You might even want to make all three!
The template also features some cute motifs, including a diamond, a star, a ring and a heart, to personalise your sash further.
This project was designed by Becki Clarke and first published in Love Embroidery issue 10.
What stitches will I need to create the bridal sash?
Are you looking for more tips and tricks to improve your stitching? Check out our embroidery stitch library.
What materials do I need?
- Cotton fabric: 160x45cm, coral
- Stranded cotton: 2 skeins of white
- Machine cotton: coral
- Sewing machine
- Embroidery hoop: 25cm diameter
- Basic embroidery kit
- Bridal sash template
How to make a bride-to-be sash step-by-step
You will need:
- Cotton fabric
- DMC stranded cotton
- Machine cotton
- Embroidery hoop
- Basic embroidery kit
Step 1
Transfer your design
Transfer your chosen designs from the templates onto the coral fabric using your preferred method.
With the fabric held widthways, position the design so that it is centred vertically and the middle of the design is about 50cm away from the shorter fabric edge on the right.

Step 2
Mount your fabric
Mount the fabric into a hoop – the full design won’t fit in one hoop, so you’ll need to move it around as you go.
Roll up the excess fabric and use clips, pegs or elastic bands to keep the material from getting in the way while you stitch.
Step 3
Create the outline of the lettering
The whole design is worked in white stranded cotton. Outline each element of the design with Backstitch using two strands, working small stitches to make the curves really smooth.
Top tip: Stitching the outline first will create a neater, more defined appearance.

Step 4
Fill the lettering
Fill the wider sections of the lettering with Satin Stitch in four strands. Keep your stitches close together for even coverage and try not to twist the strands as this can make the finish less smooth.

Step 5
Stitch the symbols
Fill the narrower sections of the lettering, symbols, dashes and dots with Backstitch in four strands.

Step 6
Trim the fabric
Trim the fabric to 160x14cm with a 3.5cm fabric border along the top and bottom edges of the design.
Use an iron to fold a 1cm seam along the long edges and then repeat to create a neat double hem.

Step 7
Draw the diagonal point of the sash
Measure 8cm along from the raw edge of one of the shorter sides and then draw a diagonal line between that point and the opposite corner on the same short edge – repeat this in the opposite direction at the other end.

Step 8
Cut along the lines and stitch
Cut along the line and then fold a 1cm seam, press, and fold again to create a neat double hem. Machine stitch this in place using coral thread.
Step 9
Trim away excess
Trim away the excess fabric at the fold.
To fasten the sash, use a brooch or safety pin to secure it at the waist.

Make their hen do extra special with an embroidered sash!
This embroidered sash is perfect for a hen do and would make an extra special surprise for the bride-to-be. Made with just two simple stitches, even a beginner can whip this up in no time!
Embroidery gifts
Discover embroidery gifts to celebrate that special occasion for the stitcher in your life.