Bunny embroidery pattern
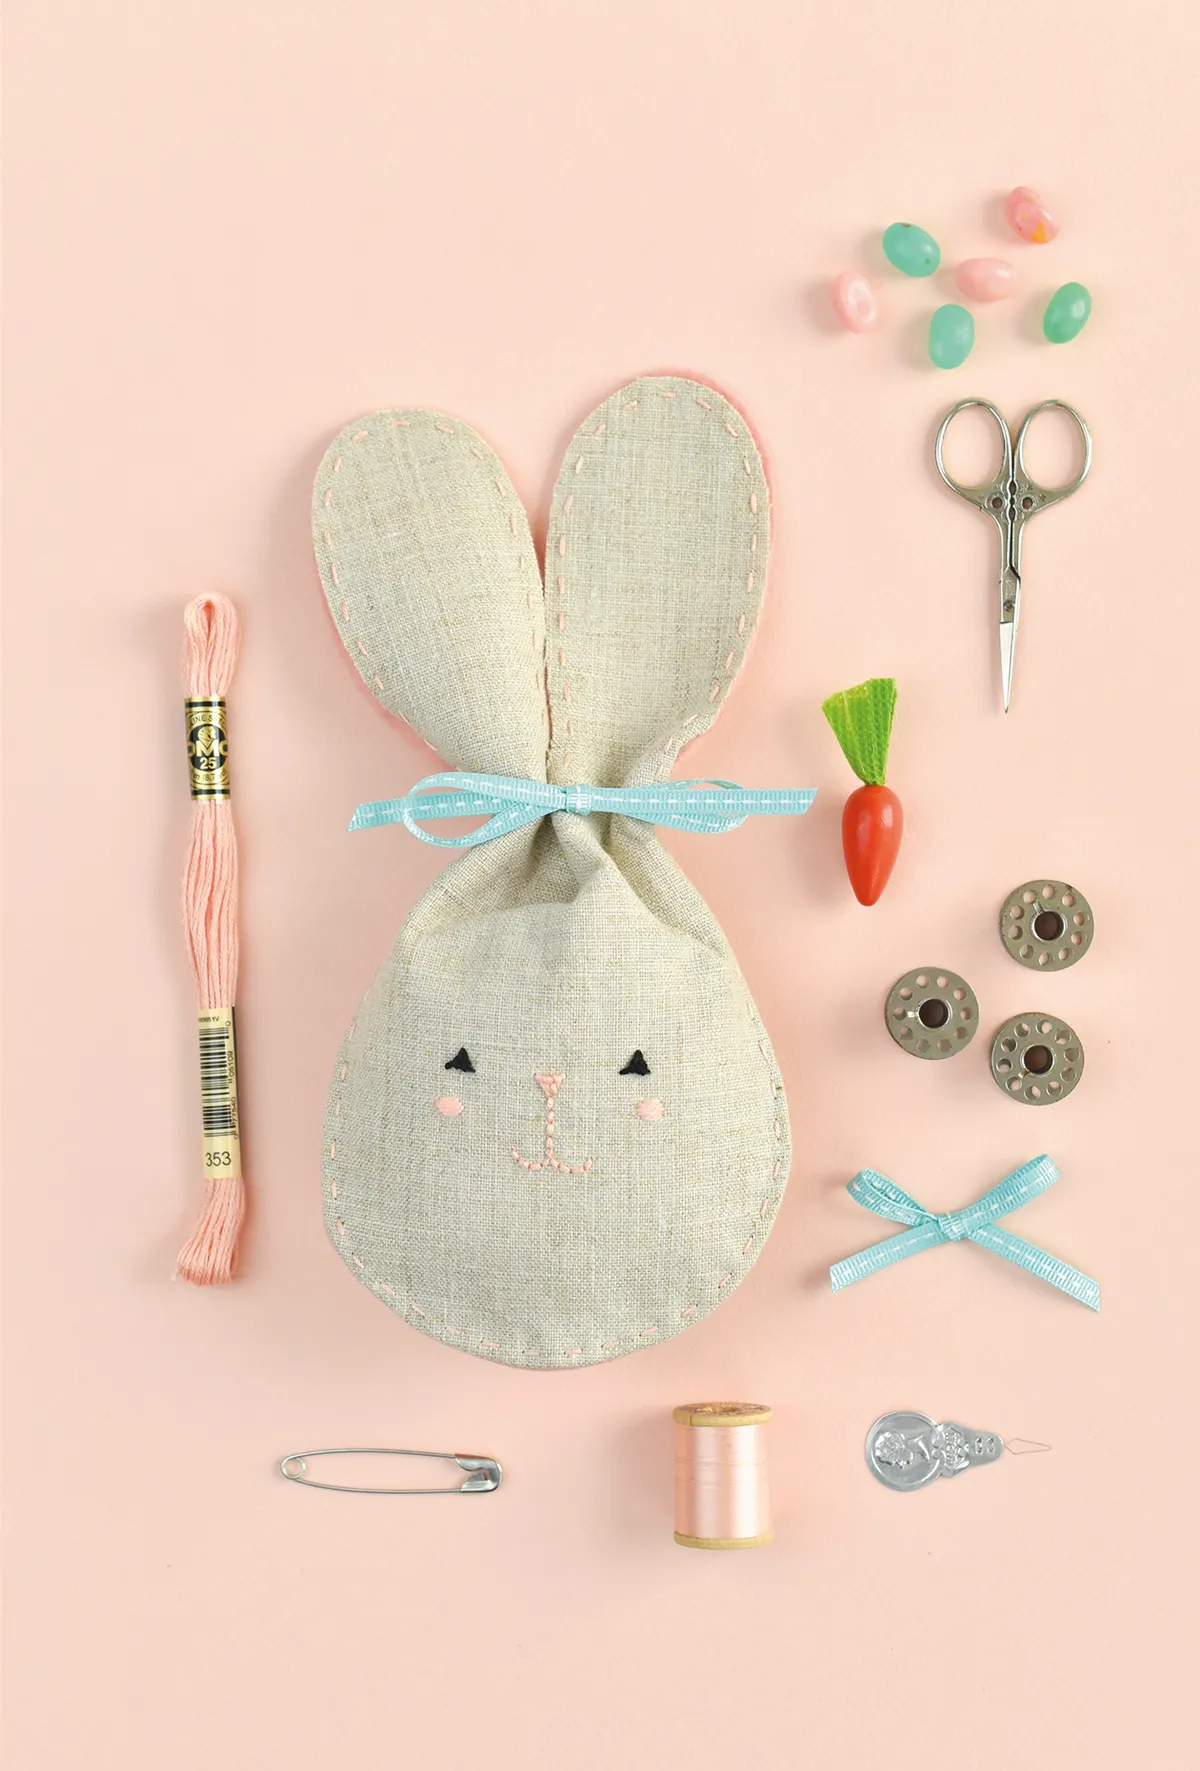
Ah, the joy of spring! Flowering bulbs are a-popping out, the sun is shining, and in the countryside there is an abundance of bunnies popping out, too! This bunny embroidery pattern is perfect for Easter, but why restrict yourself to that?
We've chosen to add a bunny embroidery motif to a colourful tote bag, so you can take him out and about with you on all your spring shopping trips. With that in mind, we think the bunny embroidery should hop right to the top of your must-stitch list.
Bunny Embroidery stitches
These are the stitches you will need to use in the bunny embroidery.
- Backstitch
- Chain Stitch
- Fly Stitch
- Satin Stitch
- Split Stitch
- Straight Stitch
We have advice and guides for these to help you if you are not familiar with them! You'll find advice in our library of different types of embroidery stitches.
For general advice on embroidery techniques and getting started as a beginner, take a look at our embroidery for beginners article.
Bunny embroidery notes
To complete this design, you'll need to download the bunny embroidery template.
The designs use just 5 colours of cotton: black, green, orange, pink, white
It’s best to prewash your chosen tote bag before you start stitching your bunny embroidery, especially if it is strongly coloured. This will check that the colour doesn’t run and bleed into the bunny embroidery.
To protect your embroidery from daily use, you could press iron-on interfacing over the stitching on the inside of the bag, or line the bag with sturdy fabric
How to sew the bunny embroidery
Step 1
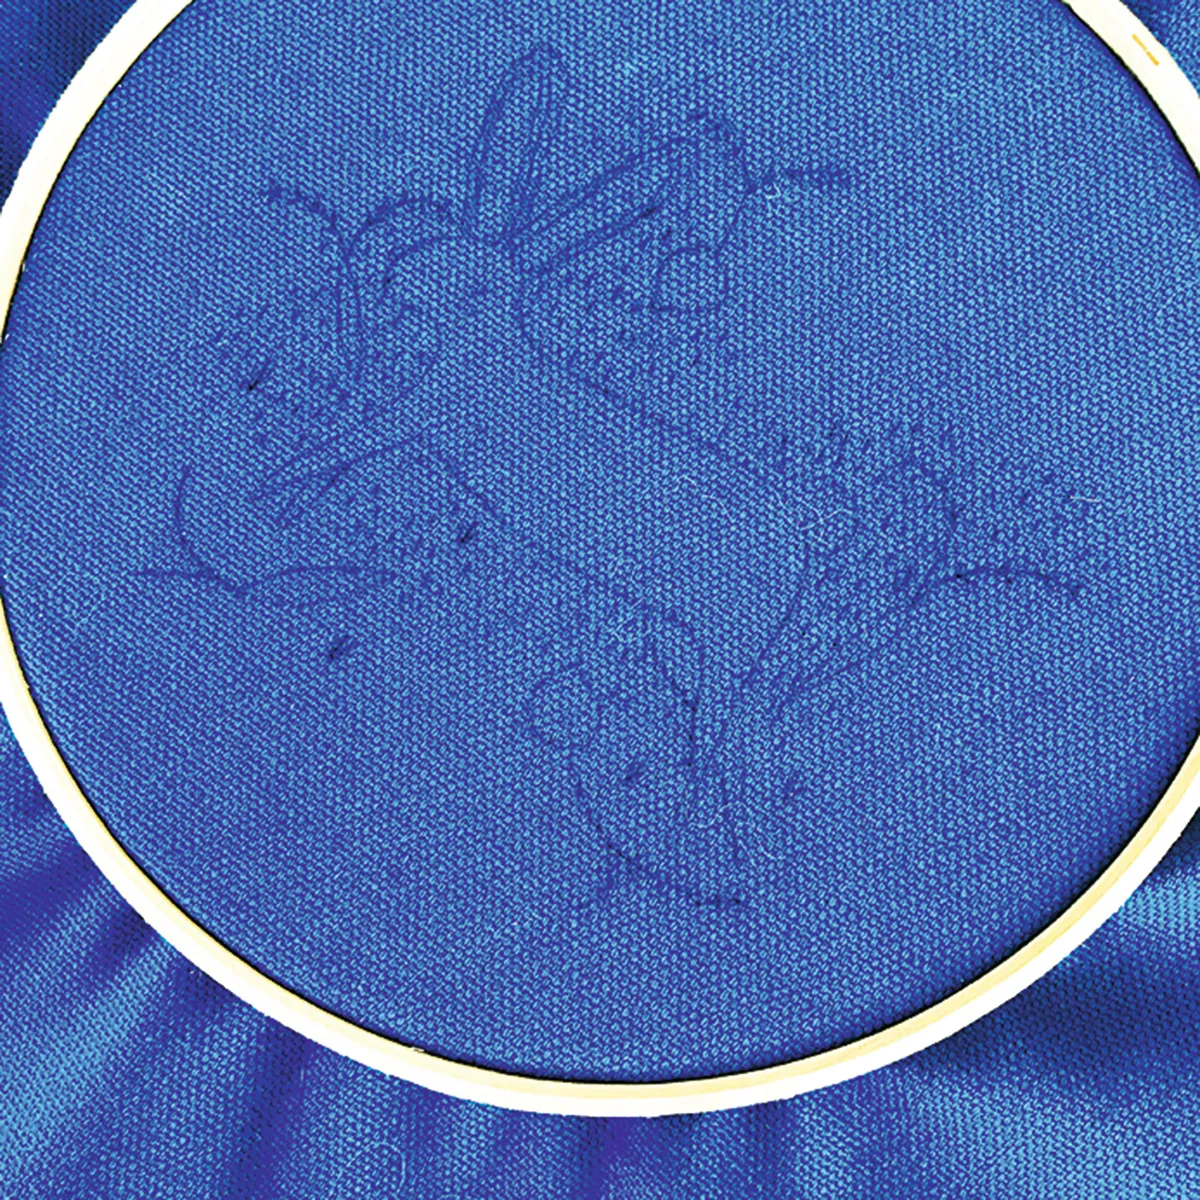
Transfer the design from the bunny embroidery template onto the bag using your preferred method. We used carbon paper and a sharp pencil. Mount the bag fabric into a hoop with the design positioned centrally.

Work the outline of the rabbit’s body in Backstitch using two strands of white. Fill in the body in Split Stitch using two strands of white.
Step 3
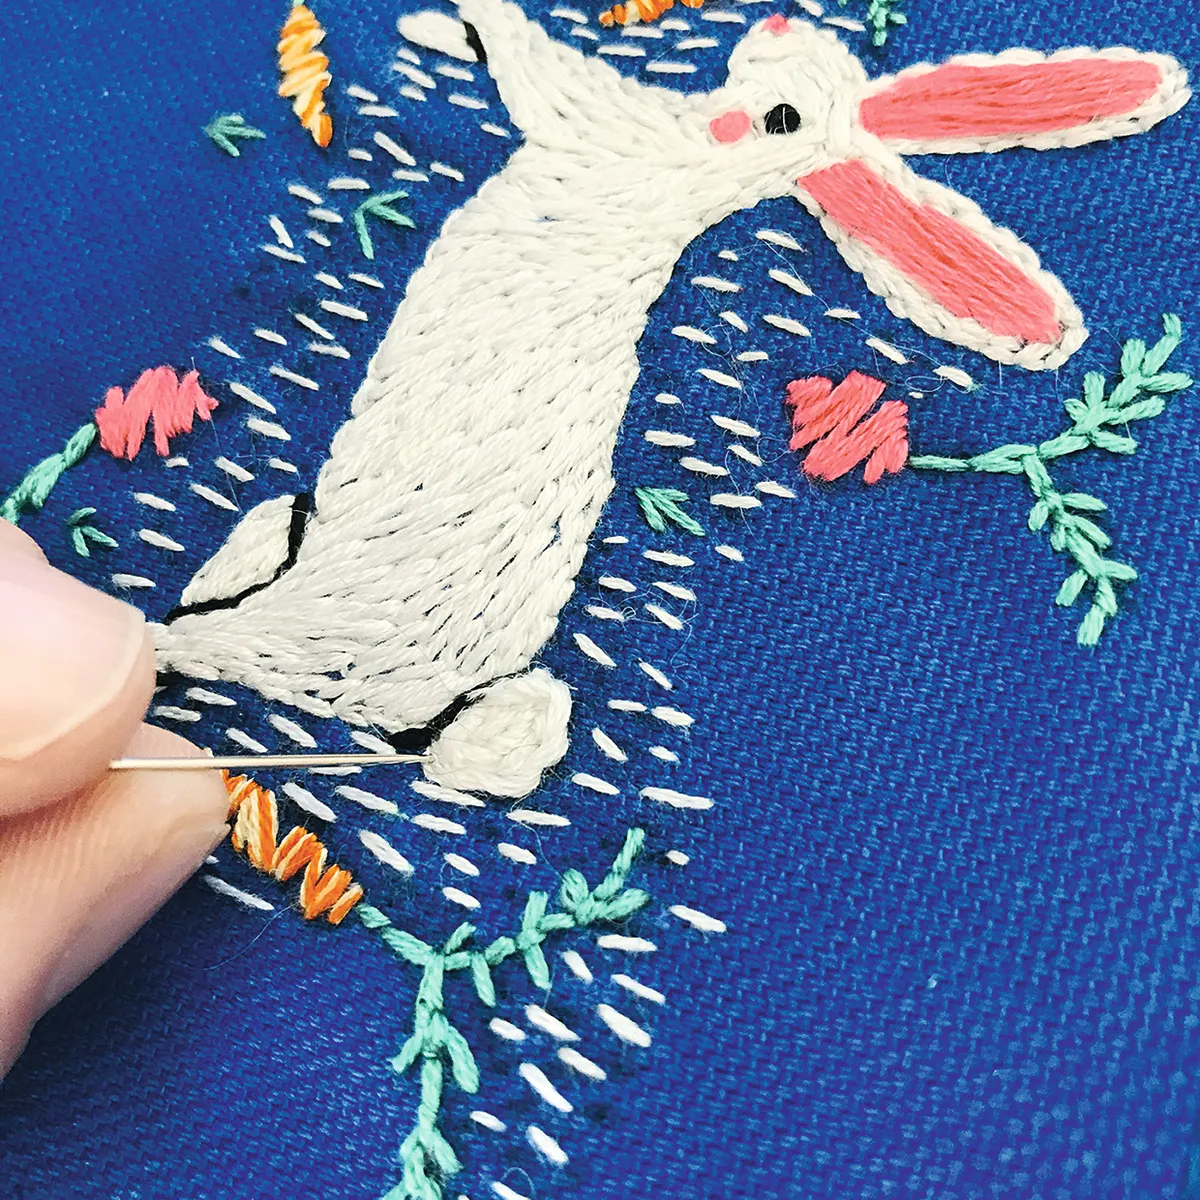
Create the fluffy tail in Split Stitch using three strands of white, stitching in a circular motion working from the outside towards the inside. To make the tail extra fluffy, use six strands and, starting from the outline of the tail, work Chain Stitch in a circle.
Outline the bottom of the tail and the lines where the legs cross in Backstitch using two strands of black.
Step 4
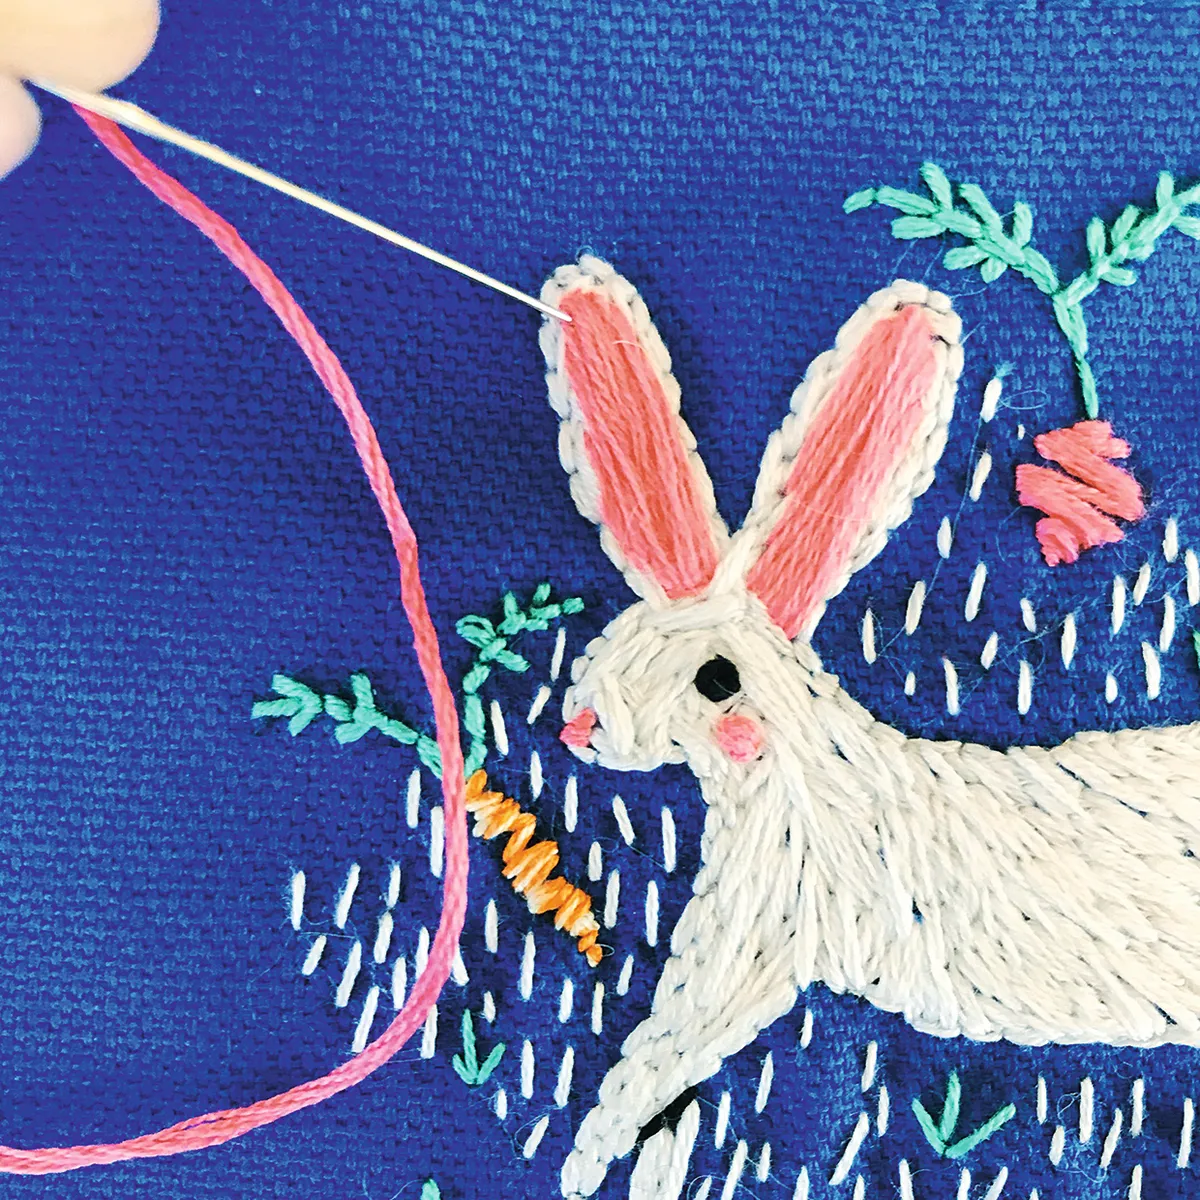
Fill in the ears, and make a cheek, in Satin Stitch using two strands of pink. Work the nose as a Straight Stitch using two strands of pink. Work the eye as a small circle in Satin Stitch using two strands of black.
Step 5

Work the vegetable leaves and sprigs of grass in Fly Stitch using two strands of green. Work the vegetables in Satin Stitch using two strands of orange for the carrots and pink for the radishes.
For the carrots, you could mix one strand of orange and one strand of yellow in the needle for a little extra fun visually. Leave some gaps between the stitches for effect.
Step 6
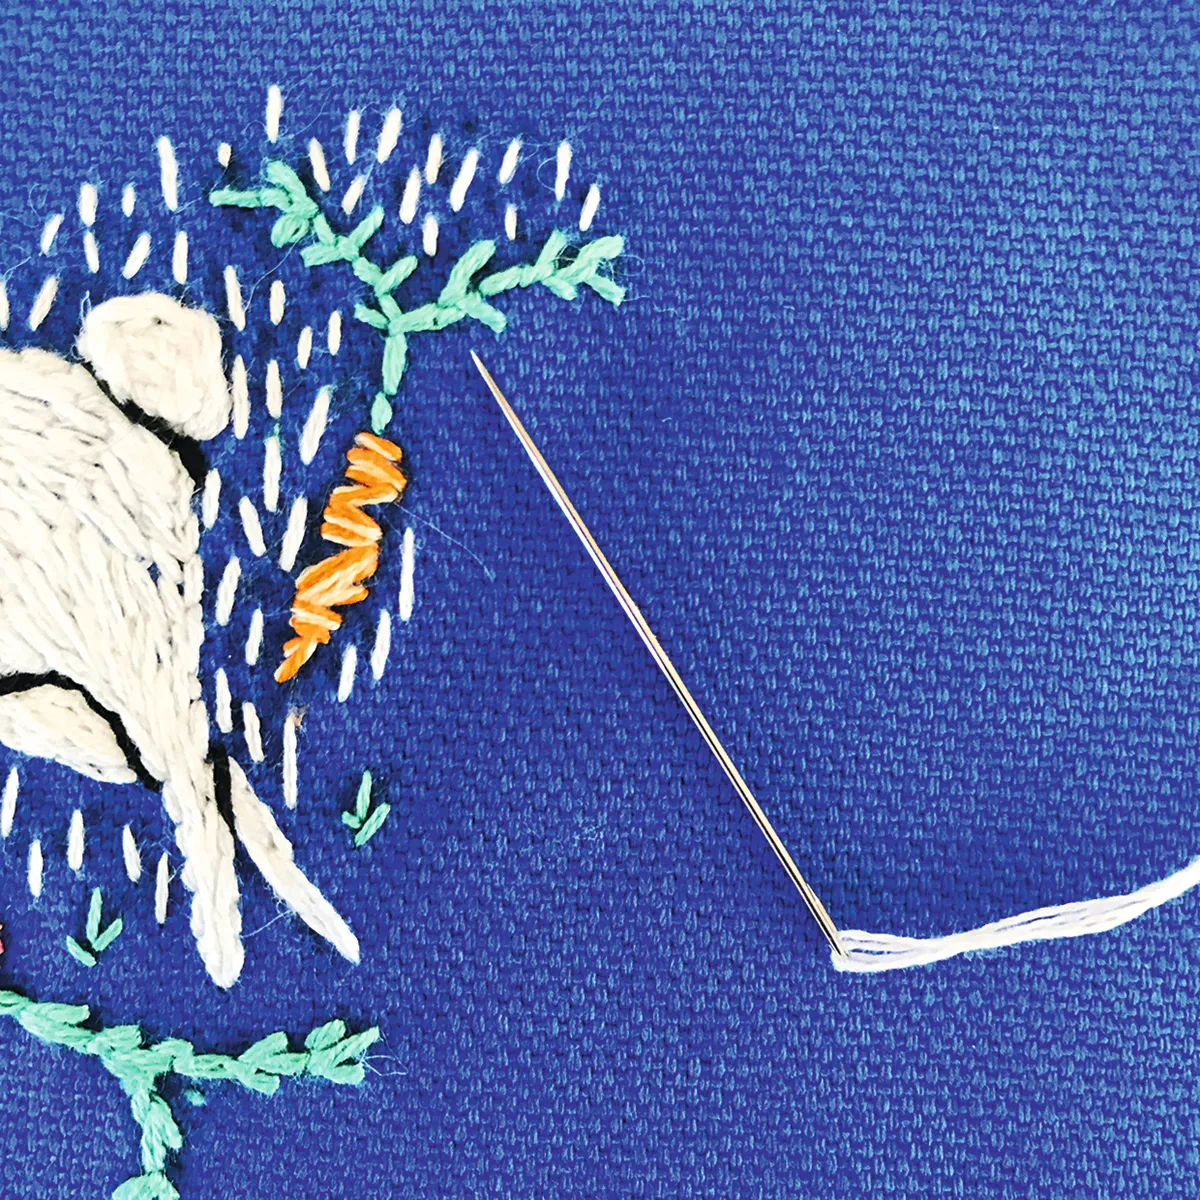
Fill the area around the rabbit in short, delicate Straight Stitches using one strand of white for a decorative effect. Once all the embroidery is complete, wash the bag gently by hand.
Then press while still a little damp, placing a thin, clean cloth on top of the embroidery to prevent the stitches from flattening and losing their texture.
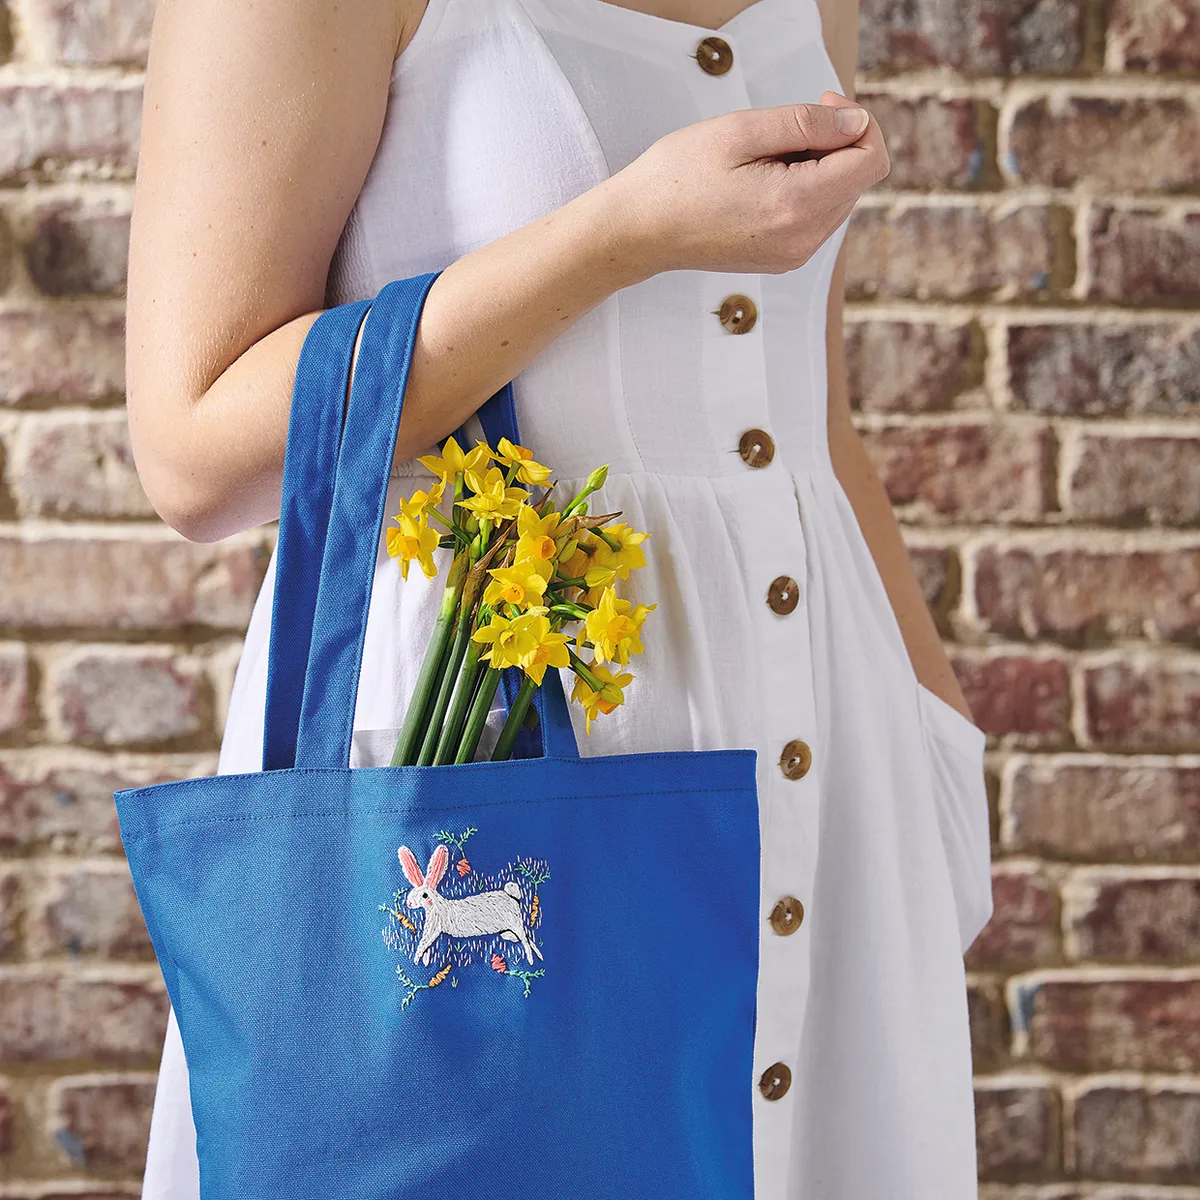
Upgrade your tote bag with bunny embroidery
Take this bunny embroidery tote with you on all your shopping trips throughout the year! It's a super-stylish and environmentally-friendly alternative to a plastic bag. Think of all the admiring glances you'll get, as well as all those 10 and twenty pence bag charges you will save.
More like the bunny embroidery
If you are in the mood for more Easter embroidery, try our embroidered easter bunny or our chicken embroidery design.