Step 1
Start with a 15 x 15cm piece of square paper. For the purpose of this tutorial, we are using a double-sided sheet of paper which is orange on one side and yellow on the other. Fold in half along the diagonal.

Step 2
Fold one side of the paper up, leaving a 15mm (1.5cm) pleat at the top.

Step 3
Fold the paper in half along the vertical and re-open.


Step 4
Fold one side down to meet the vertical crease you just made in the previous step.

Step 5
Fold the tip up as shown.

Step 6
Repeat for the other side – fold the other side down to meet the vertical crease.

Step 7
Fold the tip up to mirror the other side.

Step 8
Turn the model over. Fold a small triangle down at the top (about 2cm).


Step 9
Fold the tip of the triangle up again, making a small pleat. This will be the duck’s beak! This bit may be a little fiddly due to the small size of the beak, so using a cocktail stick may help.

Step 10
Fold the model in half. Rotate the model 90 degrees anti-clockwise.


Step 11
Fold the two wings either side up – you can fold them down again later, but we need the wings out the way to make the neck in the next step.


Step 12
Fold the neck up so that it sits at a 90-degree angle to the body. Open the model up as you fold the neck up, so that there is a piece of neck either side of the body. This is called an outside reverse fold.

Step 13
Fold the points on the bottom of your origami duck inwards. This will allow your duck to sit up by itself (or float if you decide to put it in water!).


Step 14
Fold the head down, using another outside reverse fold, so that it is positioned at a 90-degree angle to the neck. The two sides of the head should sit either side of the head.

Step 15
Manipulate the beak so that it points upwards. To do this, gently pull it into position, then crisp the creases using a bone folder or ruler.

Step 16
Fold the tail down, so that it lines up with the edge of the wing.

Step 17
Open up the tail to reveal a square-diamond shape.

Step 18
Fold the bottom of this square diamond up, aligning the bottom edge with the top edge (i.e., fold in half along the horizontal).

Step 19
Fold the tail back on itself by folding in half along the vertical.

Step 20
Pull the tail up and out (go gently), then press the creases to secure in place.

Step 21
Tidy up your origami duck’s derriere by folding each side inwards.


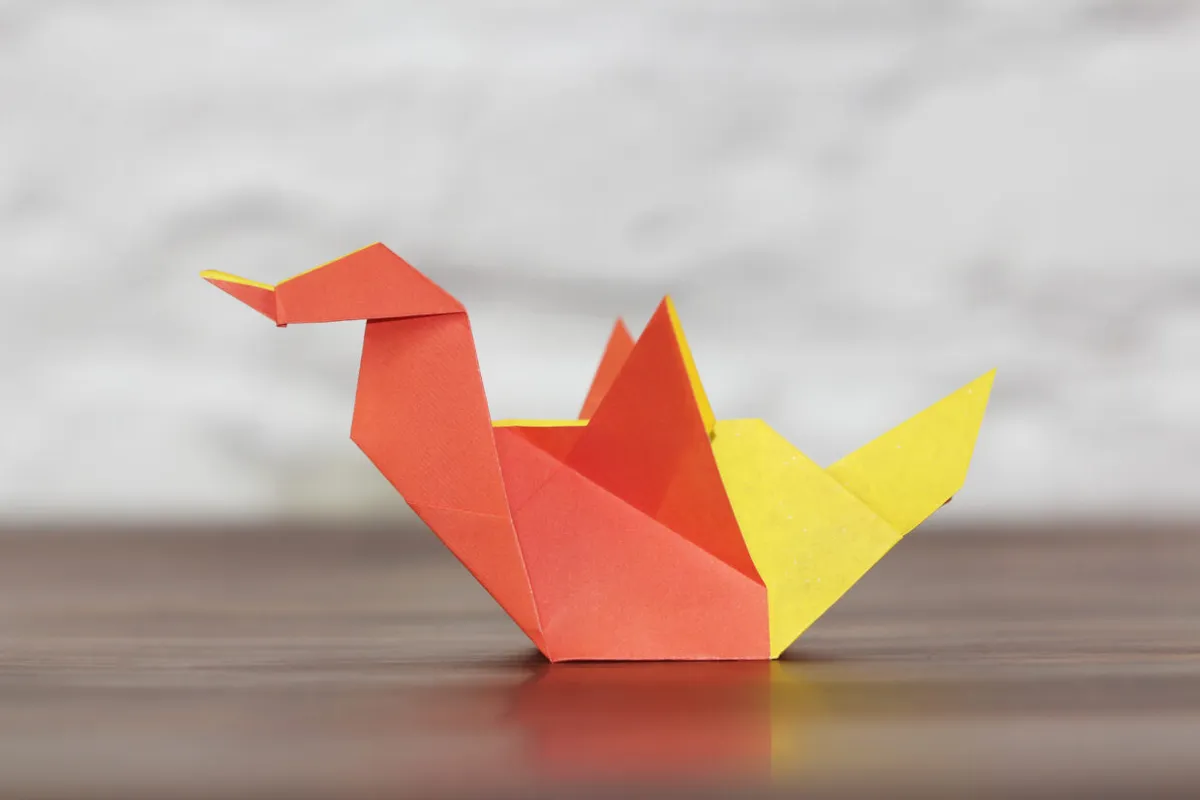
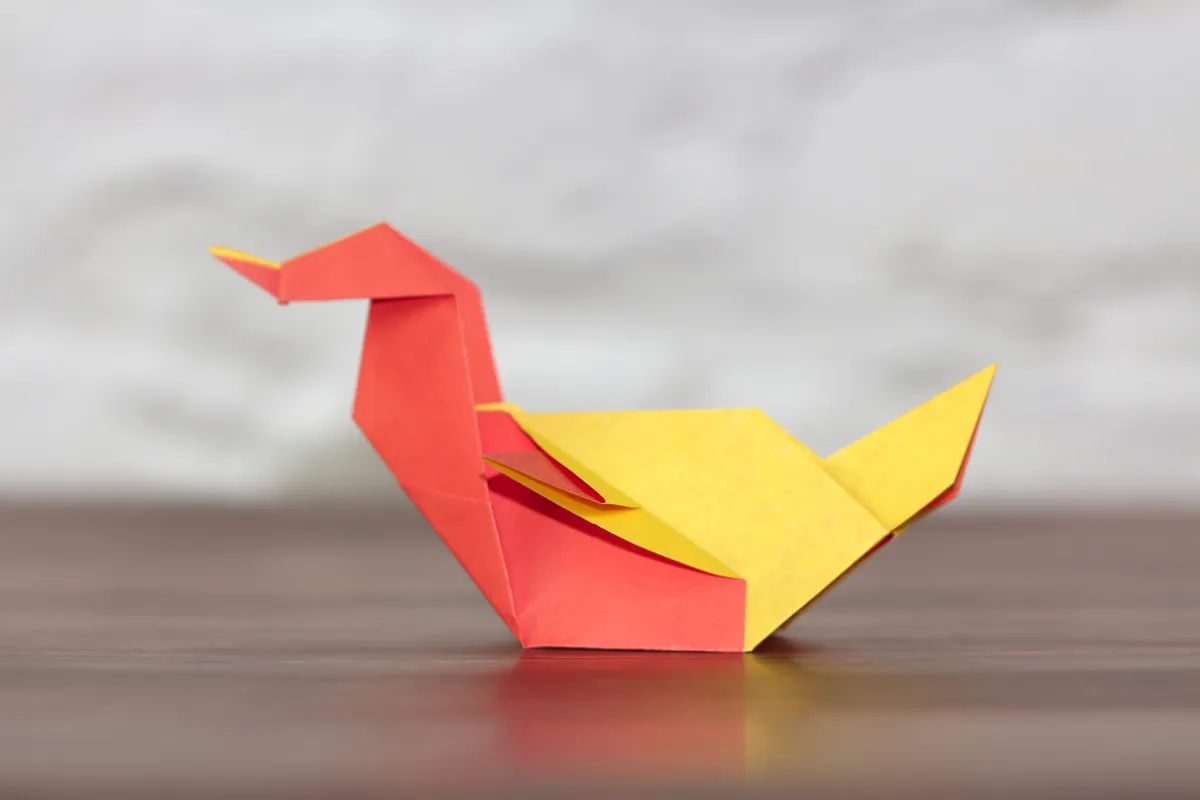
Step 22
Finally, fold the wings down (or leave them up if you prefer) to complete your origami duck!