Cutting Out
Step 1
From the main fabric cut:
- One (1) 4¼in x 24½in strip.
- One (1) 9in square for the base.
- Two (2) pieces using the Bunny Ear template. Cut one with the ear template facing up, then turn over to cut the second as a mirror image.
Step 2
From the lining fabric cut:
- One (1) circle using the Bunny Base template.
- One (1) 5¾in x 24½in strip.
- Two (2) pieces using the Bunny Ear template. Cut one with the ear template facing up, then turn over to cut the second as a mirror image.
Step 3
From the print scraps cut:
- Sixteen (16) 2in squares.
Step 4
From the fusible batting cut:
- One (1) 5¾in x 24½in strip.
- One (1) 9in square.
- Two (2) pieces using the Bunny Ear template. Cut one with the ear template facing up, then turn over to cut the second as a mirror image.
Step 5
From the sew in foam cut:
- One (1) 9in square.
- One (1) 25in x 6½in piece.
Preparing the base
Step 1
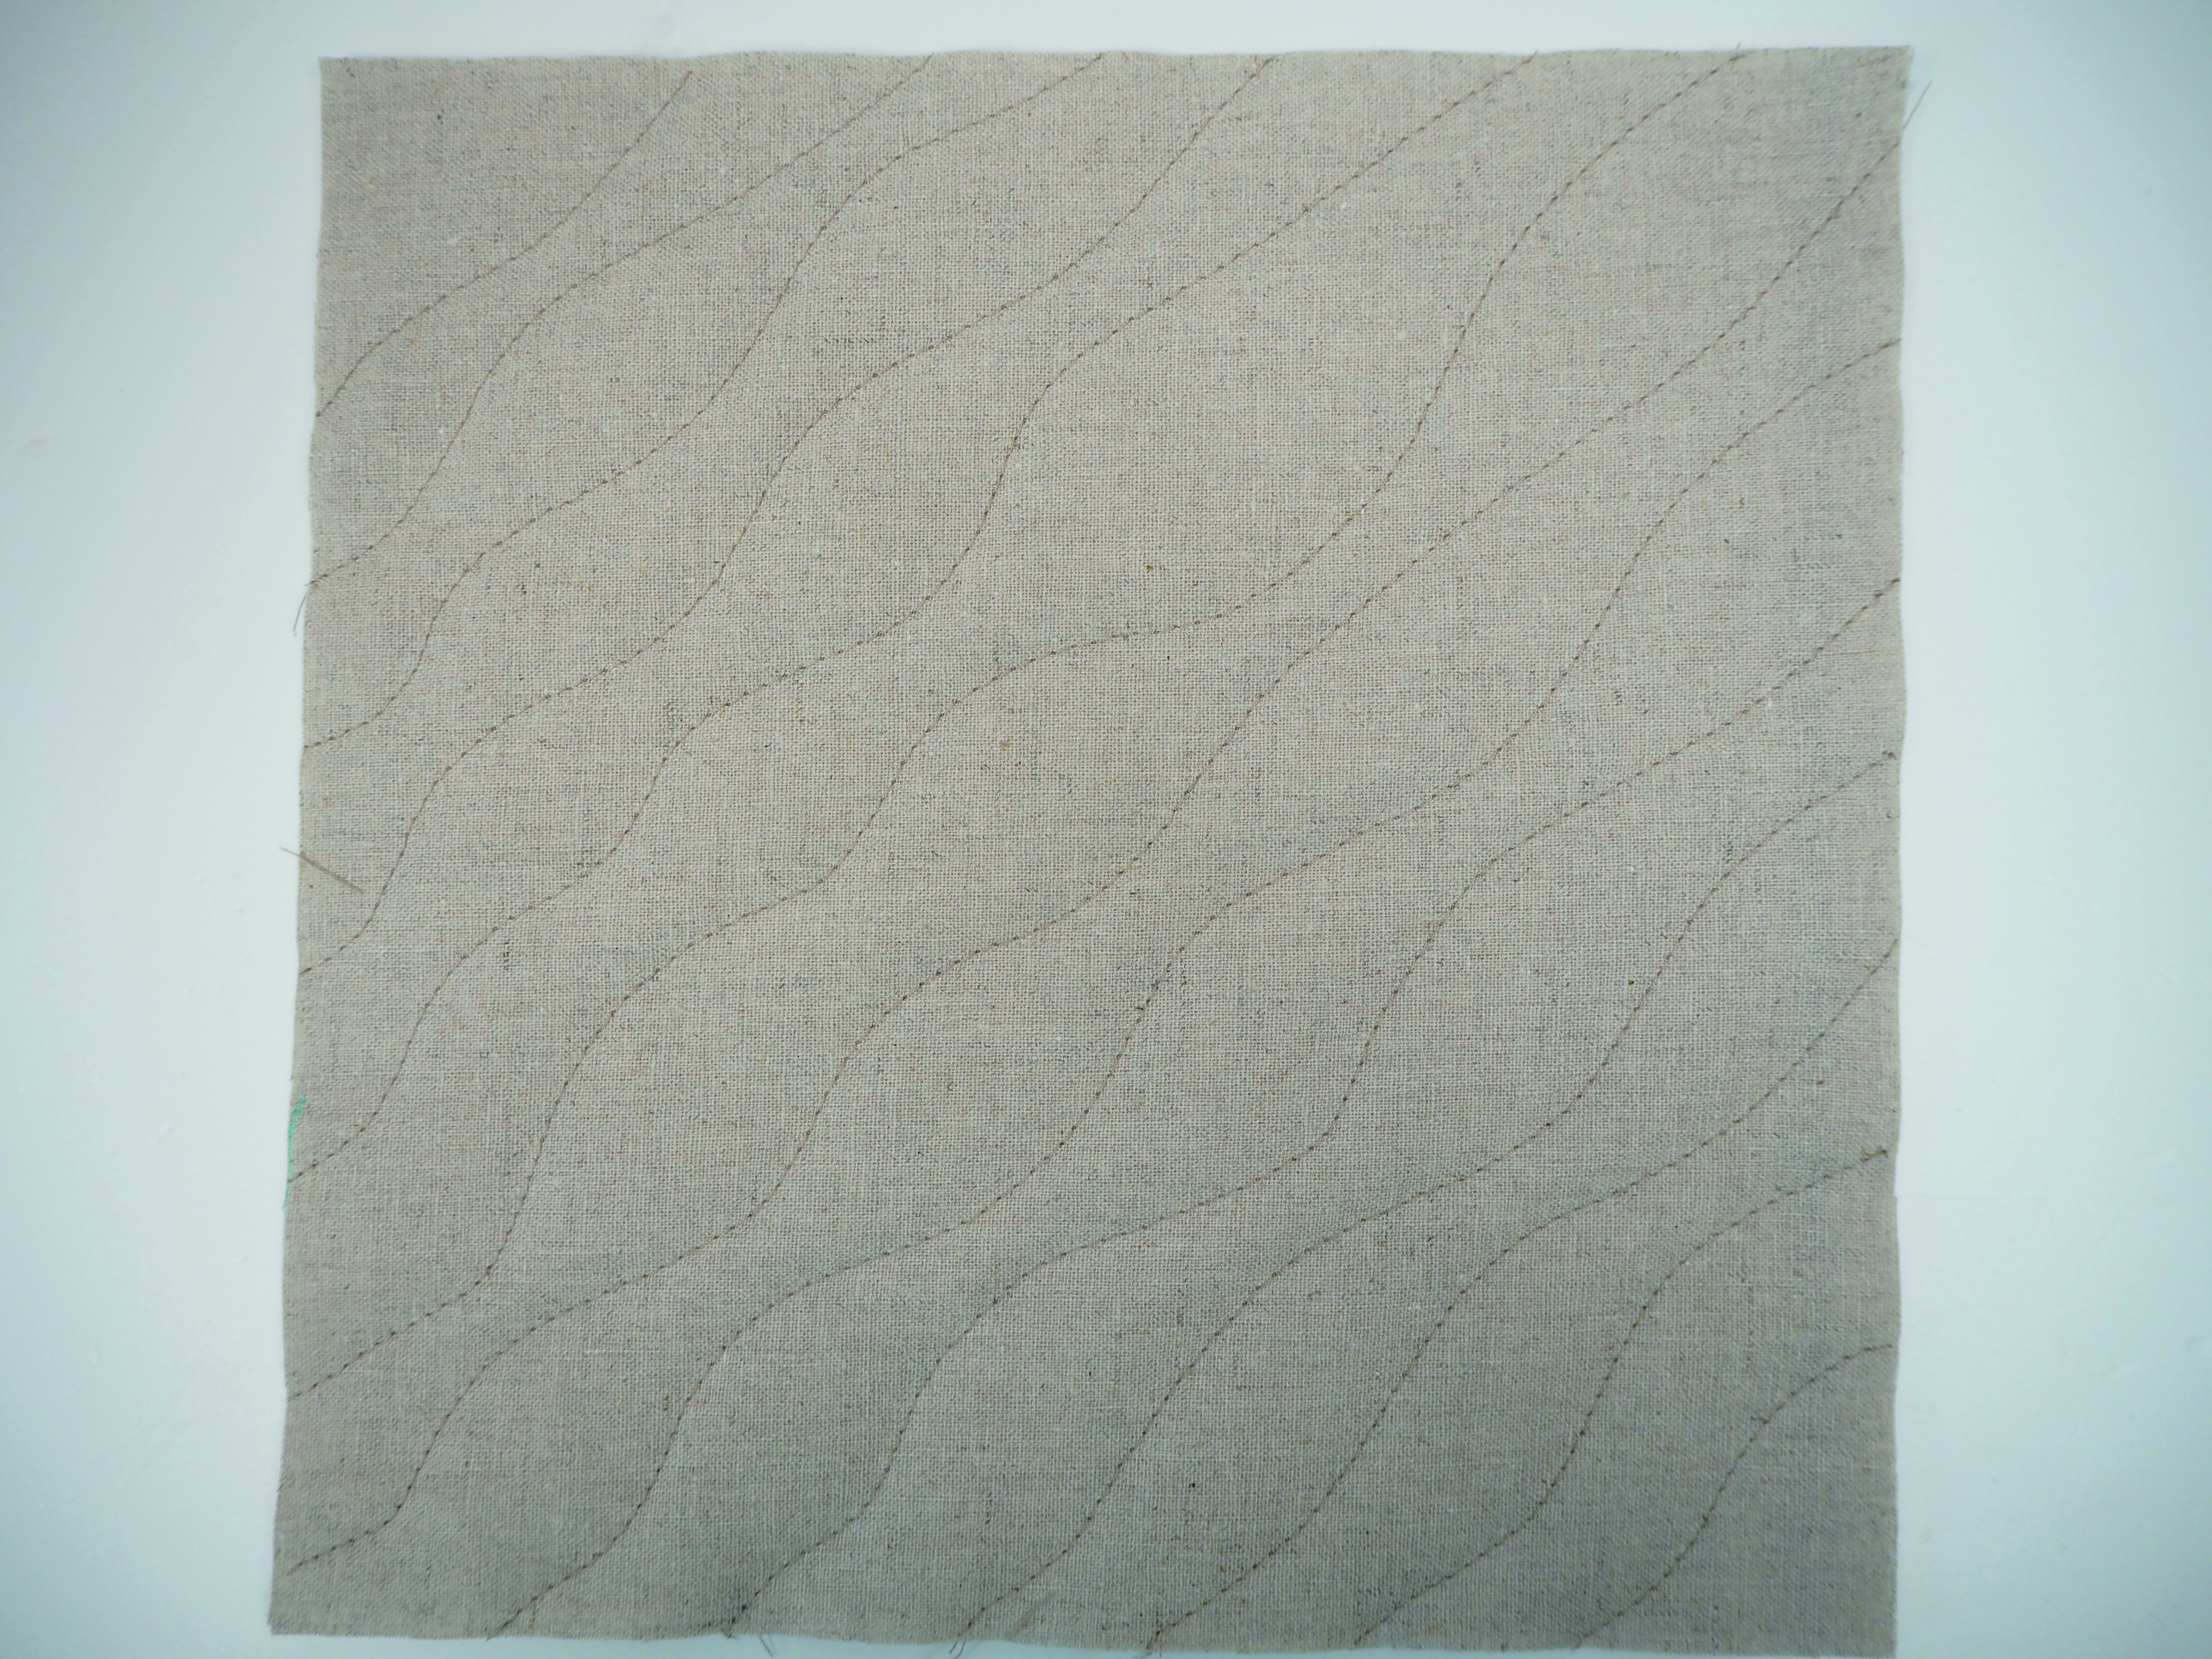
Fuse the corresponding batting to the wrong side of the 9in square of main fabric for the base. Quilt as desired. Debbie quilted wavy lines across the piece (Fig A). Use the bunny base template to cut a circle from the quilted square.
Step 2
Place the base circle on top of the 9in square of sew in foam, and baste around the outer edge. Trim away any excess foam.
Preparing the main panel
Step 1
Join the sixteen print squares together into one long strip. Press, then sew to the bottom of the main fabric 4¼in x 24½in strip.
Step 2
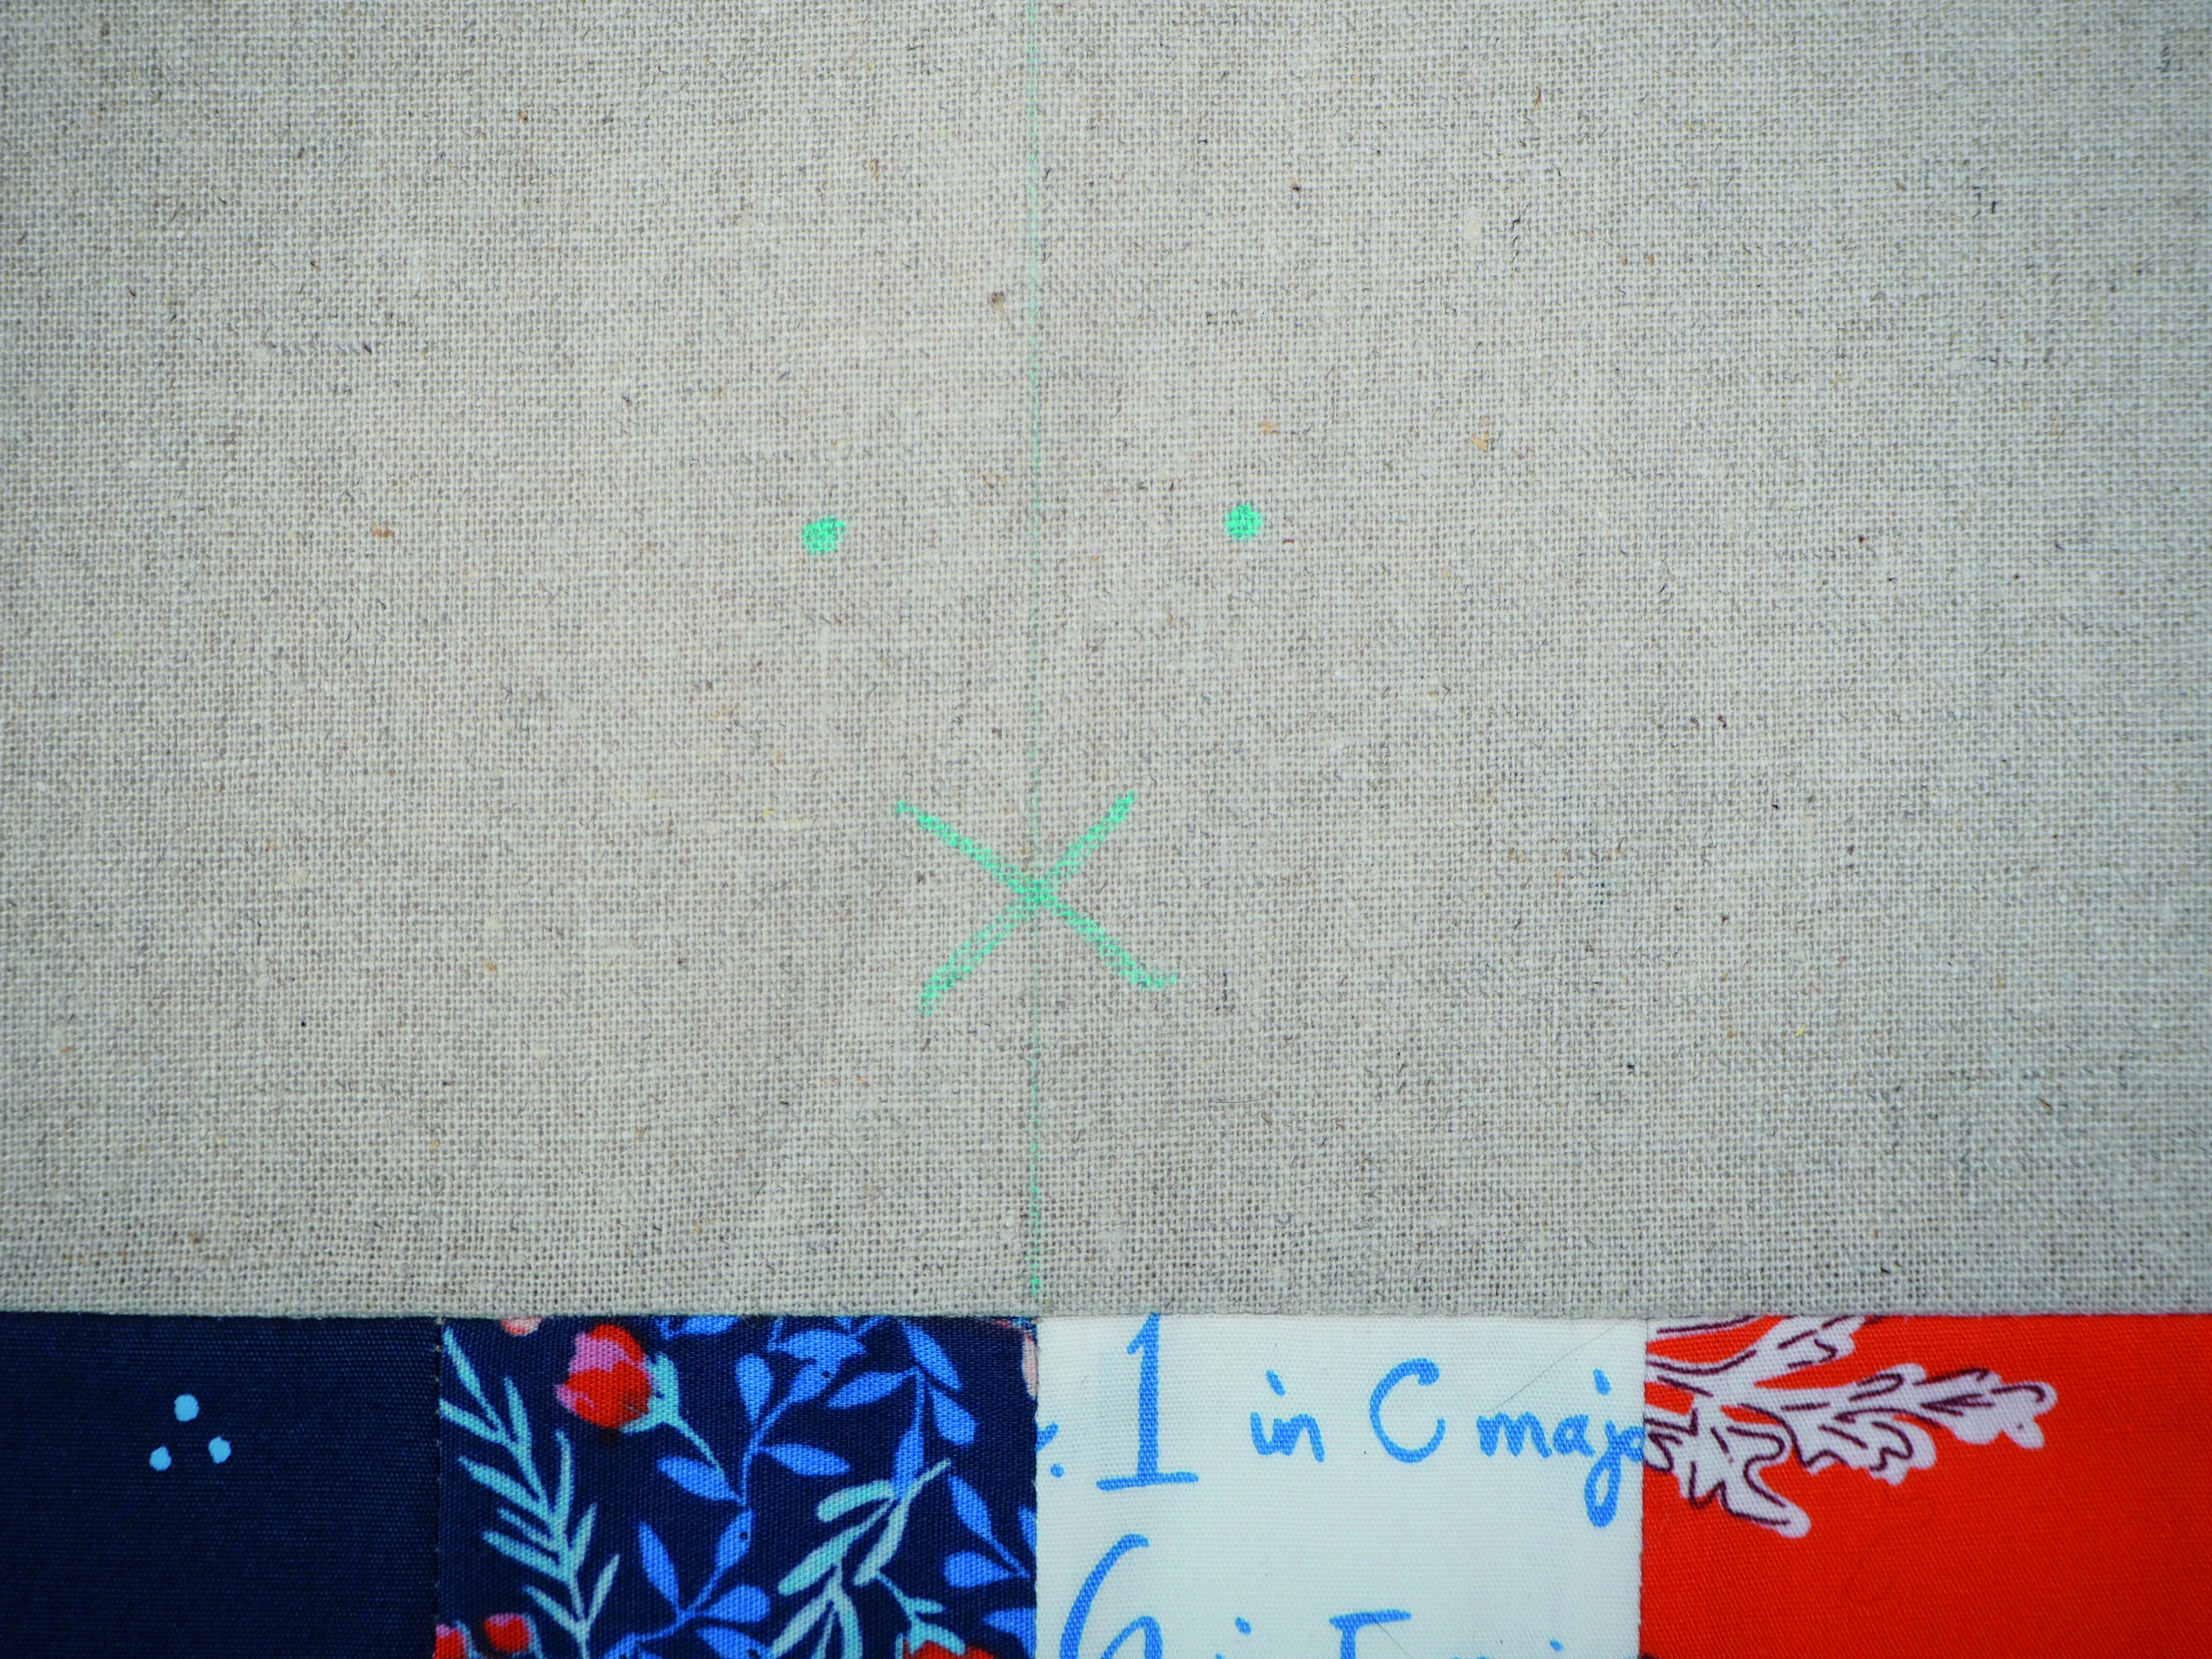
Fold the panel in half widthwise and finger press to find the centre. Mark this with a removable fabric marker. Transfer the bunny face template, centring along this line, and placing approx 2in down from the top edge (Fig B). Apply fusible batting to the wrong side of the panel.
Step 3
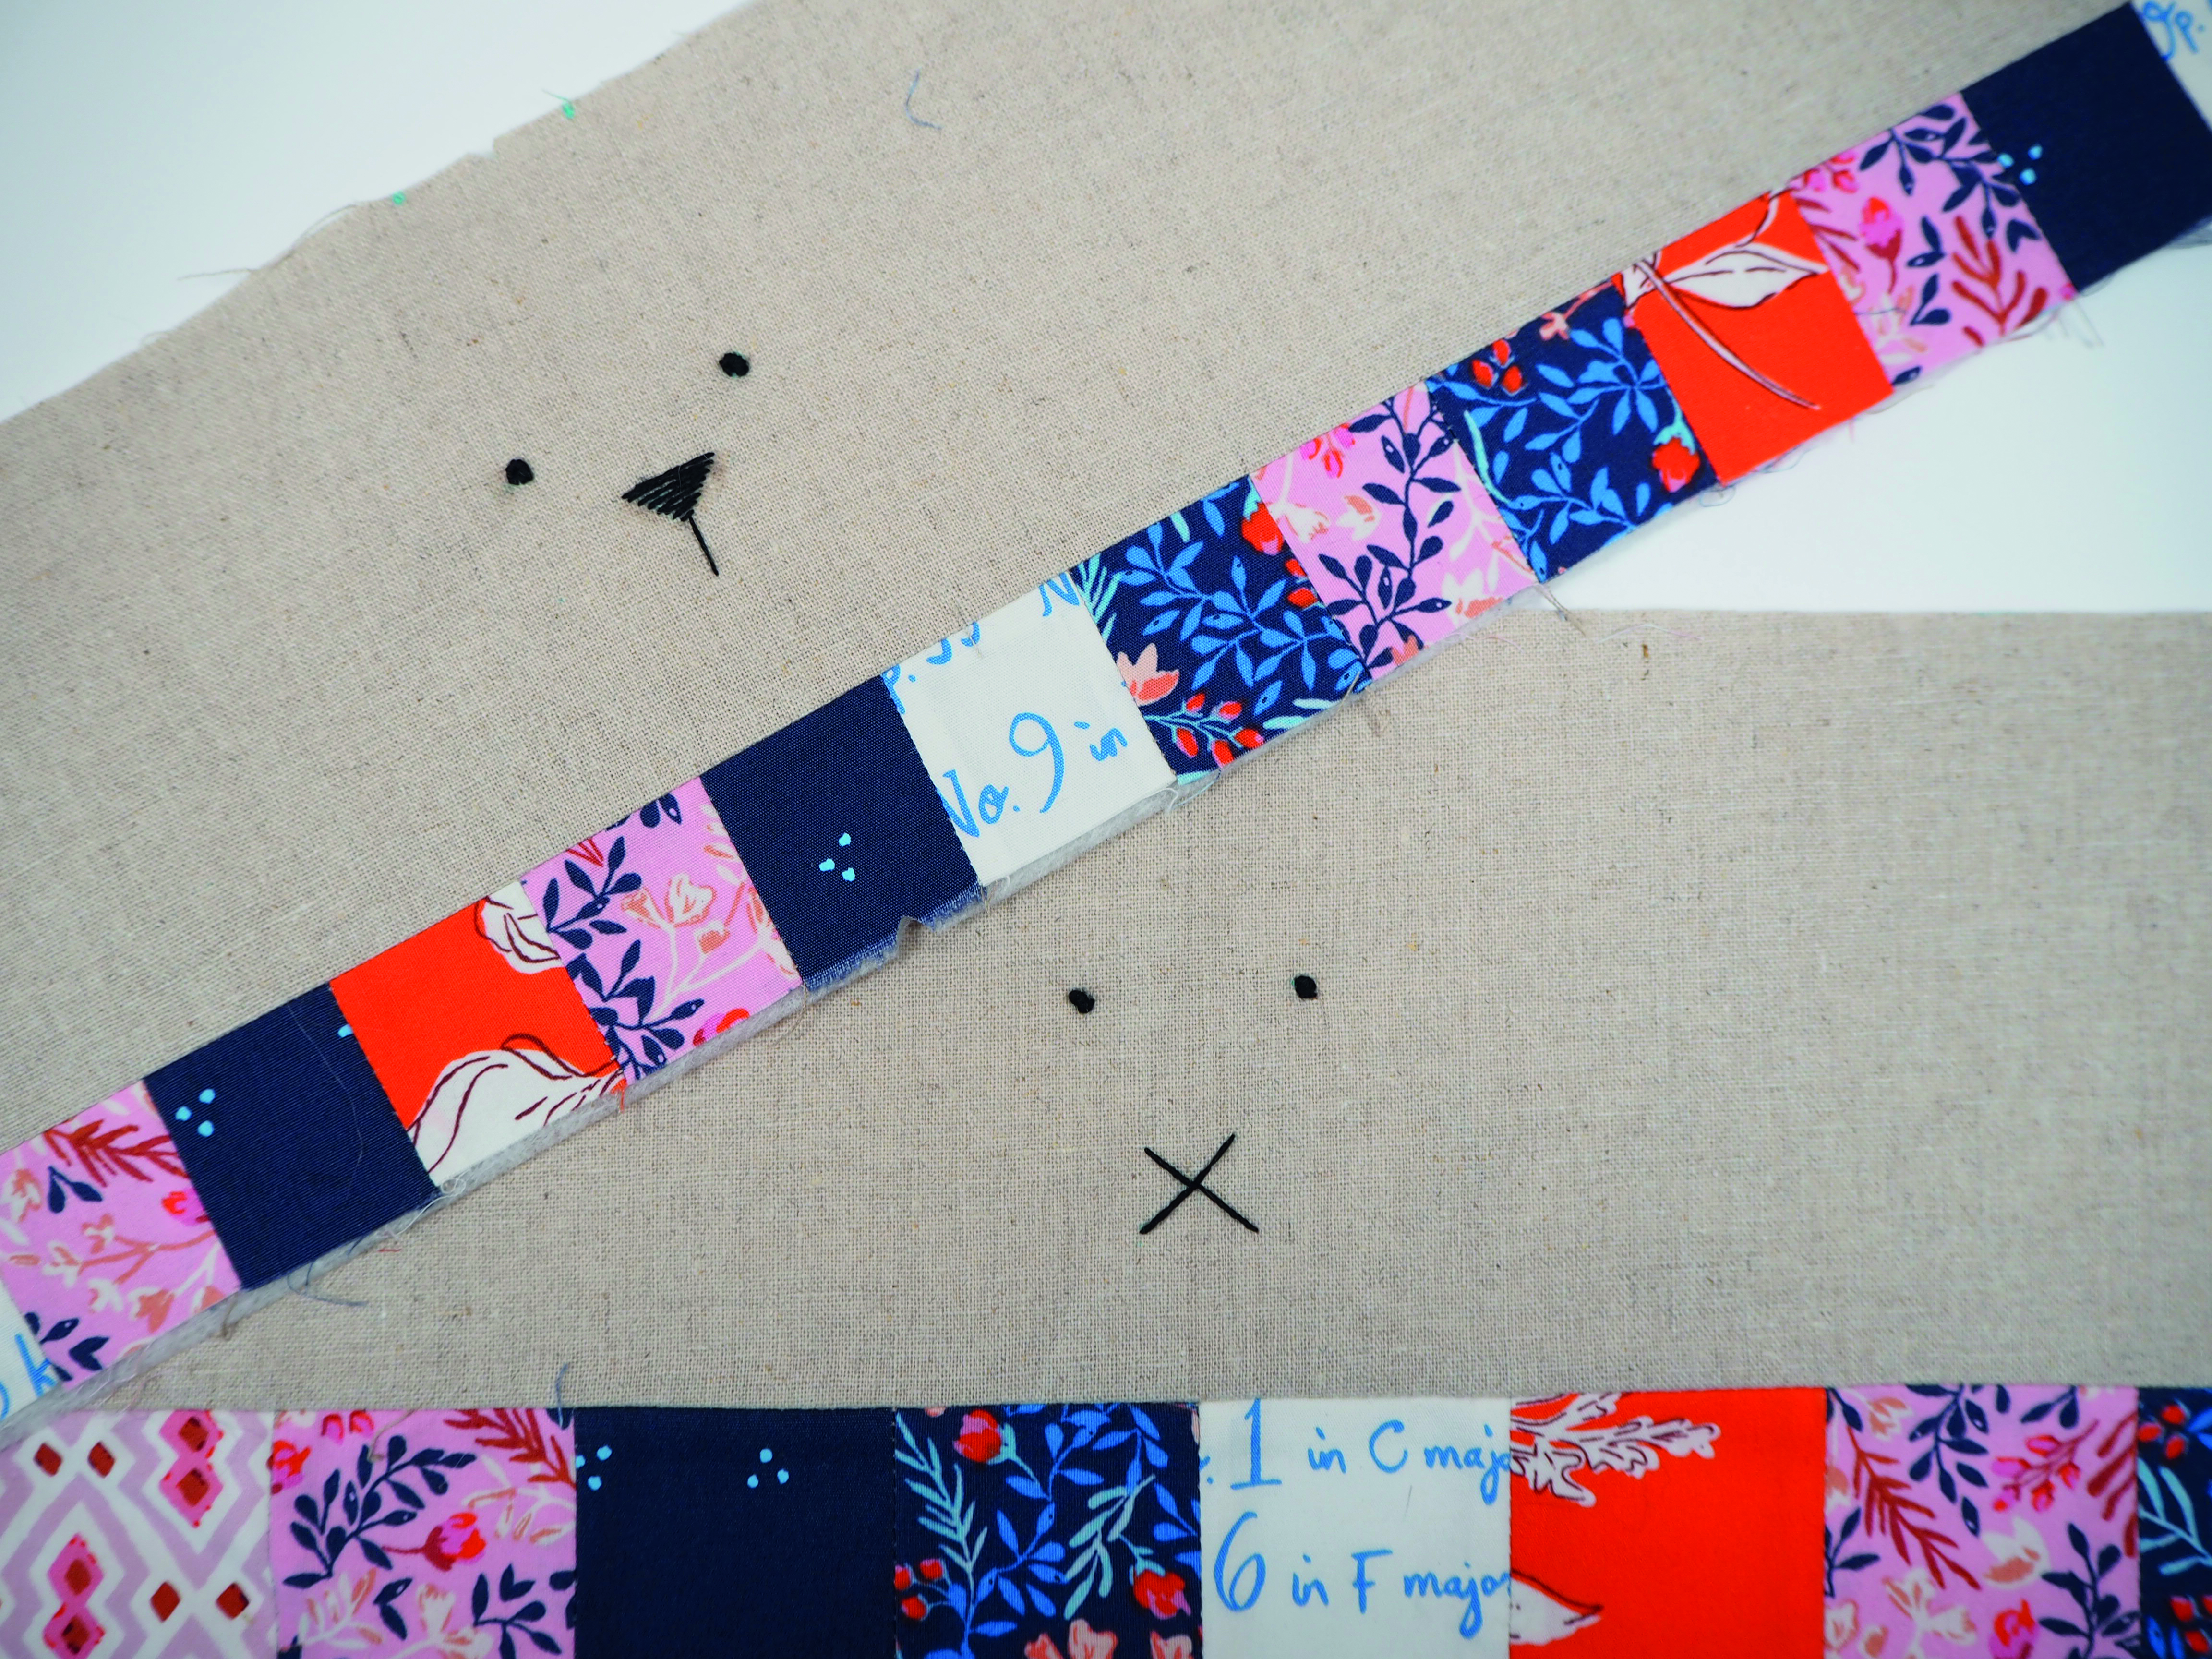
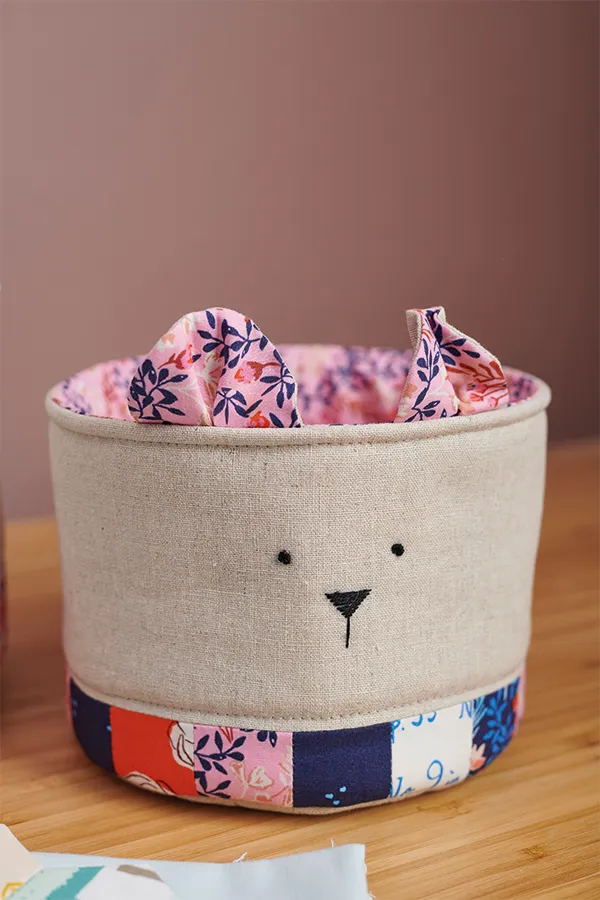
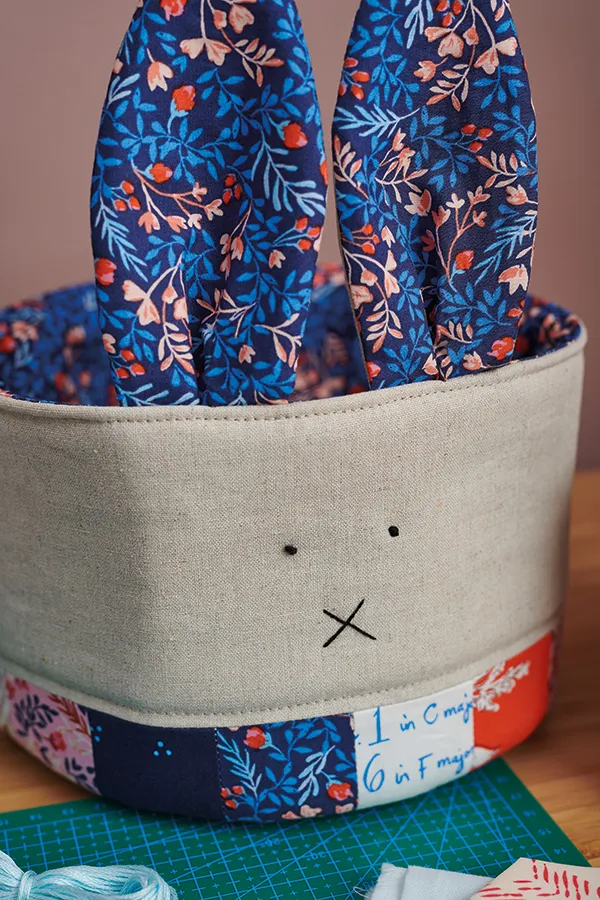
Use two strands of embroidery thread to embroider the faces. Debbie used French knots for the eyes and a cross for the mouth (Fig C).
Step 4
Place the panel on top of the remaining piece of sew in foam and baste around the edges as before. Also topstitch along the top of the seam joining the patchwork strip to the main fabric piece. Trim away any excess foam.
Making the bunny ears
Step 1
Apply the fusible batting to the wrong side of each main fabric ear. Mark the two lines from the template on the right side of each lining fabric ear piece, using a removable marker. Place each main fabric ear RST with a lining ear.
Step 2
Sew along the outer edge of each ear, leaving the base open for turning. Trim the points and notch the curves, being careful not to cut into your stitching. Turn each ear right side out, roll the edges and finger press around the edge.
Step 3

Take one ear, and fold in half to find the centre of the base. Bring each marked line to the centre and finger press, then pin in place. Baste along the bottom edge to pleat the ear. Repeat with the other ear (Fig D).
Step 4
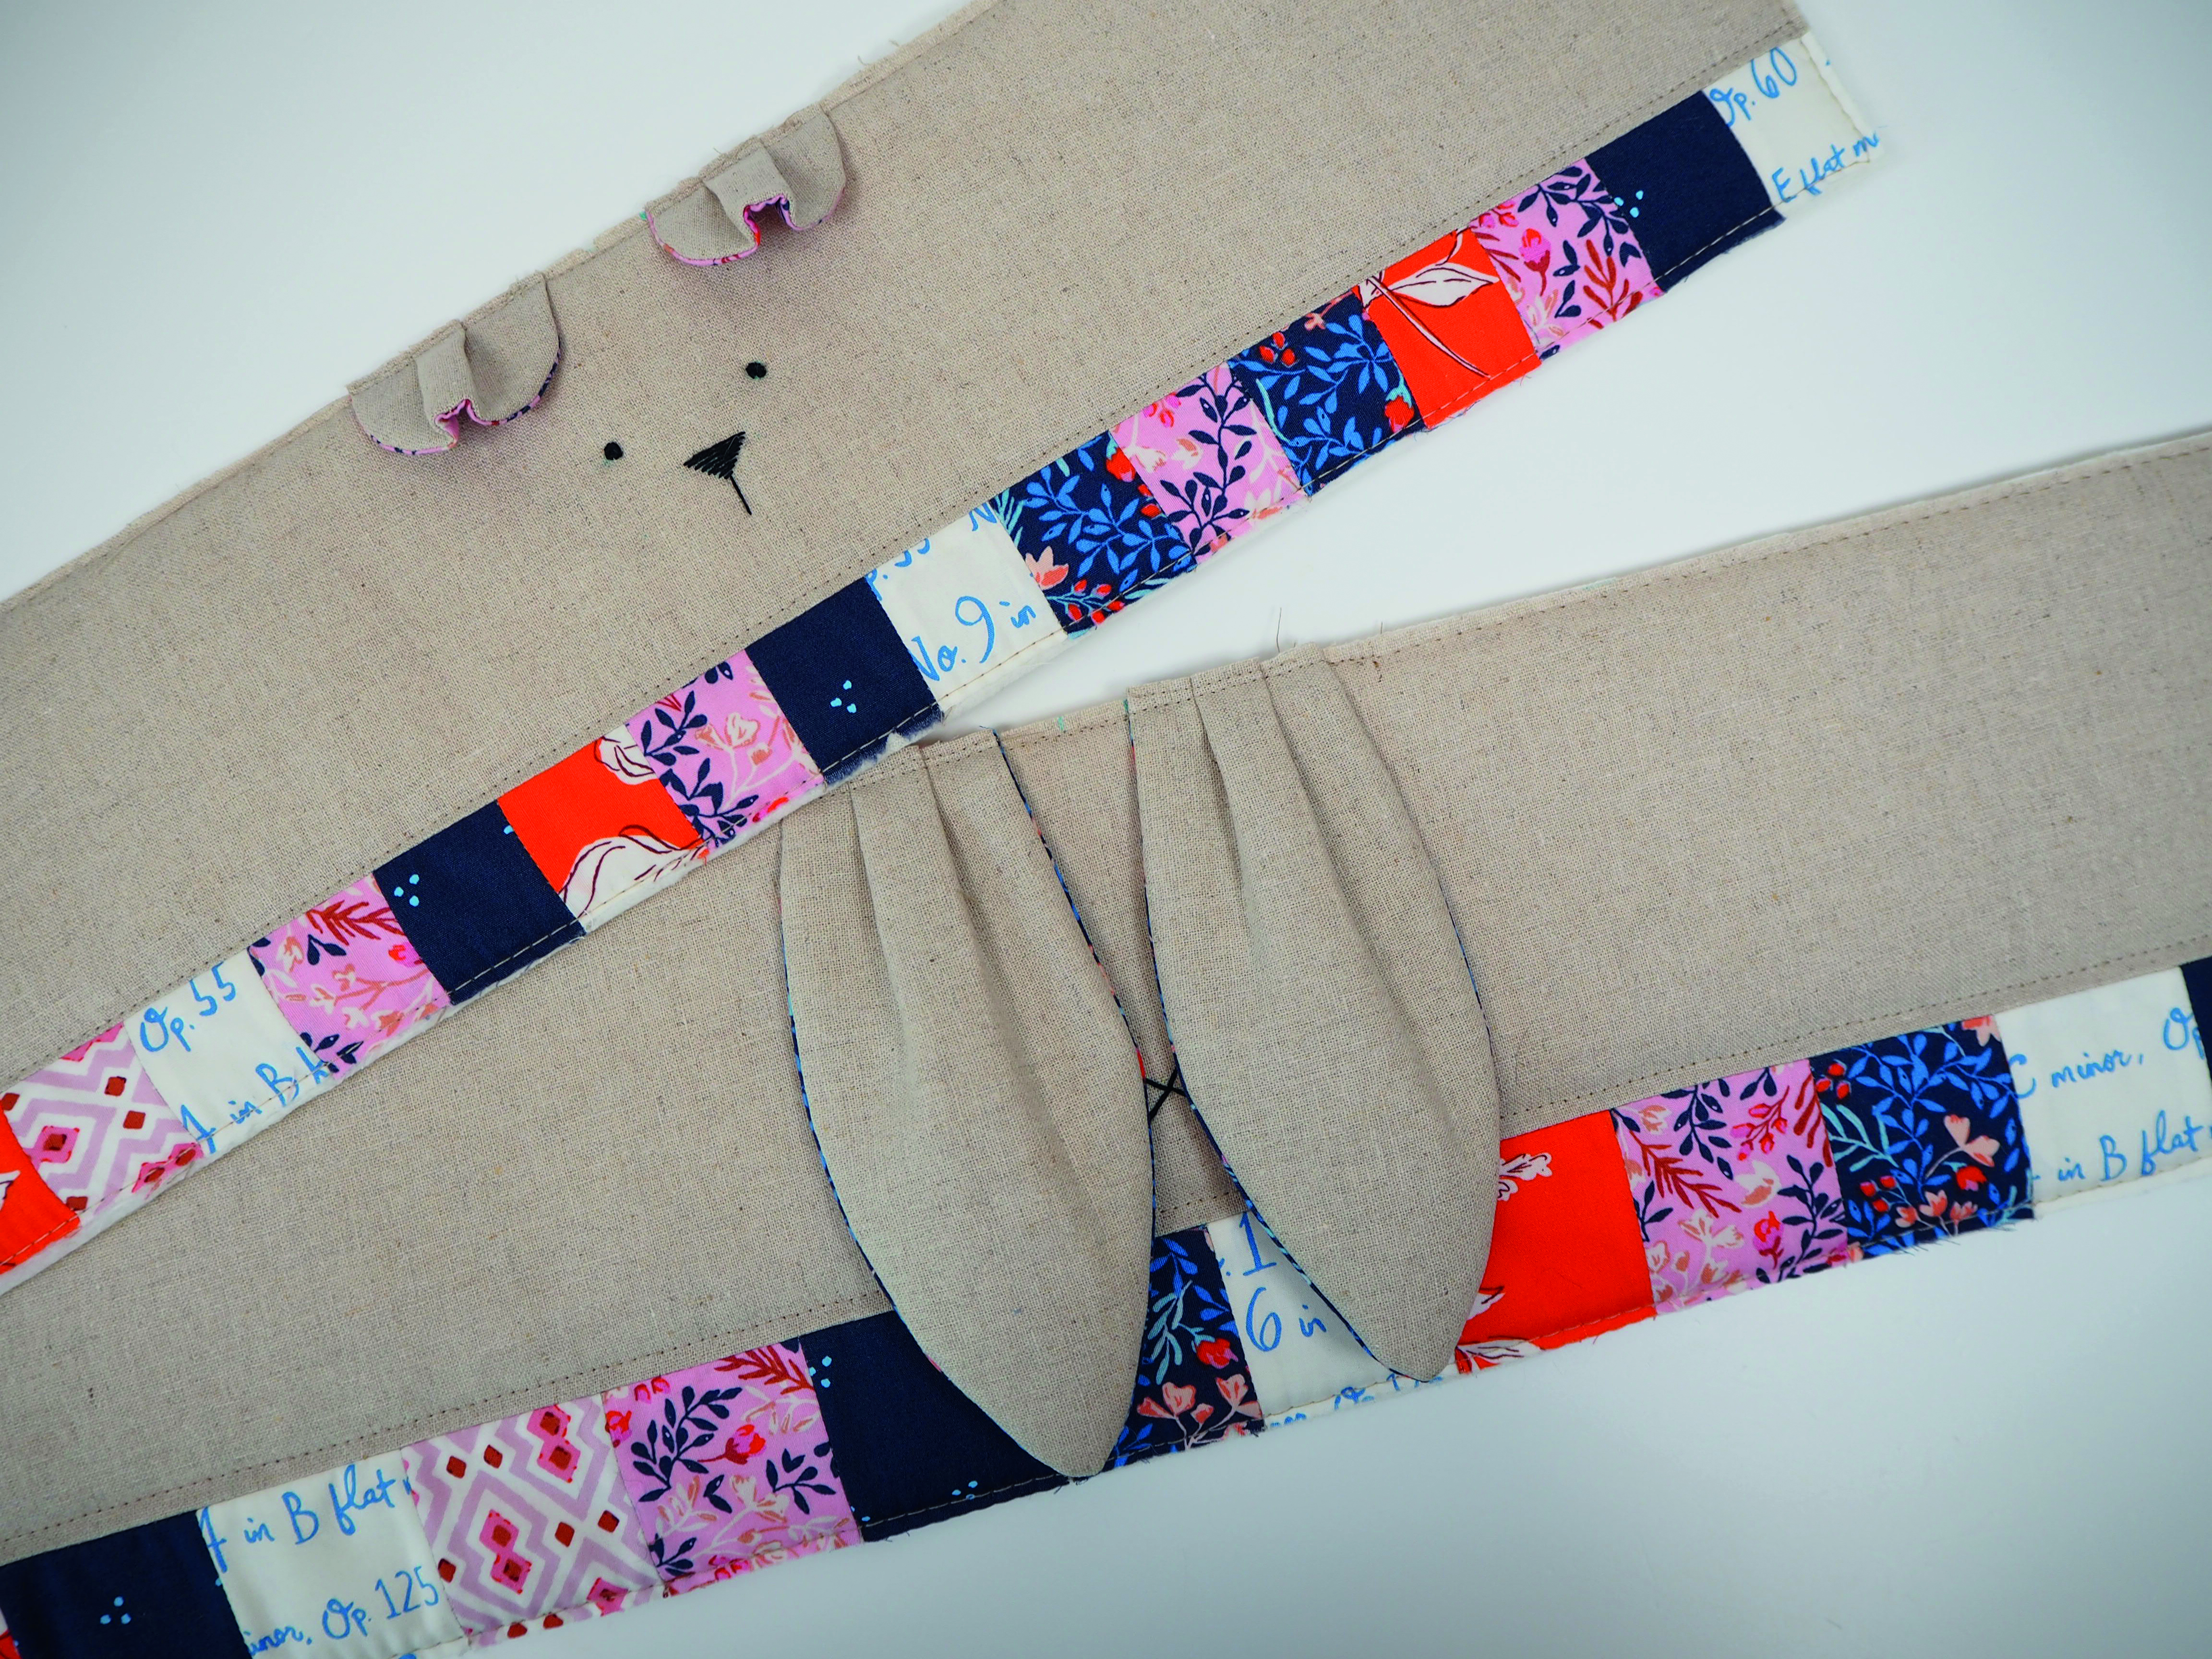
Position the ears on the front panel, in from the centre line on either side. Pin, then baste ½in place (Fig E).
Making the bunny baskets
Step 1
Fold the main panel in half, RST, matching the short raw edges. Sew along this short edge using a ½in seam and press the seam open.
Step 2
Place the main panel RST with the base circle and pin or clip in place. With the base circle on the bottom, sew in place on your machine, working slowly, and pivoting as necessary with the needle down.
Step 3
Sew the short edges of the remaining lining strip, as in step 16, but leaving an approx 3in gap for turning, backstitching at each end to secure. Sew to the lining base circle as in step 17.
Step 4
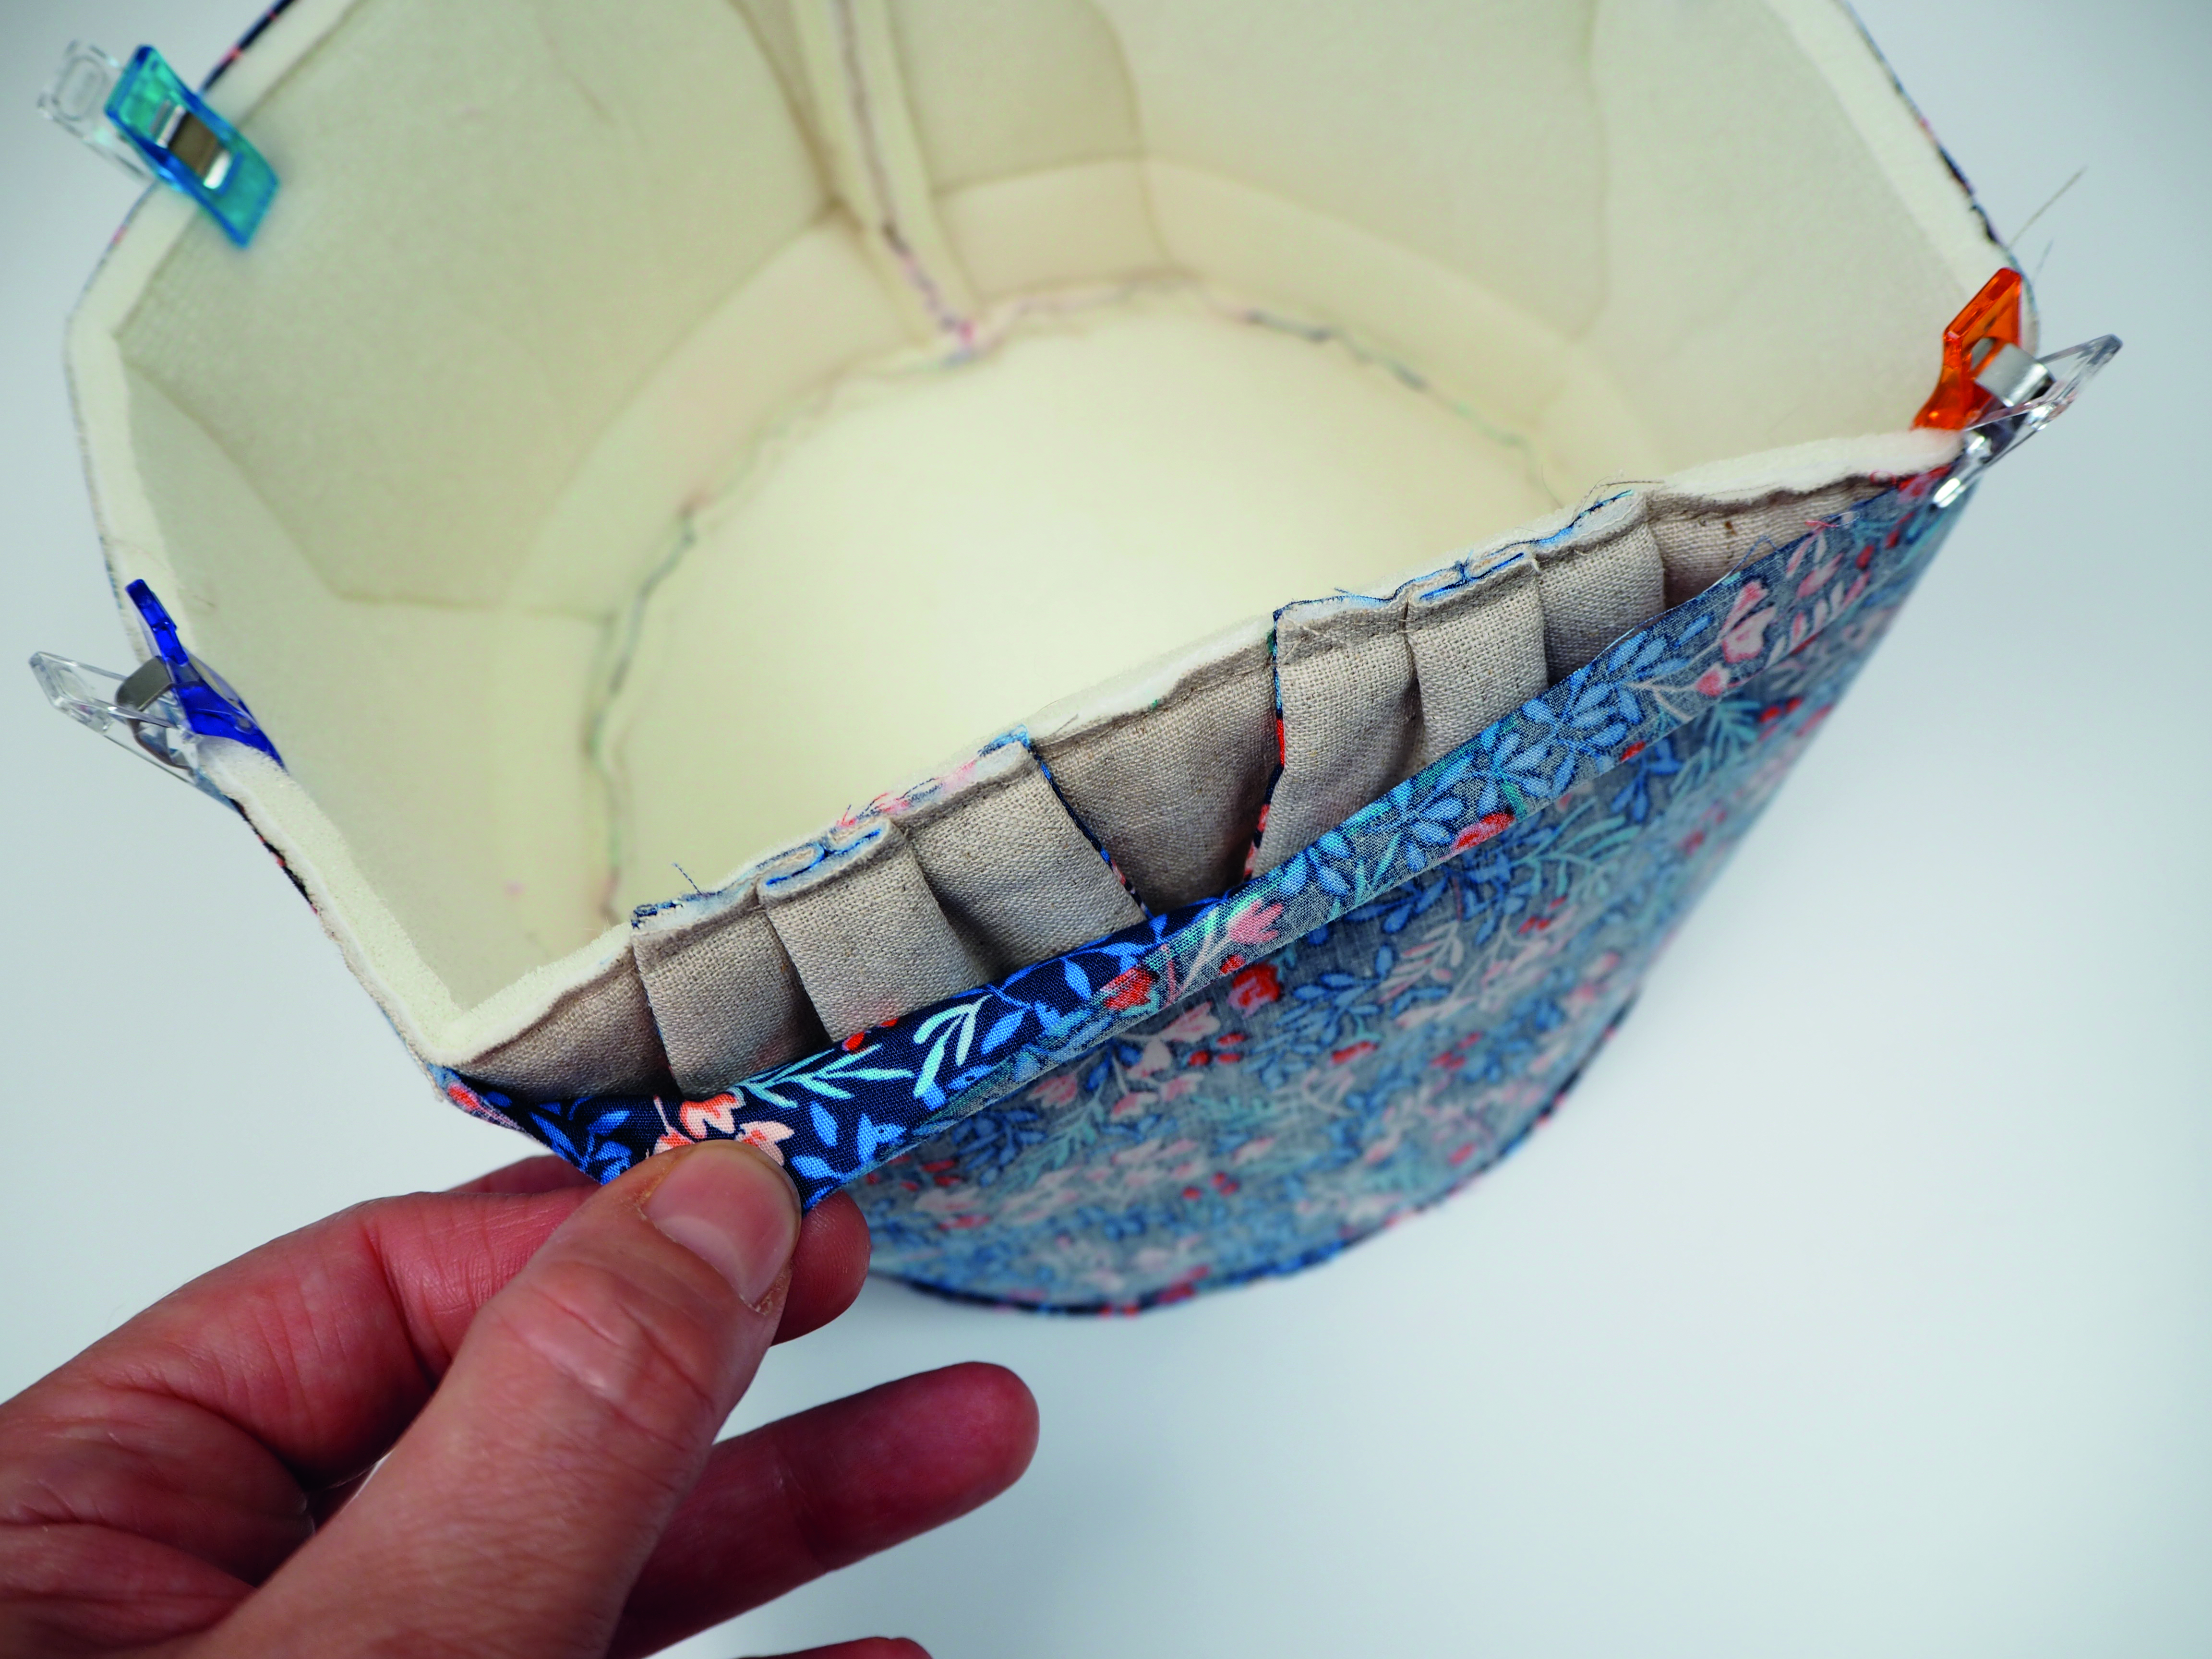
With the basket turned right side out, place inside the lining, so they are RST. Match the seams at the back and tuck the ears down between the two layers. Pin or clip in place (Fig F).
Step 5
Sew around the top edge. Turn the basket right side out through the gap in the lining. Sew the gap using a ladder stitch and push into the basket. Press around the edge, and topstitch in place.