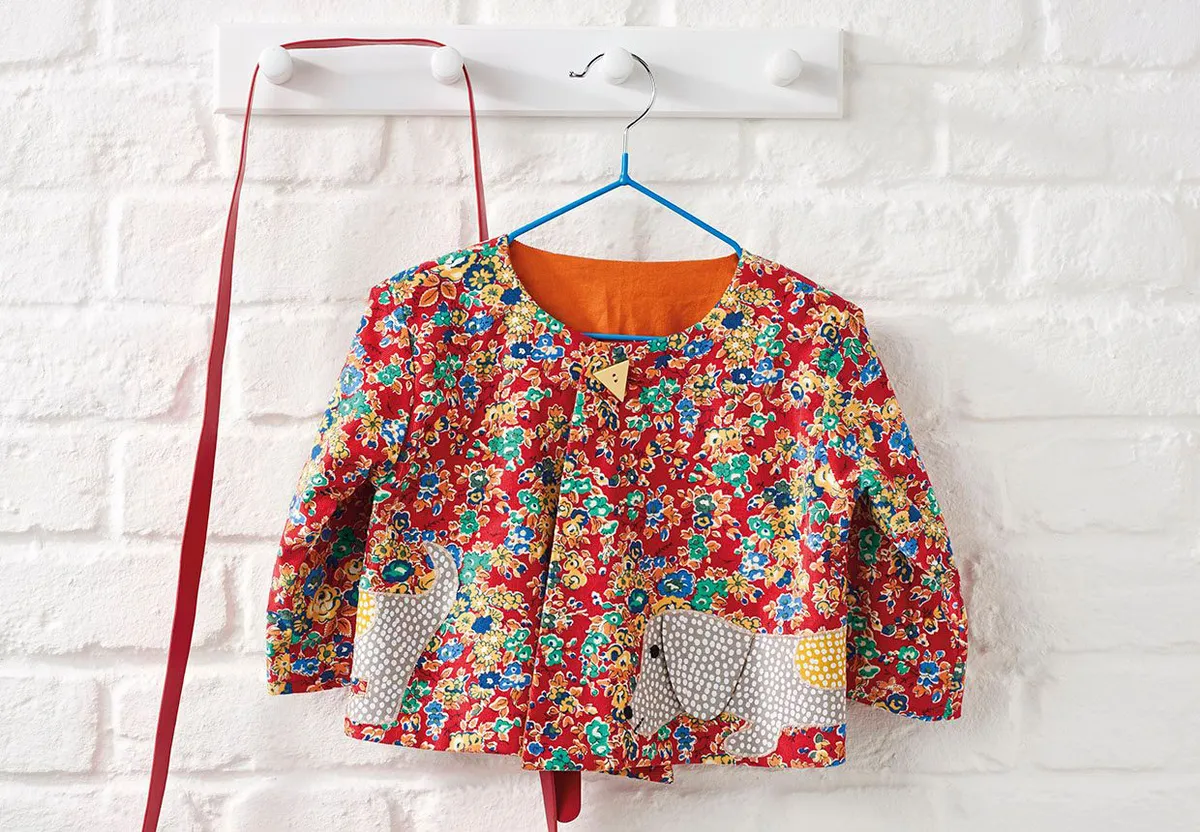
Girl's dress pattern
This little girl's dress pattern is ideal for the summer months – it's made with wax print cotton, which will help your child stay cool on hot days.
Hand-sewn dresses can also make meaningful gifts for friends and relatives, who will appreciate the effort you've put into your present.
You can make this dress using smart fabrics for special occasions or choose a fun print that your child will love. Perhaps you could even let them choose their own print if they're old enough to talk?
There are three size options available for this pattern, so you could always make larger sizes as the child grows.
Girl's dress sewing pattern
You will need:
- Cotton fabric (1mx140cm)
- Lining fabric (25x140cm)
- Lightweight iron-on interfacing (25x140cm)
- Small buttons (3)
- Matching thread
- Basic sewing kit
Notes
- This pattern can be made for children aged three months up to two years. You can find the various Simply Sewing templates below, there are three size options available to download.
- Little Star dress – Sheet 1: 3-6 and 6-12 months.
- Little Star dress – Sheet 2: 12-18 months.
- Little Star dress – Sheet 3: 18-24 months.
- Seam allowance is 1cm unless otherwise stated.
- Recommended fabrics: Cotton wax print, quilting cotton, linen, cotton blends.
Cutting out
Step 1
From the main fabric cut:
- Front Bodice: one on fold
- Back Bodice: one pair
- Front Skirt: one
- Back Skirt: one
- Top Collar: one pair
- Sleeve: one pair
- Back Placket: one
Step 2
From the lining fabric cut:
- Front Bodice Lining: one on fold
- Back Bodice Lining: one pair
- Under Collar: one pair
- Sleeve Lining: one pair
Step 3
From the interfacing cut:
- Back Bodice: one pair
- Top Collar: one pair
Preparation
Step 1
Interface Top Collar and Back Bodice.
Making the collar
Step 1
With right sides (RS) facing, sew the Top Collar and Under Collar at the sides.
Step 2
Fold the seam allowance back and sew along outer edge (leave the neck edge open).
Step 3
Turn through and press, ensuring the Under Collar is rolled back 1mm.

Making the sleeves
Step 1
With RS together, stitch the Sleeve and Sleeve Lining together at the hem edge. Leave the armhole edge open.

Discover more kids sewing patterns
If you're looking for more dress patterns for kids, try our skater dress pattern with added pom poms!
Step 2
Press, ensuring the outer fabric is rolled back to avoid showing on the RS. Sew the sides together. Press the seam open and turn the sleeve through.
Assembling the bodice outer
Step 1
With RS together, stitch the Bodice Front and Back shoulder seams. Press open.
Step 2
Place the Collar at the bodice neckline. Start sewing at the centre front, matching shoulder notches and double back notches. The Collar ends at the first back notch.
Step 3
Fold the waistline of the Front and Back Bodice under by 1cm, press.
Step 4
With RS together, sew the side seams together and press open. Unfold the folded waistline edge before sewing the side seams.
Assembling the bodice lining
Step 1
With RS together, stitch the Front and Back Bodice Linings together at the shoulder seams. Press open.
Step 2
With RS together, sew the side seams together and press open.
Joining the outer bodice and lining
Step 1
With RS together, sew the back edges of the Back Bodice and the Back Bodice Lining together. Press the seam open.
Step 2
Fold back at the back notch and with RS together, sew the Bodice outer and lining together at the neckline, sandwiching the attached Collar in between.
Step 3
Clip the neckline edges so that it lays flat. Turn through and press.
Attaching the sleeves
Step 1
Tack the outer and lining armholes together. At the sleeve head, sew a long length stitch 5cm either side of shoulder notch. Pull the tail ends to create a slight gather, this is to ease the sleeve head into the armhole.
Step 2
With RS together pin the Sleeve into the armhole, matching the side seams and other notches. Stitch, then finish armhole seams.

Sew a teddy for your little one
We've also got this cute teddy bear sewing pattern if you'd like to have a go at toy-making.
Attaching the back skirt placket
Step 1
Fold under and press one edge of the Back Placket.
Step 2
Stitch the unfolded RS of the Back Placket to the WS of the Back Skirt split opening, pulling the split apart so it is straight.
Step 3
Bring the folded Back Placket edge over and edgestitch onto the RS of the Back Skirt opening.
Step 4
Fold the left-hand side as worn (LHSAW) Back Placket back onto the skirt, leave the right-hand side as worn (RHSAW) flat.
Step 5
Sew a V-shape at the bottom to help keep the Back Placket in place.
Making the skirt
Step 1
Sew the Front and Back Skirt side seams together, press and overlock raw edges.
Step 2
Measure the bodice lower edge. Sew two lines of gathering stitch at the waist seam, leaving long tail ends. Gather skirt to fit bodice.
Attach the skirt to the bodice
Step 1
Pin then sew the RS of the Bodice Lining to the WS of the Bodice outer, matching side seams. The edge of the Back Placket lines up with the notch/fold of the Back Bodice.
Step 2
On the RS of the garment, pin the folded Bodice waist edge onto the skirt waist seam, covering the stitches, and sew with an edge stitch.
Step 3
Finish the hem with a double 1cm turn. Press.
Make the buttonholes
Step 1
Mark evenly spaced buttonholes and sew vertical buttonholes on the LHSAW.
Step 2
Attach three buttons to the RHSAW.
You’re done! We hope you enjoyed making this girl’s dress pattern.

Make a treasured clothing with our girls' dress sewing pattern
There's something very special about making clothes for a child. They might grow quickly, but you'll always have fond memories of them playing in a garment you made for them. Handmade clothes can also be passed on to younger siblings, if they're sturdy and well-made!
Looking for more patterns to sew for the children in your life?
Why not make this matching toddler coat pattern for your child?