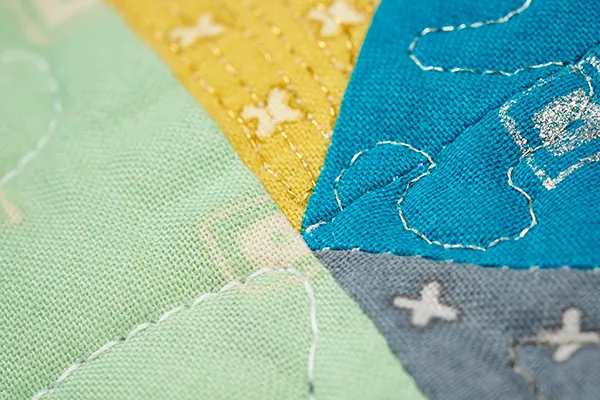
Read on for our free step-by-step guide to how to cut, piece and quilt this striking geometric quilt with a festive touch. Susan's used aqua and teal shades as the foundation for this quilt's frosty colour palette, adding grey accent shades and a splash of yellow to give one of her half square triangle stars a nod-to-nativity boost.
When it comes to the quilting, she's quilted around the star shapes, and added vertical lines to the background fabric to compliment the quilt top pattern. It may still be October, but we can't imagine a more perfect project to curl up with and quilt in the coming weeks as the Christmas count down speeds up. Read on to find out how it's done…
If you like this Christmassy quilt pattern, you might like our guide to the 20 best Christmas quilt patterns, or if you're a paper piecing fan, try our Free Snowflake Quilt Block Pattern.

You will need
- Background print fabric (light aqua): 2yds
- Dark teal print fabric: 1¾yds (includes binding)
- Aqua print fabric: ½yd
- Light teal print fabric: ½yd
- Teal print fabric: ½yd
- Light grey print fabric: ½yd
- Dark grey print fabric: 3⁄8yd
- Yellow print fabric: one (1) fat eighth
- Backing fabric: 4½yds
- Batting: 66in x 78in
Finished size
60in x 72in approx
Notes
- Seam allowances are ¼in unless, otherwise noted
- HST = Half-square Triangles.
- RST = right sides together.
- WOF = width of fabric.
- WST = wrong sides together.
Cutting out
From the light aqua print, cut:
- Five (5) 4in x WOF wide strips. Subcut to give forty-two (42) 4in squares.
- One (1) 3½in x WOF strip. Subcut to give twelve (12) 3½in squares.
- Five (5) 3½in x WOF strips. Subcut to give thirty (30) 6½in x 3½in rectangles.
- Seven (7) 3½in x WOF strips. Join end to end with straight seams and then subcut to give two (2) 3½in x 66 ½in strips and two (2) 60½in x 3½in strips.
From the dark teal print, cut:
- Seven (7) 4in x WOF strips. Subcut to give sixty-eight (68) 4in squares.
- Four (4) 3½in x WOF strips. Subcut to twenty-four (24) 6½in x 3½in rectangles.
- Seven (7) 2½in x WOF strips for the binding.
From each of the aqua, light teal and teal prints, cut:
- One (1) 6½in x WOF strip. Subcut to give three (3) 6½in squares and two (2) 3½in x 6½in rectangles.
- Two (2) 4in x WOF strips. Subcut to give eighteen (18) 4in squares.
From the dark grey print cut:
- One (1) 6½in x WOF strip. Subcut to give three (3) 6½in squares.
- Two (2) 4in x WOF strips. Subcut to give twelve (12) 4in squares.
From the yellow print cut:
- One (1) 6½in square and four (4) 4in squares
From the light grey print, cut:
- One (1) 6½in x WOF strip. Subcut to give four (4) 6½in squares.
- Two (2) 4in x WOF strips. Subcut to give sixteen (16) 4in squares.
How to make a Christmas star quilt
Making the Half Square Triangles
Step one: Take one 4in light aqua square and on the wrong side mark a diagonal line from corner to corner. Place it RST with a 4in dark teal square, with the light aqua square on top.

Step two: Sew ¼in either side of the marked line. Cut through both layers on the marked line. Open the units out and press.

Step three: Using a square cutting ruler, keeping 45-degree line of your ruler aligned with the diagonal seam, trim to 3½in square. You will now have two identical light aqua/dark teal HSTs.

Step four: Repeat steps 7–9 to make the following HSTs:
- Twenty-four light aqua/dark teal.
- Twenty light aqua/aqua.
- Sixteen aqua/dark teal.
- Twenty-four dark grey/dark teal.
- Eight yellow/dark teal.
- Twenty light aqua/light teal.
- Sixteen light teal/ dark teal.
- Thirty-two light grey/dark teal.
- Twenty teal/light aqua.
- Sixteen teal/dark teal.
Assembling the quilt top
Step five: Before you start to join the units into rows you need to make Flying Geese units. These are made from pairs of HSTs. You need a total of the following:
- Twelve light aqua/dark teal.
- Eight light aqua/aqua.
- Eight aqua/dark teal.
- Twelve dark grey/dark teal.
- Four yellow/dark teal.
- Eight light aqua/light teal.
- Eight light teal/ dark teal.
- Sixteen light grey/dark teal.
- Eight teal/light aqua.
- Eight teal/dark teal.
Step six: Arrange the 6½in x 3½in rectangles, 3½in squares, 6½in squares, HSTs and Flying Geese as shown, making sure the Flying Geese units are orientated correctly.
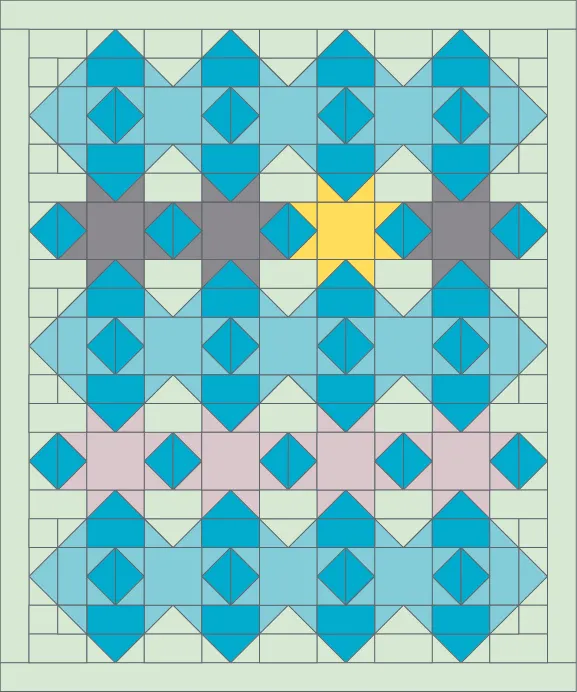
Step seven: join the units into rows, then join the rows to complete the quilt top.
Step eight: To each side of the quilt centre join a 3½in x 66½in light aqua strip, and then to the top and bottom join a 60½in x 3½in light aqua strip.
Quilting & finishing
Step nine: Cut the backing fabric in half across the width. Remove the selvedges and re-join the pieces along the length with a ½in seam. Press the seam open.
Step ten: Press the quilt top and backing well. Make a quilt sandwich by placing the backing fabric right side down, the batting on top, then the quilt top centrally and right side up. The backing and batting are slightly larger than the quilt top. Baste the layers together using your preferred method.
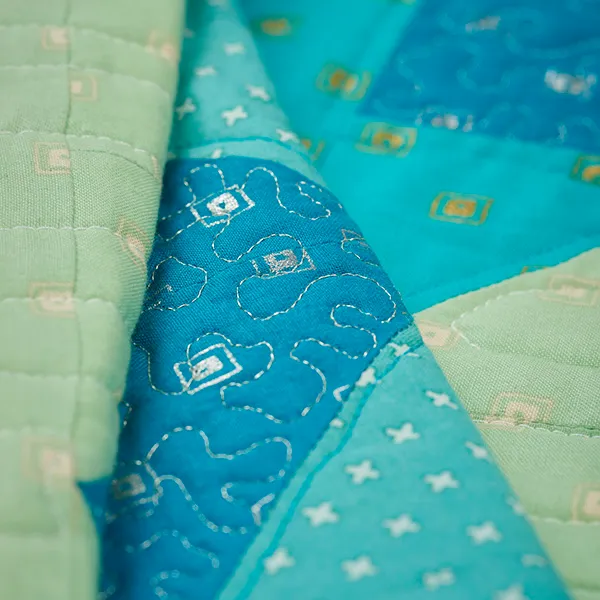
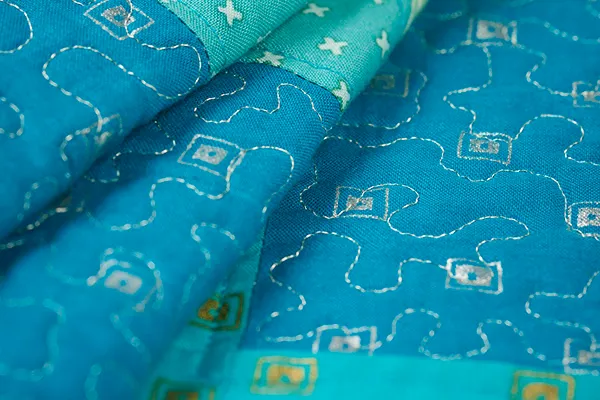
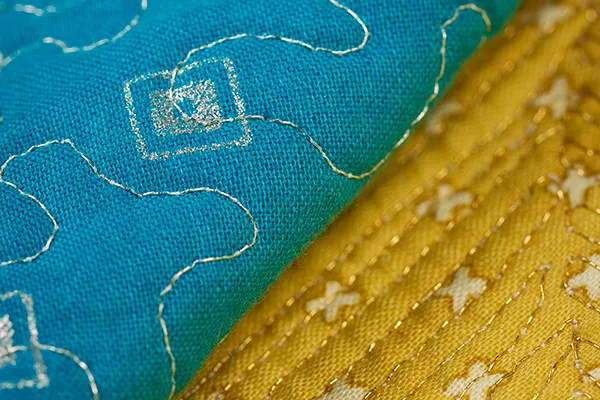
Step 11: Quilt as desired. Susan quilted around the star shapes, as well as free-motion vertical lines approx 1in apart on the background fabric and a free-motion stippling pattern on the dark teal print fabrics.
Step 12: Trim off the excess batting and backing fabric and square up the quilt top.
Step 13: Sew the binding strips together end to end using diagonal seams. Press the seams open and trim away the dog ears. Fold in half lengthwise, WST, and press.
Step 14: Sew the binding to the right side of the quilt, folding a mitre at each corner, then fold the binding over to the back of the quilt and then hand stitch in place to finish.