All products were chosen independently by our editorial team. This review contains affiliate links and we may receive a commission for purchases made. Please read our affiliates FAQ page to find out more.

How to make an air dry clay vase – 3 designs to try

Embrace the autumn tones and craft your own air dry vases this season with this simple up cycling project. It’s the ideal way to reuse old jars and tins whilst also creating something for your shelf!

Try our magazines – get 6 issues from just £9.99!

Published: September 26, 2021 at 7:14 am

Pottery and ceramics have been a big design trends in 2021, thanks to the success of The Great Pottery Throwdown, and it's easy to DIY the look at home – you don't even need your own pottery wheel.

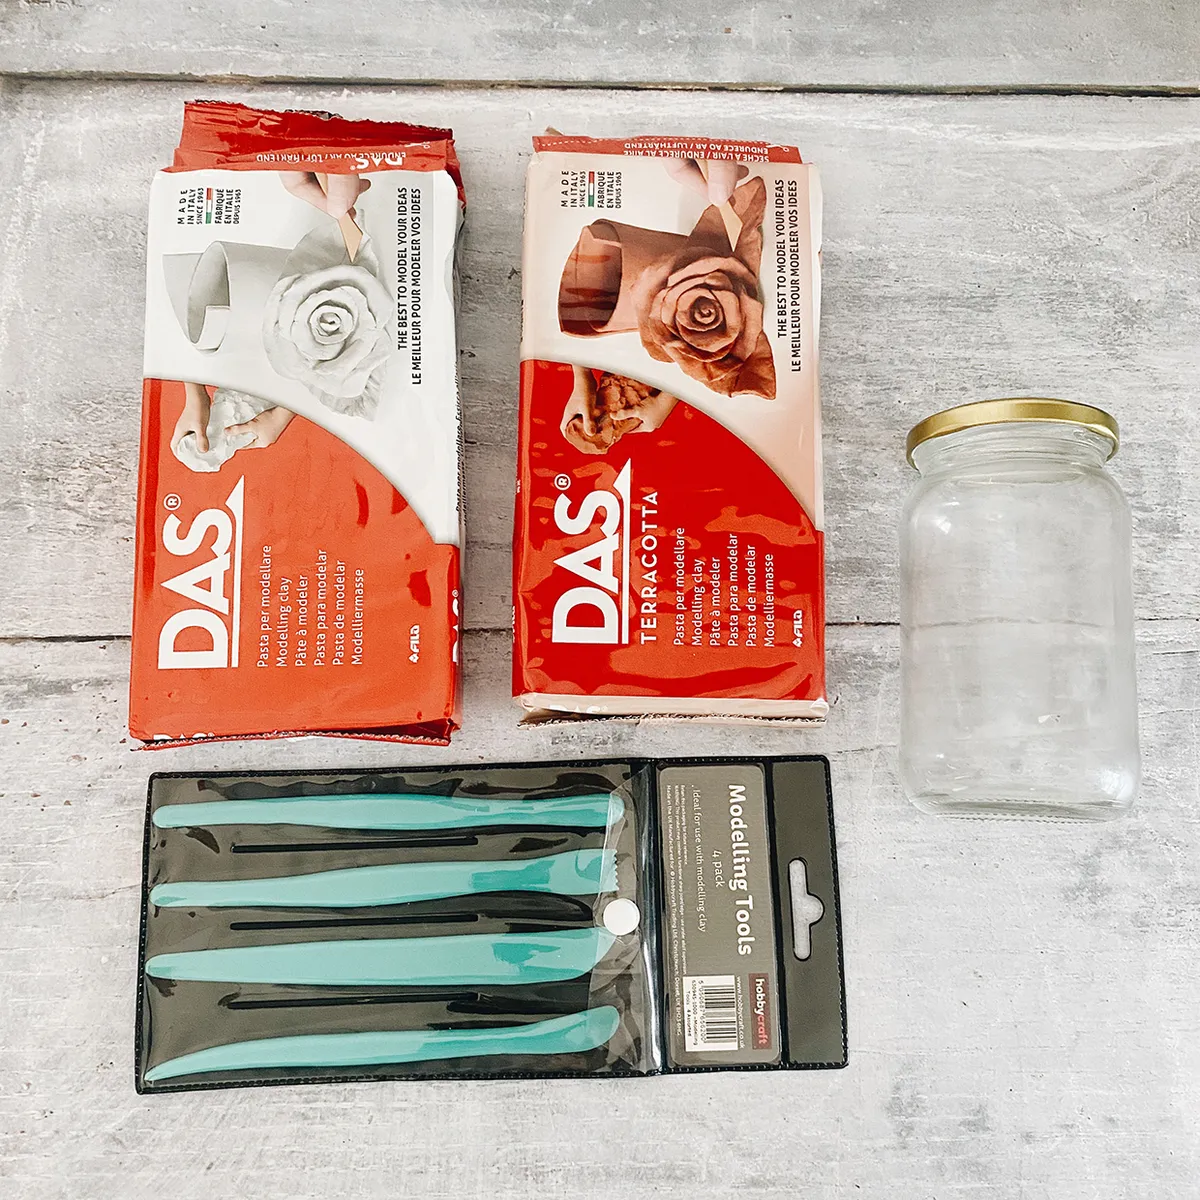
These air dry clay vases are very simple to make – all you need is some air dry clay and a few basic clay modelling tools, plus raid your cupboards for old jam jars and tins to upcycle.

If this project gives you a taste for playing with clay, why not take it to the next level and try pottery? We've got a great guide to pottery for beginners to get you started. Or if you like the idea of getting the ceramic look without going all the way towards pottery wheels and glazes.

We've also got a beginner's guide to air-dry clay for you, where we show you how to make an easy air-dry clay dish by using your favourite stamps!

You will need:

  • Air dry clay (Available from Hobbycraft) (Terracotta and white)
  • Clay modelling tools (Available from Hobbycraft)
  • Old jars and tins (Available from Hobbycraft)

Step 1

Work out roughly guess how much clay you’ll need by using about half the length of the jar or tin that you are upycyling, sliced from the clay pack.

How to make an air dry clay vase step 1

Step 2

Roll out the clay to about 2cm thick and wide enough that it will wrap around your vessel

How to make an air dry clay vase step 2

Step 3

Choose your top edge and begin slowly tearing the clay across to create a jagged edge.

How to make an air dry clay vase step 3

Step 4

Wrap your jar or tin within the clay making sure the clay completely covers it, join the edges by pushing the clay together to secure. Fold the clay around the bottom of the jar flattened it so that it stands upright correctly.

How to make an air dry clay vase step 4
How to make an air dry clay vase step 4b

Step 5

Your vase should now be formed and you can use the modelling tools to scrape thin lines down the vase for an artisan style texture.

How to make an air dry clay vase step 5
How to make an air dry clay vase step 5b


How to make dotty air dry clay vase

Step 1

For the next vase you’ll need to repeat steps 1 and 2 making sure your clay can wrap around your tin or jar and then securing it together by pushing the edges into each other.

How to make an air dry clay vase step 6

Step 2

Using the indenting tool add your marks along the clay pushing the tool into the clay with equal space between each mark.

How to make an air dry clay vase step 7

How to make an striped air dry clay vase

Step 1

For the final vase you’ll need to repeat steps 1 & 2. I have used an old milk bottle which has given more interest to the shape of the vase. Once covered use the tools to add lines working from the top to the bottom of the vase.

How to make an air dry clay vase step 8
How to make an air dry clay vase step 8b

Step 2

Don’t worry too much about precise straight lines concentrate on pushing down and creating nice clean lines down the clay.

How to make an air dry clay vase step 9

Leave your clay vases to dry overnight and then they will be ready to be filled with dried flowers, grasses or fresh flowers. Because we’ve used the tins and old jars it means you can fill with water without worrying about the clay!

DIY Air Dry Clay vases