
How to use air dry clay
Air-dry clay is a fantastic craft for people of all ages to enjoy, it's relatively inexpensive to pick up from your local craft store and you can get sculpting straight out of the box.
Air-dry clay comes in a range of colours, as well in more traditional colours like terracotta, stone and white.
In this article, we share an exclusive project tutorial on how to make an easy air-dry clay dish using your favourite stamps and some pigment ink.
We also run through everything you need to know about how to use air-dry clay, we give you our recommendations for the best air-dry clay to buy, round up our favourite air dry clay project ideas from around the web, as well as lots of advice.

What is air dry clay?
Air-dry clay is a sculpting medium that does not need to be heated for it to cure, or set hard - as the name suggests, it hardens in the air.
Air-dry clay is different to other clays, for example, polymer clay or pottery clay (earthenware clays, stoneware clays, ball clays, fire clays and porcelain clays), as room temperature is sufficient for it to harden, after which it can be decorated in a wide variety of different ways.
Some air-dry clays undergo minor shrinkage as the moisture leaves the clay and they dry out, so keep this in mind if you're making something to be a specific size.

How to store air-dry clay
Keep air-dry clay wrapped in clingfilm and in an air-tight container (Tupperware is a great option) when not in use - to retain as much moisture as possible and prevent it from drying out prematurely.
Air-dry clays come wrapped in air-tight packages, so be sure to only open the package when you are ready to get sculpting.
How long does air-dry clay take to dry?
Air-dry clay is relatively slow drying. This is ideal as you don't need to worry about having to work fast - you can take your time sculpting the clay before setting it aside to dry.
Air-dry clay takes between 24-48 hours to dry, depending on the brand or size of the project. Smaller air dry clay projects will dry much quicker than larger projects.
Buy air-dry clay
1. Pott'd air dry clay pottery kit
Available from Pott'd (£49)
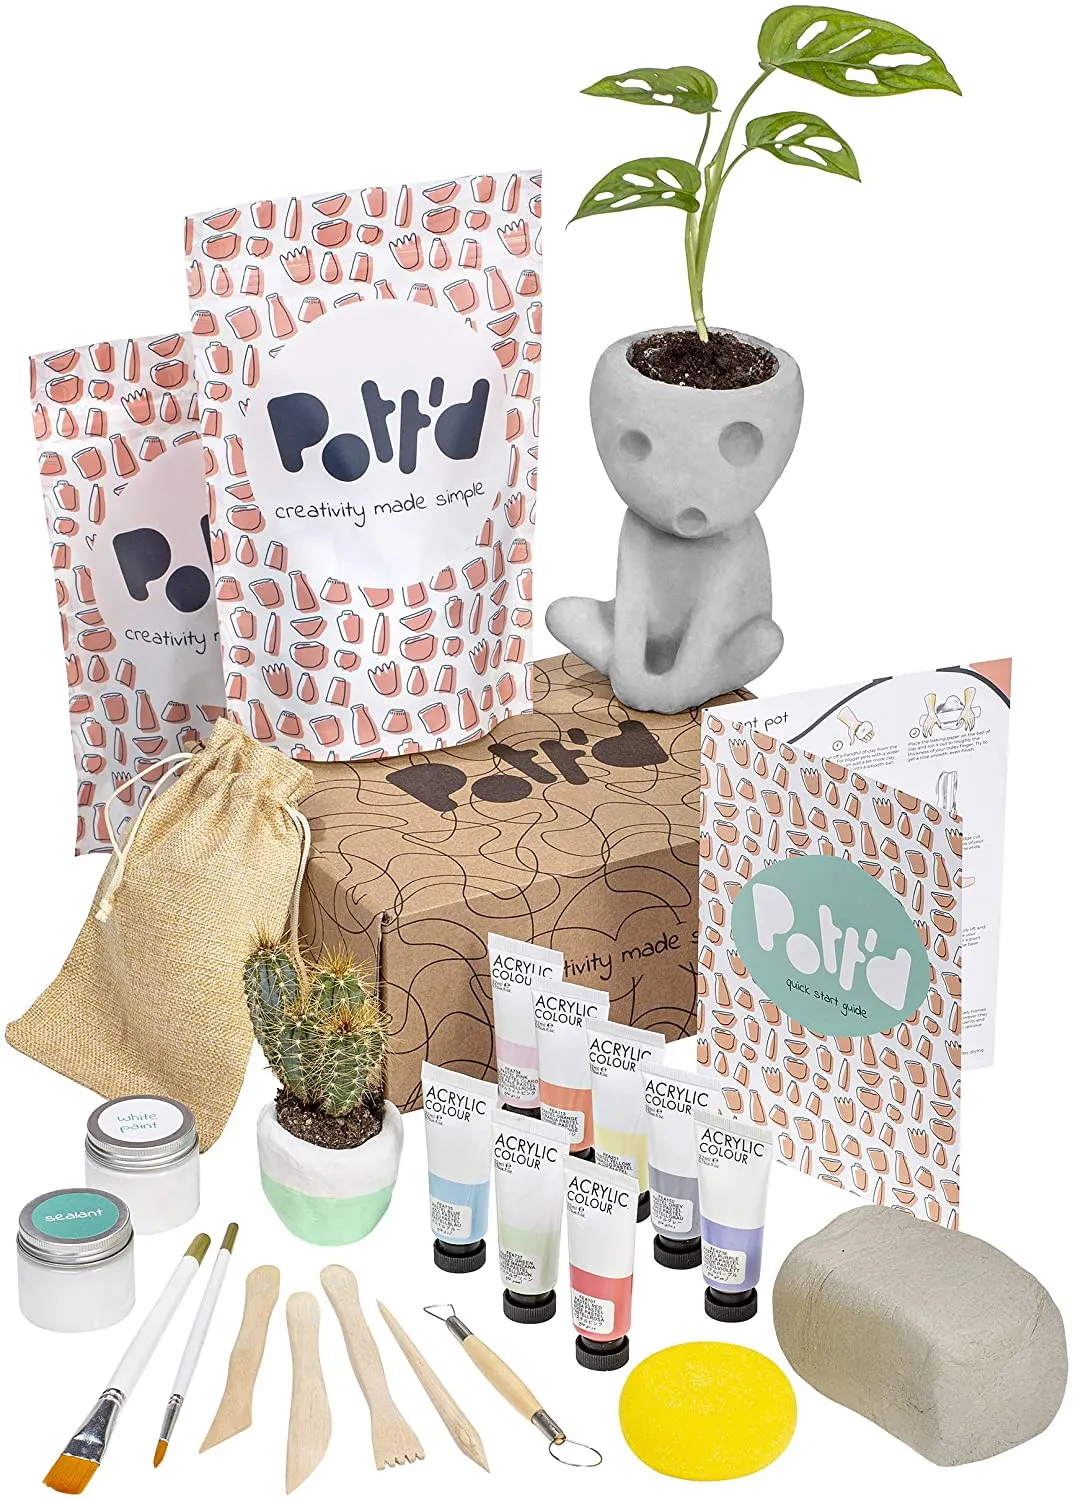
Want all the kit? Pott'd air-dry clay kits have everything you need to create your own unique clay creations at home, including acrylic paints, brushes, base coat, sealant, sculpting tools and of course, the air dry clay.
2. DAS 1kg modelling clay
SQUIRREL_TEXT_13079707

When starting out - a lot of crafters opt for DAS modelling clay. It's readily available from all good craft shops and comes in handy 1kg size blocks.
SQUIRREL_13079707
3. Nylon reinforced air drying clay, terracotta
SQUIRREL_TEXT_13079714

If you're running a class, or are looking to batch make air dry clay projects (perhaps for a side hustle?), then this big 12.5kg bag of traditional terracotta-coloured air dry clay is just the ticket.
SQUIRREL_13079714
4. Nylon reinforced air drying clay, stone
SQUIRREL_TEXT_13079743

This air-dry clay has nylon fibres that help to reinforce it, reducing the risk of your model cracking whilst drying. It comes in whopping 12.5kg bags, too.
SQUIRREL_13079743
5. Esand air dry clay
SQUIRREL_TEXT_13079744

This is a different type of air-dry clay, it's lighter and foamier than traditional air dry clay. It's easier to work with than traditional clay, and it's softer, too, so it's ideal for little hands.
This set includes 36 colours, all with individual tubs so it stays nice and fresh.
SQUIRREL_13079744
6. DAS multipack 5 x 1kg air dry clay
SQUIRREL_TEXT_13079725

If you know you're going to be making a lot - buying in bulk is a great way to ensure that you won't always be looking to replenish your stash.
SQUIRREL_13079725
7. Sago Brothers air dry clay kit
SQUIRREL_TEXT_13079720

This lightweight coloured air dry clay is great value - you get 24 colours, plus a 72-page tutorial book, tools and spare bags to put your opened clay in. Check out our
SQUIRREL_13079720
8. FIMO air drying clay
SQUIRREL_TEXT_13079719

If you have ever used FIMO polymer clay, you'll know the name is synonymous with quality. This air-dry clay variety from FIMO comes in white, pale pink and terracotta colours.
SQUIRREL_13079719
How to use air-dry clay
Make this easy air-dry clay dish following our step-by-step tutorial!

You will need:
- Air-dry clay, terracotta
- Stamps
- Pigment ink pads, white
- Bowl
- Rolling pin
- Protective mat (or newspaper)
- Knife
- Sandpaper, fine-grained
- Water
Step 1
Take your air-dry clay out of the packet. It probably feels quite cool to the touch, so section off the amount you need, and knead until the clay becomes more pliable.
Store the remaining clay in the original packaging, in an airtight container to keep it fresh for when you need it next.

Step 2
Using a rolling pin, roll out your air-dry clay onto a protective surface. I’m making a fairly small bowl, so this clay measures approximately 15cm x 15cm wide, by 4mm thick.
Acrylic rolling pins are best for clay, and if you can’t find them in the modelling aisle of your local craft store, check out the cake decorating section as they are often used to roll out icing. This rolling pin from Sculpey is the one I used.
Put any “waste" back into the airtight container and save it for another project.

Step 3
Using a permanent pigment ink, ink up your stamp. I’m using this large stamp to cover the area I need in one go, but if you only have smaller stamps, it’s a good idea to experiment with patterns and layouts by stamping your design on a piece of paper first.
I’ve used the Tsukineko Brilliance ink pad in the colour Moonlight White as it’s a permanent pigment ink and it contrasts with the red clay - SQUIRREL_TEXT_13079716

Step 4
Go ahead and stamp your clay with your design. You can use other types of ink, but if possible try to stick to pigment ink, as it’s fade-resistant and won’t be affected by the sunlight.

Step 5
Cut a circle from your stamped clay. An easy way to do this is to lay a bowl or other circular object over the clay and cut around the edge with a knife.

Step 6
Peel away the excess clay from around the edge, leaving just a stamped circle of air-dry clay! If you have any jagged edges that are bothering you, dip a paintbrush into some water and gently brush the edges down. Be sparing with the water – you don’t need much, just enough to get the paintbrush damp.

Step 7
Next, carefully lift your air-dry clay circle up, and lay it into your bowl. Gently press the clay down using your fingers, working your way gradually and evenly across the design, being careful not to squash it too much.
When selecting your bowl, choose one that is fairly shallow and wide, rather than a deeper bowl with high sides. This will prevent the sides of your clay bowl from wrinkling as you lower the clay into the bowl.

Step 8
Now, leave your air-dry clay creation to dry! I left this one for around 4 days to dry thoroughly. Halfway through the drying process, I removed the clay bowl from the outer bowl and left it to dry upside down on the bottom of the bowl.
To get the clay bowl out of the original bowl, gently apply pressure to the sides of the bowl and press to slide the clay free. You can also turn it upside down over a soft surface (a towel laid out on your desk works well) and gently tap the bottom of your bowl to release the clay.

Step 9
When both sides of the bowl are dry, take some sandpaper and gently sand the edges to remove any rough areas.

Step 10
Sanding the dry clay creates a very fine (messy) powder. Make sure you work in a well-ventilated area and rid your masterpiece of unwanted powder by brushing gently with a paintbrush. And that’s it!

You can varnish your bowl, or add extra colour by painting with acrylic paint – but I’m going for the rustic look, so I’ve left this one plain.
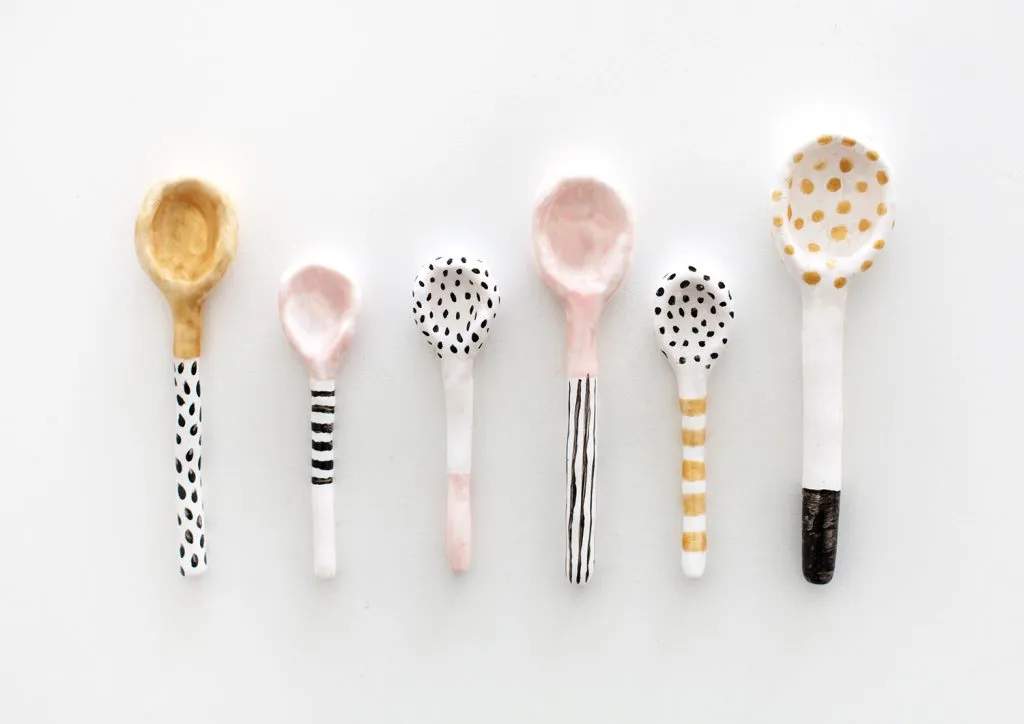
If you fancy some different clay makes, why not check out some of our other clay crafts like this cute clay trinket dish or these fun clay salt spoons.
How to paint air dry clay
If you’re planning on painting or adding decoration to your masterpiece, depending on the type of model you’re making, it’s sometimes easier to work with white clay as this provides a brighter base to begin with. If you’re working with dark coloured clay, it’s a good idea to prime the surface first using a white undercoat before painting.
Acrylic paint (or acrylic-base paint pens) is ideal for painting air-dry clay, as it brushes onto the surface easily and smoothly, and dries relatively quickly. If possible try to avoid oil-based paints as they can take significantly longer to dry and will smudge easily.
To seal your clay, use Mod Podge, varnish or acrylic sealer to add waterproofing and prevent moisture from interfering with your hard work once it’s dry.
For more information and to try it out yourself head on over to our How to paint air dry clay tutorial.
How to create air-dry clay embellishments
Make your own card toppers with lightweight clay and silicone moulds!

Using embellishments can really add something special to your cards, but the downside is that they usually only come in very small packs.
If you get yourself some silicone moulds (can also be found in the cake decorating section of craft stores), then making air-dry clay embellishments for your cards and papercraft has never been easier.
If you’re using a polymer clay like Fimo, you can mix colours together to create new ones. Then once dry, the embellishments were coated by brushing with white paint or adding antiquing cream for a shabby chic look.
It’s really easy to create two-tone embellishments by simply adding different colours of clay into selected areas of the moulds. You can also create an impressive gilded effect by painting them with a gold or silver metallic paint.
Step 1
First, decide which moulds to use. We’re making a Valentine’s card. so we’ve gone for four decorative corners, a lock and a key using white clay. Next, we moulded the letters to spell ‘LOVE’ from the alphabet mould using white clay. Release all of the shapes from the moulds and leave them to dry.

Step 2
To make the lock and key look realistic, once the air-dry clay was dry, we painted them with gold paint.
To prepare the card itself, distress the edges of a 138mm square of patterned paper and add stitched borders by drawing on dotted lines with a fine liner.
Layer this onto some grey and white card and distress the edges. Add to a 148mm square white base.

Step 3
Distress the edges of a 100mm square of patterned paper. Add some faux stitched borders with a fine liner pen (draw a dotted line around the edge or add small dotted perforations using a pokey tool).
Attach a piece of lace across the top of the square and layer onto some white card. Distress the edges and add to the base.

Step 4
Attach the air-dry clay embellishments to the card, starting with the decorative corners. Use a strong glue to hold them securely in place – hot glue and a glue gun is ideal.

Add the gold lock and key and the ‘LOVE’ sentiment to the centre of the base. Finish by attaching a small grey ribbon bow above the lock.
Top tips for using air-dry clay with moulds
- Dust the moulds with cornflour prior to use to make it easier to release the clay embellishments.
- Condition the clay by working it in your hands before placing in the moulds to make it easier to use. If the clay is wet when it comes out of the packet, give it a few minutes to dry out a little before using.
- Don’t panic if you dent or distort the clay shape when releasing it from the mould! As long as the clay is still moist, just press it back into the mould, and it will usually pick up the details again.
- To ensure that it doesn’t dry out, store your opened packet of clay in an airtight container or bag and place a baby wipe in the container with it, making sure it isn’t in direct contact with the clay.
Air-dry clay ideas
Want some great air-dry clay ideas? We’ve rounded up some of the best air-dry clay ideas from around the web. Got a favourite project we’ve missed? Let us know in the comments below!
1. Christmas star garland

Make this Scandinavian Christmas star garland using white air dry clay and hot glue – the pieces are small so will only take around 8-24 hours to dry.
2. Incense holders

Air-dry clay is ideal for making incense holders as it’s not flammable. Get the full tutorial over at Fall for DIY!
3. Mini animal figures

Miniaturise your pet using air-dry clay, we love these adorable mini guinea pigs – and you can find lots more beautiful inspiration over on Falling Fauna’s Instagram page.
4. Tiny succulent pots

These tiny succulent pots by Small Friendly are the ideal way to display small succulents or air plants – and make them look like pineapples!
5. Tealight house

This air-dry clay tealight holder by La Chica de la casa de Caramelo is easier than you may think to make. Use templates to cut out the pieces, then once dry, glue together using strong glue.
6. Clay Garland

This easy clay garland by Poppy Talk can be dressed up and painted for any season – or left plain to bring contemporary chic decor into your living space.
7. Clay & rope bowl

This gorgeous clay and rope bowl by Fall for DIY combines air dry clay with rope to a fabulous effect. We love the blue and white colour scheme!
8. Flower holder

Got any silicone doilies? A Happy Home in Holland shows you how to make this adorable posy holder, using a doily to make the impressions, and paper brads (split pins) to hold it together.
9. Dinosaur fossils

This is a quick and easy, super fun project from Hobbycraft – how many dinosaur fossils will your little ones find? Here’s a top tip: why not bury your fossils in some sand for them to excavate? Just be sure to varnish your fossils first using a sealant to withstand any moisture in the sand.
10. Air-dry clay ornaments

Bring the outdoors indoors with these beautiful air dry clay ornaments by First Day of Home – they even show you how to incorporate pressed flowers into your designs!
11. Leaf dish

Did you ever make one of these at school? This easy leaf dish by The Best Ideas for Kids is simple, yet so effective – we love the metallic paint!
What will you make with air dry clay?
We hope you’ve enjoyed this article on all things air dry clay. The beauty of this amazing material is you don't need to be an expert to use it, just grab a pack and get making – who know's what you'll create?
Become a pottery pro
Whether you're looking to take the next step onto proper pottery clay or just fancy learning some more techniques, you can find everything you need in our beginner’s guide to pottery.


