Slip stitch knitting: beginner's guide and 18 stitch patterns
Slip stitch knitting is a technique where stitches are moved from the left needle to the right needle without working them. You can slip a stitch knitwise (as if to knit) and purlwise (as if to purl), and also hold the yarn at the front or the back of the work, to create different effects.
- How to cable knit: beginner's guide and 24 cable stitch patterns
- Beginner's guide to lace knitting
- Learn the lingo with our glossary of knitting terms
Slipped stitches can be used to create complex-looking patterns with minimal effort – particularly if you use more than one colour of yarn!
In this guide we'll show you how slip stitch knitting works, including how to slip a stitch and how to create easy colourwork using slipped stitches. We also have a collection of slip stitch knitting patterns for you to try. Let's begin!
Slip stitch knitting techniques
Slip stitch knitwise

If your pattern tells you to 'slip stitch knitwise', all you need to do is insert your needle into the stitch as though you're about to work a knit stitch, as shown above.
Then, instead of wrapping the yarn round as you usually would, just pass the stitch from the left needle to the right needle without knitting it.
Slip stitch purlwise

Doing a slip stitch purlwise is very similar to slipping a stitch knitwise, only in this case you insert the needle into the stitch as if you're about to work a purl stitch, as shown in the picture.
As before, instead of wrapping the yarn around the needle at this point you simply pass the stitch from the left needle to the right without knitting it.
Slip stitch with yarn in front & slip stitch with yarn in back

Did you notice that the yarn was held in a different place in the two pictures above? Here they are side by side so you can see the difference. In the first picture the yarn is 'in back', and in the second it is 'in front'.
What does this mean? Well, the front of the work is the side of a piece of knitting that faces you while you work, and the back is the side that faces away. Note that the front and back aren't the same as the right and wrong sides! The front is always the side facing you, regardless of whether you're working a right or wrong side row.
'Slip stitch with yarn in back' means to hold the yarn at the back of the knitting (where it would be if you were working a knit stitch), as you move the slipped stitch from the left to the right needle.
'Slip stitch with yarn in front' means to move the yarn towards you between the needles (as if you're about to work a purl stitch), so it's being held at the front of the work while you slip the stitch.
In patterns that use knitting abbreviations you'll often see 'with yarn in front' abbreviated to wyif, and 'with yarn in back' written as wyib. You might also see instructions to move the yarn back and forth written as yf (yarn forward) and yb (yarn back).
How to slip stitch knitting: colourwork
Fair Isle, intarsia knitting and Swiss darning allow you to add all sorts of patterns, motifs and characters to your knits, transforming them from drab to fab! But there is a simpler way to create amazing colour effects, which produces some truly beautiful results.
Slip stitch colourwork techniques can create a similar effect to Fair Isle, but much more simply. Non-knitters won’t know the difference! All you need to do is change colours and slip stitches.

When working slip stitch colourwork patterns, you’ll end up with a lot of lines of spare yarn, called ‘floats’. It’s really important to keep these floats loose, but not too loose, so that the fabric doesn’t pucker and your tension stays even. The key thing to remember is not to pull too tightly on your floats. It helps to keep the stitches spread out on the right needle.
To practise the technique below, cast on a number of stitches that’s divisible by 4, such as 24. Choose two colours you want to work with. Using your first colour, work four rows in garter stitch, rib stitch or moss stitch, to help keep the fabric flat, then start your colourwork as described in the guide below.
Step 1

After your border, *join in colour 2 (light pink) and knit the first 2 sts. Slip the next 2 sts across from the left to the right-hand needle, without working them. Repeat this ‘k2, sl2’ to the end of the row.
Step 2

Turn and using colour 2, purl only the stitches in colour 2, slipping the other stitches to the right needle without working them. Turn, change to colour 1 and knit all the stitches in the next row (as above).
Step 3

Turn and join in another ball of colour 2. Using colour 2, work ‘p2, sl2’ across the row, making sure you are purling a different set of 2 stitches to the ones you worked in step 1.
Step 4

Turn and using colour 2, only knit the sts in colour 2. Turn, change to colour 1 and purl all the stitches in the row (as above). Repeat from * in step 1 and you’ll create a simple checked effect.
Colour changing can alter your tension, pulling the fabric tighter than usual, so knit a swatch with the technique you want to use before diving into a project. You may need to use a larger needle size to keep your knitting looking even and tidy. Read our guide on knitting tension squares for more swatching tips.
Free slip stitch knitting patterns: stitch library
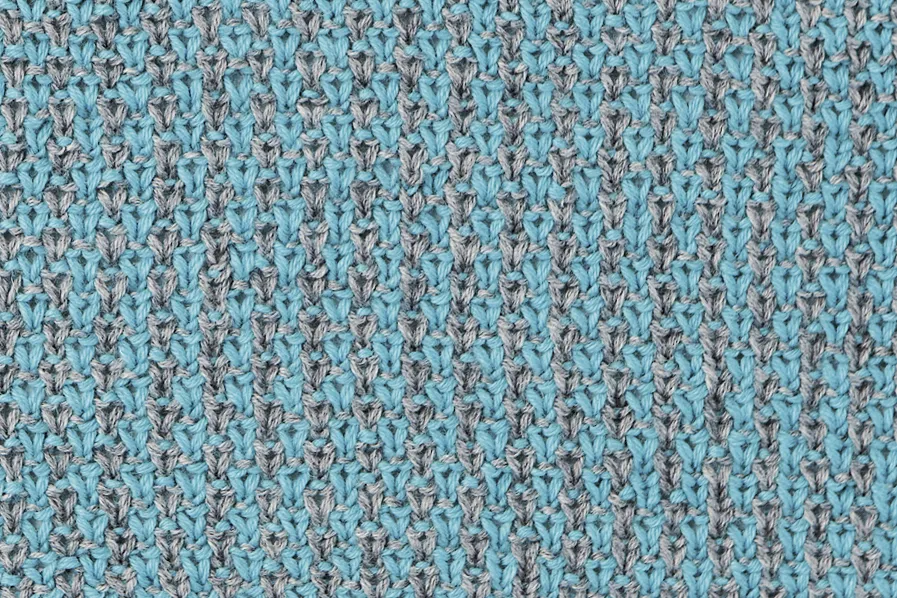
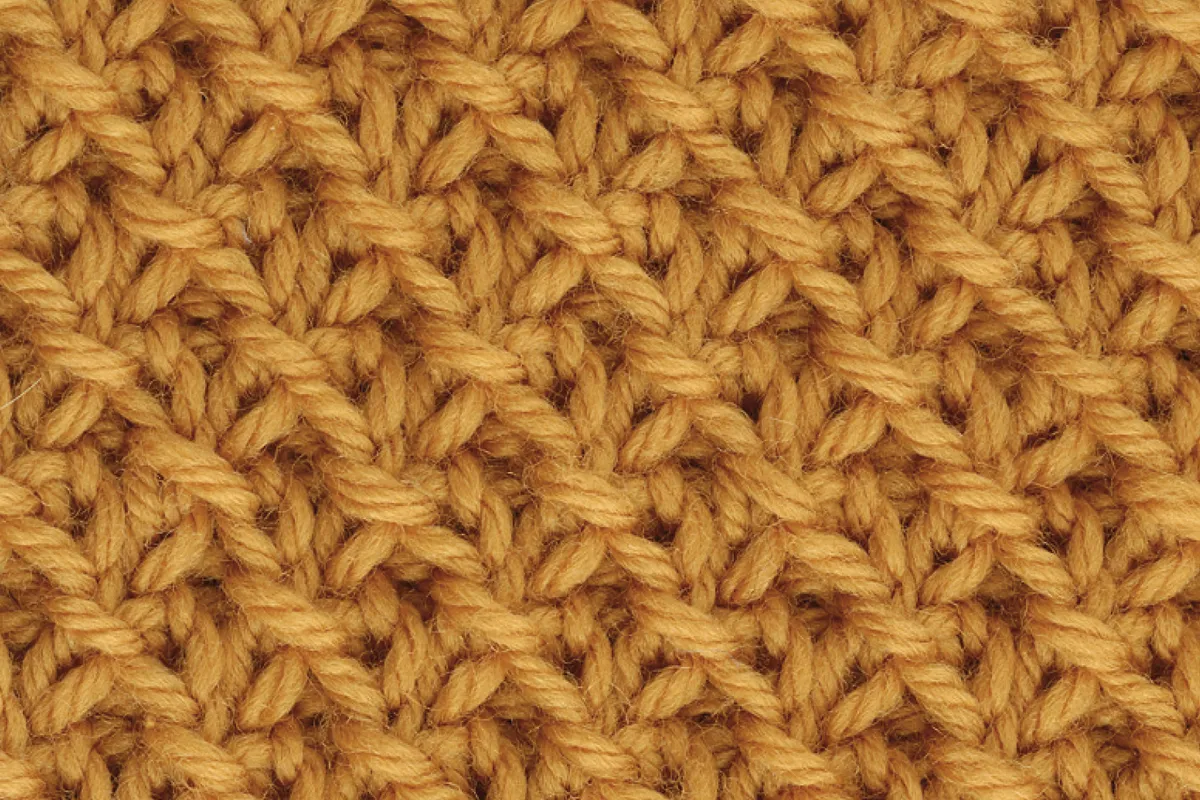
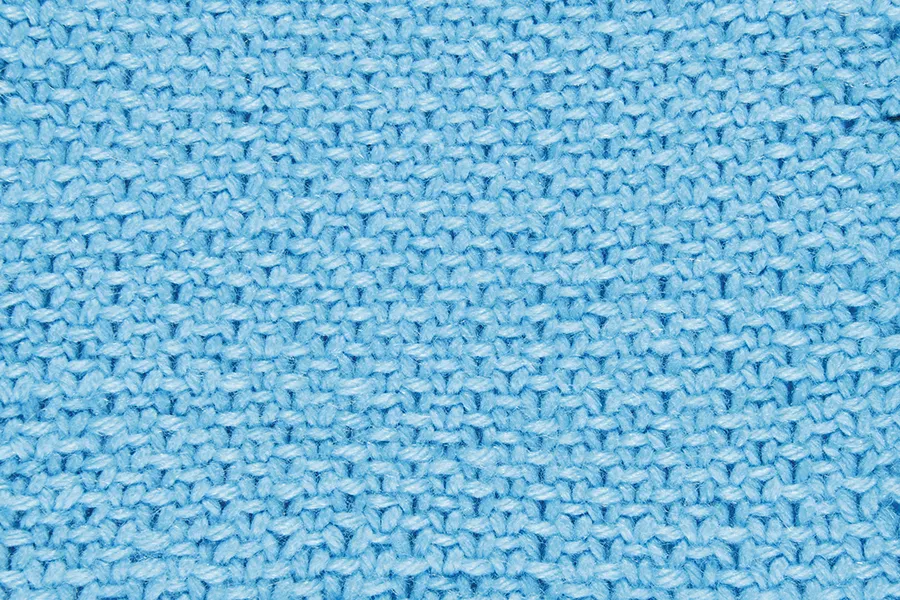
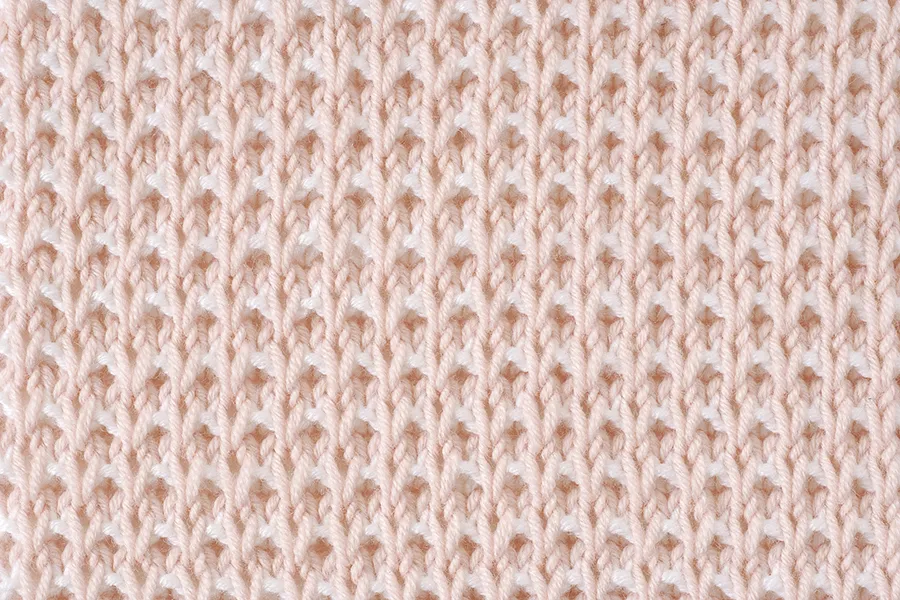
You can use slip stitch knitting to create a wide variety of textures, including checks, tweeds and more. Add an extra colour and the possibilities are endless!
Slipped stitch patterns may look complex, but they’re easier to work than you might expect, so don’t be afraid to give them a try. Get creative with the patterns in this library, which all use our usual knitting abbreviations, and cast on one of the stitches below now…
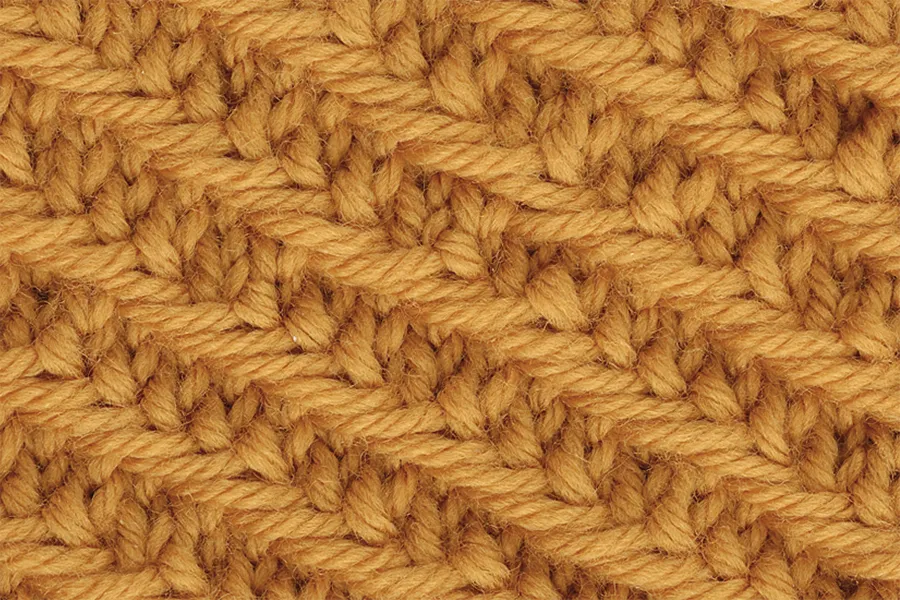
Brick relief stitch
Cast on a multiple of 6 sts plus 2.
Row 1 (WS) Purl to end.
Row 2 K1, *P2, sl2 wyib, P2; rep from * to last st, K1.
Row 3 K3, *P2, K4; rep from * to last 5 sts, P2, K3.
Row 4 K1, *P2, sl2 wyib, P2; rep from * to last st, K1.
Row 5 K3, *P2, K4; rep from * to last 5 sts, P2, K3.
Row 6 K1, *P2, sl2 wyib, P2; rep from * to last st, K1.
Row 7 Purl to end.
Row 8 K1, sl1 wyib, *P4, sl2 wyib; rep from * to last 6 sts, P4, sl1 wyib, K1.
Row 9 K1, P1, *K4, P2; rep from * to last 6 sts, K4, P1, K1.
Row 10 K1, sl1 wyib, *P4, sl2 wyib; rep from * to last 6 sts, P4, sl1 wyib, K1.
Row 11 K1, P1, *K4, P2; rep from * to last 6 sts, K4, P1, K1.
Row 12 K1, sl1 wyib, *P4, sl2 wyib; rep from * to last 6 sts, P4, sl1 wyib, K1.
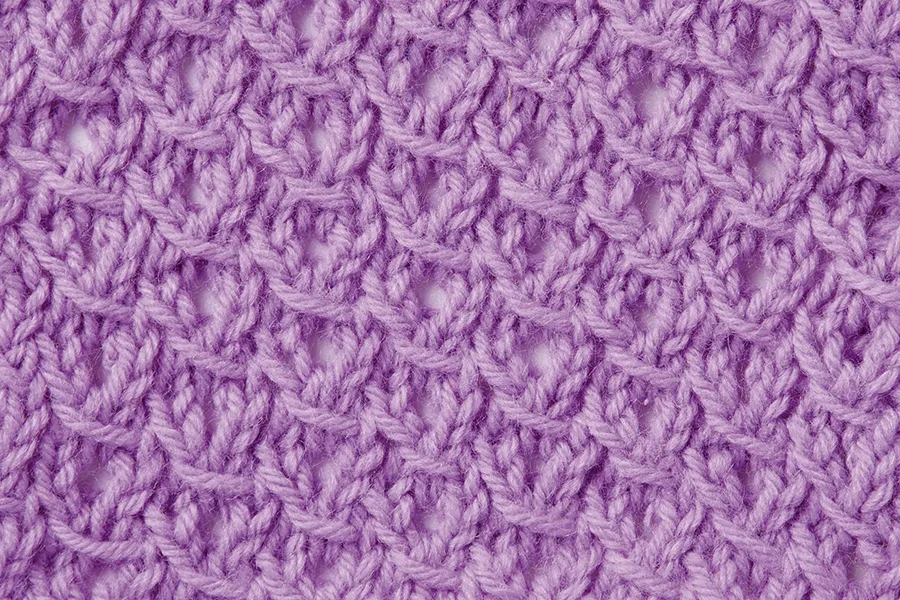
Checkerboard
Cast on a multiple of 4 sts plus 1. (Try 45 sts.)
Row 1 (RS) K4, *K1 winding yarn twice around the needle, K3; rep from * to last st, K1.
Row 2 P4, *sl1 purlwise dropping the extra loop, P3; rep from * to last st, P1.
Row 3 K4, *sl1 purlwise, K3; rep from * to last st, K1.
Row 4 K4, *yf, sl1 purlwise, yb, K3; rep from * to last st, K1.
Rep the last 4 rows once more.
Row 9 K2, *K1 winding yarn twice around the needle, K3; rep from * to last 3 sts, K1 winding yarn twice around the needle, K2.
Row 10 P2, *sl1 purlwise dropping the extra loop, P3; rep from * to last 3 sts, sl 1 purlwise dropping the extra loop, P2.
Row 11 K2, *sl1 purlwise, K3; rep from * to last 3 sts, sl1 purlwise, K2.
Row 12 K2, *yf, sl1 purlwise, yb, K3; rep from * to last 3 sts, yf, sl1 purlwise, yb, K2.
Rep the last 4 rows once more.
Repeat rows 1–16 to form the pattern.
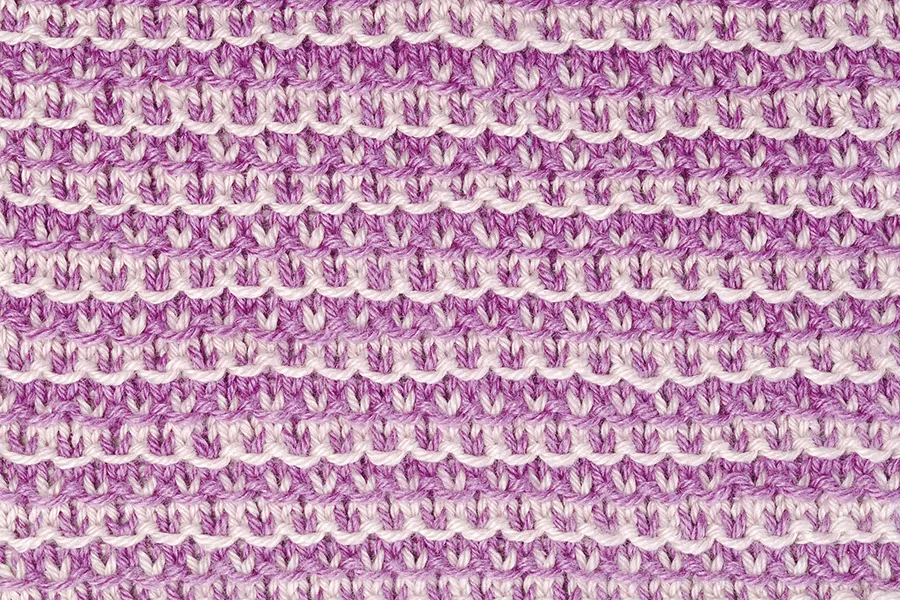
Colour basket
Cast on a multiple of 4 sts plus 3 (try 43) with Yarn A and purl one row.
Row 1 (RS) With Yarn B K3, *sl1 wyib, K3, rep from * to end.
Row 2 (WS) With Yarn B K3, *sl1 wyif, K3, rep from * to end.
Row 3 With Yarn B K3, *sl1 wyib, K3, rep from * to end.
Row 4 With Yarn B K3, *sl1 wyif, K3, rep from * to end.
Row 5 Knit with Yarn A.
Row 6 Purl with Yarn A.
These 6 rows form the pattern.
Dancing flames
Cast on a multiple of 4 sts plus 1. (Try 45 sts.)
Row 1 (RS) K1, *sl1 purlwise, K3; rep from * to end.
Row 2 *P3, sl1 purlwise; rep from * to last st, P1.
Row 3 K1, *C3L, K1; rep from * to end of row.
Row 4 Purl.
Row 5 K5, *sl1, K3, rep from * to end of row.
Row 6 *P3, sl1 purlwise; rep from * to last 5 sts, P5.
Row 7 K3, *C3R, K1; rep from * to last 2 sts, K2.
Row 8 Purl.
Repeat rows 1–8 to form the pattern.
Abbreviations
C3R Slip next 2 sts onto cable needle and hold at back of work, knit the next st, then knit the 2 sts from the cable needle
C3L Slip next st onto cable needle and hold at front of work, knit the next 2 sts, then knit the st from the cable needle
Gentle ripples
Cast on a multiple of 6 sts.
Row 1 (RS) *Sl1, K2, pass sl st over the 2 knit sts, K3; rep from * to end.
Row 2 P4, *yo, P5; rep from * to last st, yo, P1.
Row 3 *K3, sl1, K2, pass sl st over the 2 knit sts; rep from * to end.
Row 4 P1, *yo, P5; rep from * to last 4 sts, yo, P4.
Rep rows 1–4 to form pattern.
Honeycomb
NOTE Slip sts purlwise with yarn at WS of work.
Cast on a multiple of 14 sts plus 5. (Try 47 sts.)
Rows 1 & 3 (RS) Purl.
Row 2 Knit.
Row 4 P8, sl3, *P11, sl3; rep from * to last 8 sts, P8.
Row 5 K8, sl3, *K11, sl3; rep from * to last 8 sts, K8.
Rows 6 & 8 P8, sl3, *P11, sl3; rep from * to last 8 sts, P8.
Row 7 K8, sl3, *K11, sl3; rep from * to last 8 sts, K8.
Rows 9-11 As rows 1–3.
Row 12 P1, sl3, *P11, sl3; rep from * to last st, P1.
Row 13 K1, sl3, *K11, sl3; rep from * to last st, K1.
Rows 14 & 16 P1, sl3, *P11, sl3; rep from * to last st, P1.
Row 15 K1, sl3, *K11, sl3; rep from * to last st, K1.
Rep rows 1-16 to form pattern.
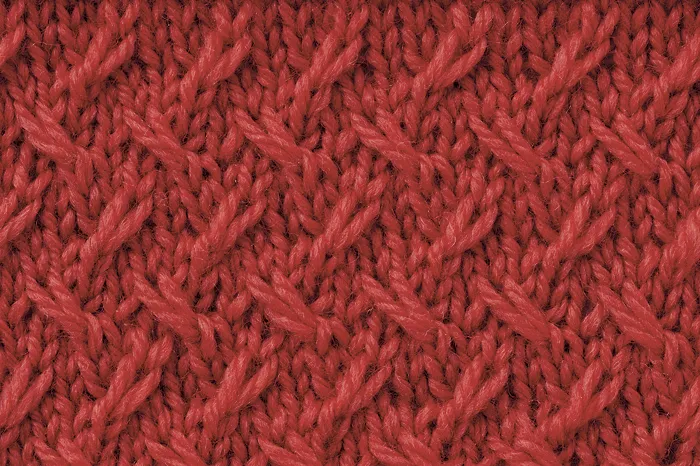
Left diagonals
Cast on a multiple of 6 sts plus 3 sts. (Try 39 sts.)
Row 1 (RS) K3, *sl 3 wyif, K3; rep from * to end.
Row 2 P2, *sl 3 wyib, P3; rep from * ending P4.
Row 3 K5, *sl 3 wyif, K3; rep from * ending K1.
Row 4 P6, *sl 3 wyib, P3; rep from * ending P6.
Row 5 K1, *sl 3 wyif, K3; rep from * ending K5.
Row 6 P4, *sl 3 wyib, P3; rep from * ending P2.
Rep Rows 1-6 to form pattern.
Pebbled
Cast on a multiple of 2 sts plus 1 st. (Try 41 sts.)
Row 1 (RS) P1, *K1, P1; rep from * to end.
Row 2 K1, *sl 1 wyif, K1; rep from * to end.
Row 3 K1, *P1, K1; rep from * to end.
Row 4 K2, *sl 1 wyif, K1; rep from * ending sl 1 wyif, K2.
Rep Rows 1-4 to form pattern.
Pillars
Cast on a multiple of 2 sts. (Try 44 sts.)
Row 1 (RS) Purl.
Row 2 Knit.
Row 3 K2, *sl1, K1; rep from * to end of row.
Row 4 *K1, yf, sl1, yb; rep from * to last 2 sts, K2.
Row 5 K1, *yf, k2tog; rep from * to last st, K1.
Row 6 Purl.
Repeat rows 1-6 to form the pattern.
Slip stitch loop
Note: We have used dark pink as Yarn A and pale pink as Yarn B.
Cast on a multiple of 2 sts plus 1 with Yarn A. (Try 23 sts.)
Row 1 (RS) With A, knit.
Row 2 With A, purl.
Row 3 With B, K1, *sl 1, K1; rep from * to end.
Row 4 As row 3.
Row 5 With B, knit.
Row 6 With B, purl.
Row 7 With A, K2, sl 1, *K1, sl1; rep from * to last 2 sts, K2.
Row 8 With A, P1, K1, *sl 1, K1; rep from * to last st, P1.
Repeat these 8 rows to desired length.
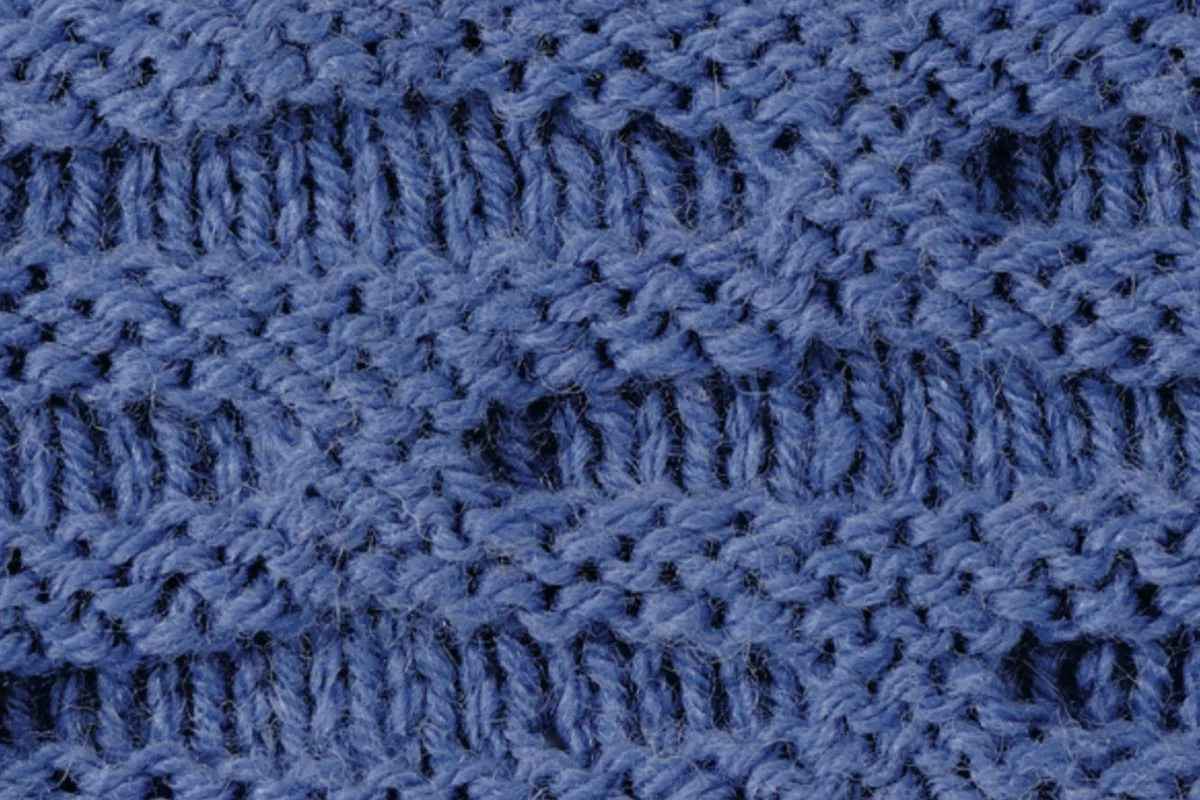
Slip stitch rib
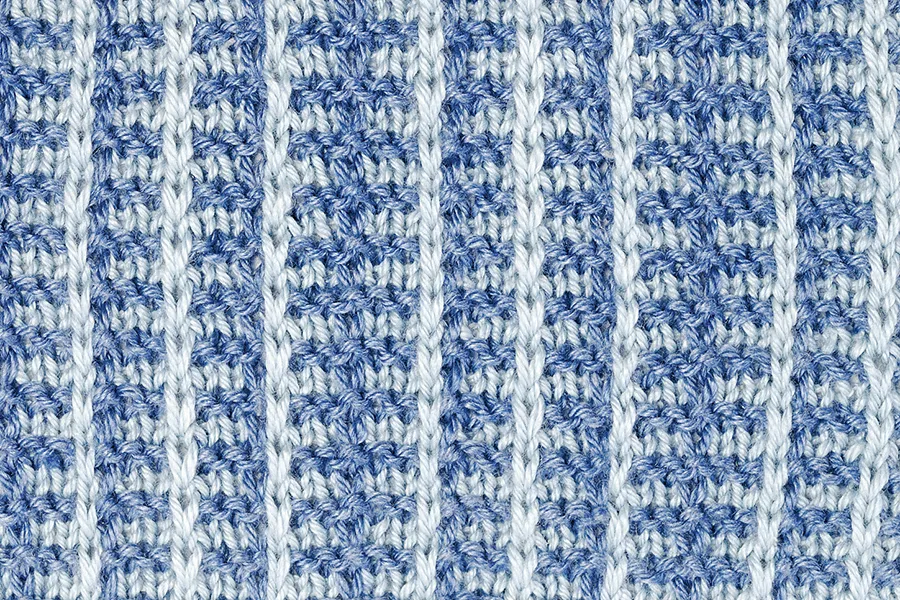
Note: We have used dark blue for Yarn A and light blue for Yarn B.
Cast on a multiple of 14 sts using Yarn A. (Try 28 sts.)
Row 1 (RS) With A, *wyib sl 1, K5, (wyib sl 1, K3) twice; rep from * to end.
Row 2 With A, *(P3, wyif sl 1) twice, K5, wyif sl 1; rep from * to end.
Row 3 With B, *(K3, wyib sl 1) twice, K5, wyib sl 1; rep from * to end.
Row 4 With B, *wyif sl 1, K5, (wyif sl 1, P3) twice; rep from * to end.
Repeat these 4 rows to desired length.
Slip stitch weave
Cast on a multiple of 2 sts plus 1 with Yarn A. (Try 45 sts.)
Row 1 (WS) Purl with Yarn A.
Row 2 (RS) With Yarn B P1, *sl1 wyib, P1; rep from * to end.
Row 3 Purl with Yarn B.
Row 4 With Yarn A P2, *sl1 wyib, P1; rep from * to last st, P1.
These 4 rows form the pattern.
Small quilted cross-stitch
Cast on a multiple of 4 sts plus 1 st. (Try 41 sts.)
Row 1 (WS) K1, *P1, K1; rep from * to end.
Row 2 P1, *sl 1 wyib, (K1, K1b in next st) K1, then pass slipped stitch over the last 3 sts, P1; rep from * to end.
Row 3 K1 *P1, K1; rep from * to end.
Row 4 P1, K1, P1, *sl 1 wyib, (K1, K1b in next st) K1, then pass slipped stitch over the last 3 sts, P1; rep from * to last 2 sts, K1, P1.
Rep Rows 1- 4 to form pattern.
Abbreviations
K1b Knit one below
Tweed stitch
Cast on a multiple of 2 sts.
Row 1 (RS) *K1, sl1 purlwise wyif; rep from * to end.
Row 2 *P1, sl1 purlwise wyib; rep from * to end.
Two-tone tweed
Cast on a multiple of 2 sts plus 1. (Try 21 sts.)
Row 1 With Yarn A, knit.
Row 2 With Yarn A, purl.
Row 3 With Yarn B, K1, *sl 1 purlwise, K1, rep from * to end of row.
Row 4 With Yarn B, *K1, yf, sl 1 purlwise, yb; repeat from * to last st, K1.
Repeat these 4 rows to desired length.
Valley stitch
Cast on a multiple of 8 sts plus 2.
Row 1 (WS) K2, *P6, K2; rep from * to end.
Row 2 P2, *K2, sl2 wyib, K2, P2; rep from * to end.
Row 3 K2, *P2, sl2 wyif, P2, K2; rep from * to end.
Row 4 P2, *K2, sl2 wyib, K2, P2; rep from * to end.
Row 5 K2, *P2, sl2 wyif, P2, K2; rep from * to end.
Row 6 P2, *sl next 2 sts, drop next st to front of work, sl the last 2 sts back onto left-hand needle, pick up dropped sl st with left-hand needle and knit it, K2, drop next st to front of work, K2, pick up dropped sl st and knit it, P2; rep from * to end.
Woven moss stitch
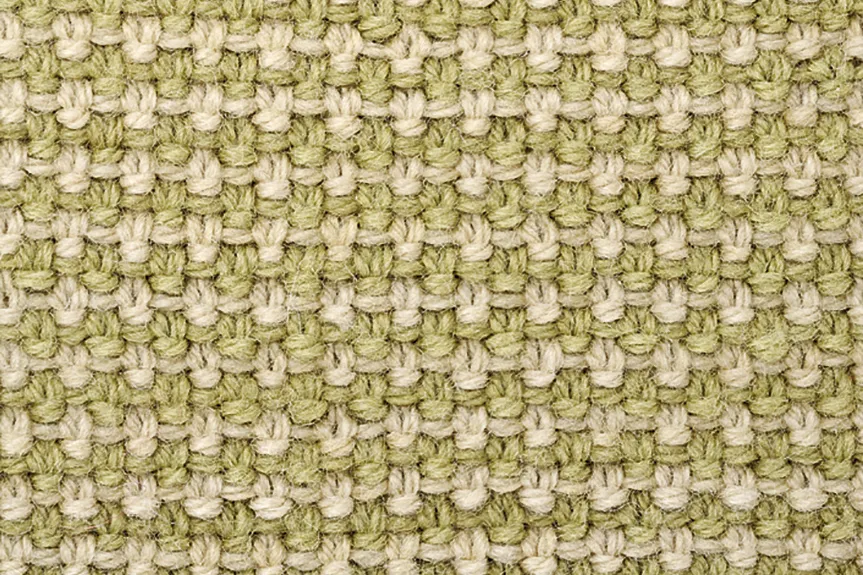
Note: We have used green as Yarn A and cream as Yarn B.
Cast on a multiple of 2 sts. (Try 22 sts.)
Row 1 (RS) Using Yarn A, K1, *K1, wyif sl 1. Rep from * to last st, K1.
Row 2 Using Yarn A, K1, *wyif sl 1, K1. Rep from * to last st, K1.
Row 3 Using Yarn B, K1 *wyif sl 1, K1. Rep from * to last st, K1.
Row 4 Using Yarn B, K1, *K1, wyif sl 1. Rep from * to last st, K1.
Repeat these 4 rows to desired length.
Discover slip stitch knitting
Slip stitch knitting is a fantastic way to make complex-looking designs with less effort – and it makes wonderful colourwork too. Once you've mastered slipping knitwise and purlwise, and holding the yarn in the front and back, you'll be ready to take on any of the slip stitches in our library!
Learn new stitches with Gathered
Don't stop at slipped stitches! Try lace, cables and so much more with our library of over 130 knitting stitch patterns.