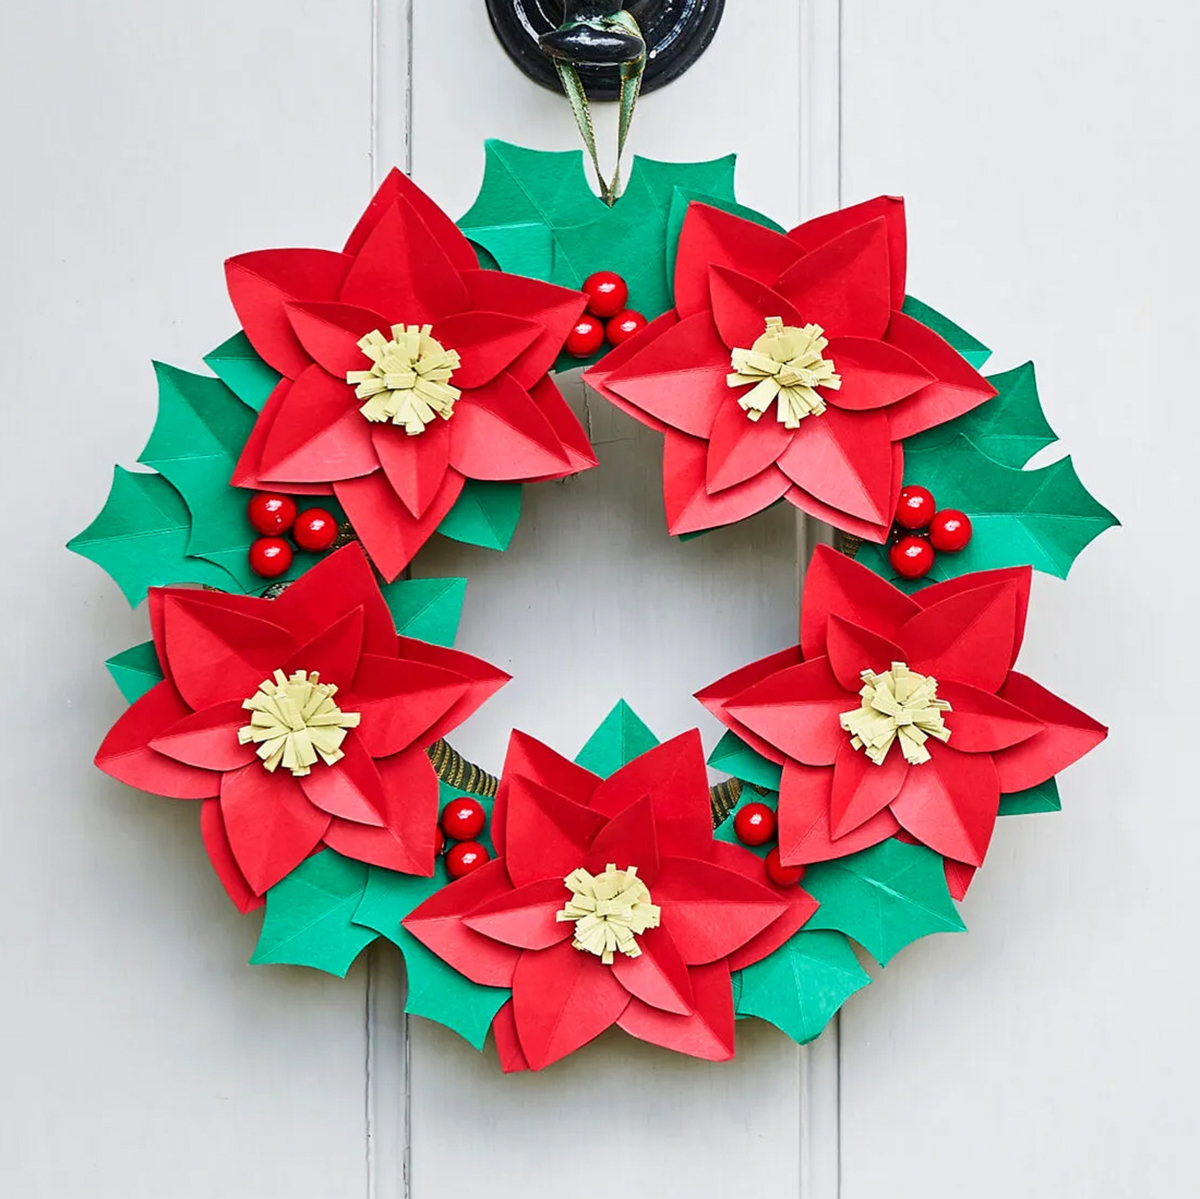
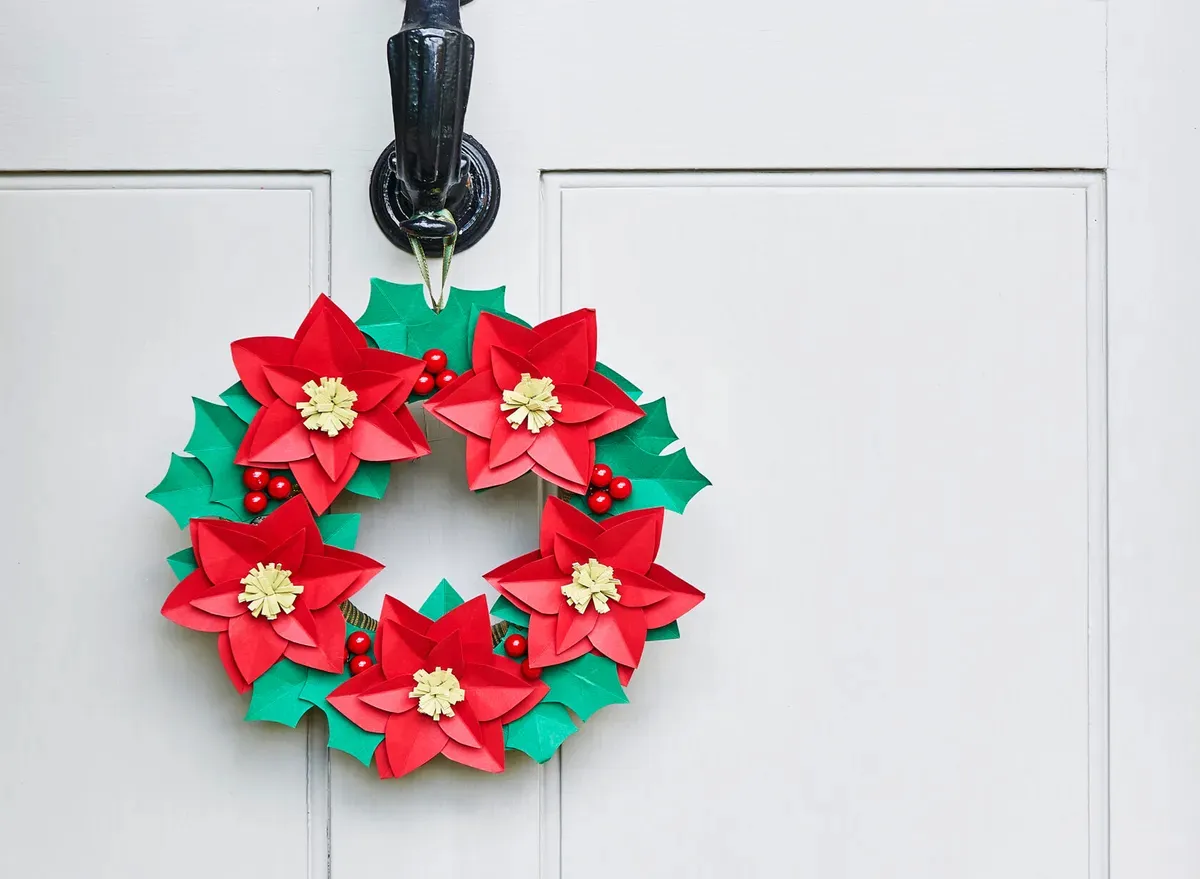
Decorate for Christmas with a paper poinsettia wreath
Learn how to make a poinsettia wreath with our easy step-by-step tutorial by Clare Buswell. While poinsettias are strongly associated with Christmas, with a little bit of creativity you can use this fabulous paper wreath all year round.
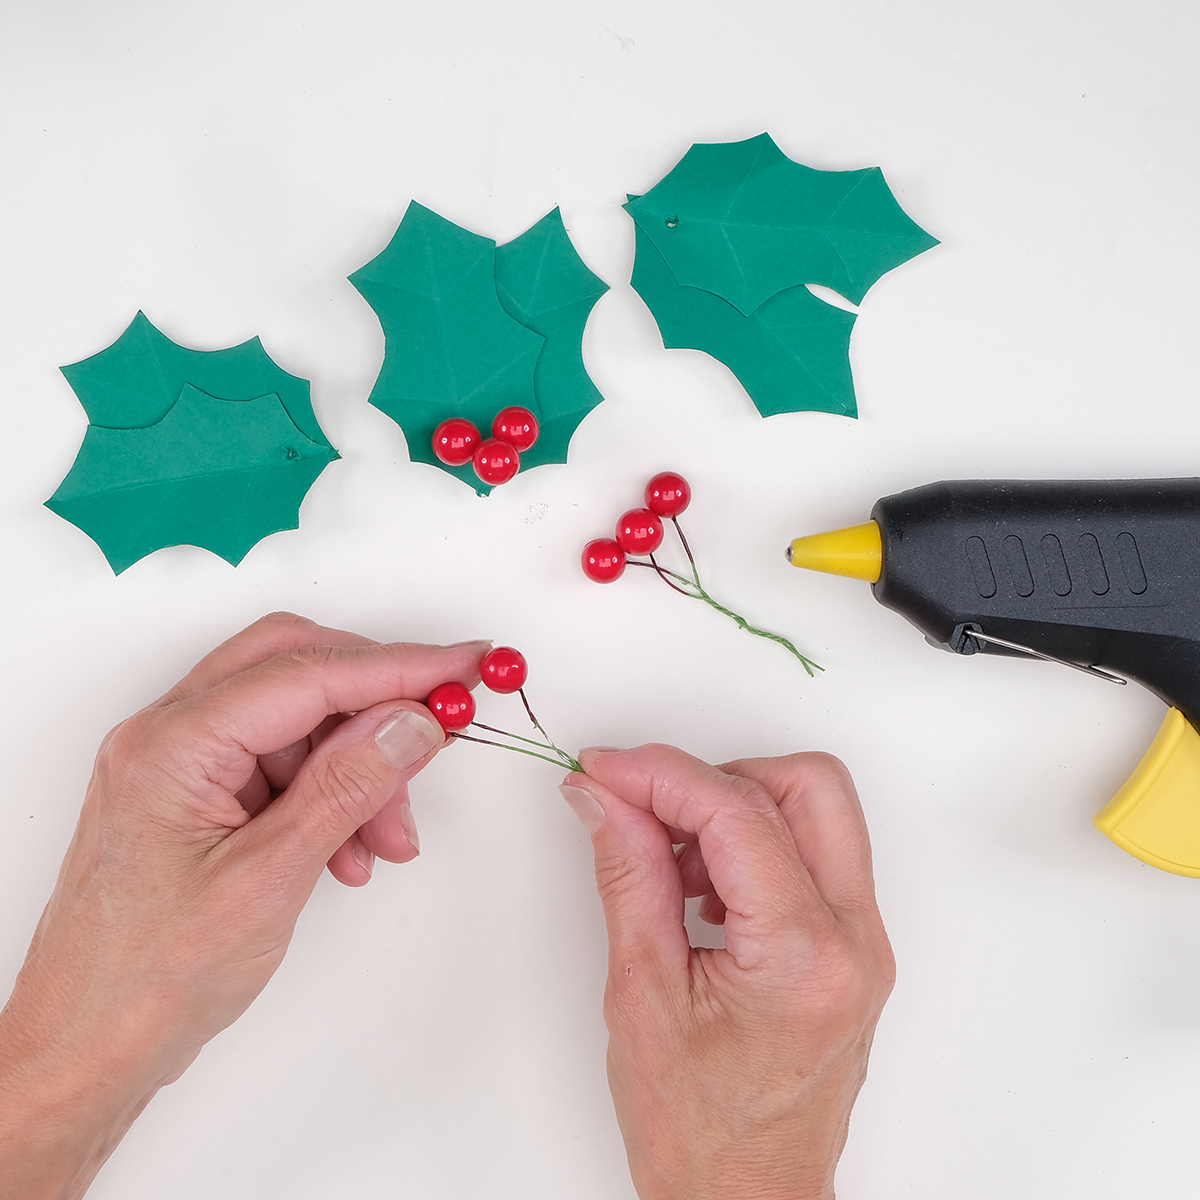
Experiment with the colours of your flowers or try using some glitter card for a sparkly finish. You can even replace the berries with a variety of gems, pearls or your favourite embellishments.
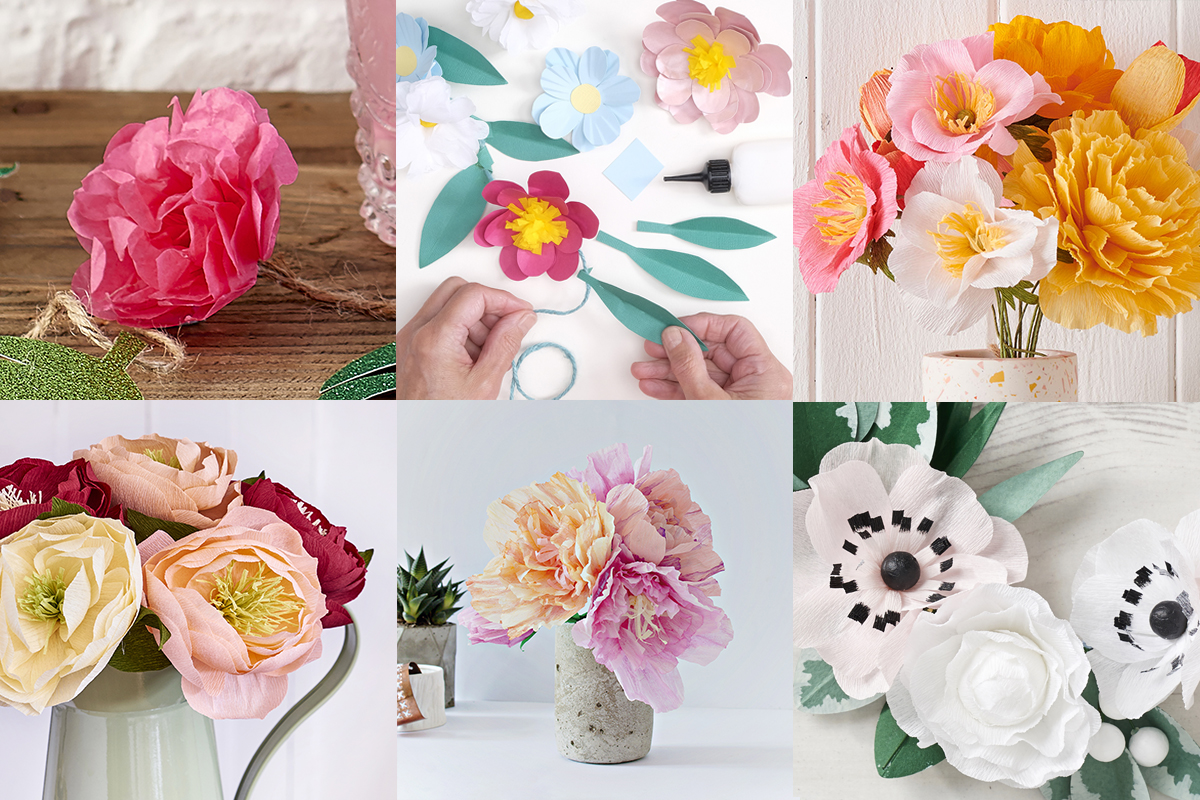
Once you know how to make a poinsettia wreath, take a look at our brilliant papercraft tutorials, including how to make paper or how to make a stencil.
- 40+ easy five minute papercrafts to make
- 10 tissue paper crafts to make with the kids
- 21 easy Halloween origami tutorials to fill your home with fear
Top tips for making a poinsettia paper wreath:
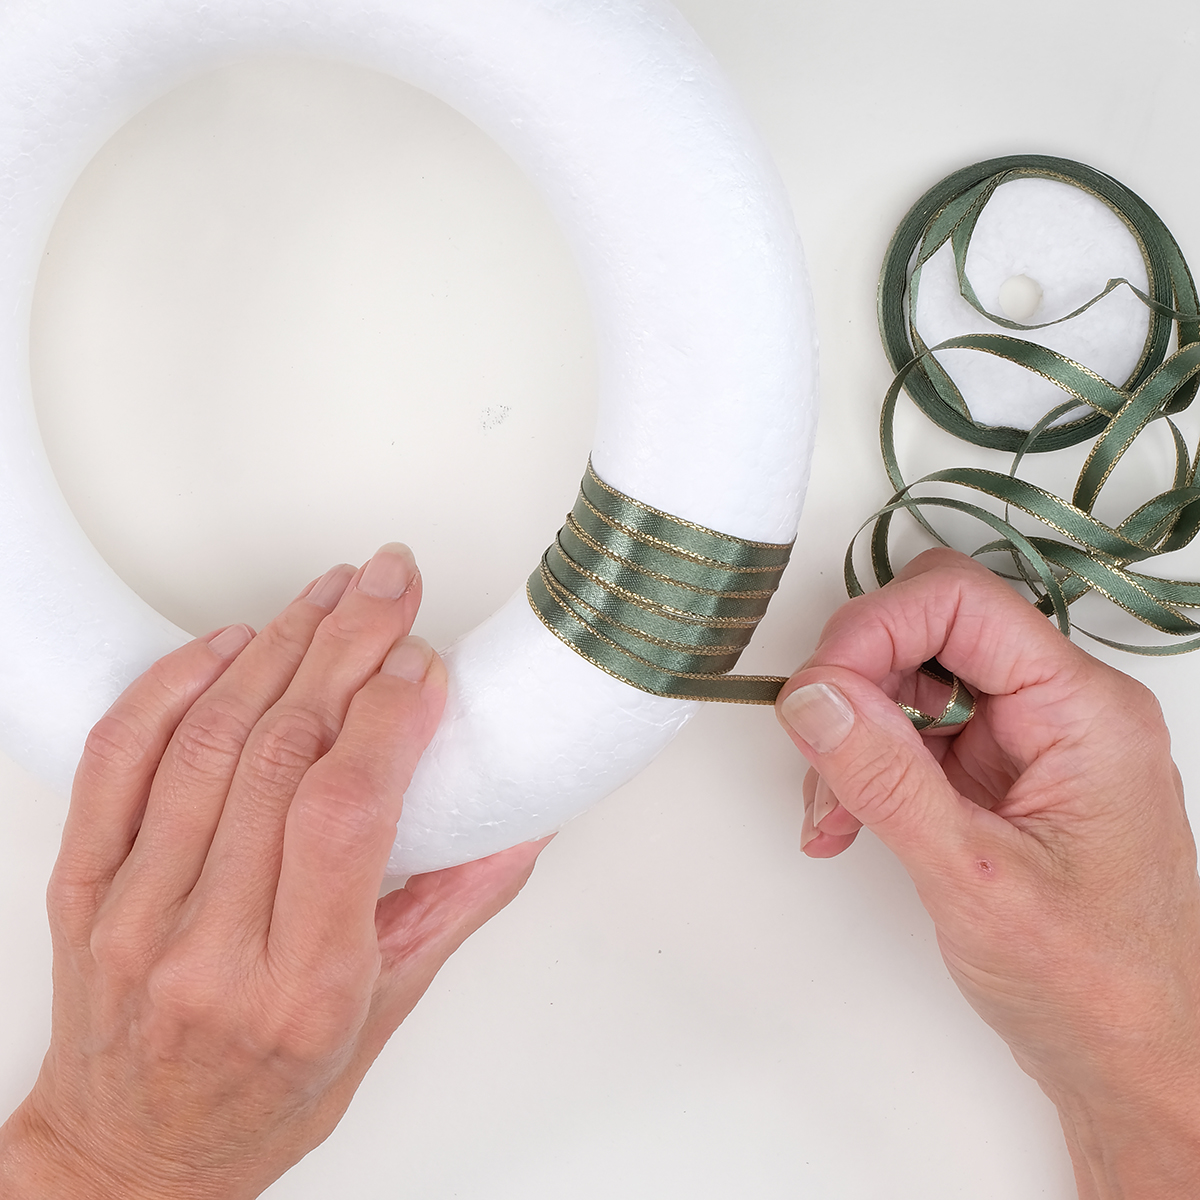
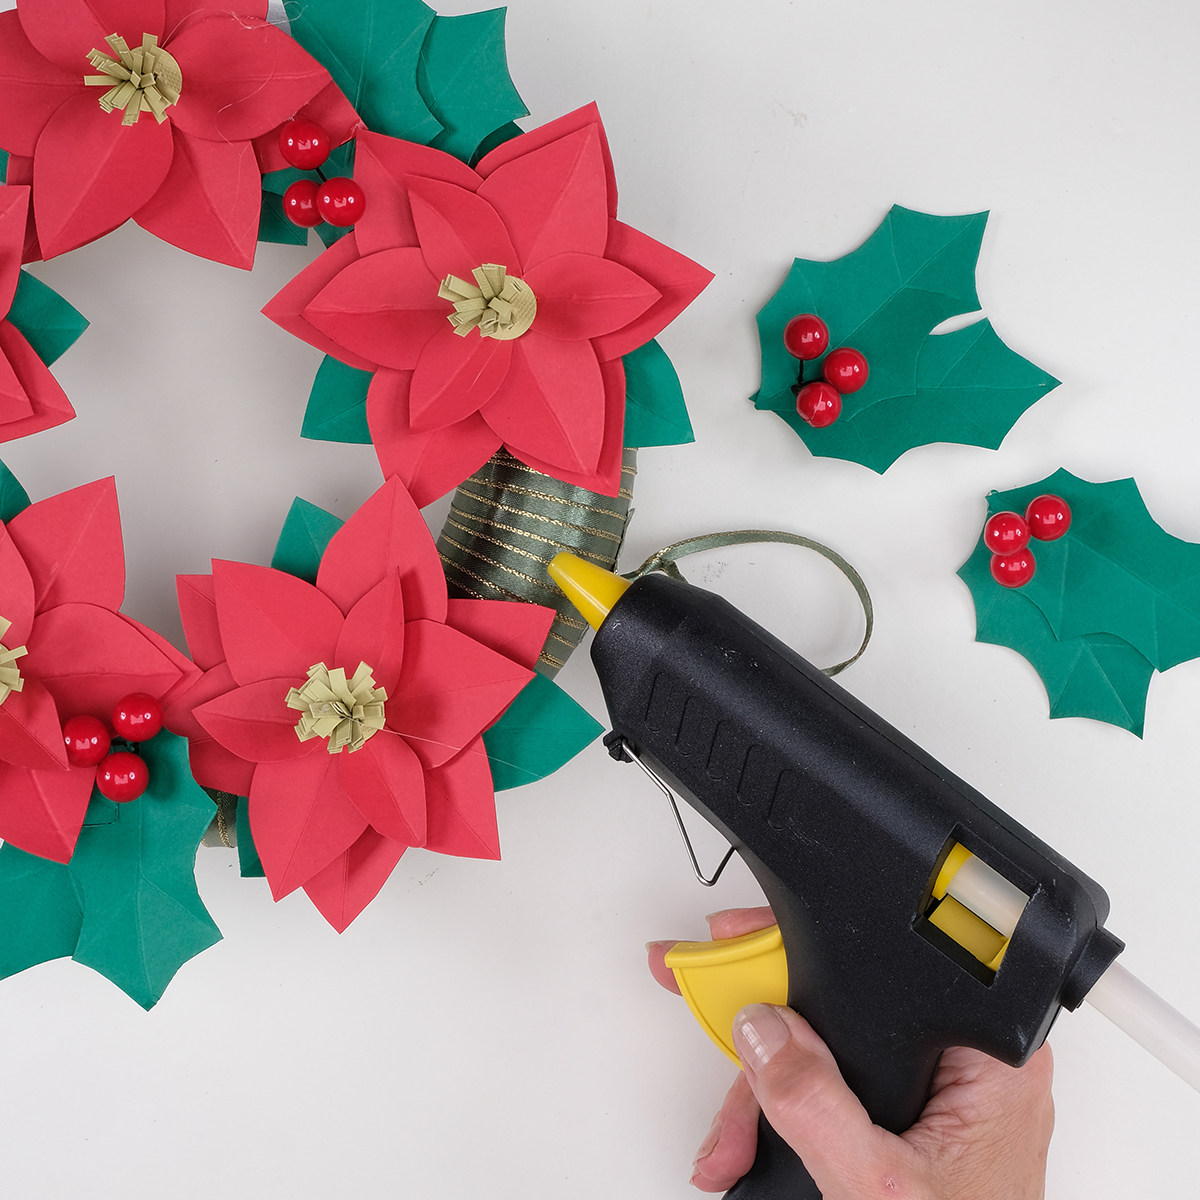
- Wrapping the polystyrene wreath with ribbon gives
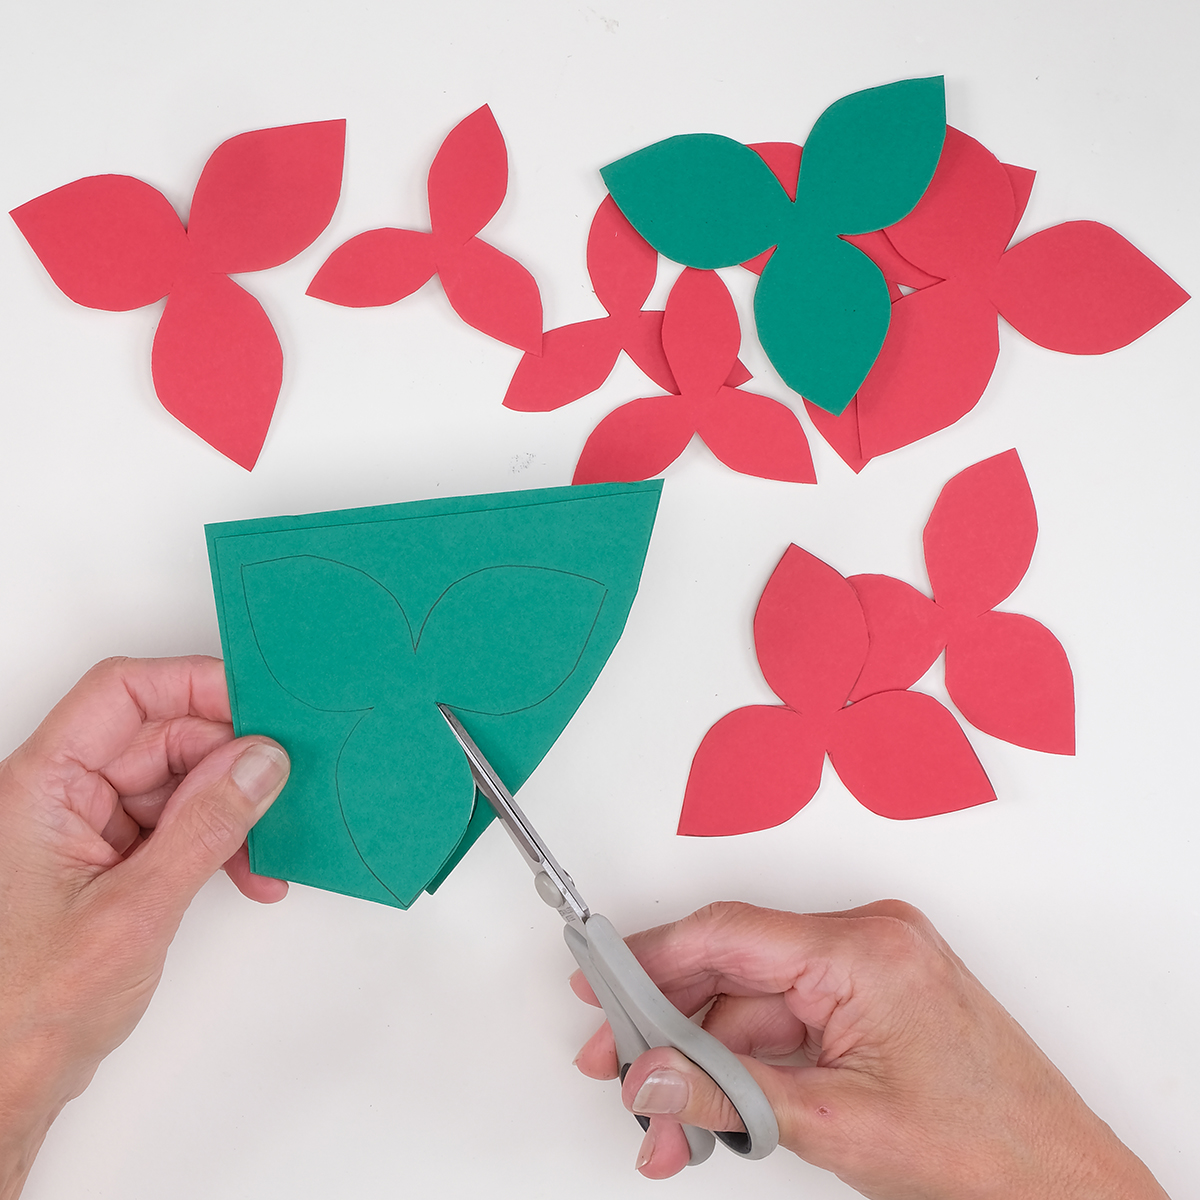
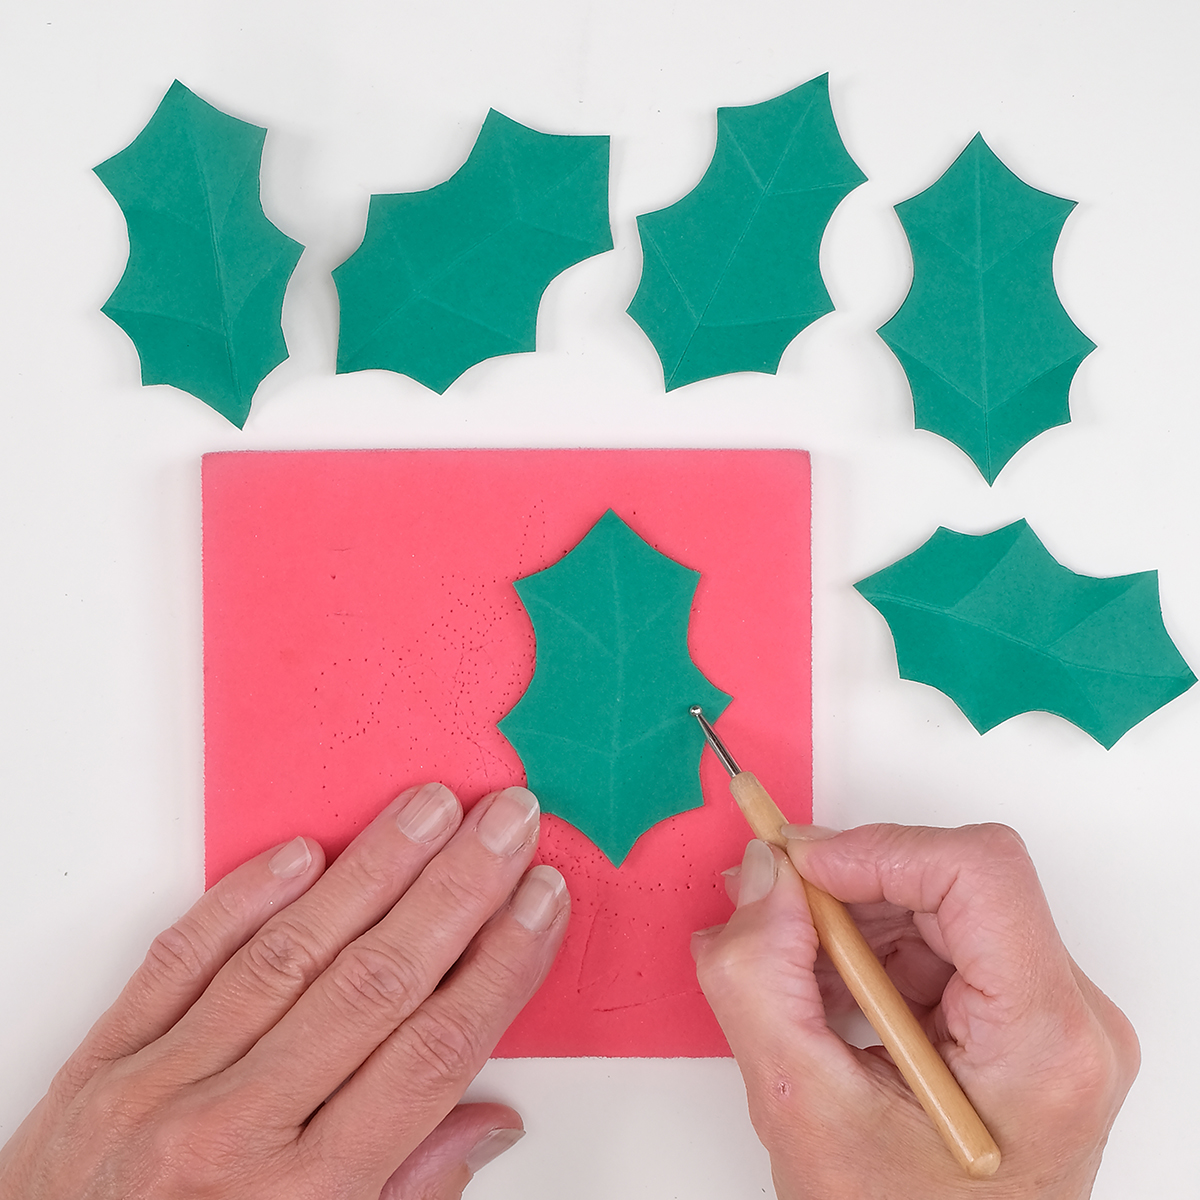
a lovely luxurious finish, but you could cover the wreath with a couple of layers of coloured acrylic paint instead if you prefer. - To save time, trace all of the templates onto a thick piece of card before you start. Cut out the shapes and use them to draw around. You’ll find that this is a much faster method than transferring from the original designs every single time.
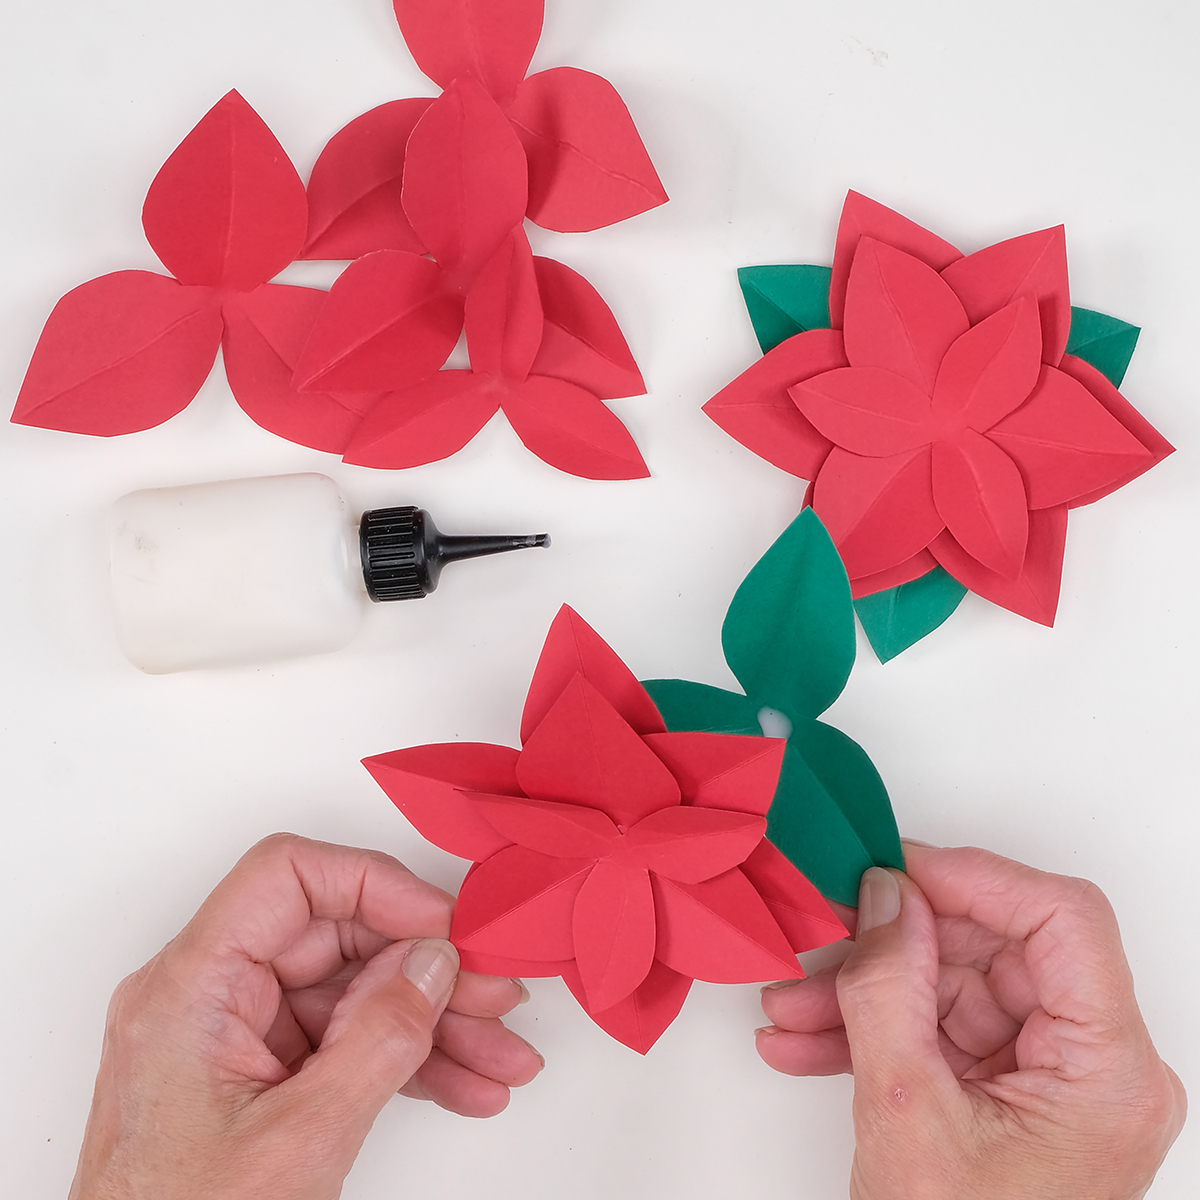
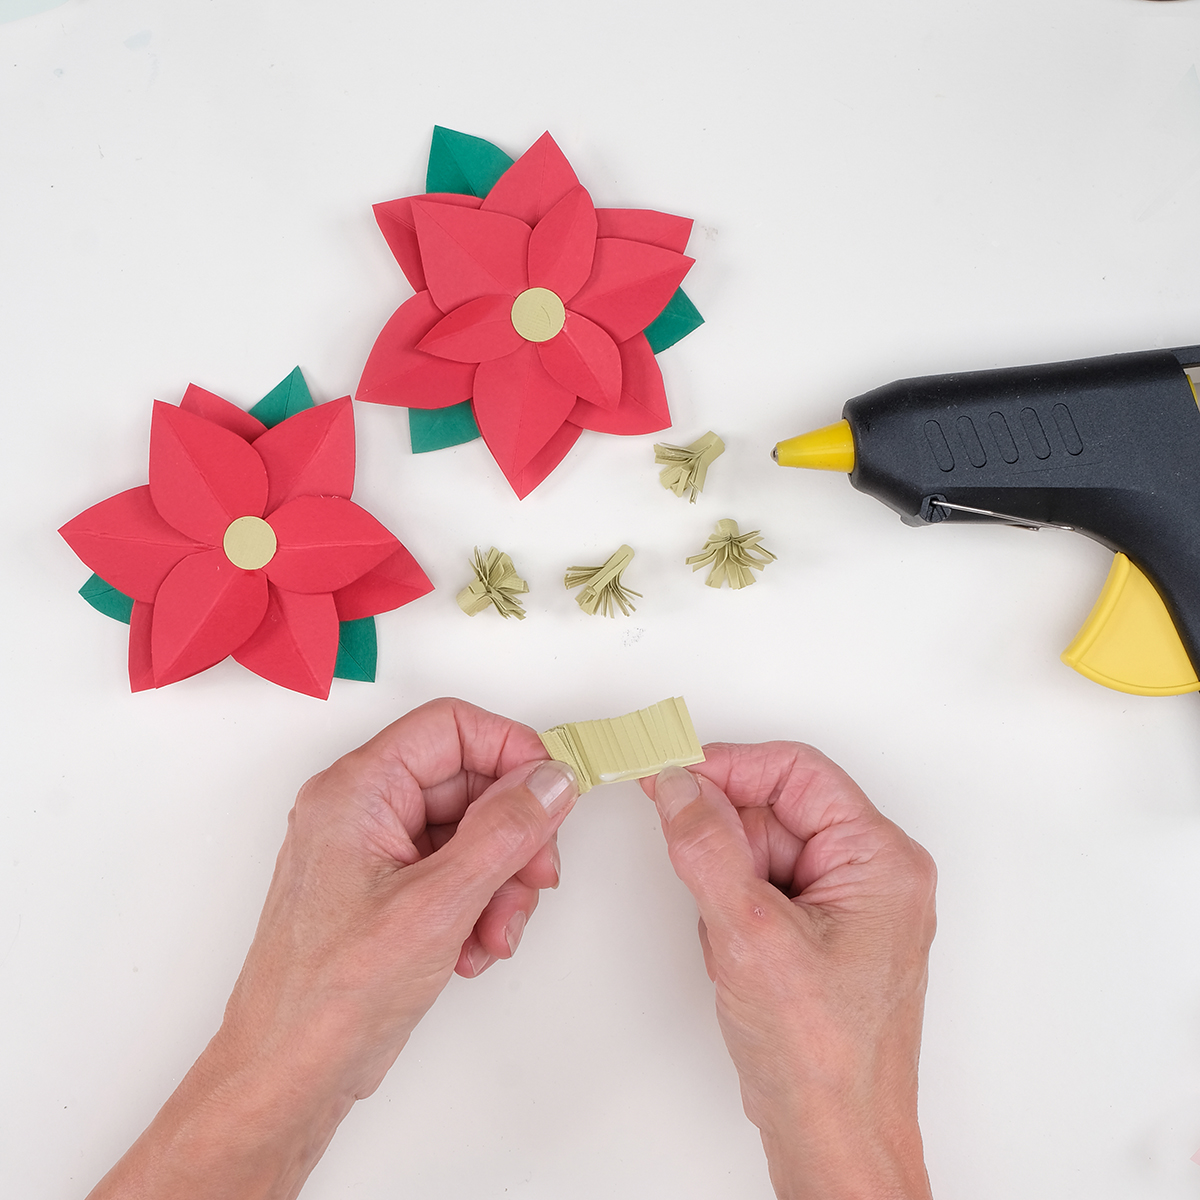
- When glueing the petal layers together, leave enough time for each layer to dry before adding the next one. This will ensure you get a strong, secure bond and the petals stay put.
- If you don’t have a hot glue gun, you can use strong craft glue to attach the poinsettias and holly sprigs to the wreath.
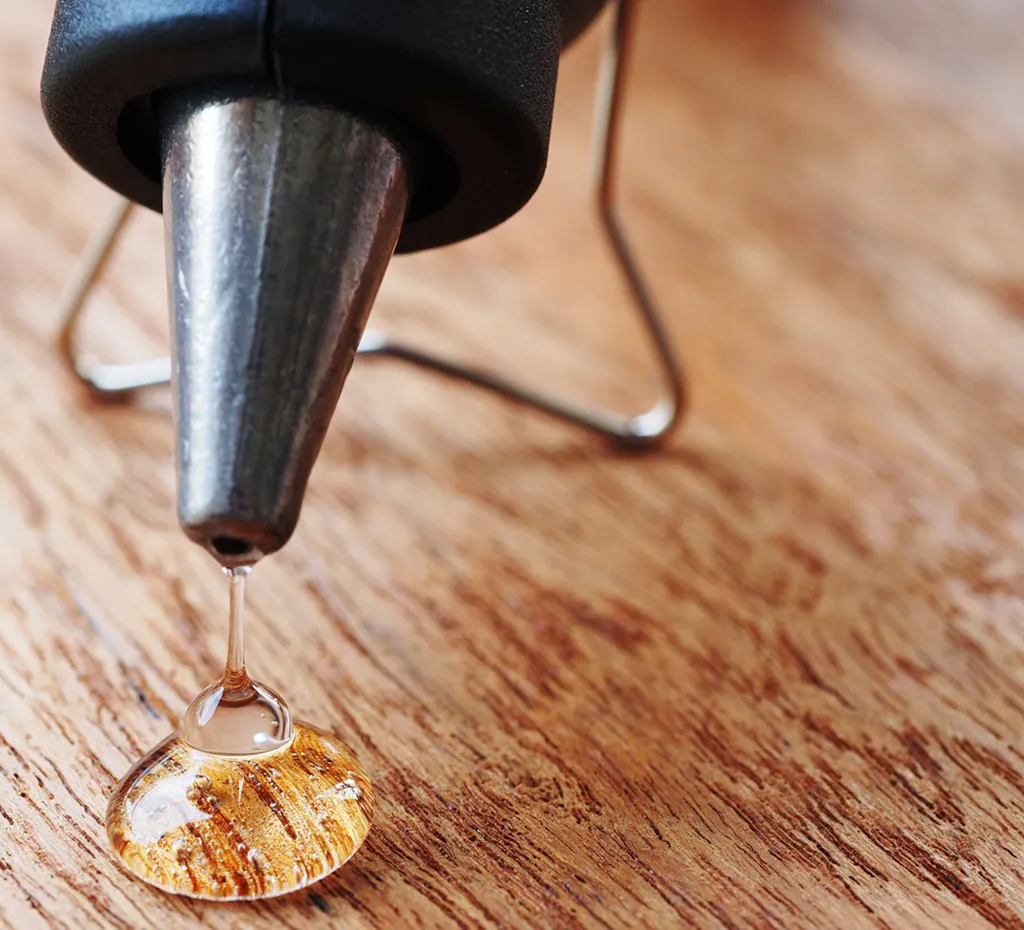
Sticky business
A good quality glue gun is an essential for many papercraft projects. Take a look at our best glue gun guide for expert advice.
How to make a poinsettia wreath
You will need:
- Poinsettia wreath template
- Polystyrene ring, 22cm
- Red berries
- Ribbon
- Dressmaking pins
- Coloured card
- Hot glue gun
- Piercing tool
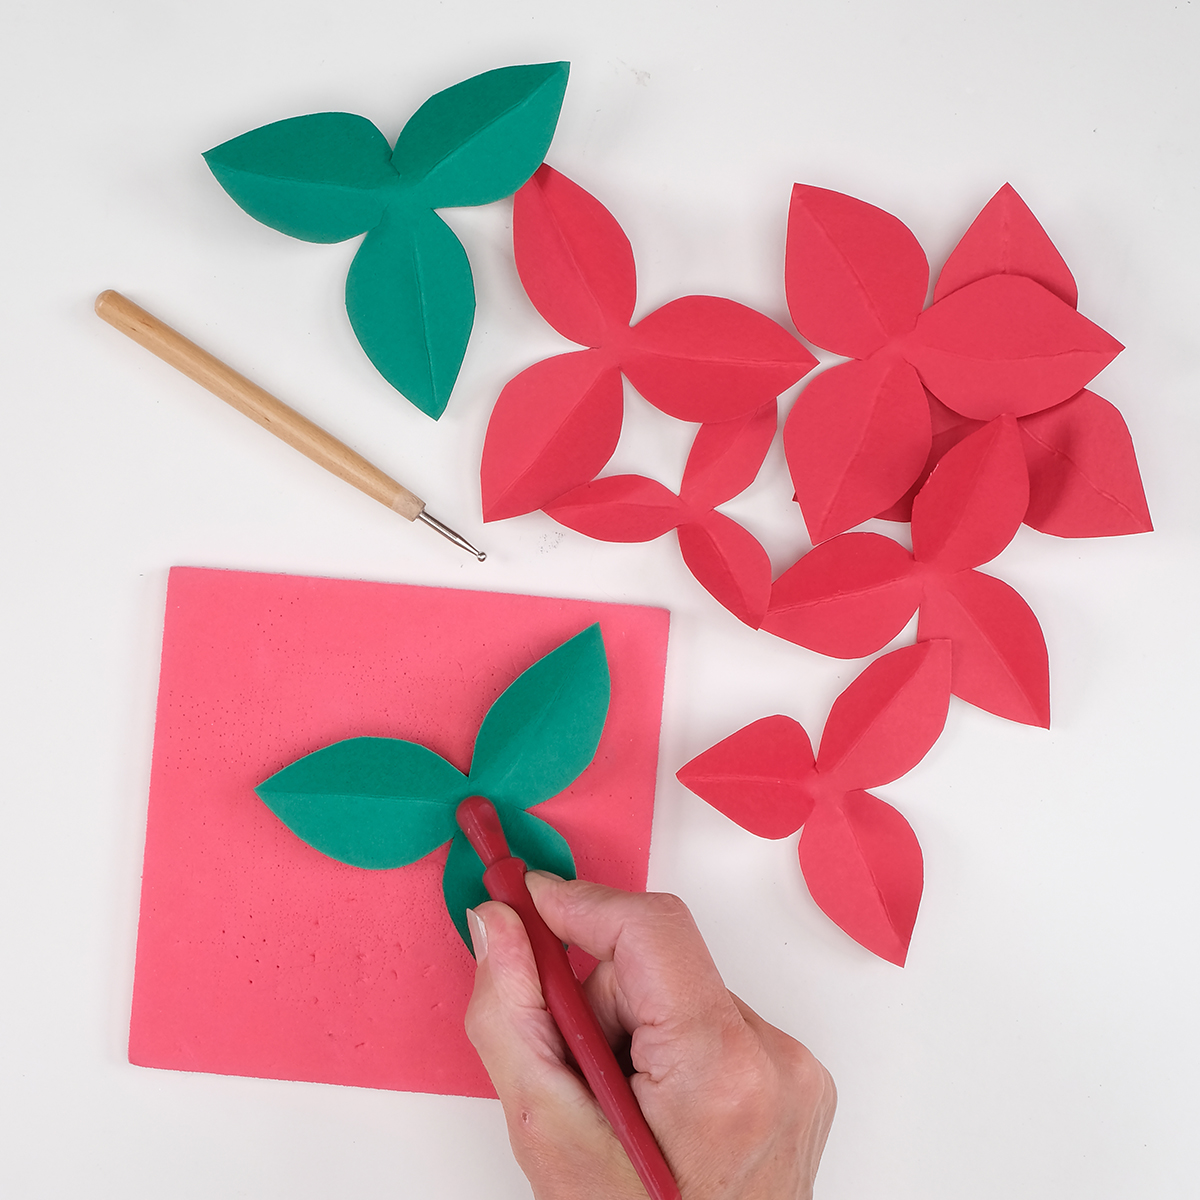
- Embossing tools
- Foam mat
- Ruler