Written by Luke Green
Room dividers are a genius way of breaking up a room and adding privacy to your space; perfect if you use your rooms for more than one purpose such as a living room/ home office or bedroom/ dressing room. Whether you have a large room or compact room, a room divider will help to zone your space, and as well as being useful, they're stylish too!
Room divider ideas
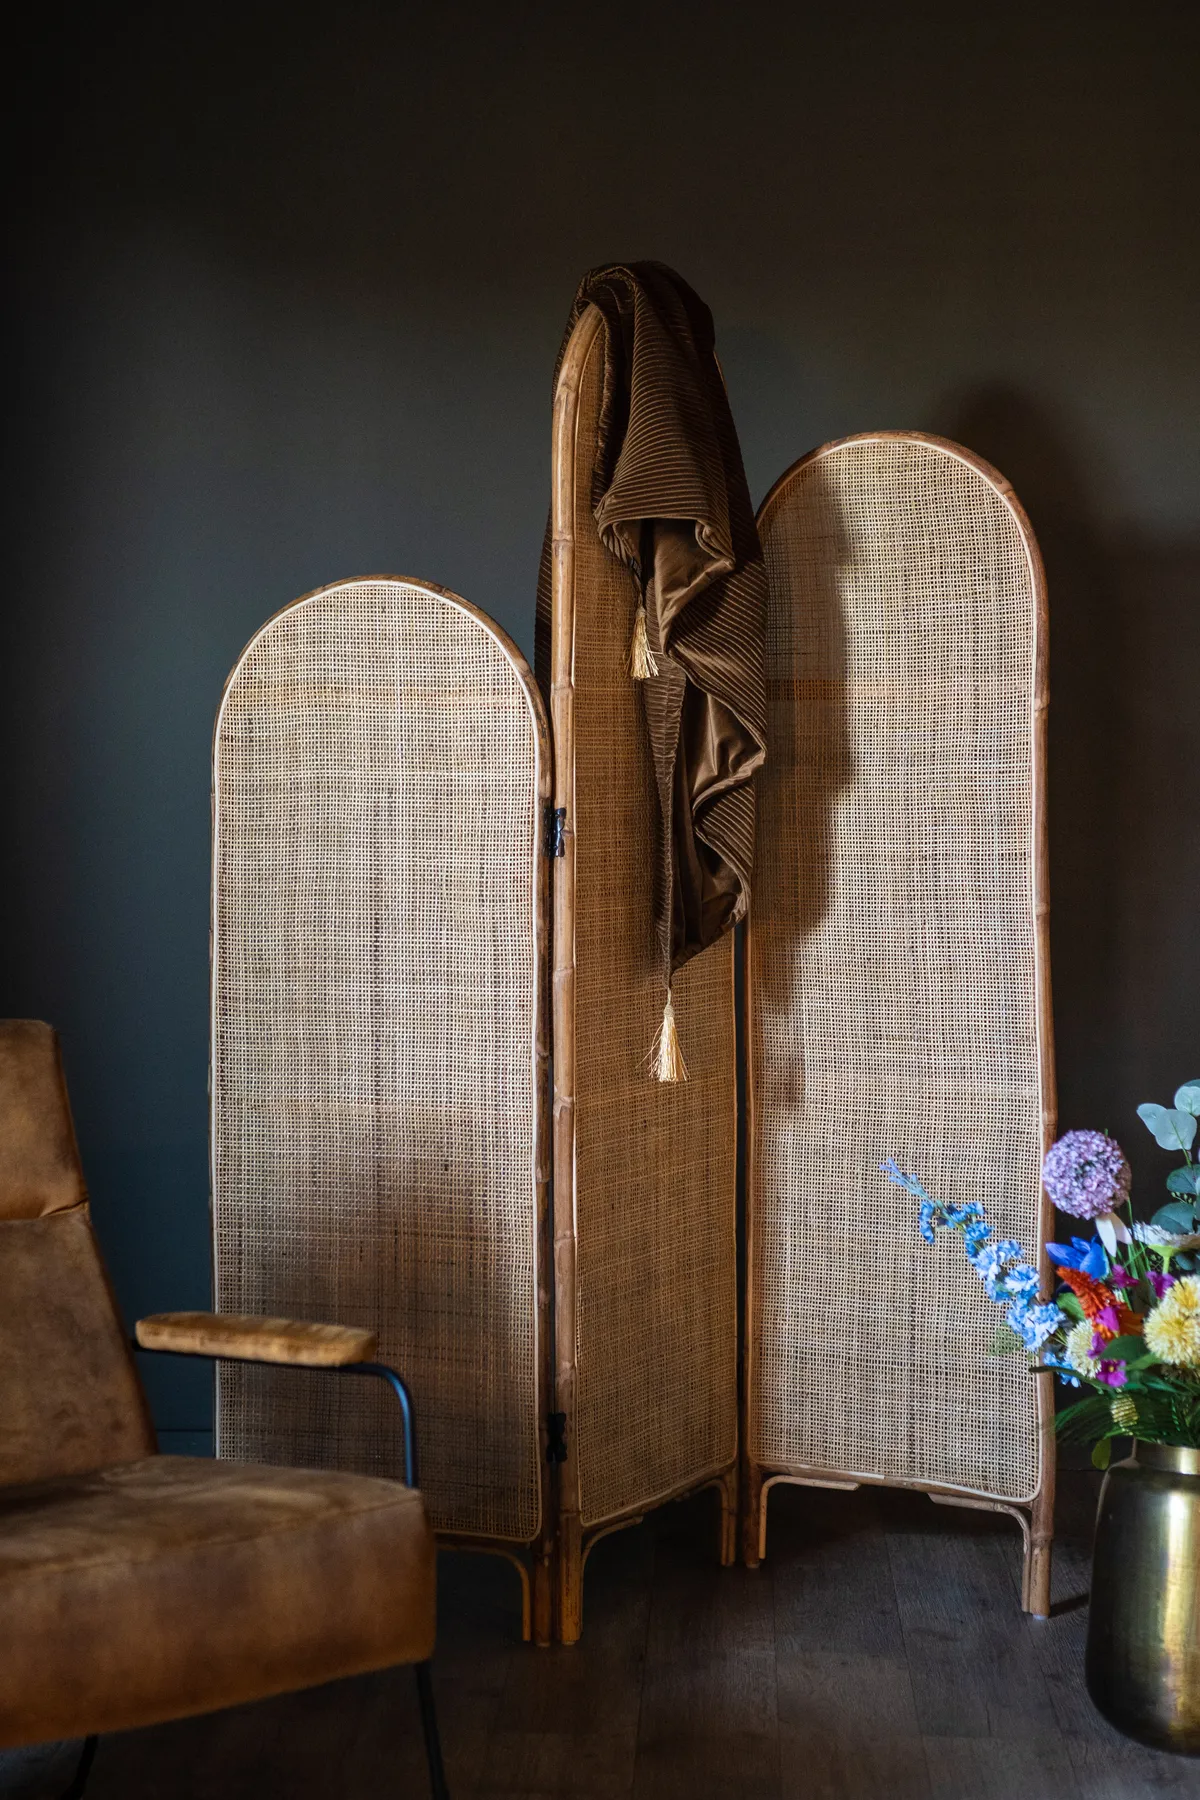
There are many room divider screens on the market, but have you thought about making your own? You can save costs by building your very own room divider, with the added perk of making a design bespoke for your space. We've gone for plywood material for our how-to guide, but you could try a room divider screen with fabric or a rattan room divider if you fancied!
Top tip Ply sheets can be sourced at most builders’ merchants, and some even provide a cutting service
- The best room dividers: room screen ideas for all budgets
- Home office ideas: how to create a productive work space
- Cloffice ideas: how to create the ultimate work-from-home space
- Dressing room ideas: how to create your dream dressing room on any budget
- Master bedroom ideas: three decor tips to make the most of your space

How to make a room divider screen
You will need...
- 18mm WBP or marine plywood, sizes required: 3 sheets (1,650 x 375mm); 2 large shelves (300 x 100mm); 2 small shelves (200 x 100mm)
- Measuring tape
- Pencil
- Workbench or flat surface
- Clamps
- Electric drill, 3mm and 16mm drill bits
- 16mm dowel
- Handsaw with a 90-degree set square
- 120-grit sandpaper
- Dustpan and brush
- Interior varnish, clear
- Paintbrushes
- 4 piano hinges
- Electric screwdriver
- Masking tape
- Wood paint
STEPS
Mark out the peg holes on each sheet using a measuring tape, pencil and a straight edge. From the top, mark four holes 75mm apart horizontally. Using the same spacing, mark 14 holes vertically down from the top of the sheet.
Lay one sheet on the workbench and clamp it down. If using a flat surface, position on a scrap piece of board. Using the 3mm drill bit, drill each hole all the way through to create the 4 x 14 grid pattern. Repeat steps 1 and 2 on the other two sheets.
Fit your drill with a 16mm drill bit. In each pilot hole location, drill each hole half the way through. Once complete, flip the board over and repeat on the other side. This prevents the grain from splitting and gives a clean finish to the peg hole. Repeat for all three sheets.
Using the tape and pencil, mark 100mm lengths on the dowel and cut into pegs using a saw. Cut as many as you like – two will be needed for each shelf and any extra pegs can be used for hanging bags or plants from.
Lightly sand all the surfaces. If curved corners are preferred, sand these for a little longer. Before the next step, it’s important to brush off any excess sawdust so it’s dust-free.
Brush a layer of clear varnish across all the drilled sheets of pegboard, shelves and dowel pegs. Again, use the bench and clamps for stability. Leave to completely dry.
To prepare the pegboard sheets for painting, apply masking tape to the top and bottom of the sheet, leaving the edges exposed. Do the same with the shelves. Gently apply wood paint to all edges and leave to dry. You can also paint the ends of the pegs if you wish.
To attach the hinges, lay two of the pegboard sheets on their side, back-to-back. Measure 100mm from both ends and lay one of the hinges central, opened flat with the hinge facing upwards. Screw in the small screws (these should be supplied with the hinge) with an electric screwdriver. Repeat this process for the opposite hinge. Then, flip the sheets so the installed hinges are face-down. Lay the third sheet on its side, back-to-back with the two already joined. Again, measure 100mm from both ends and attach the hinges to the centre of the sheets. Stand the completed pegboard up, push the pegs in and place the shelves on top of the pegs at your chosen heights.

Project and step photos – Luke Green. Main photo – Steve Sayers. Styling Tricia Ball. Dracaena fragrans ‘Warnecki’ plant and elho Vibes pot – Beards & Daisies.
